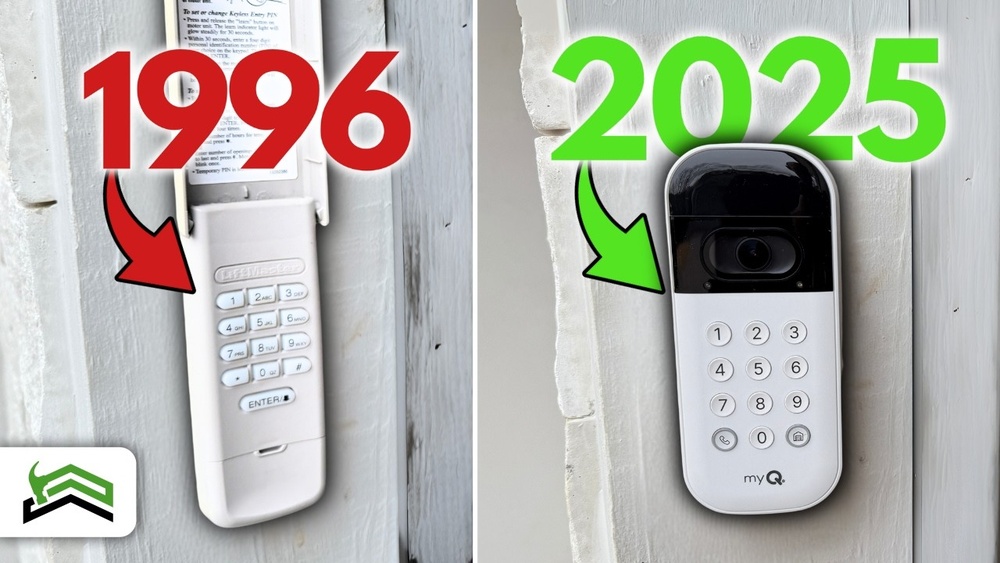
Replacing a garage door keypad may sound difficult, but it’s actually a simple job for most homeowners. A faulty keypad can lock you out or cause security risks. Upgrading to a new keypad also means better features and more reliability.
If you want to save money and avoid waiting for a pro, learning to replace your own garage door keypad is a smart skill. This guide gives you easy, step-by-step help—designed for beginners. By the end, you’ll know exactly what to do, what tools you need, and how to avoid common mistakes.
Why Replace Your Garage Door Keypad?
A garage door keypad is used for keyless entry. Most people replace their keypad for a few reasons:
- Old keypad stops working
- Buttons are worn or stuck
- Battery compartment is broken
- You want extra security or smart features
New keypads can support rolling codes, better lighting, and even Wi-Fi. Replacing a broken keypad quickly helps prevent lockouts and keeps your property safe.
Signs Your Keypad Needs Replacing
Some keypads can be fixed with a new battery or a cleaning. But these signs mean you probably need a new one:
- Keys don’t respond even after battery change
- Keypad is cracked or damaged
- Random beeping or flashing lights
- Code works sometimes, but not every time
- Keypad feels loose or falls off easily
If you see any of these, it’s time for a new keypad.
What You Need For The Job
Before you start, gather these basic tools and items:
- New garage door keypad (make sure it matches your opener brand)
- Screwdriver (usually Phillips or flathead)
- Small drill (sometimes needed)
- Ladder or step stool
- Pen and paper for code setup
- Fresh batteries (usually AAA or 9V)
- Safety glasses (optional)
Pro Tip: Check the keypad box to see if screws and batteries are included. Some brands include everything, others do not.
How To Choose The Right Keypad
Not all keypads fit every garage door opener. Here’s what matters:
- Compatibility: Most keypads only work with openers from the same brand (like Chamberlain, LiftMaster, Genie, Craftsman).
- Wired or wireless: Most modern keypads are wireless, but older homes may use wired models.
- Features: Some keypads offer backlit buttons, weather resistance, or smartphone control.
- Code system: Rolling code keypads are much safer than fixed code models.
Here’s a quick comparison of popular brands:
| Brand | Works With | Special Features | Price Range |
|---|---|---|---|
| Chamberlain/LiftMaster | Chamberlain, LiftMaster, Craftsman | Backlight, Rolling Code | $30–$50 |
| Genie | Genie Openers | Weatherproof, Easy Mount | $25–$45 |
| Universal | Many brands (check packaging) | Multiple Code Support | $35–$60 |
Beginner Mistake: Buying a keypad without checking compatibility. Always check your garage opener brand and model first.

Credit: www.youtube.com
Step-by-step: How To Replace A Garage Door Keypad
Ready to start? Follow these clear steps. For most brands, the process is very similar.
1. Remove The Old Keypad
- Use a screwdriver to loosen screws on the old keypad.
- If it’s wireless, just pull it off the wall.
- For wired models, gently disconnect the wires (note their position for later).
Tip: Take a photo of the wiring before disconnecting, if you have a wired model.
2. Prepare The New Keypad
- Unpack your new keypad.
- Insert the batteries (if required).
- Read the manual for any special instructions.
Some keypads need you to set a code before mounting. Check your manual.
3. Mount The New Keypad
- Hold the new keypad where the old one was.
- Mark screw holes with a pencil.
- Drill pilot holes if needed.
- Attach keypad using the screws provided.
Keypads should be mounted about 5 feet (1.5 meters) above the ground for easy access.
4. Connect The Wires (if Wired)
- Match the wires to the correct screws or terminals.
- Tighten connections but don’t overtighten.
Most wireless keypads skip this step.
5. Program The Keypad
This is the most important step. Here’s a basic example for a Chamberlain/LiftMaster wireless keypad:
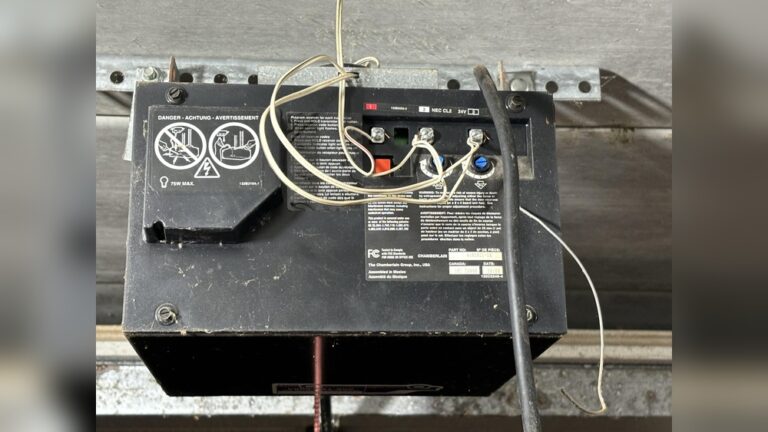
- Press and hold the “Learn” button on the garage opener (usually on the unit inside your garage).
- Enter your chosen code on the keypad.
- Press the “Enter” button on the keypad.
- Wait for the garage opener light to blink or click (signals success).
Each brand is slightly different. Always read your keypad’s instructions for programming.
6. Test The Keypad
- Enter your code and press the main button.
- The garage door should open or close.
- Test several times to be sure.
If it doesn’t work, check the batteries and make sure the keypad is programmed to the opener.
Common Problems And Solutions
Even with new keypads, problems can happen. Here’s how to fix them:
Keypad Not Working After Installation
- Check if the batteries are fresh and installed correctly.
- Re-program the keypad (repeat programming steps).
- Make sure you used the correct code.
Keypad Works Sometimes, Not Always
- Check for interference (metal objects, wiring issues).
- Move the keypad slightly or tighten the screws.
- Replace with a new battery.
Garage Door Opens Randomly
- Someone nearby may have a similar code (rare with rolling code models).
- Reset your code to something unique.
Keypad Buttons Stick
- Check for dirt or debris.
- Clean gently with a soft brush or compressed air.
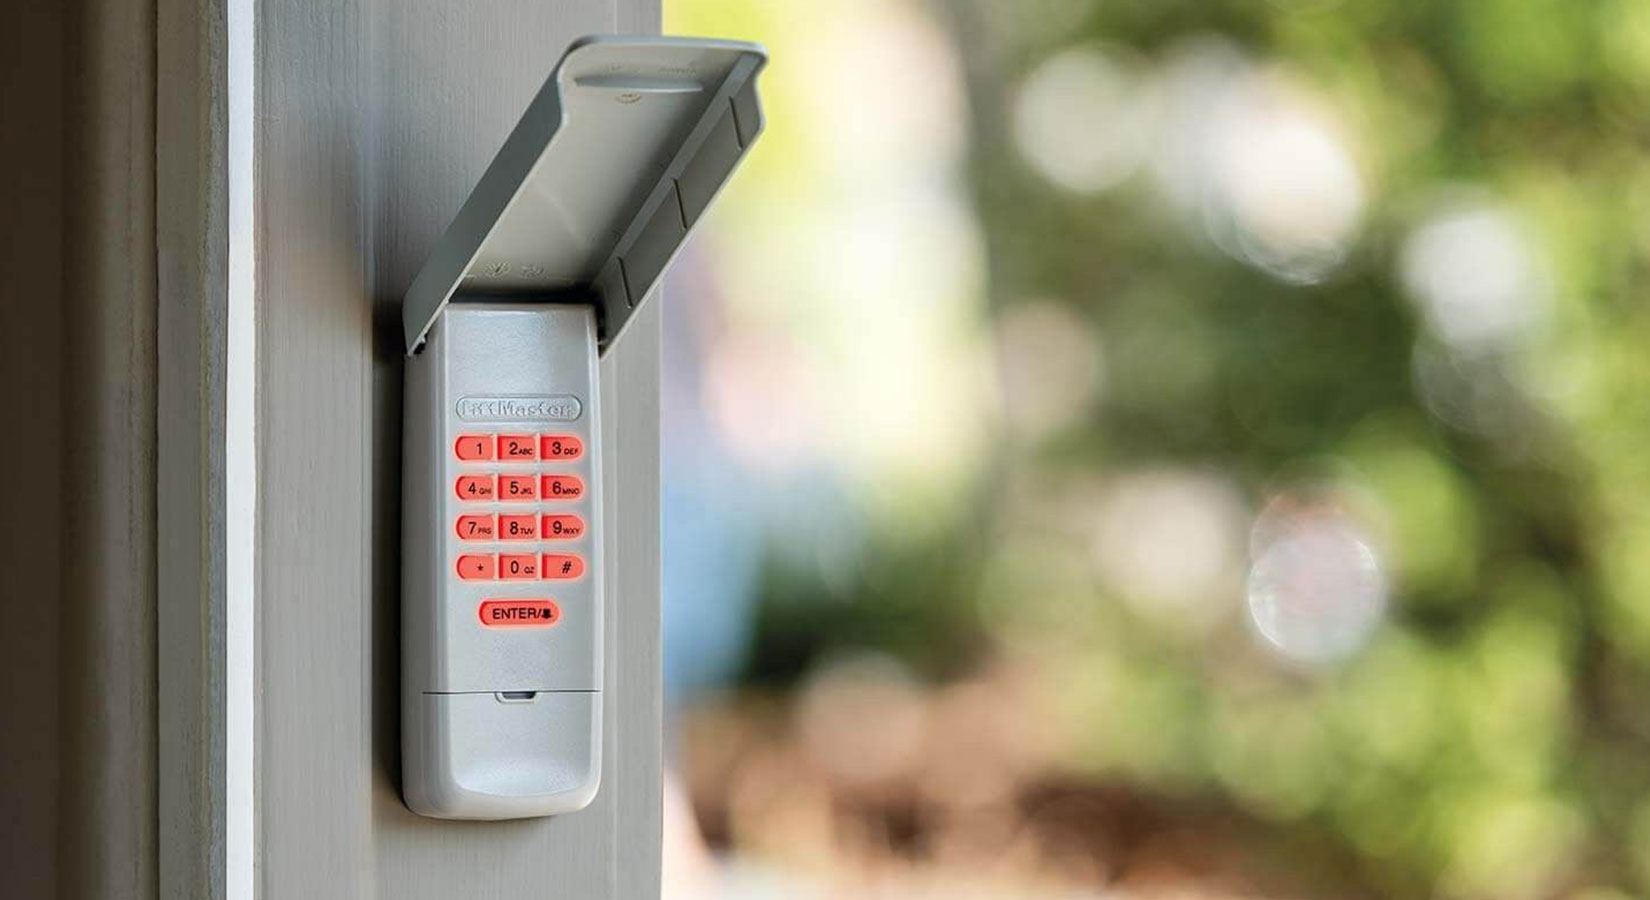
Credit: allsecurityequipment.com
Extra Security Tips
A new keypad is a good time to boost your garage security:
- Use a unique code (avoid 1234, 0000, or birthdays).
- Change your code every 6–12 months.
- Teach family members to keep the code secret.
- Consider a weatherproof cover if your keypad is outside.
- For smart homes, look for keypads with app control and alerts.
Wired Vs. Wireless Keypads
Choosing between a wired and wireless keypad depends on your needs and your garage door opener.
| Type | Pros | Cons |
|---|---|---|
| Wireless | – Easy to install – No wiring needed – Can be mounted anywhere |
– Needs battery changes – Can suffer interference |
| Wired | – No batteries needed – More reliable signal |
– Harder to install – Needs wiring to opener |
Most modern homes use wireless keypads for convenience.
How Long Does It Take?
Replacing a garage door keypad is usually a 15–30 minute job for beginners. If you need to drill new holes, add another 10–15 minutes. Programming takes about 2–5 minutes if you have the manual handy.
Real-world Example: A homeowner with no experience replaced a Genie keypad in 18 minutes, including setup and testing.
How Much Does It Cost?
Most keypads cost $25–$60. Hiring a professional for installation can add $50–$150 in labor. Doing it yourself saves money and gives you more control.
Here’s a quick cost comparison:
| Option | Cost (Keypad) | Installation Fee | Total Cost |
|---|---|---|---|
| DIY | $30–$50 | $0 | $30–$50 |
| Professional | $30–$50 | $50–$150 | $80–$200 |
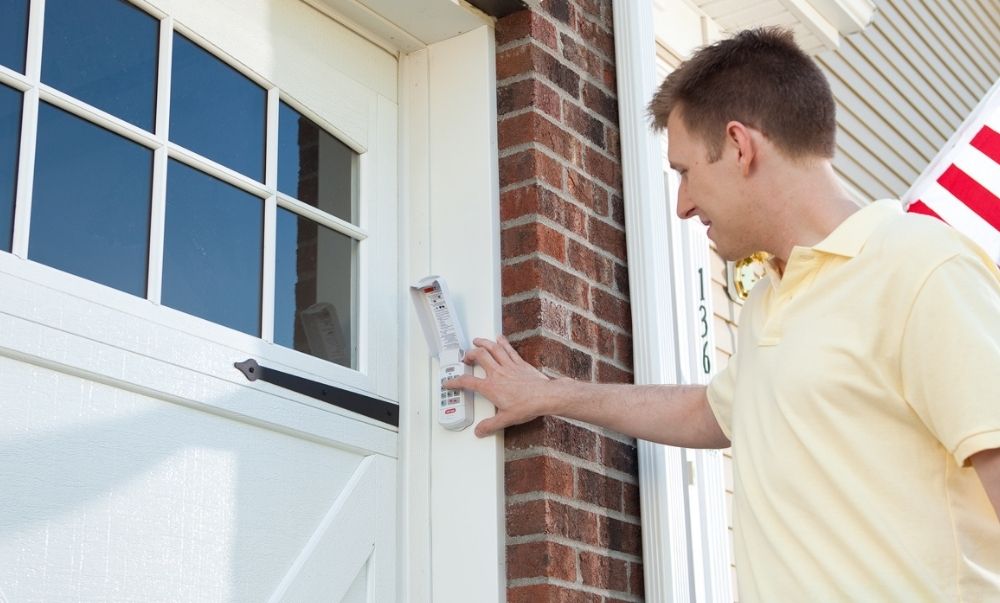
Credit: store.geniecompany.com
Non-obvious Tips Beginners Miss
- Keep your old keypad until you confirm the new one works perfectly. This gives you a backup if you need to troubleshoot.
- Label your wires (with tape or a marker) if you have a wired keypad. This makes re-connecting much easier.
- Store your code somewhere safe but not near the garage. Many people forget their code after changing it.
- Test your garage door opener’s Learn button before buying a new keypad. If the button is broken, you may need a new opener, not just a keypad.
When To Call A Professional
You can do most replacements yourself. But call a pro if:
- The wiring is damaged or confusing
- Your opener is very old (pre-1993 models)
- Keypad still doesn’t work after trying everything
- You have physical limitations (can’t use a ladder, etc.)
Professional help is fast but costs more.
Safety Precautions
- Always use a sturdy ladder.
- Do not touch electrical wires with wet hands.
- Test the keypad during daylight for best visibility.
- If you feel unsure, stop and ask for help.
Most injuries happen from falls or incorrect tool use, not from the keypad itself.
Frequently Asked Questions
Can I Use Any Garage Door Keypad With My Opener?
No, you must use a compatible keypad. Most keypads only work with certain brands or models. Always check your opener’s brand and model before buying a new keypad.
How Do I Reset My Garage Door Keypad Code?
For most keypads, press the Learn button on your opener, then enter a new code on the keypad and press Enter. The process can be different for each brand, so read your manual or check the manufacturer’s website.
My Keypad Is Not Working After Battery Replacement. What Should I Do?
First, make sure the batteries are installed the right way. Then, try to re-program the keypad. If it still doesn’t work, the keypad may be damaged or not compatible with your opener.
Is It Safe To Install A Garage Door Keypad Myself?
Yes, most people can install a keypad safely. Follow the manual, use simple tools, and take your time. If you feel uncomfortable, hire a professional.
Where Can I Find More Information About My Garage Opener Or Keypad?
You can visit your brand’s official website, or check guides like this one from Wikipedia for more technical details.
Replacing a garage door keypad is a quick, affordable way to make your home safer and more convenient. With a little care, you’ll enjoy smooth entry and peace of mind for years to come.