Garage Spring Repair: A Beginner-friendly Guide
A garage door is heavy. It needs the right support to open and close safely. The most important part for this is the garage door spring. Many homeowners don’t realize how critical this part is—until it breaks. When a spring fails, the door can become very hard to lift or even dangerous. Fixing or replacing a spring is not just a simple DIY project. It requires care, the right tools, and sometimes a professional touch.
This guide will explain garage spring repair in clear steps. You’ll learn how springs work, signs of failure, types of springs, repair steps, safety tips, and when to call an expert. If you’re new to garage maintenance, you’ll find practical tips and common beginner mistakes to avoid.
Understanding Garage Door Springs
Garage doors use large springs to balance their weight. Without them, lifting a door would take a lot of strength. Springs store energy when the door closes. When you open the door, this energy helps lift it.
There are two main types of garage door springs:
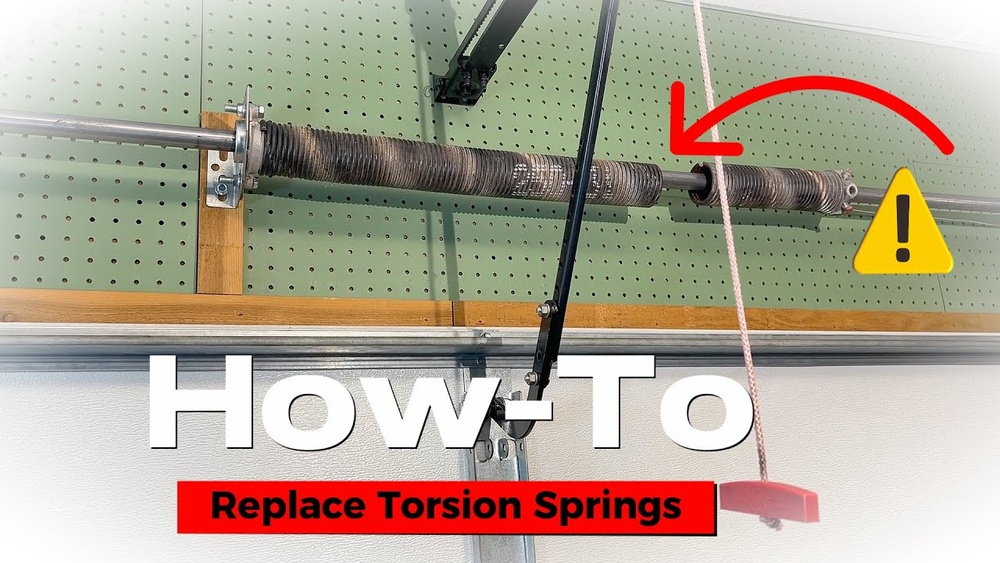
- Torsion Springs: These sit above the closed door, mounted on a metal shaft. They twist to store energy.
- Extension Springs: These run along both sides of the door, stretching to provide lift.
Both types have the same goal: make the door easy and safe to move.
Why Springs Matter
- Safety: Springs hold a lot of energy. A broken spring can make the door fall or slam shut.
- Convenience: With healthy springs, even a heavy door feels light.
- Cost: Fixing a broken spring quickly can prevent more expensive repairs later.
Signs Your Garage Door Spring Is Broken
A spring usually breaks with a loud bang. But sometimes, the signs are less obvious. Watch for these warning signs:
- Door feels very heavy or will not open at all
- Loud snap or bang from the garage
- Cables appear loose or disconnected
- Door moves crookedly or gets stuck
- Springs look stretched or have a gap
If you notice any of these, stop using the door. Forcing it can break the opener or cause injury.
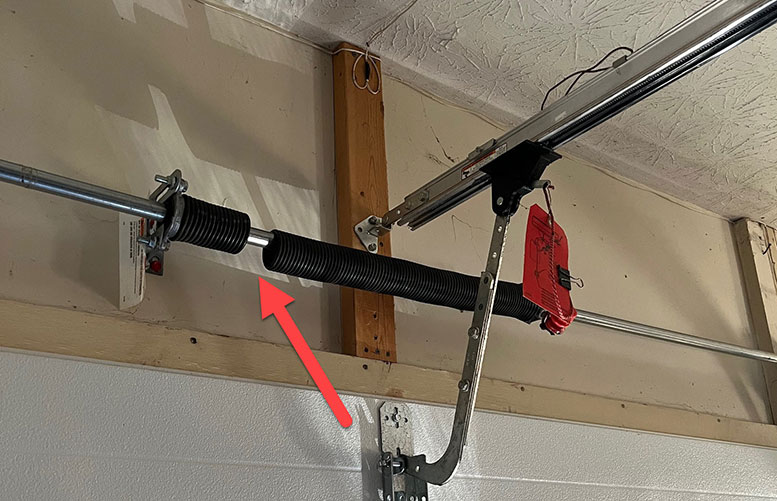
Credit: www.habprogaragedoors.com
Types Of Garage Door Springs (with Comparison Table)
Each spring type has its strengths and weaknesses. Here is a comparison to help you understand the differences:
| Spring Type | Location | Typical Lifespan | Pros | Cons |
|---|---|---|---|---|
| Torsion Spring | Above door, on shaft | 10,000–20,000 cycles | More durable, smoother movement | Harder to install, higher cost |
| Extension Spring | Along door tracks | 5,000–10,000 cycles | Lower cost, easier to replace | Can be less safe, more wear |
Cycle means one open and one close. Most homes use their garage 2-4 cycles per day.
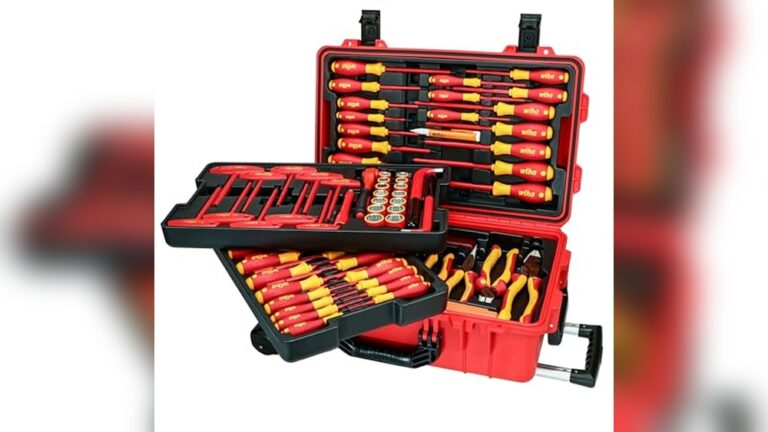
Tools And Safety Gear Needed
Repairing a garage door spring is dangerous. If you plan to try, you must have the right tools and safety gear:
- Safety glasses (protect your eyes)
- Gloves (protect your hands)
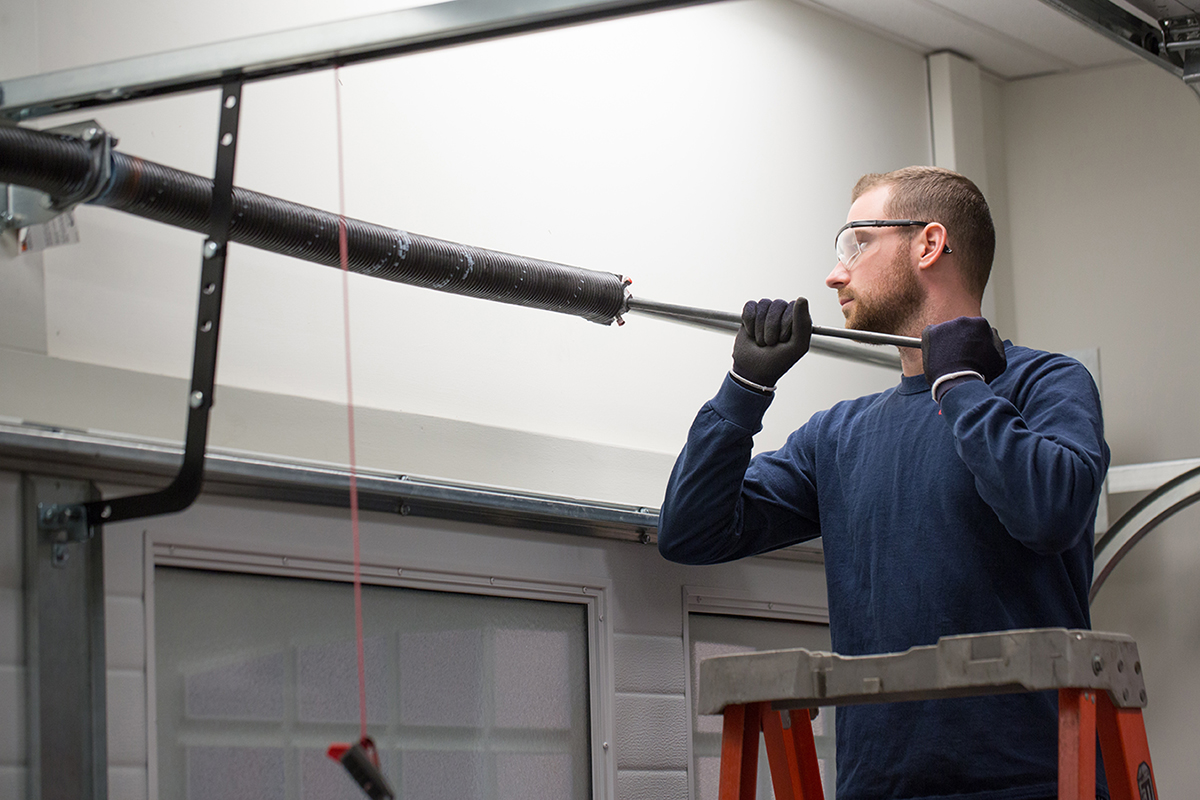
- Winding bars (for torsion springs)
- Socket wrench set
- Clamps or locking pliers
- Tape measure
- Step ladder
- Marker or chalk
Never use screwdrivers as winding bars. They can slip and cause injury.

Credit: www.youtube.com
Step-by-step: Garage Spring Repair
If you have experience with tools and follow safety steps, you can replace extension springs yourself. Torsion spring repairs are more complex and risky. Here’s a basic overview for both:
Extension Spring Replacement
- Unplug the garage opener and lock the door down with clamps.
- Release the tension by opening the door fully, then securing it.
- Remove old springs by disconnecting them from the track and pulley.
- Install new springs using the same attachment points.
- Reconnect safety cables (these stop springs from flying if they break).
- Test the balance by lifting the door halfway. It should stay put.
- Reconnect opener and test full operation.
Torsion Spring Replacement
Torsion spring repair is more dangerous. If you are not confident, call a professional. If you decide to continue, use these steps as a general guide:
- Unplug opener and clamp the door.
- Loosen set screws on the old spring with winding bars in place.
- Carefully unwind the spring using winding bars.
- Remove the old spring from the shaft.
- Install the new spring and wind it with the correct number of turns.
- Tighten set screws and check the balance.
- Test door movement and make small adjustments as needed.
Never stand in front of a loaded spring. Always use two winding bars. Don’t rush.
Common Mistakes To Avoid
Many beginners make mistakes with garage spring repair. Some can be dangerous or costly. Here are common ones:
- Using the wrong spring type or size: Always match the spring to your door’s weight and height. Using the wrong size reduces lifespan and can damage the opener.
- Skipping safety cables on extension springs: These cables prevent injuries if a spring breaks.
- Not checking door balance: After repair, the door should stay halfway when you lift it by hand.
- Trying to wind torsion springs with the wrong tools: This can lead to serious injury.
- Ignoring manufacturer instructions: Every door is different. Read the manual or label.
Credit: overheaddoorspringfield.com
Cost Of Garage Spring Repair
The cost of repairing a garage spring depends on the type, size, and your location.
| Service Type | DIY Cost (Parts Only) | Professional Cost | Average Time Required |
|---|---|---|---|
| Extension Spring | $20–$50 per spring | $100–$200 (labor + parts) | 1–2 hours |
| Torsion Spring | $40–$100 per spring | $150–$350 (labor + parts) | 2–3 hours |
If both springs are worn, replace them together. This avoids future problems.
When To Call A Professional
You can replace extension springs with basic tools and patience. Torsion springs, however, store much more energy. A mistake can cause serious injury. Call a professional if:
- You have a torsion spring system
- You lack proper tools or safety gear
- The door is very heavy or large
- The spring is hard to reach
Professionals have the right skills, tools, and insurance. They can also test the door for other problems.
How To Make Springs Last Longer
Springs are designed to last for a certain number of cycles. But you can extend their life with good habits:
- Lubricate springs every 6 months: Use a silicone-based spray. Avoid WD-40.
- Check balance twice a year: Lift the door halfway. If it moves, the springs need adjustment.
- Avoid opening/closing too often: Each use counts as a cycle.
- Inspect for rust or wear: Rust shortens spring life.
Springs over 10 years old should be checked by a pro, even if they look fine.
Real-world Example
Sara, a homeowner in Ohio, noticed her garage door was suddenly heavy. She heard a loud bang but saw nothing wrong at first. After checking, she found a broken extension spring. She bought a matching set online for $40, followed a repair video, and finished in two hours.
The door worked smoothly again. She learned to replace both springs at once and always use safety cables. If she had a torsion spring, she would have called a pro.
Why Not Delay Spring Repair?
Waiting too long to fix a broken spring can cause bigger problems:
- The opener motor may burn out from lifting the full weight
- The door can become stuck, blocking your car inside
- Safety risks increase, especially for children or pets
Prompt repair saves money and keeps your home safe.
Top Questions To Ask Before Diy Repair
If you’re thinking about repairing springs yourself, ask:
- Do I know my spring type and size?
- Do I have the right tools and safety gear?
- Can I lift the door safely if something goes wrong?
- Is my door still under warranty?
- Am I willing to pay more if I make a mistake?
If you’re unsure, professional help is always safer.
Trusted Resources For More Information
For more detailed technical guides, safety information, and parts, check the official websites of garage door manufacturers or the Wikipedia: Garage Door Opener.
Frequently Asked Questions
How Do I Know Which Type Of Garage Spring I Have?
Look above the closed door. Torsion springs sit on a metal shaft above the door. Extension springs stretch along the tracks on both sides. If you’re not sure, take a photo and ask a local garage door company.
How Long Do Garage Door Springs Last?
Most springs last 5–10 years or 10,000 cycles (one open and close). If your family uses the garage door more than four times a day, they may wear out faster.
Is It Safe To Repair A Garage Spring Myself?
Extension spring repair is possible for careful DIYers with the right tools. Torsion spring repair is very dangerous. If you’re unsure, call a professional. Safety should always come first.
Can I Use Any Spring For My Garage Door?
No. Springs must match your door’s weight, height, and type. Using the wrong spring can damage your door or opener and be unsafe.
What Should I Do If My Spring Breaks At Night Or On A Weekend?
If it’s an extension spring and you have the tools, you can replace it. For torsion springs or if you feel unsafe, don’t try to open the door. Call a 24-hour garage door service and keep the area clear until it’s fixed.
Keeping your garage door springs in good shape protects your home, your family, and your investment. Knowing when to repair, replace, or call a pro saves time, money, and worry. With the right information, you can handle garage spring repair with confidence.