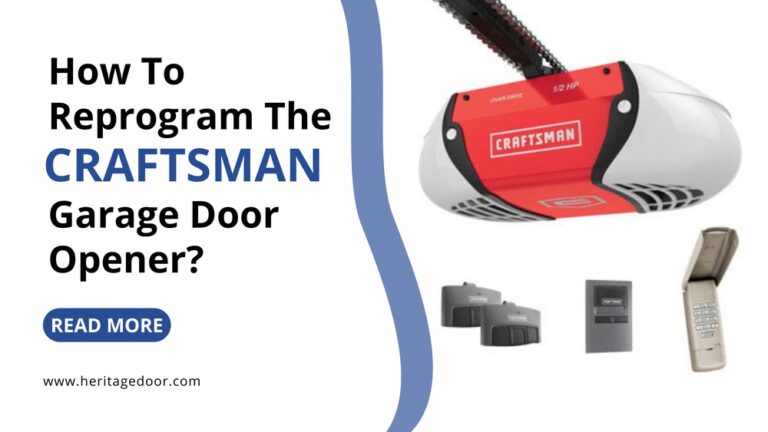
Installing a Chamberlain Garage Door Opener can make your life easier and safer. If you are new to home improvement projects, you might feel a bit nervous. But don’t worry—this guide is designed for beginners and uses simple, clear steps.
You will learn how to install your Chamberlain opener, what tools you need, and how to avoid mistakes. By the end, you’ll be confident about setting up your garage door opener without paying for professional help.
Understanding Chamberlain Garage Door Openers
Chamberlain is one of the most trusted brands for garage door openers. Their products are known for reliability and ease of use. Most Chamberlain models have features like:
- Remote control access
- Wi-Fi connectivity
- Safety sensors
- Quiet operation
There are several types of Chamberlain openers. The most common are belt drive, chain drive, and smart openers. For beginners, the belt drive models are popular because they are quiet and easy to install.
Here’s a quick comparison of Chamberlain opener types:
| Model Type | Noise Level | Installation Difficulty | Price Range |
|---|---|---|---|
| Belt Drive | Low | Easy | $200-$350 |
| Chain Drive | Medium | Moderate | $180-$300 |
| Smart Opener | Low | Easy | $250-$400 |
If you want less noise, choose a belt drive. If you want a lower price, a chain drive may work.
Preparing For Installation
Before you start, make sure you have the right tools and parts. Most Chamberlain garage door opener kits include:
- Main opener unit
- Rail assembly
- Motor
- Safety sensors
- Remote controls
You will need these tools:
- Screwdriver
- Wrench set
- Drill
- Tape measure
- Stepladder
- Level
- Pliers
A typical installation takes about 3–4 hours for beginners.
Safety Tips
- Unplug the opener before working on electrical parts.
- Wear safety glasses and gloves.
- Keep children and pets away from the work area.
Many people forget to check if their garage door is balanced. If your door does not stay halfway open, it may need adjustment. This is important because a balanced door makes the opener last longer.

Credit: www.home.crs
Step-by-step Installation Guide
Follow these simple steps to install your Chamberlain garage door opener. Read each step before you start.
1. Assemble The Rail
- Lay out all rail parts on the floor.
- Connect them as shown in the manual.
- Use screws and bolts as needed.
- Attach the trolley to the rail.
2. Mount The Rail To The Motor
- Place the rail on the motor unit.
- Secure it tightly using bolts.
- Check that the rail is straight and level.
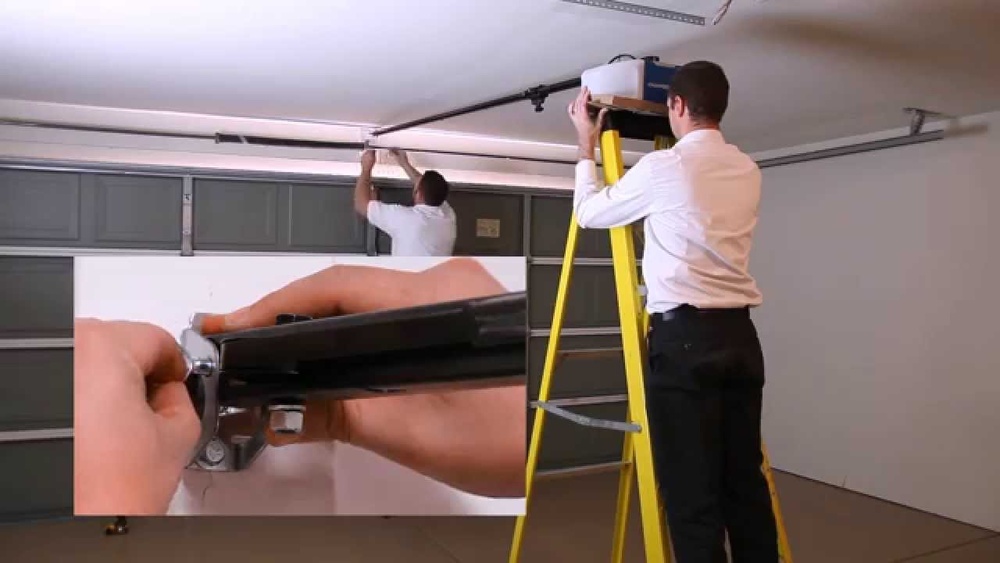
3. Install The Rail To The Ceiling
- Measure the center of your garage door.
- Use a stepladder to hold the rail.
- Attach the rail bracket to the ceiling joists.
- Use a level to make sure it’s straight.
4. Attach The Opener To The Door
- Connect the door arm to the trolley.
- Attach the arm to the garage door.
- Make sure all bolts are tight.
5. Install Safety Sensors
Safety sensors are important for your family’s safety. They stop the door if something is in the way.
- Place sensors on each side of the door, about 6 inches from the floor.
- Mount them using brackets and screws.
- Connect wires to the opener unit.
- Test that sensors are working.
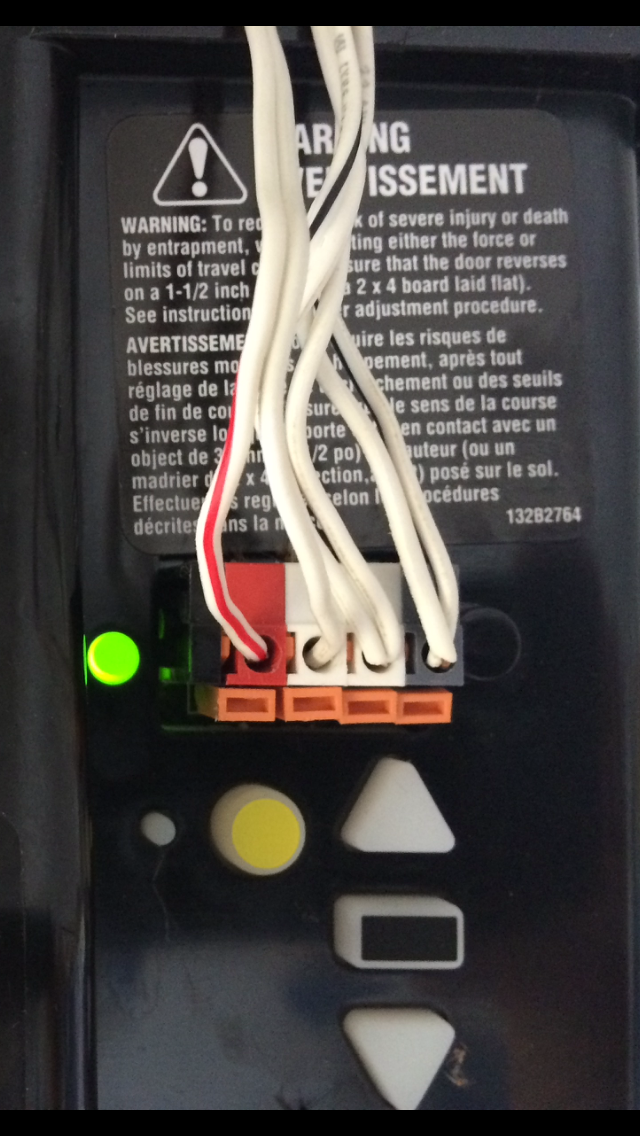
6. Wire The Controls
- Find a spot near the door to mount the wall control.
- Drill holes and attach the control.
- Run wires from the control to the opener unit.
- Connect wires as shown in the manual.
7. Plug In And Test
- Plug the opener into the power outlet.
- Use the remote or wall control to test the door.
- Check that the door opens and closes smoothly.
- Adjust settings if needed.
Many beginners forget to check limit settings. These control how far the door opens and closes. If the door does not close fully, adjust the limit screws as shown in the manual.
Common Mistakes And How To Avoid Them
New installers often make mistakes. Here are some examples and tips to avoid them:
- Mounting the opener off-center: Always measure the center of the door before mounting.
- Skipping sensor alignment: Misaligned sensors can stop the door from working. Double-check their position.
- Loose bolts: Tighten all bolts and screws. Loose parts can cause noise or safety problems.
- Wrong wiring: Follow the wiring diagram closely. If wires are wrong, the opener won’t work.
- Ignoring balance: Check your garage door balance before starting.
A practical tip: If you’re unsure, take a photo of each step before moving forward. This helps you remember how parts fit together.

Credit: www.youtube.com
Adjusting And Programming Your Opener
Once installed, you need to program your remote controls and set up features.
- Press the learn button on the opener unit.
- Hold the remote button until the light blinks.
- For Wi-Fi models, use the Chamberlain app to connect to your home network.
- Set up safety and auto-close features if available.
Here’s a comparison of popular Chamberlain programming features:
| Feature | How to Set Up | Benefit |
|---|---|---|
| Remote Control | Press learn button, sync remote | Open from car or house |
| Wi-Fi App | Install app, connect opener | Remote access and alerts |
| Auto-Close | Set timer in app or unit | Door closes automatically |
Many beginners miss the chance to use the Wi-Fi features. These let you control your garage door from your phone. You can also get alerts if the door opens when you’re not home.
Maintenance Tips For Long-term Use
Keeping your Chamberlain opener working well is easy. Here are simple tips:
- Lubricate the rail and moving parts every 6 months.
- Check and tighten bolts yearly.
- Clean safety sensors to avoid false signals.
- Test the door balance twice a year.
- Replace remote batteries when needed.
A well-maintained opener can last 10–15 years. Chamberlain offers good customer support and warranty for most models.
Credit: community.garadget.com
Practical Example: Installing A Chamberlain B970
Let’s look at installing the Chamberlain B970, a popular belt drive model.
- Unbox the parts and check the manual.
- Assemble the rail and connect to motor (takes about 30 minutes).
- Mount the unit to the ceiling joists (45 minutes).
- Install safety sensors and wire controls (30 minutes).
- Program remote controls and Wi-Fi (20 minutes).
- Test and adjust limit settings (20 minutes).
Most beginners complete the full installation in 3–4 hours. If you get stuck, Chamberlain’s website offers video tutorials and troubleshooting guides.
For extra help, visit the official Chamberlain site at Chamberlain Garage Door Openers.
Troubleshooting: Solving Common Issues
If your Chamberlain opener does not work after installation, check these points:
- Door does not open: Check power, remote battery, and wiring.
- Door stops halfway: Adjust limit settings or check door balance.
- Remote not working: Reprogram remote or replace battery.
- Sensors blinking: Clean sensors and check alignment.
- Noisy operation: Tighten bolts and lubricate moving parts.
Here is a troubleshooting comparison for quick reference:
| Problem | Likely Cause | Quick Fix |
|---|---|---|
| Door won’t open | No power, bad wiring | Check outlet and wires |
| Door closes halfway | Limit settings wrong | Adjust limit screws |
| Remote fails | Battery dead, not programmed | Replace battery, reprogram |
| Sensors blink | Dirt, misalignment | Clean, realign sensors |
| Noise | Loose bolts | Tighten bolts |
If your issue is not listed, check the Chamberlain manual or contact support.
Frequently Asked Questions
How Long Does It Take To Install A Chamberlain Garage Door Opener?
For beginners, installation usually takes 3–4 hours. This includes assembling parts, mounting the unit, wiring controls, and testing. If you work slowly or have an older door, it may take longer.
Can I Install A Chamberlain Opener By Myself?
Yes, most Chamberlain models are designed for DIY installation. You need basic tools and can follow the step-by-step guide. If your ceiling is high or you have a heavy door, ask a friend to help.
What Should I Do If My Opener Does Not Work After Installation?
First, check the power supply and remote batteries. Make sure all wires are connected correctly. If the opener still does not work, review the troubleshooting table above or check the manual.
Are Chamberlain Garage Door Openers Compatible With All Doors?
Chamberlain openers work with most standard garage doors. If your door is very heavy or uses unusual hardware, check compatibility before buying. The company website has a compatibility chart.
How Do I Connect My Chamberlain Opener To Wi-fi?
Install the Chamberlain app on your phone. Follow the instructions in the manual to connect the opener to your home Wi-Fi. You can control the door from anywhere and get alerts.
Installing a Chamberlain Garage Door Opener is a rewarding project for beginners. With careful steps, the right tools, and attention to detail, you can finish the job in a few hours. Regular maintenance and proper setup will keep your opener running for years.
For extra help, use the Chamberlain website or customer support. Now your garage is safer and more convenient—enjoy your new opener!