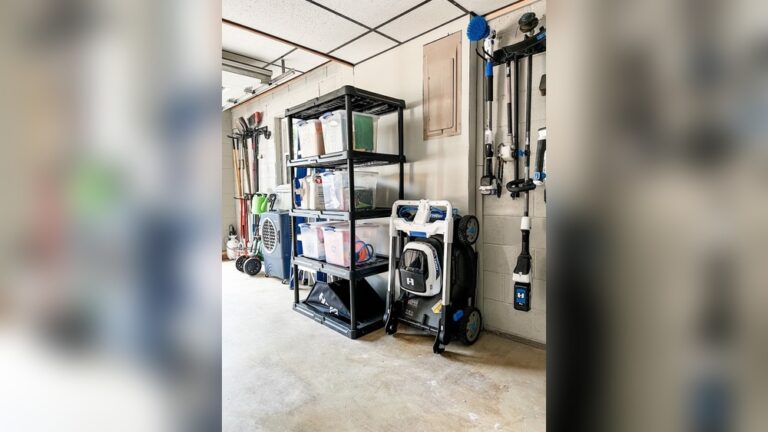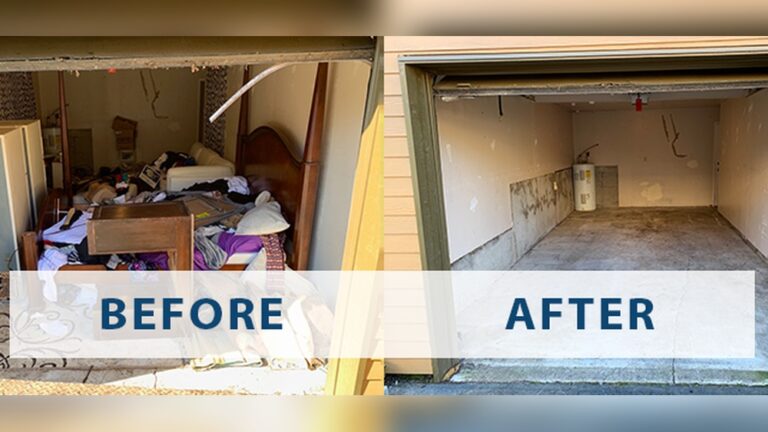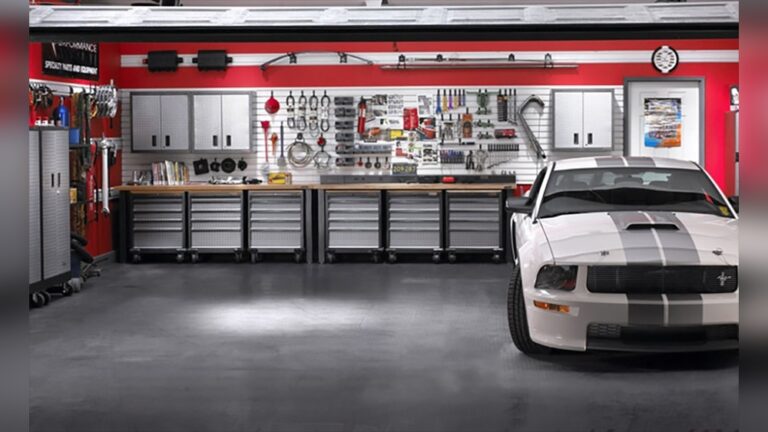

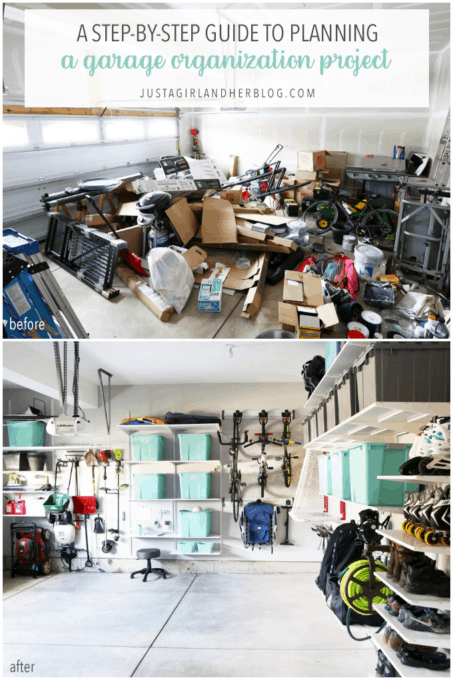
The 12 Steps to an Organized Garage create a safer, cleaner space that saves time and makes every tool easy to find.
An organized garage does more than improve curb appeal. It gives your car a safe home, protects tools from damage, and turns a crowded storage area into a useful part of your home. The 12 Steps to an Organized Garage below combine proven storage methods with practical habits that work in real homes, even when space and budgets are limited.
Why Garage Organization Matters
A garage often becomes the place where everything without a clear home ends up. Seasonal decorations, sports gear, garden tools, paint cans, and old boxes slowly take over. Without a plan, even a large garage can feel too small.
The 12 Steps to an Organized Garage begin with one simple idea: every item needs a clear purpose and a clear place. This approach reduces clutter, improves safety, and makes daily tasks less frustrating.
A well-organized garage can help you:
• Park vehicles with less risk of dents and scratches
• Find tools and supplies faster
• Reduce trip and fall hazards
• Protect items from moisture, pests, and extreme heat
• Create room for hobbies, repairs, or exercise
• Make cleaning and future decluttering easier
The U.S. Consumer Product Safety Commission advises keeping hazardous products, such as chemicals and fuels, away from children and stored according to label directions. The National Fire Protection Association also recommends keeping garages free from clutter and storing flammable materials with care.
Before You Start: Make a Simple Garage Plan
The 12 Steps to an Organized Garage work best when you plan before buying shelves or storage bins. Many people make the mistake of shopping first. That often creates more containers without solving the real problem.
Measure the garage, including wall height, door clearance, windows, electrical outlets, and the space needed for vehicles. If you store a car inside, leave enough room to open the doors and walk around it safely.
Create three basic zones:
• Vehicle and travel zone for bicycles, car supplies, and emergency equipment
• Home and garden zone for tools, hoses, soil, and outdoor items
• Project and storage zone for workbenches, seasonal goods, and hobby supplies
Take clear photos of the garage before you begin. These photos can help you track progress and notice problem areas that may not be obvious while you work.

The 12 Steps to an Organized Garage
This practical garage organization system can be completed in one weekend or spread across several shorter sessions. Do not feel pressured to finish everything at once. Steady progress is better than creating a larger mess by rushing.
1. Empty the Garage in sections
Start with one wall, one corner, or one category. Emptying the entire garage at once can make the task feel overwhelming. It can also block your driveway and leave belongings exposed to rain or damage.
Place items in a clear work area, such as the driveway, and keep similar things together. For example, place all hand tools in one group and all holiday decorations in another.
When I organize a garage, I prefer to work in sections. This method keeps the floor usable and gives each completed area a visible result. That small sense of progress makes it easier to continue.
2. Sort Everything Into Four Groups
Use four categories:
• Keep
• Donate or sell
• Recycle
• Dispose
Be honest about items you have not used in years. If something is broken, unsafe, outdated, or cheaper to replace than repair, it may not deserve valuable storage space.
Avoid creating a large “maybe” pile. A small review box is fine, but label it with a date. If you do not use those items within six months, review them again.
Do not place paint, batteries, motor oil, pesticides, or other chemicals in regular trash unless local rules allow it. Many communities provide household hazardous waste programs. Check local disposal guidance before getting rid of these materials.
3. Clean the Empty Space
Sweep the floor and remove dust from walls, ledges, and ceiling corners. Look for water stains, cracks, pest activity, mold, or damaged insulation.
Cleaning now gives you a clear view of the garage’s condition. It also prevents you from storing clean items in a dirty or damp space.
Before storing anything, address basic repairs:
• Seal gaps where pests may enter
• Replace broken light bulbs
• Fix leaks and standing water
• Repair damaged drywall or insulation
• Check that the garage door closes properly
If you find significant mold, electrical damage, or structural problems, contact a qualified professional. Organization cannot solve an unsafe building problem.
4. Group Items by Use
Sort items by the job they support, not only by their shape. Keep lawn care items together, for example, even if some are long tools and others are small supplies.
Useful garage categories include:
• Automotive care
• Hand tools
• Power tools
• Lawn and garden
• Sports equipment
• Camping and travel
• Holiday decorations
• Home repair supplies
• Cleaning products
• Paint and chemicals
Grouping by use makes the garage easier to maintain. When you finish a task, you know where each item belongs.
5. Choose the Right Storage System
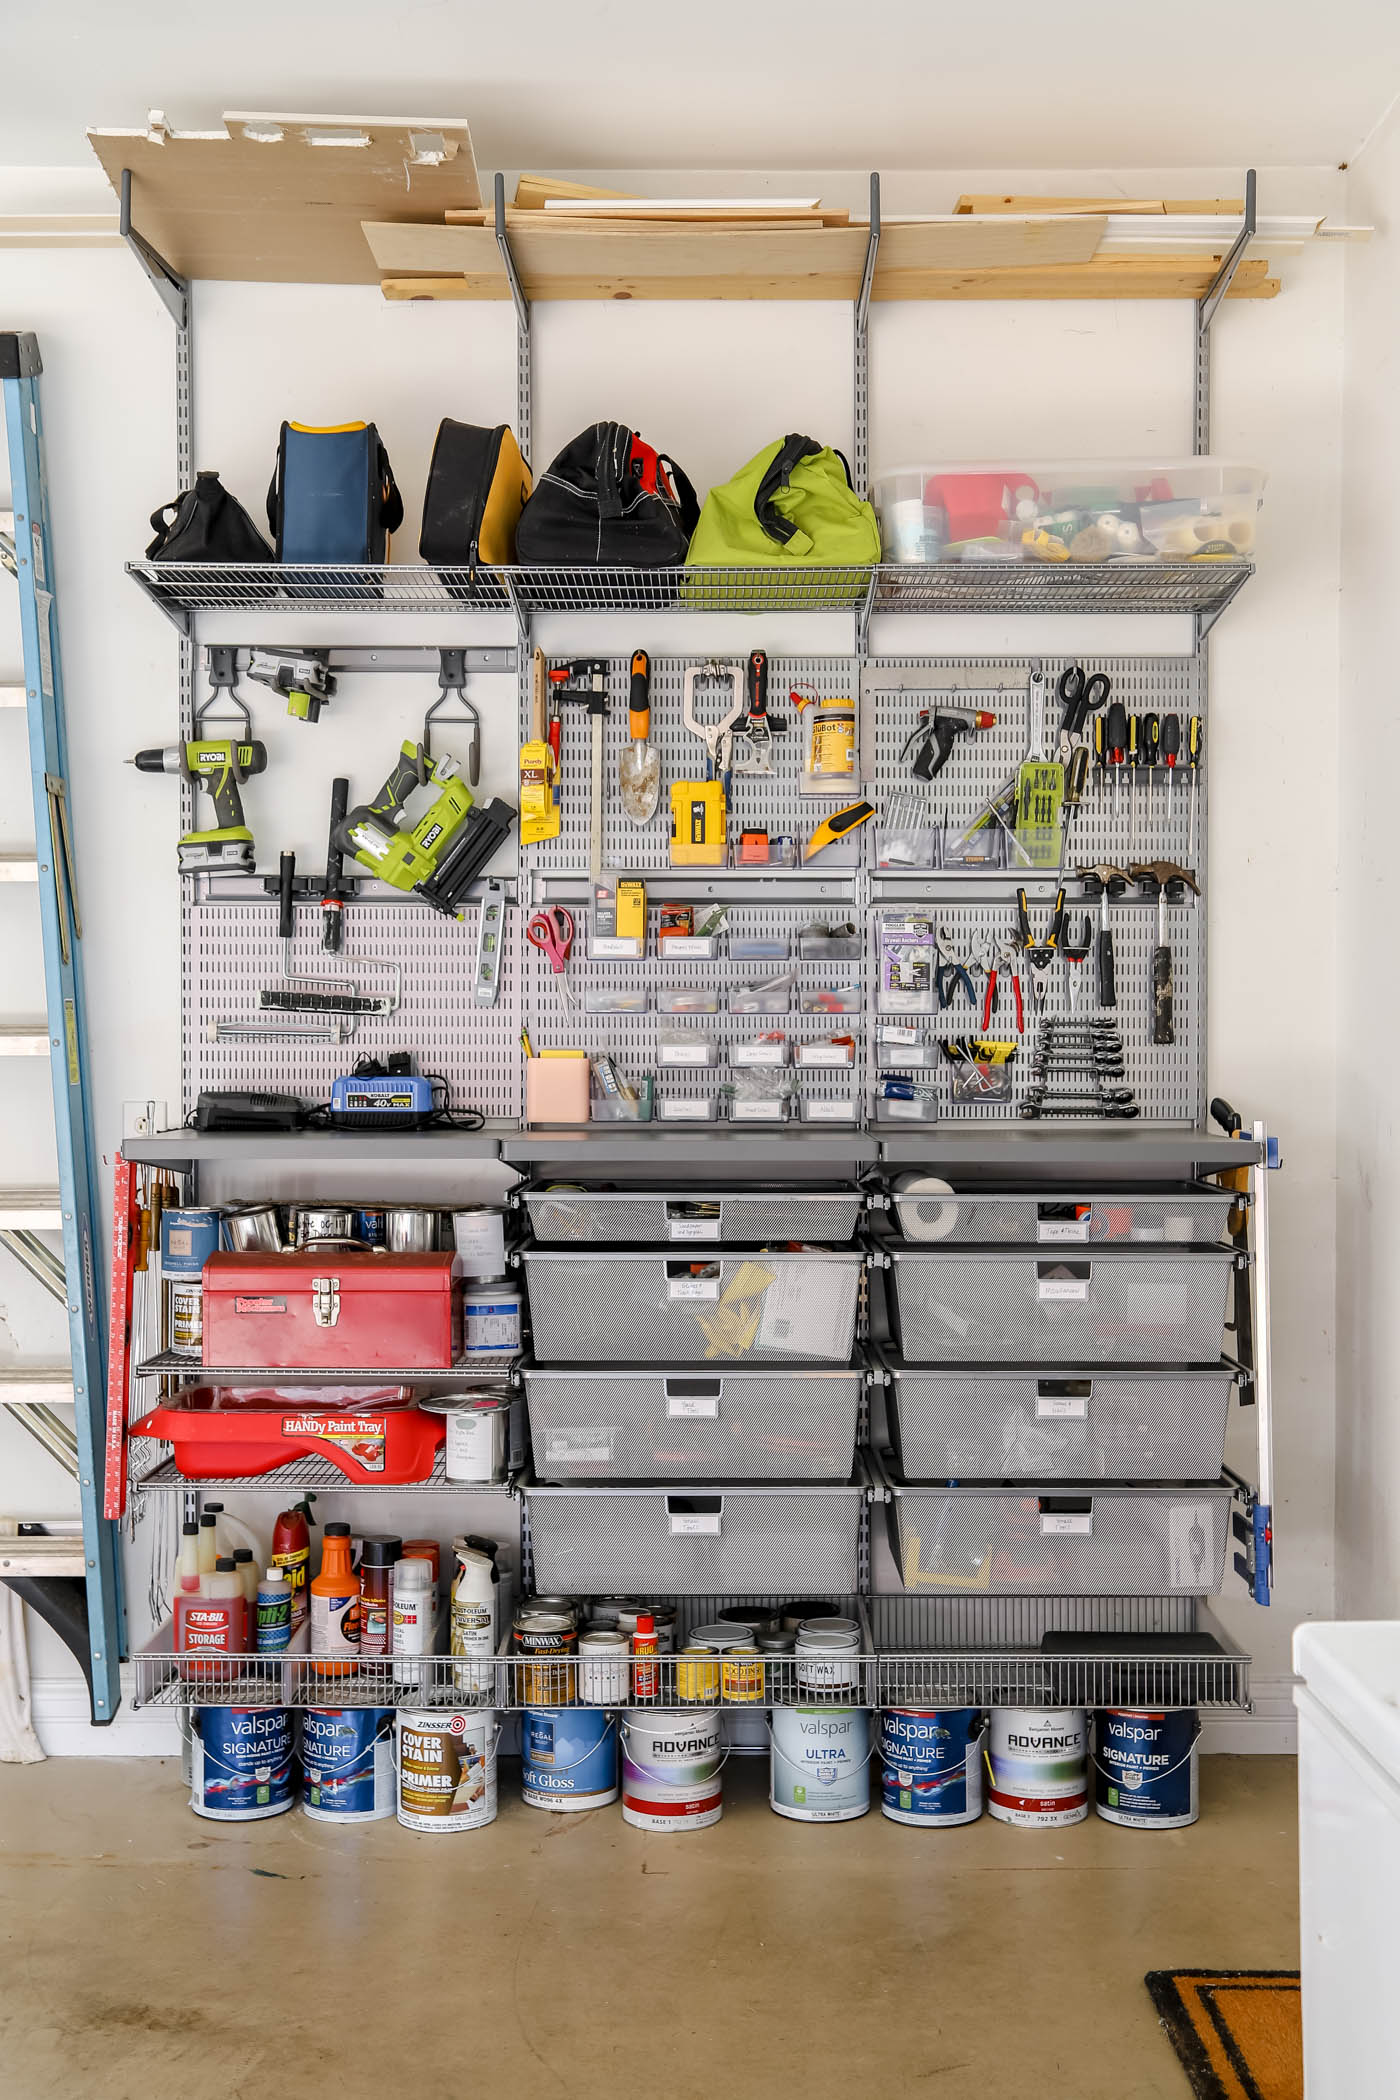
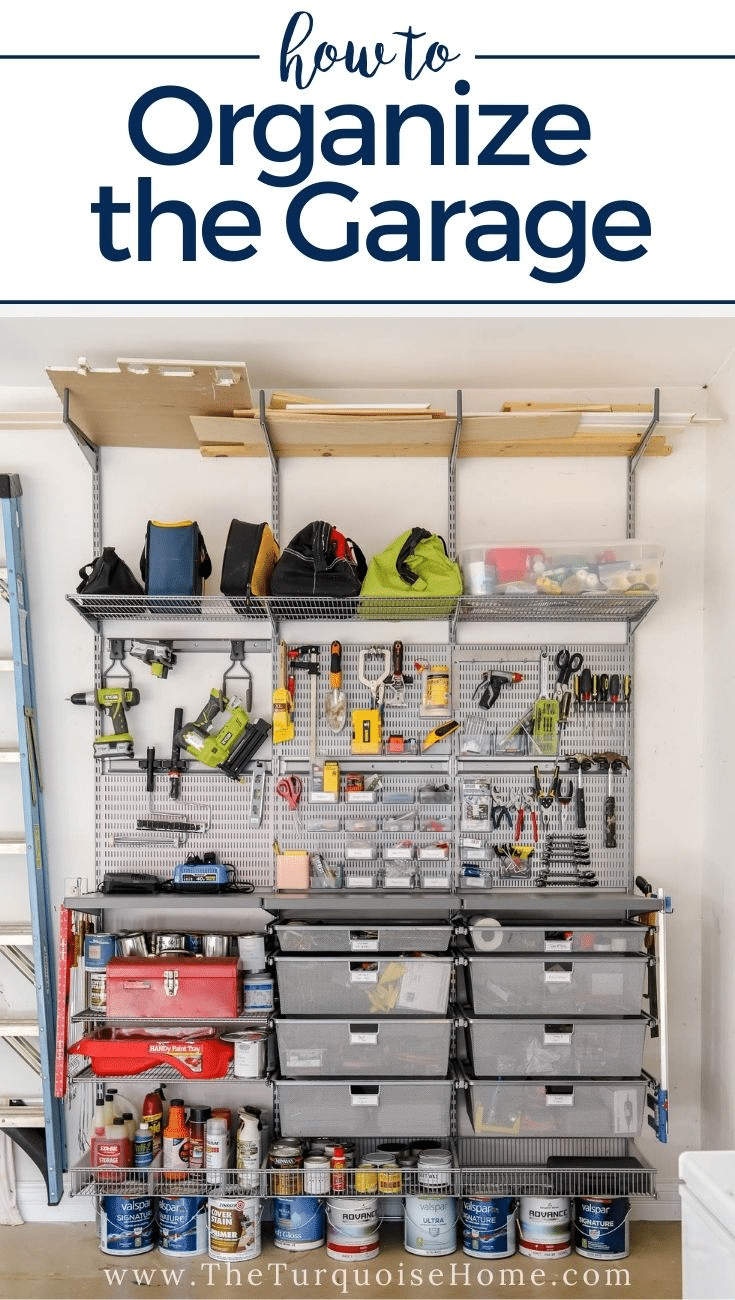
The best garage storage system uses vertical space before floor space. Wall-mounted shelves, pegboards, slatwall panels, cabinets, and overhead racks can increase capacity without reducing parking room.
Choose storage based on the item:
• Use open shelves for bins and frequently used supplies
• Use cabinets for chemicals, sharp tools, and visual clutter
• Use pegboards for light hand tools
• Use wall hooks for ladders, hoses, and bicycles
• Use overhead racks for seasonal items used only a few times a year
Do not overload shelves. Check the manufacturer’s weight rating and attach wall storage to studs or use the correct anchors for the wall material.
A common mistake is buying many small containers before deciding where they will go. Measure first, then purchase storage that fits the wall, ceiling height, and items you actually own.
6. Install Wall and Ceiling Storage Safely
Vertical storage is a major part of the 12 Steps to an Organized Garage, but safety must come first. Heavy shelves should attach to wall studs or a properly rated mounting system.
Keep heavy items low. Store lighter boxes overhead. Never place objects where they could fall onto a car, person, or garage door.
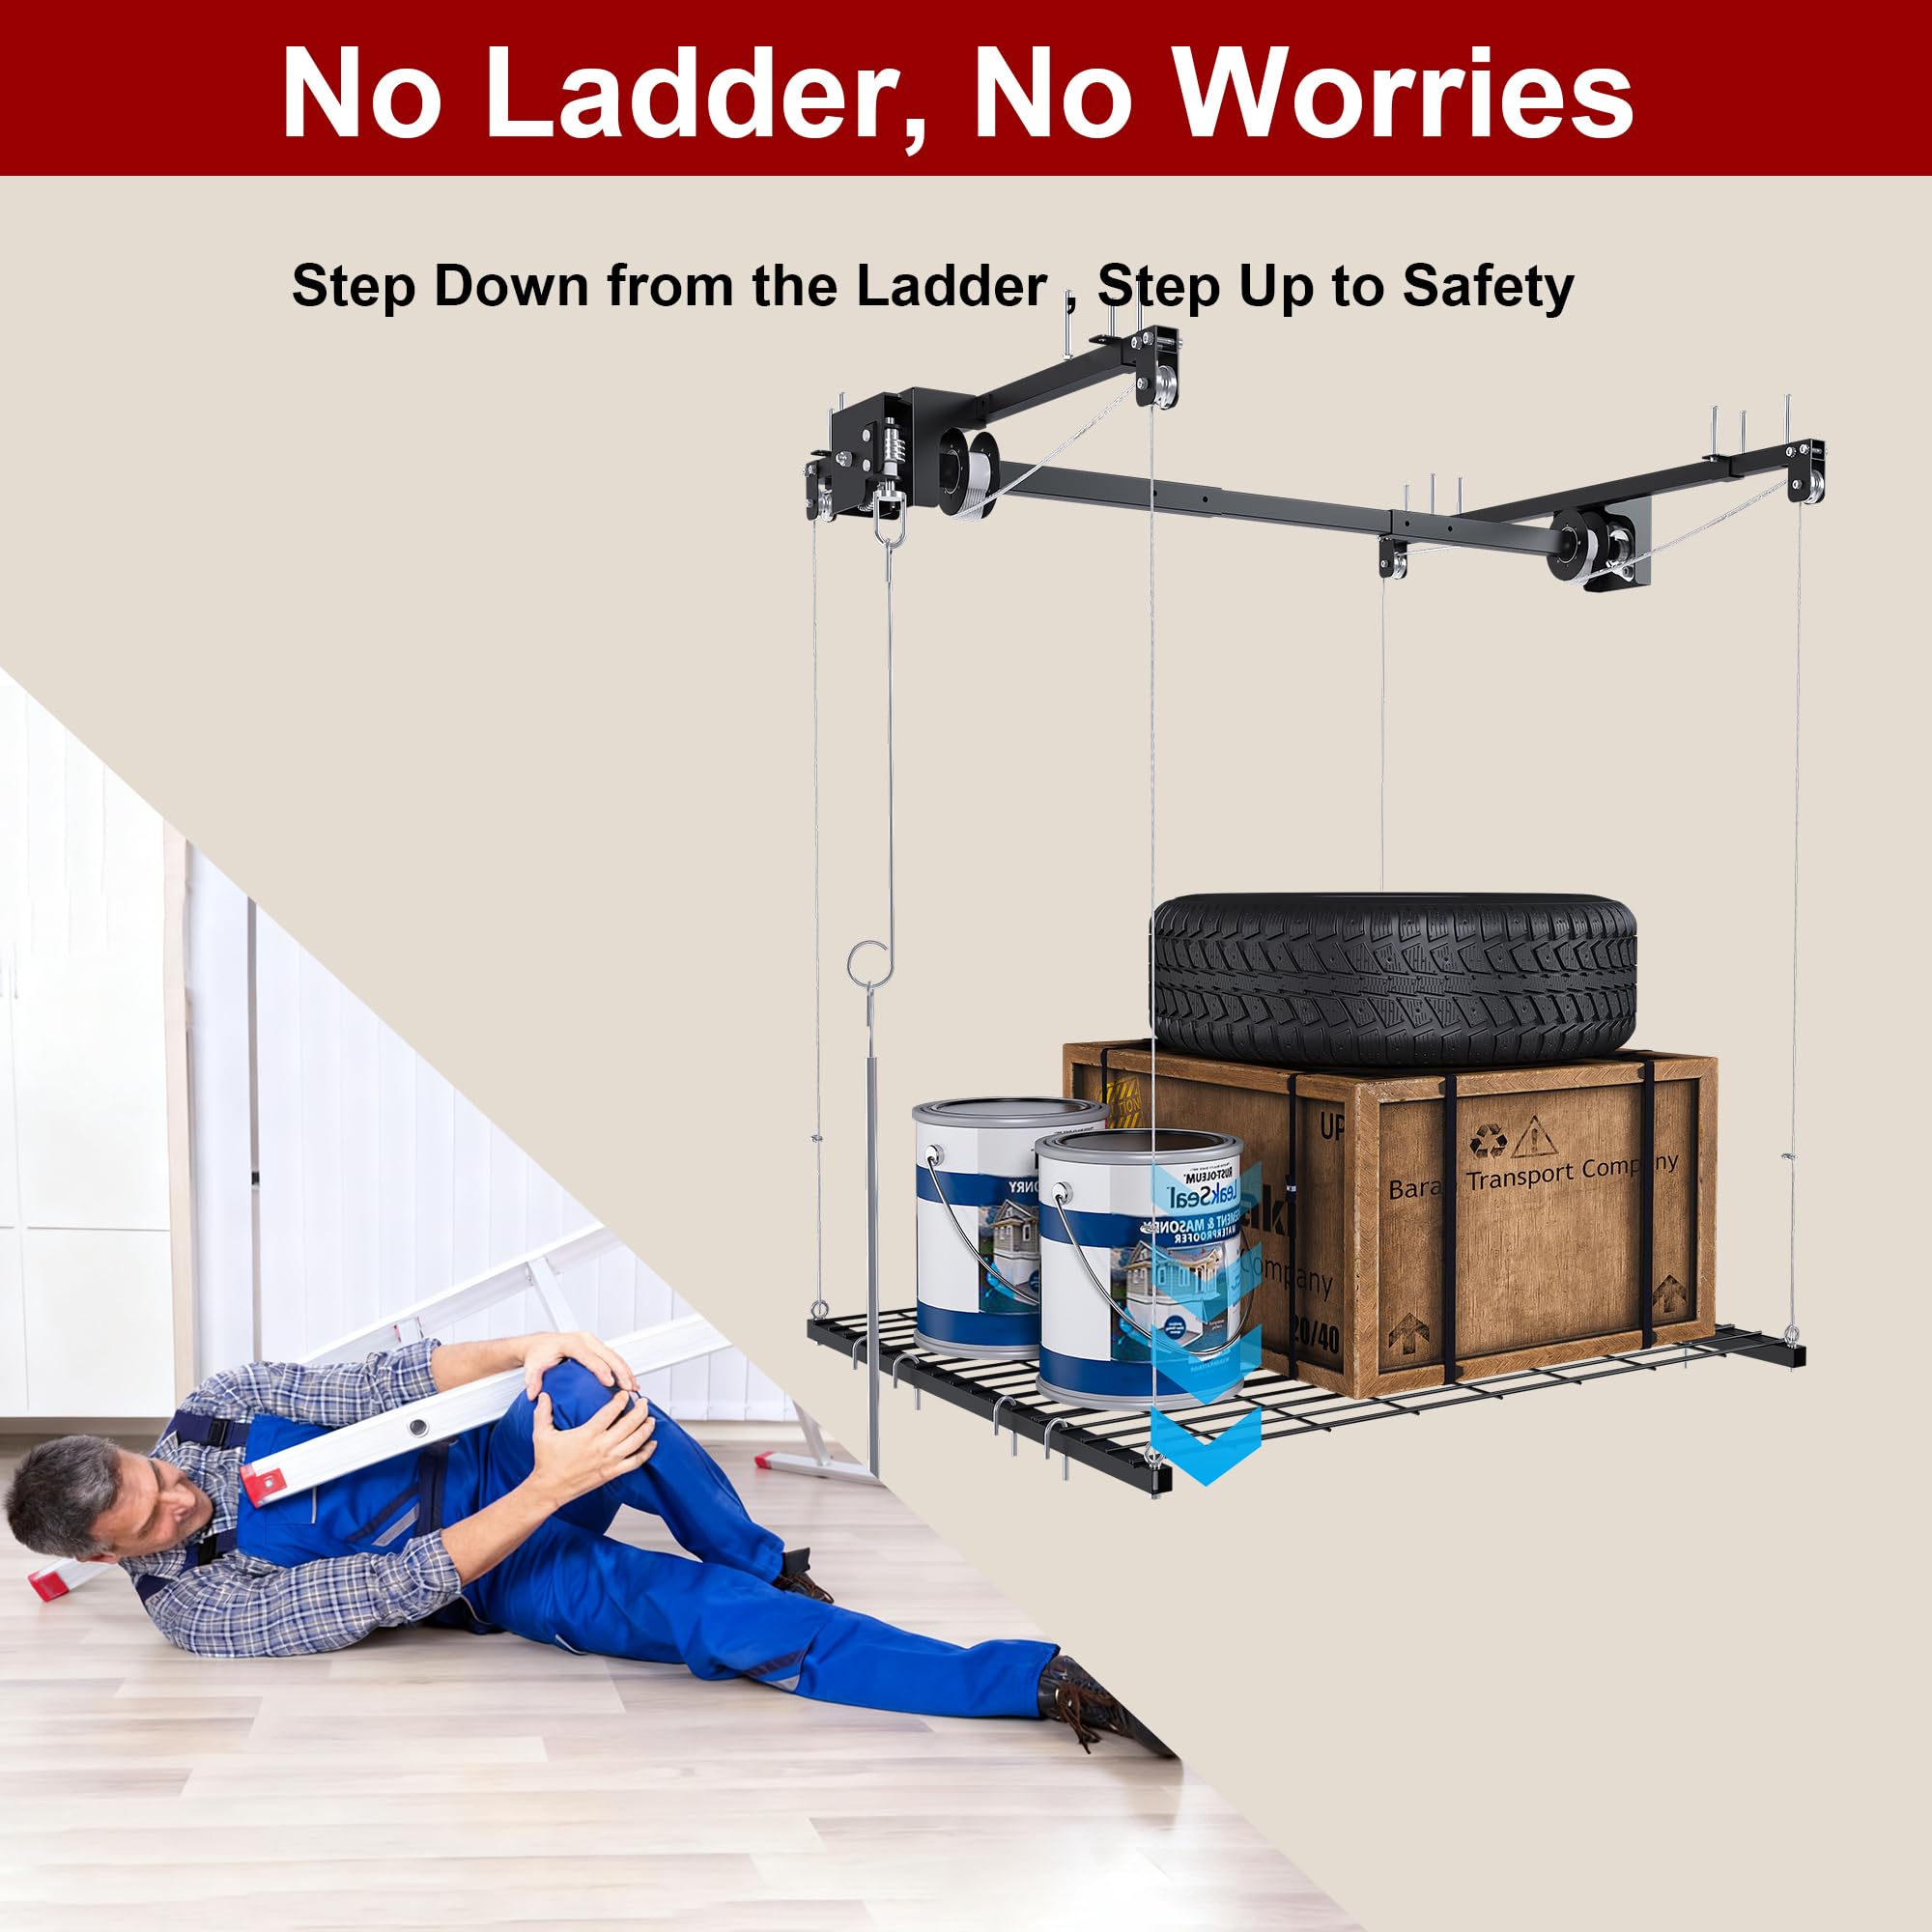
For ceiling storage:
• Confirm that the rack is rated for the intended load
• Keep clearance around the garage door tracks
• Use strong fasteners
• Inspect the rack twice a year
• Avoid storing unstable boxes above walking areas
If you rent your home, ask the property owner before drilling into walls or ceilings.
7. Use Clear and Labeled Containers
Clear containers make it easier to see what you own. Strong plastic bins also protect contents from dust and pests better than thin cardboard boxes.
Label every bin on at least one visible side. If the bin sits on a high shelf, add a label to the front edge as well.
Good labels include:
• Winter decorations
• Car wash supplies
• Electrical repair
• Camping cookware
• Garden hand tools
Avoid vague labels such as “miscellaneous.” They save time at first but create confusion later.
Use containers of similar sizes when possible. Uniform bins stack better and make shelves look less crowded. However, do not force every item into a container. Long tools, bicycles, and ladders often work better on hooks.
8. Create a Dedicated Tool Station
A tool station gives repairs a natural home. It may include a workbench, pegboard, small parts drawers, and a power strip.
Keep the most-used tools within easy reach:
• Screwdrivers
• Pliers
• Adjustable wrenches
• Tape measure
• Utility knife
• Hammer
• Level
• Safety glasses
Outline tools on a pegboard if you want a fast visual check. If a tool outline is empty, you know what needs to be returned.
Store power tools with their batteries and chargers in one area. Follow the manufacturer’s charging instructions, and keep lithium-ion batteries away from heat, moisture, and damaged cords.
9. Store Sports and Outdoor Gear by Activity
Sports equipment can quickly create garage clutter because it often has unusual shapes. Use vertical racks, ball baskets, hooks, and labeled bins to control it.
Create separate spaces for:
• Bicycles and helmets
• Balls and sports bags
• Camping equipment
• Beach and pool items
• Winter gear
• Outdoor games
Keep frequently used equipment at waist height. Store seasonal sports items higher or farther back.
One lesson I learned from organizing active family garages is that convenience matters more than perfect appearance. If children cannot reach the ball basket or return a scooter easily, the system will not last.
10. Protect Paint, Chemicals, and Flammable Items
Paint, gasoline, pesticides, cleaners, and automotive fluids require special care. Read the product label and follow storage instructions. Keep these products away from heat sources, sparks, children, and pets.
Do not store gasoline in ordinary household containers. Use an approved fuel container and keep it in a cool, well-ventilated area away from ignition sources.
Keep chemicals in a secure cabinet when possible. Never mix products, and do not remove labels from original containers.
Avoid storing flammable liquids near:
• Water heaters
• Furnaces
• Electrical panels
• Battery chargers
• Extension cord piles
If you are unsure how to store or dispose of a product, contact your local fire department or household hazardous waste program.
11. Keep the Floor and Walkways Clear
A clear floor is one of the most important parts of the 12 Steps to an Organized Garage. It reduces trip hazards and makes parking easier.
Use wall hooks, shelving, and cabinets to move items off the floor. Keep a walking path from the house door to the driveway. Make sure the garage door release and electrical panel remain accessible.
Do not place items beneath a vehicle where they can be crushed or forgotten. Store bicycles, bins, and tools outside the path of tires and doors.
A simple floor rule works well: if an item does not need to stay on the floor, move it to a wall, shelf, cabinet, or approved ceiling rack.
12. Build a Maintenance Routine
The final step in the 12 Steps to an Organized Garage is creating a system that lasts. Without a routine, clutter will slowly return.
Use a short maintenance schedule:
• Return tools after every project
• Review one shelf each month
• Donate unused items every six months
• Check chemicals and batteries twice a year
• Inspect shelves, hooks, and racks annually
• Sweep the floor at least once each season
Use the “one in, one out” rule for storage-heavy categories. When you buy a new tool, bin, or piece of sports equipment, remove an item you no longer use.
This habit protects your available space and keeps the garage from becoming a storage unit again.

Garage Organization Mistakes to Avoid
Even a thoughtful plan can fail if the storage system is too complex. The best garage organization ideas are simple enough for everyone in the household to follow.
Avoid these common mistakes:
• Buying storage before sorting belongings
• Keeping broken items because they might be useful someday
• Storing heavy boxes overhead
• Blocking the electrical panel or water shutoff
• Leaving chemicals in unmarked containers
• Using cardboard boxes in damp areas
• Creating a system only one person understands
• Filling every shelf with no room for future items
• Ignoring lighting and ventilation
A garage should support your life, not demand constant effort. If putting an item away takes several steps, people are less likely to do it.
How to Make a Small Garage Feel Larger
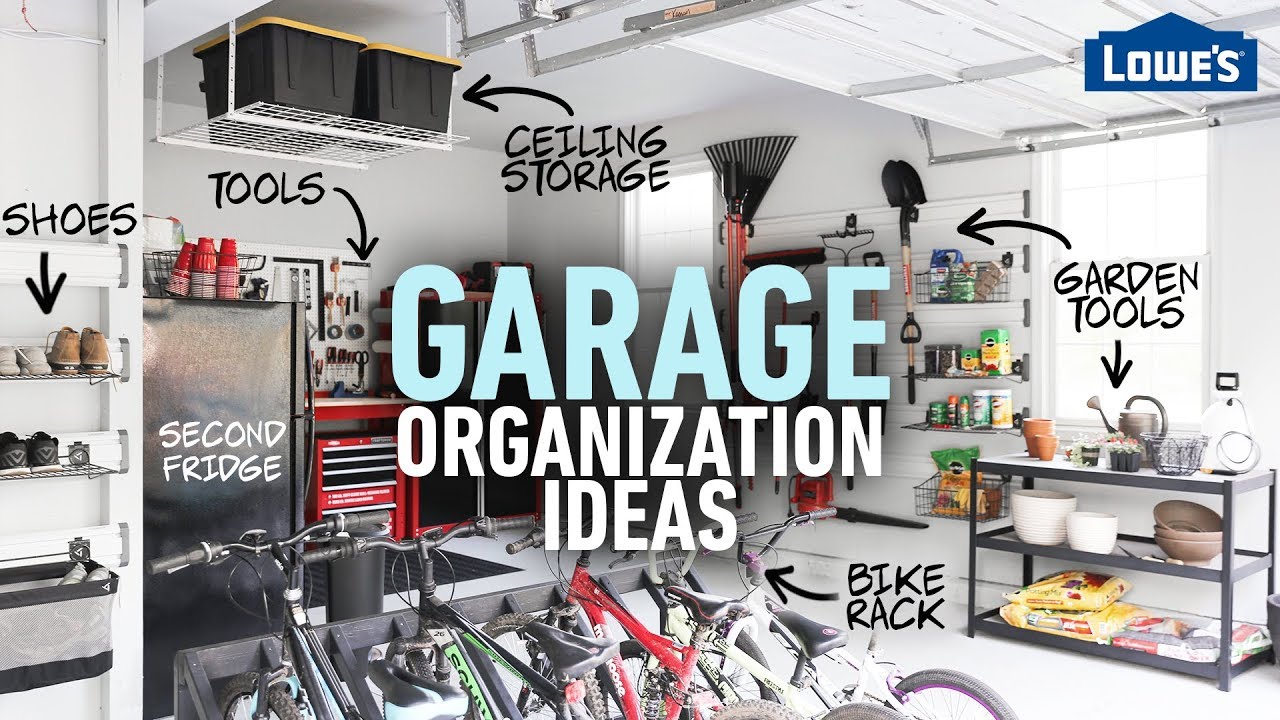
Small garages need careful planning, but they do not need to feel cramped. Start by measuring the exact footprint of your vehicle and the clearance needed around it.
Use these space-saving ideas:
• Install narrow shelves along side walls
• Hang bicycles vertically
• Mount folding workbenches to the wall
• Use ceiling racks for seasonal storage
• Store long tools on vertical hooks
• Choose stackable bins with front access
• Use the back of the garage door for lightweight items
Keep visual space open near the entrance. Bright lighting and light-colored walls can also make the garage feel cleaner and larger, although they will not replace good storage.
Do not sacrifice safe movement for extra capacity. A garage packed to the ceiling may hold more items, but it will be harder to use and maintain.
A Practical Weekend Garage Organization Schedule
You can complete the 12 Steps to an Organized Garage over a weekend if the garage is moderately cluttered. Large or heavily packed garages may need several weekends.
Saturday morning
• Gather gloves, bags, labels, cleaning tools, and basic supplies
• Sort one section at a time
• Remove trash and recycling
• Set aside donations and items for sale
Saturday afternoon
• Sweep and clean the cleared areas
• Measure walls and storage spaces
• Identify needed repairs
• Plan zones and storage locations
Sunday morning
• Install shelves, hooks, cabinets, or racks
• Place heavy items low
• Label containers
• Create the tool and equipment stations
Sunday afternoon
• Test every walkway
• Confirm that doors and panels open freely
• Return vehicles to the garage
• Remove leftover packaging and waste
Do not rush installation. A poorly mounted shelf can damage walls or cause injuries. When in doubt, follow the product instructions or hire a qualified installer.

What to Do With Items You No Longer Need
Decluttering is a key part of garage organization. The goal is not simply to move unwanted items into another room. It is to make a responsible decision about each item.
Donate clean, usable items to a local charity or community group. Sell valuable tools and equipment if the time and effort make sense. Recycle metal, electronics, cardboard, and other materials through approved programs.
For large items, check local pickup rules. Do not leave chemicals, fuel, batteries, or electronics at the curb unless your local service specifically accepts them.
A useful test is to ask:
- Have I used this in the past year?
- Would I buy it again today?
- Is it safe and in good condition?
- Does it support a current activity or need?
- Is the cost of storing it greater than its value?
These questions make decisions easier without forcing you to discard meaningful belongings.
How to Keep an Organized Garage Safe
Organization should improve safety, not only appearance. Keep a clear path to the house, driveway, and emergency controls.
Use adequate lighting near stairs, workbenches, and storage corners. Wear eye protection when cutting, drilling, sanding, or using chemicals. Keep a suitable fire extinguisher accessible, and learn how to use it before an emergency occurs.
Inspect the garage door and opener regularly. The door should reverse when it meets an object during the safety test described by the manufacturer. Keep children away from moving parts and do not allow them to play near stored tools or chemicals.
If the garage has poor ventilation, avoid running engines or using strong chemicals inside. Carbon monoxide from vehicles and fuel-burning equipment can be deadly, even when a garage door is open.
Frequently Asked Questions About the 12 Steps to an Organized Garage
What is the first step in organizing a garage?
The first step is to empty and sort one section at a time. This helps you see what you own and prevents the project from becoming overwhelming.
How long does it take to organize a garage?
A small garage may take one full day, while a crowded garage can take several weekends. The time depends on the amount of clutter, needed repairs, and storage installation.
Should garage shelves be mounted to the wall?
Heavy or tall shelves should usually be secured to wall studs or an approved mounting system. This reduces the risk of tipping and helps the shelves support their rated load.
What should not be stored in a garage?
Avoid storing unstable chemicals, unapproved fuel containers, food, temperature-sensitive medicine, and valuable items that can be damaged by heat or moisture. Always follow product labels and local safety rules.
How do I keep my garage organized after cleaning it?
Give every item a specific home and return tools after use. A short monthly review and a seasonal decluttering session can prevent clutter from building again.
Is overhead garage storage safe?
Overhead storage can be safe when the rack is properly installed, within its weight limit, and clear of the garage door. Store lighter items above and inspect the system regularly.
Conclusion
The 12 Steps to an Organized Garage turn a crowded space into a safe, useful, and easy-to-maintain area. Start by sorting and cleaning, then create zones, use vertical storage, label containers, protect hazardous products, and keep walkways clear.
You do not need to finish the entire garage today. Choose one corner, complete the first few steps, and build from there. Once the system is in place, small maintenance habits will keep your garage organized for years.
Share your best garage organization tip, explore more home storage ideas, and make your next project easier by giving every item a place.