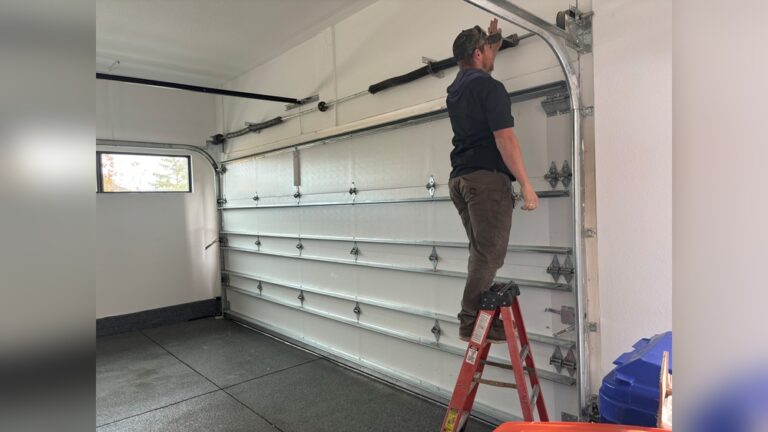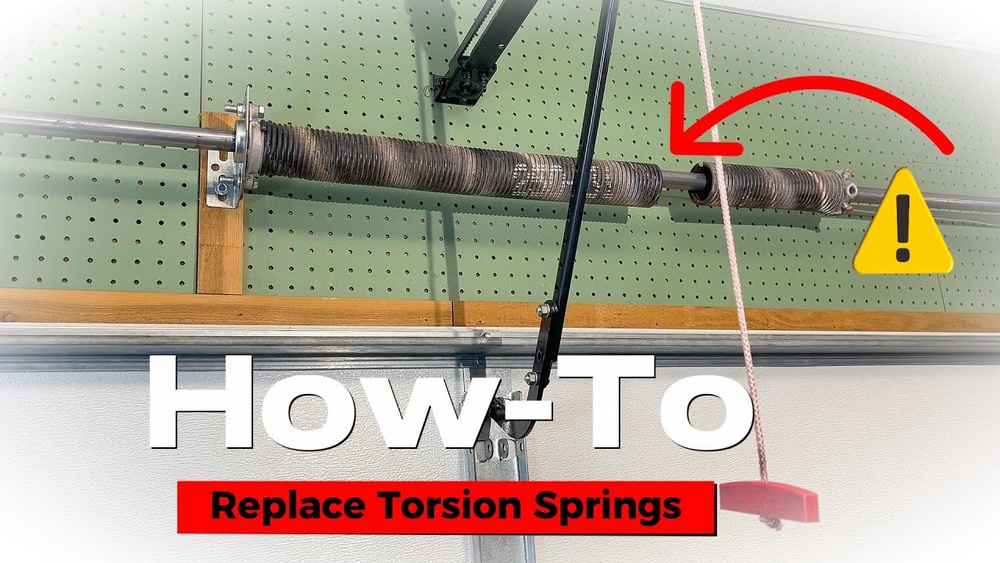
If your garage door stops opening smoothly or feels heavier than usual, the problem could be a broken spring. The garage door spring is a crucial part that lifts most of the door’s weight. Replacing it might seem tough, but with clear steps and the right precautions, many homeowners can do it themselves. This guide will help you understand the process, the tools needed, and how to stay safe.
Why Garage Door Springs Break
Most garage doors use either torsion springs or extension springs. These springs wear out over time due to:
- Frequent use (a typical spring lasts 7-9 years with regular use)
- Changes in temperature and humidity
- Rust and lack of lubrication
A broken spring can make your garage door very heavy and even dangerous to operate. According to industry data, over 20,000 garage door injuries happen in the US each year, many related to faulty springs.
Types Of Garage Door Springs
Before starting, identify your spring type. This is essential because the method and tools differ.
| Spring Type | Location | Common Door Type | Replacement Difficulty |
|---|---|---|---|
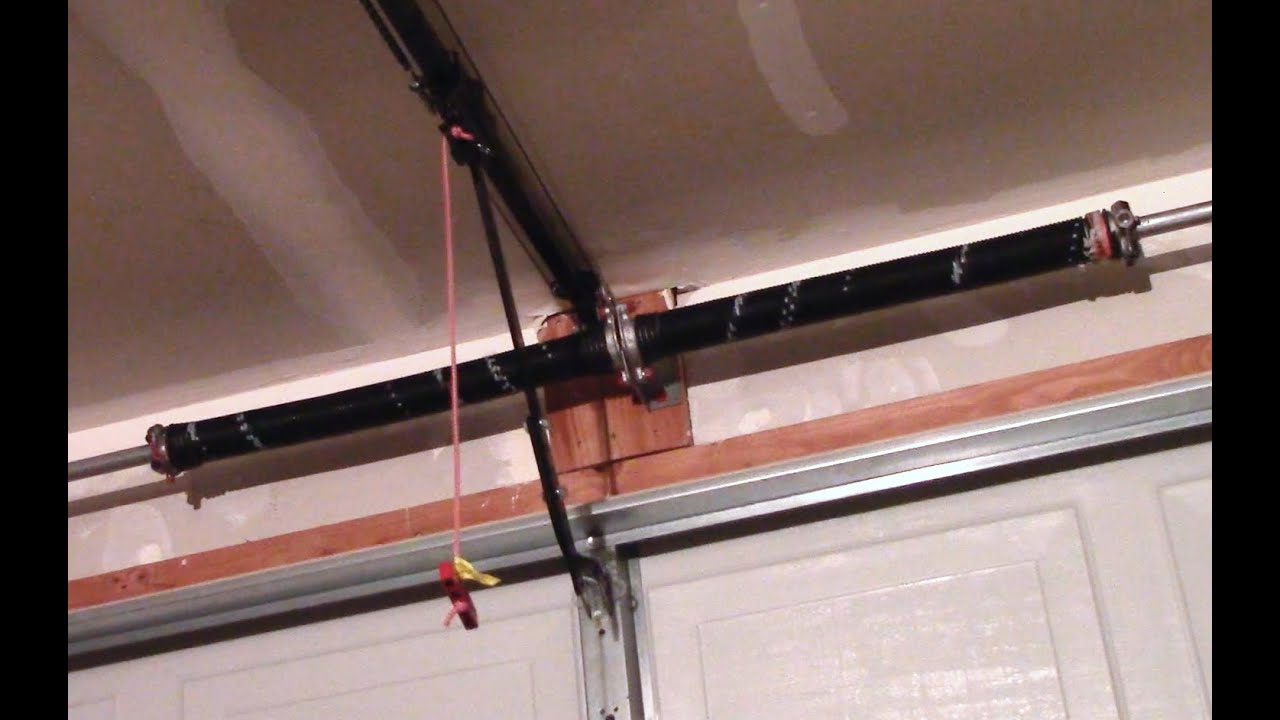
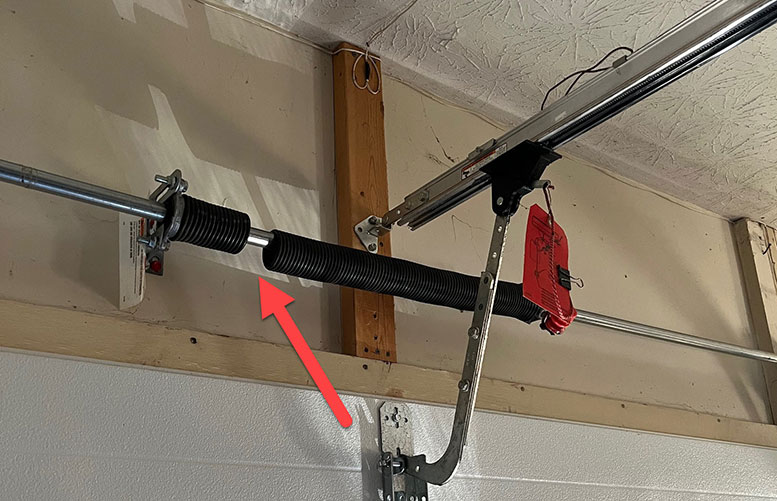
| Torsion Spring | Above the door | Sectional doors | Medium to High |
| Extension Spring | Alongside tracks | One-piece or light doors | Medium |
Torsion springs are more common in newer, heavier doors, while extension springs are often found on older or lighter models.

Credit: www.southernhomecreations.com
Tools And Materials You Need
Gather these items before starting:
- Replacement garage door spring (match size and type)
- Winding bars (for torsion springs)
- Adjustable wrench
- Socket set
- Vice grips or locking pliers
- Tape measure
- Clamps
- Safety glasses and gloves
- Step ladder
- Marker or chalk
Buying the correct spring is critical. Measure the old spring’s length, diameter, and wire size. Most springs have color codes that help you match them. You can find replacement springs at hardware stores or order them online.
Safety First: Precautions You Must Take
Garage door springs are under high tension. Mistakes can cause serious injury.
- Disconnect the power to the garage door opener.
- Work with the door closed to prevent sudden movement.
- Never use screwdrivers instead of winding bars—they can slip.
- Wear safety gear at all times.
- If you feel unsure, call a professional.
Step-by-step: How To Replace A Garage Door Spring
Replacing a torsion spring is different from replacing an extension spring. Here’s a detailed guide for both.
Replacing Torsion Springs
- Unplug the opener and secure the door
- Unplug the opener.
- Clamp vice grips to the track just above the door to stop it from moving.
- Release tension in the old spring
- Insert the winding bar into the winding cone.
- Loosen set screws using a wrench.
- Carefully unwind the spring. Always keep a firm grip.
- Remove old spring
- Slide the spring off the torsion bar.
- Remove old center bearing and cable drum if needed.
- Install the new spring
- Slide the new spring onto the torsion bar.
- Replace the bearing and cable drum.
- Wind the new spring
- Use winding bars to add the correct number of turns (usually marked on the packaging or manufacturer’s instructions).
- Tighten set screws.
- Test and adjust
- Remove vice grips.
- Manually lift the door. It should move smoothly and stay halfway open.
- If not, adjust spring tension slightly.
Replacing Extension Springs
- Open the door fully and secure it
- Disconnect the opener.
- Clamp the door open with vice grips or clamps.
- Remove old spring
- Disconnect the safety cable.
- Carefully unhook the old extension spring from the track bracket and pulley.
- Install new spring
- Attach the new spring to the bracket and pulley.
- Reconnect the safety cable.
- Test operation
- Remove clamps.
- Open and close the door manually to check balance.
Common Mistakes Beginners Make
Many first-timers make errors that can lead to more repairs or safety risks:
- Using the wrong spring size (door won’t balance)
- Forgetting to secure the door (door slams shut)
- Not wearing gloves (metal parts can be sharp)
- Failing to tighten set screws (spring slips off)
- Skipping the safety cable (can turn a broken spring into a projectile)
Non-obvious tip: Always check the door’s balance by lifting it halfway. If it moves up or down on its own, the spring tension isn’t right.
Cost Comparison: Diy Vs. Professional Replacement
Is it worth doing it yourself? Here’s a quick cost breakdown.
| Replacement Option | Estimated Cost | Time Required | Risk Level |
|---|---|---|---|
| DIY (Torsion Spring) | $40 – $100 (parts) | 2-3 hours | High |
| DIY (Extension Spring) | $20 – $60 (parts) | 1-2 hours | Medium |
| Professional Service | $180 – $350 | 30-60 minutes | Low |
Insight: Even if you save money with DIY, a single mistake can cost more in repairs or hospital bills. If you’re unsure, the professional route is safer.
How To Choose The Right Replacement Spring
Choosing the correct spring matters for safety and performance. Follow these steps:
- Check the label or color code on your old spring.
- Measure the spring’s length and inside diameter.
- Count 20 coils and measure their length to determine wire size.
- Record if your door uses single or double springs.
If in doubt, take the old spring to a hardware store for help. Some stores will match it for you.
When To Call A Professional
Not everyone should replace a garage door spring. Call an expert if:
- The spring is large or very heavy.
- You have limited tools or workspace.
- You feel unsure at any point.
A professional will have the right tools, experience, and insurance.
Maintenance Tips For Longer Spring Life
Proper maintenance can add years to your garage door springs.
- Lubricate springs every 6 months with a garage door lubricant.
- Check for rust or gaps in the coils regularly.
- Don’t overload your garage door with extra weight.
- Inspect cables and pulleys for wear.
Non-obvious insight: A well-balanced door puts less stress on the springs. If you hear loud noises or the door jerks, check the balance.
Credit: www.youtube.com
Safety And Legal Considerations
Some states require licensed technicians for certain repairs. Check local regulations before starting. Home insurance policies may not cover injuries from DIY repairs, so be aware of the risks.
According to the International Door Association, always use manufacturer-approved parts to avoid voiding warranties.
Troubleshooting After Replacement
Sometimes, the door doesn’t work as expected after a new spring is installed. Here are common issues and solutions:
- Door is too heavy or light: Adjust spring tension or check for the correct spring size.
- Door jerks or sticks: Lubricate moving parts and check for bent tracks.
- Opener straining: Balance the door manually before reconnecting the opener.
If problems continue, call a professional for inspection.
Real-world Example
John, a homeowner in Ohio, replaced his own torsion spring after watching several videos. He saved about $200 but spent over three hours on the job. He realized he needed extra tools halfway and had to run to the hardware store.
The process worked, but he admitted the tensioning part was more dangerous than expected.
Environmental Impact Of Garage Door Springs
Springs are mostly made of steel, which is recyclable. After replacement, take old springs to a scrap metal recycling center. Do not throw them in regular trash—steel can be reused, helping reduce landfill waste.
Credit: www.habprogaragedoors.com
Frequently Asked Questions
How Do I Know If My Garage Door Spring Is Broken?
If your door is hard to lift, won’t open at all, or you hear a loud bang from the garage, the spring may be broken. You might see a visible gap in the spring or the door hangs unevenly.
Can I Replace Just One Spring, Or Should I Replace Both?
It’s best to replace both springs at the same time, even if only one is broken. Springs wear out at the same rate, so the unbroken one will likely fail soon.
What Are The Dangers Of Replacing Garage Door Springs Myself?
Springs are under high tension. Improper handling can cause serious injury or damage. Always use the correct tools and follow safety steps, or hire a professional.
How Long Do Garage Door Springs Usually Last?
Most springs last 7,000 to 10,000 cycles (one cycle = up and down). For an average home, that’s about 7–9 years. Heavy usage or poor maintenance can shorten lifespan.
Where Can I Find More Information On Garage Door Safety?
You can visit the International Door Association for safety tips and industry guidelines.
Replacing a garage door spring is possible for careful homeowners with the right tools and patience. The key is to respect the tension and follow every step slowly. If you’re ever unsure, hiring a professional is the safest choice. Regular maintenance, proper parts, and safe practices will keep your garage door working smoothly for years.