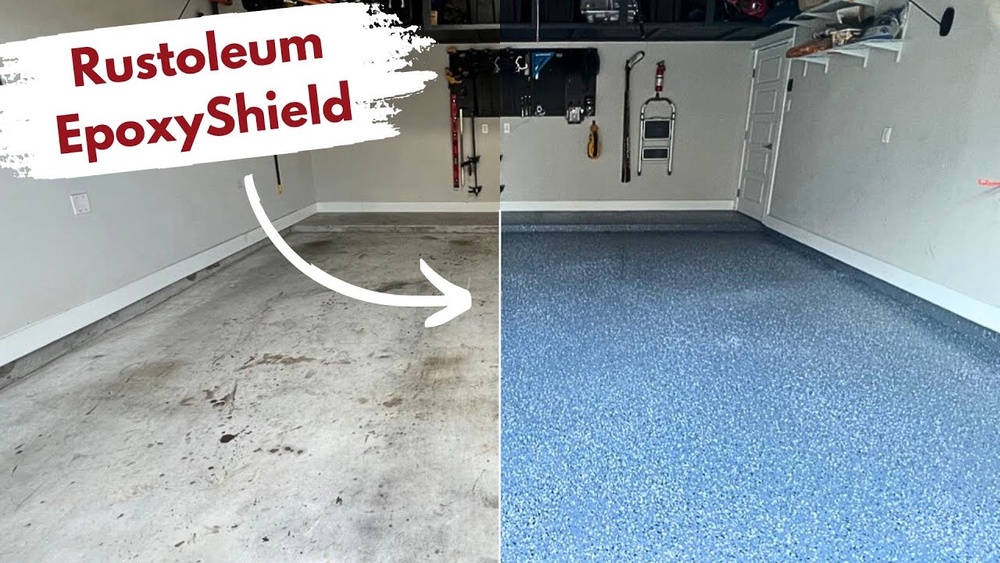
Applying epoxy to your garage floor is one of the best ways to upgrade the space. A garage floor epoxy makes the surface stronger, easier to clean, and gives a smooth, shiny look. Many homeowners are surprised to learn that this project is not as hard as it sounds. With a little planning, you can do it yourself and get professional results.
This guide explains each step in simple language. You will learn what materials to buy, how to prepare the floor, and how to apply epoxy for a durable finish. Tips, real examples, and practical tables help you avoid mistakes and get the best result.
Why Epoxy Is A Great Choice For Garage Floors
Epoxy is a mixture of resin and hardener that forms a tough, plastic-like coating. It creates a strong surface that resists oil, water, and most chemicals. Here’s why it’s a favorite for garages:
- Durability: Lasts many years and handles car traffic.
- Easy cleaning: Dust, oil, and dirt wipe off easily.
- Looks good: Shiny surface brightens the garage.
- Protects concrete: Stops cracks and stains.
A well-applied epoxy coat can last 5–10 years or longer. For most homeowners, it’s a long-term investment that saves money on repairs.
What You Need Before Starting
A good result starts with the right materials and tools. Don’t skip these — using the wrong product often causes peeling or bubbles.
Materials
- Epoxy kit (resin and hardener, follow kit coverage guide)
- Concrete cleaner/degreaser
- Concrete etcher (if needed)
- Painter’s tape
- Plastic sheeting (for walls/doors)
- Non-slip additive (optional, for safety)
Tools
- 3/8” nap roller
- Paintbrush (for corners)
- Stiff broom or scrub brush
- Bucket and mop
- Wet/dry vacuum
- Protective gloves and goggles
- Measuring cup (for mixing)
Example: Product Coverage
Most 1-gallon epoxy kits cover about 200–250 sq ft. Measure your garage to know how many kits you need. For a standard 2-car garage (about 400 sq ft), you’ll need 2 kits.
Step 1: Clean And Prepare The Floor
Preparation is the most important part. Epoxy only sticks well if the concrete is clean and rough enough.
How To Clean The Floor
- Remove everything from the garage. Sweep away dust and debris.
- Use a degreaser on oil stains. Scrub with a stiff brush.
- Mop the floor with water and let it dry completely.
Check For Moisture
Epoxy does not stick to damp concrete. Here’s a simple check:
- Tape a plastic sheet (2×2 feet) to the floor. Wait 24 hours.
- If you see moisture under the plastic, wait until the floor is dry or fix the leak.
Etching The Concrete
Etching opens tiny holes in the concrete so epoxy can bond.
- Mix concrete etcher as directed.
- Spread with a broom and scrub.
- Rinse with clean water and let dry.
Tip: Many beginners skip etching if the floor is “already rough.” This is a mistake. Even new concrete often needs etching for best results.
Step 2: Repair Cracks And Holes
Small cracks and holes can ruin the finish. Fill them before applying epoxy.
- Use a concrete patch or epoxy filler.
- Follow directions and let it cure completely.
- Sand smooth if needed.
Insight: Even hairline cracks can grow under epoxy. Filling them now prevents future problems.
Step 3: Mask Off Edges
Protect walls, doors, and steps from drips.
- Apply painter’s tape along all edges.
- Cover the bottom of walls with plastic sheeting.
This makes cleanup much easier and gives a professional look.
Step 4: Mix And Apply The Epoxy
Mixing The Epoxy
- Open the kit and read instructions carefully.
- Mix resin and hardener in the correct ratio.
- Stir for at least 3 minutes until fully blended.
- Wait the “induction time” if listed (usually 10–30 minutes).
Important: Only mix as much epoxy as you can apply in 40 minutes. It starts to harden quickly.
Applying The Epoxy
- Pour a small amount of mixed epoxy onto the floor in a line.
- Use a roller to spread it out in a thin, even coat.
- Work in 4×4 foot sections.
- Use a paintbrush for corners and edges.
Tip: Always keep a “wet edge.” Overlapping wet epoxy gives a smooth finish.
Adding Color Flakes Or Non-slip Additives
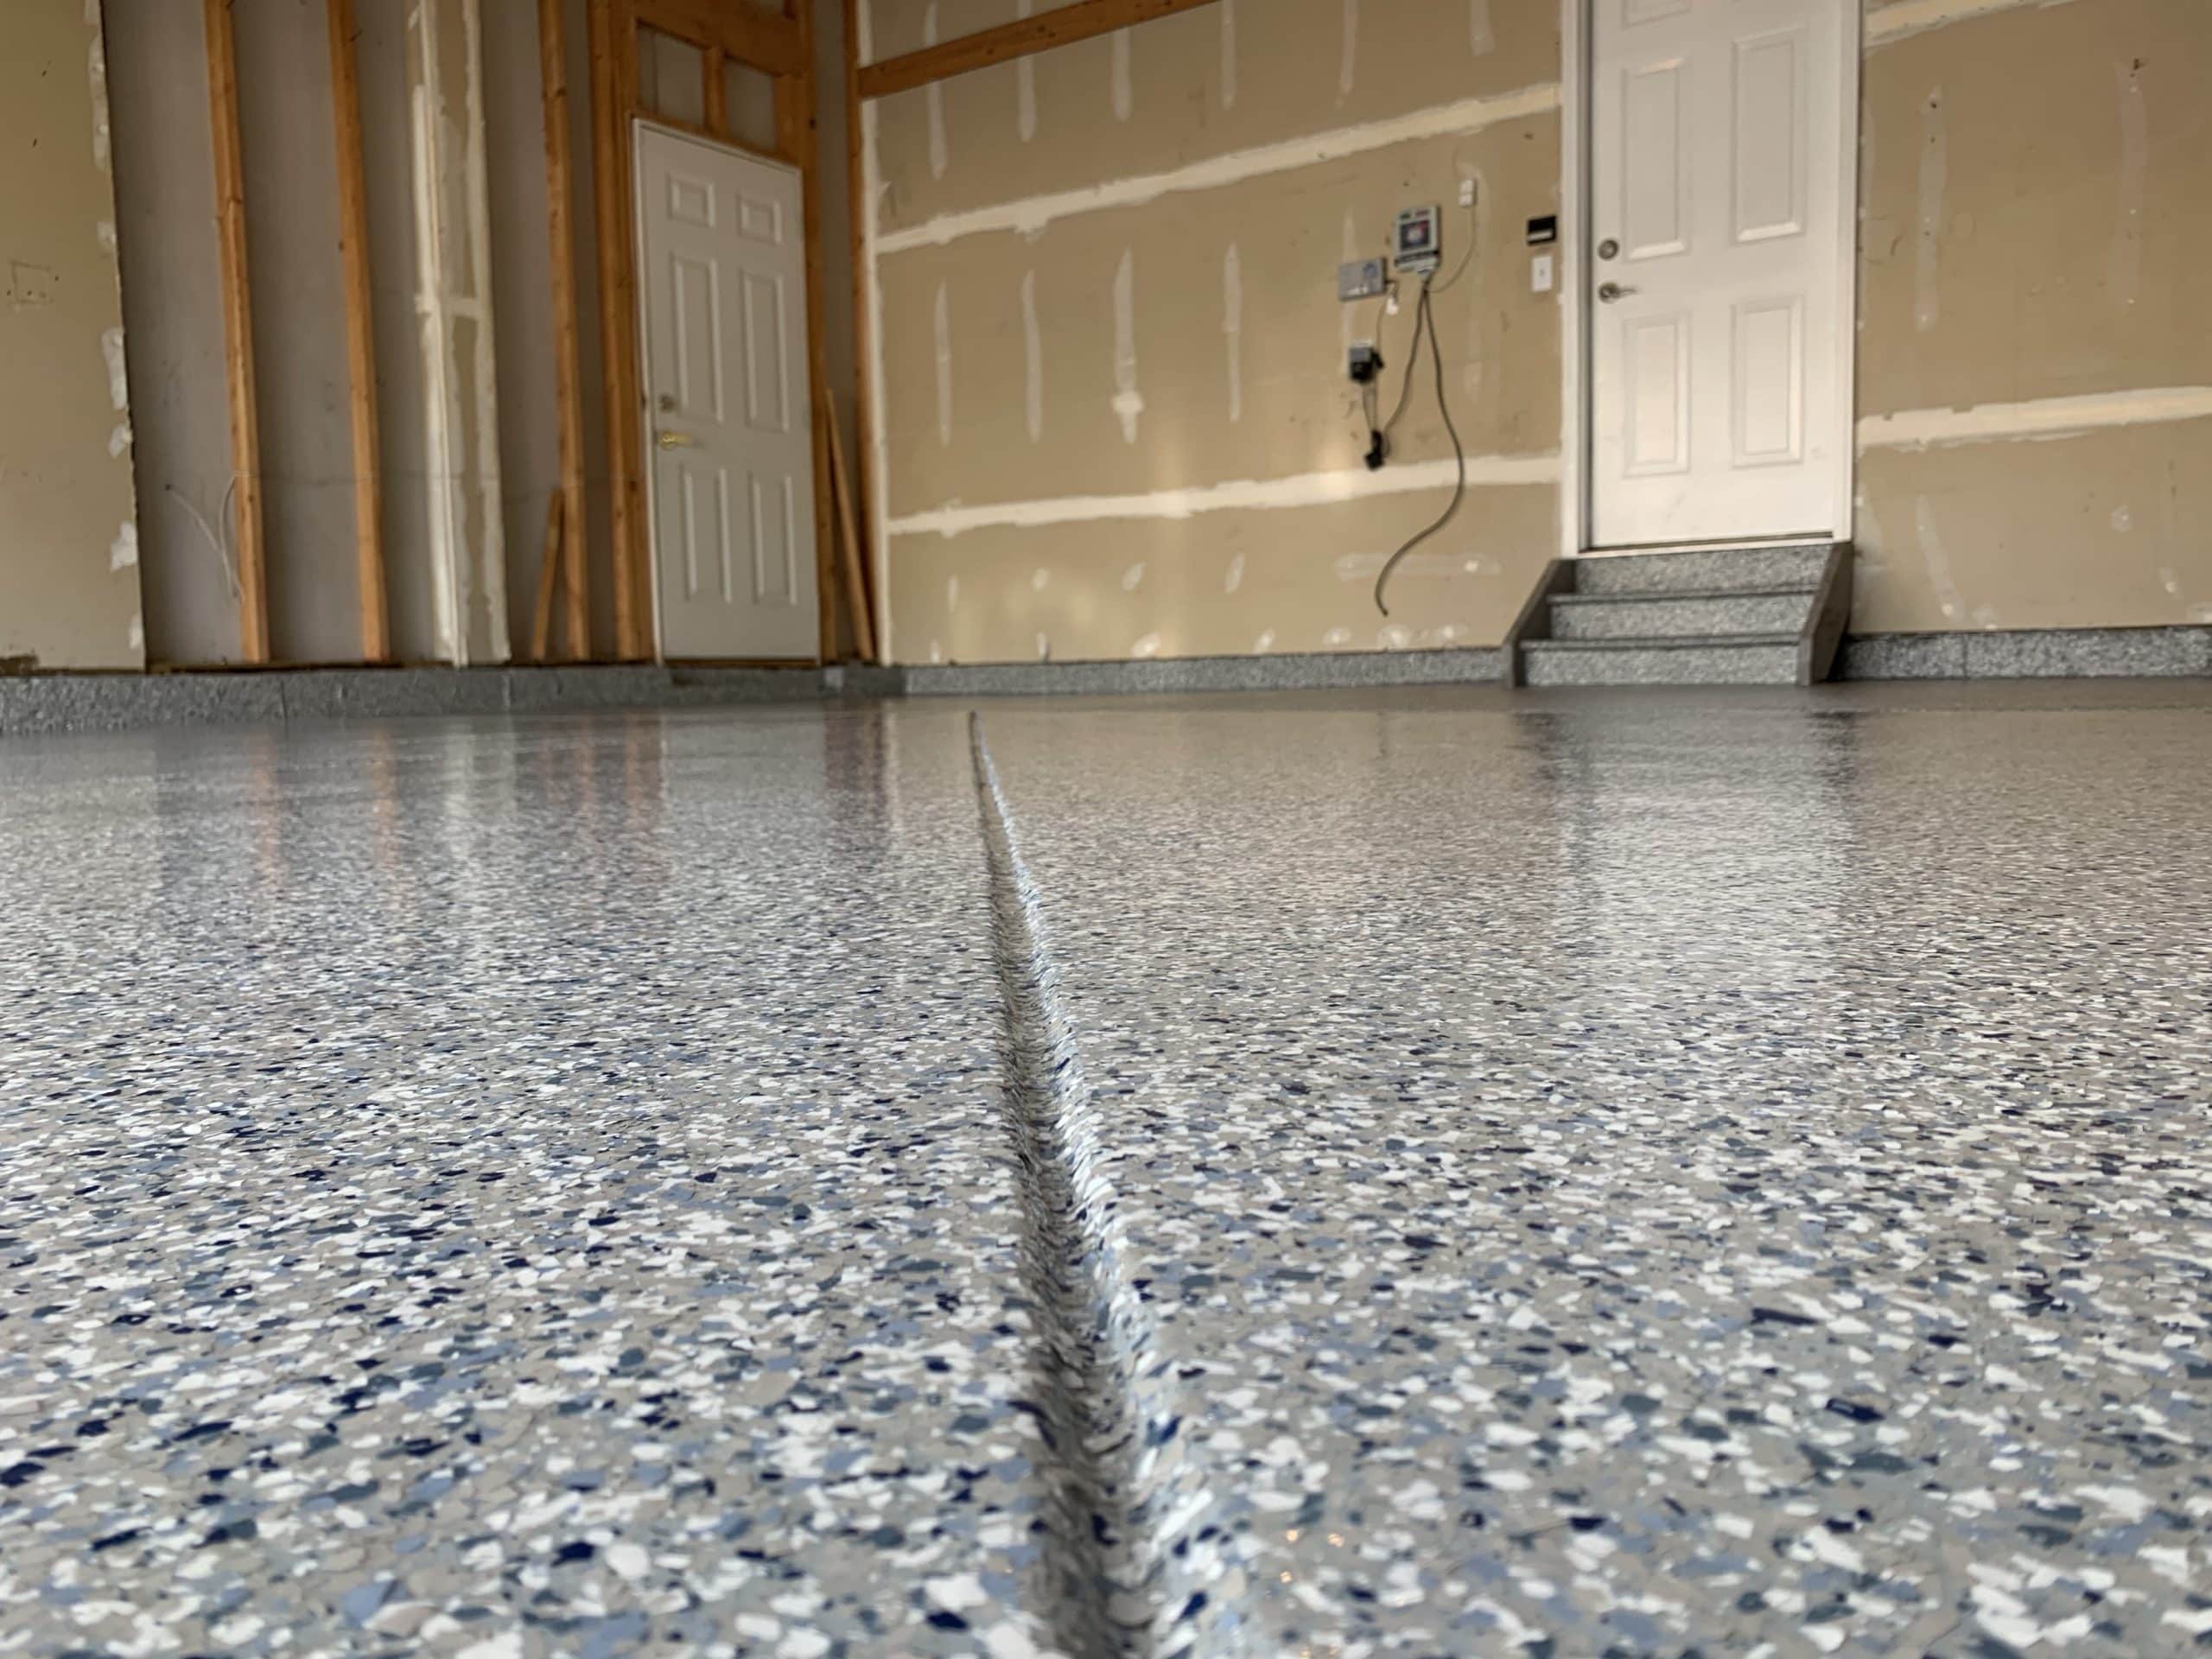
- Sprinkle color flakes onto the wet epoxy for texture or design.
- Mix non-slip additive into the last batch if you want a safer surface.
Step 5: Let The Epoxy Cure
Epoxy needs time to harden and reach full strength.
- Light foot traffic: Wait 24–48 hours.
- Parking a car: Wait 5–7 days.
Keep the garage closed to dust and rain during this time.
Epoxy Floor Types Compared
Not all epoxy is the same. Some are one-part, some two-part, and some “water-based.” The table below helps you understand the differences:
| Type | Strength | Application | Cost |
|---|---|---|---|
| Water-Based | Medium | Easy for beginners | Low |
| 100% Solids (2-Part) | Very High | Professional, fast curing | High |
| Solvent-Based | High | Strong odor, needs good ventilation | Medium |
Advice: Most DIY homeowners choose water-based or 2-part kits for ease of use and safety.
Credit: www.youtube.com
Common Mistakes To Avoid
Many first-time users make the same errors. Here’s how to avoid them:
- Poor cleaning: Any oil, dust, or dirt will cause peeling.
- Skipping etching: The epoxy may not stick.
- Mixing too much at once: Epoxy can harden before you finish.
- Applying too thick: Thick epoxy often bubbles.
- Not allowing enough cure time: Driving too soon ruins the surface.
Non-obvious insight: Even humid weather can affect curing. Try to work when humidity is below 80%.
Example: How Long Does Epoxy Last?
A well-applied garage floor epoxy lasts 5–10 years for most homes. In busy shops, it may need touch-ups sooner. For a two-car garage with regular use, expect at least 7 years before any major wear.
Cost Breakdown For A Typical Garage
Here’s a sample cost for a standard 2-car garage (400 sq ft):
| Item | Cost |
|---|---|
| Epoxy Kit (2 gallons) | $120–$200 |
| Concrete Cleaner/Etcher | $30 |
| Tools (rollers, brushes, tape) | $40 |
| Non-slip Additive (optional) | $20 |
| Total | $190–$290 |
Compare this to professional installation, which can cost $800–$2,000 for the same space.
Tips For A Perfect Epoxy Floor
- Work in small sections to keep the epoxy fresh.
- Ventilate the garage well, especially with solvent-based products.
- Wear old shoes or cleats so you can walk on the wet surface if needed.
- Check temperature: Ideal is 60–85°F (16–29°C).
- Read instructions: Each brand is slightly different.
Non-obvious tip: If you want a second coat for extra strength, wait until the first layer is dry but not fully hard (about 12–24 hours). This helps the layers bond well.
/SPR-how-to-apply-garage-floor-epoxy-1398234-hero-7276d776204743f889489eef161c28af.jpg)
Credit: www.thespruce.com
Real-world Example
One homeowner, Lisa from Ohio, applied epoxy to her 2-car garage by herself. She used a water-based kit and spent a weekend on the project. Her cost was about $230. Two years later, her floor still looks shiny, even after heavy use and winter salt. Her advice: “Take your time cleaning and follow every step. The prep is the hardest part, but it’s worth it.”
Maintaining Your Epoxy Garage Floor
Epoxy floors are easy to care for, but a few habits will keep them looking new:
- Sweep regularly to remove dirt and grit.
- Mop with mild soap and water for stains.
- Avoid harsh cleaners like vinegar or acid.
- Wipe spills quickly, especially oil or brake fluid.
If you notice chips or scratches, you can patch small areas with leftover epoxy or a repair kit.
Credit: epoxycolorado.com
Is Epoxy Right For Every Garage?
Epoxy is a great choice for most garages, but not all. Avoid using epoxy if:
- The floor is always damp or has water coming up.
- The concrete is crumbling or poorly installed.
- You need a super-fast turnaround (it needs a few days to cure).
For most homeowners, though, epoxy is a practical, long-term upgrade that adds value and beauty.
Frequently Asked Questions
How Long Does It Take To Apply Garage Floor Epoxy?
The whole process usually takes 2–3 days. Cleaning and repairs take the first day, then application and drying take another 1–2 days. You’ll need to wait 5–7 days before parking a car.
Can I Apply Epoxy Over Old Paint Or Sealant?
No, epoxy sticks best to bare concrete. Old paint, sealers, or wax will cause peeling. Always remove these layers first. If unsure, try a small test patch.
Is Epoxy Slippery When Wet?
Epoxy can be slippery, especially when wet. Adding a non-slip additive to the topcoat helps prevent slips and is highly recommended in wet climates.
What’s The Difference Between Epoxy And Floor Paint?
Epoxy is much stronger than paint. It bonds with the concrete and creates a hard, chemical-resistant surface. Floor paint sits on top and wears off quickly under cars or tools.
Where Can I Learn More About Different Types Of Epoxy?
For more detail on epoxy types and their uses, visit the Epoxy Wikipedia page.
Upgrading your garage floor with epoxy is a weekend project that pays off for years. With the right steps, attention to detail, and patience, you can enjoy a floor that’s strong, beautiful, and easy to maintain. If you prepare well and follow these tips, your garage will look better than ever and stay that way for a long time.