If your garage door is not opening or closing smoothly, the problem might be with the garage door cable. These cables play a key role in lifting and lowering the door safely. A broken or loose cable can be dangerous, but with the right steps, you can fix it yourself. This guide explains how to repair a garage door cable in a way that’s simple and safe—even for beginners.
Understanding Garage Door Cables
Garage door cables are strong wires that help balance the weight of the door. They work together with the springs to let the door move up and down easily. There are two main types:
- Torsion cables: Used with a torsion spring system, usually found above the door.
- Extension cables: Used with extension springs, located on either side of the door.
If these cables snap or come off the drum, your garage door might get stuck or become crooked. Fixing a garage door cable is important for safety and for the door to work properly.
Signs Of A Broken Or Loose Garage Door Cable
Before starting any repair, check for signs that your cable needs fixing:
- Uneven door: One side is higher than the other.
- Door won’t open or close: The door gets stuck or is very heavy.
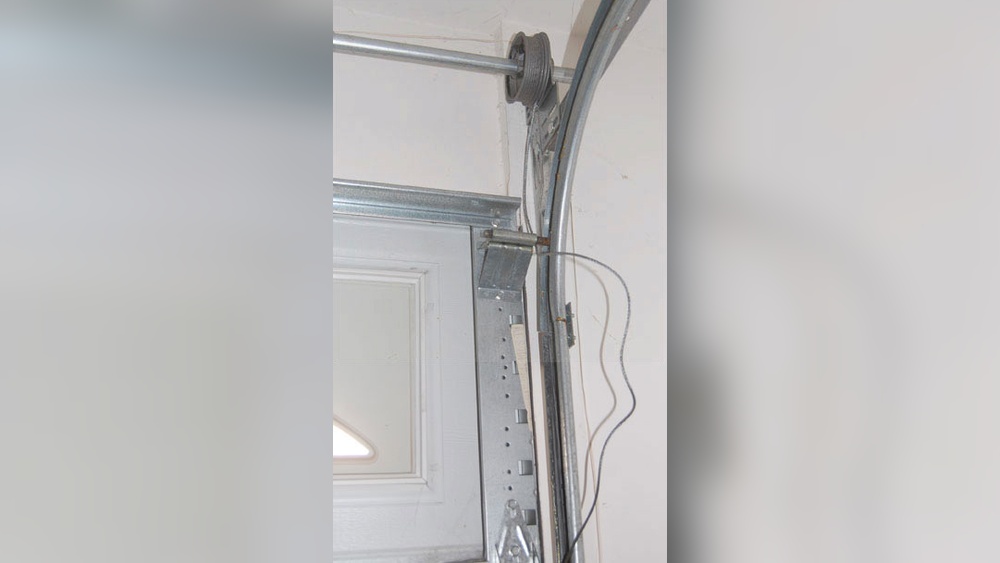
- Hanging cable: You see a loose cable on the side of the door.
- Frayed or rusty cables: The cable looks damaged or weak.
- Loud noises: You hear snapping or scraping when the door moves.
If you notice any of these, it’s time to inspect and possibly fix your garage door cable.
Credit: www.youtube.com
Tools And Materials Needed
Gather all tools and safety gear before starting the repair. Here’s a list of common items you’ll need:
- Adjustable wrench
- Locking pliers (vise grips)
- Flathead screwdriver
- Safety glasses
- Gloves
- Replacement garage door cable (correct length and type)
- Ladder
Having the right tools makes the job easier and reduces the risk of injury.
Safety Precautions
Garage door cables are under a lot of tension. If not handled correctly, they can cause injury. Remember these safety tips:
- Disconnect power: Unplug the garage door opener.
- Wear safety gear: Use gloves and safety glasses.
- Work with the door closed: This releases spring tension and makes the process safer.
- Never remove both cables at once: Always leave one side attached while working on the other.
- Ask for help if needed: If you’re unsure, call a professional.
Credit: www.myohd.com
Step-by-step Guide: How To Fix A Garage Door Cable
1. Disconnect The Garage Door Opener
Before touching any cables, make sure there’s no power to the opener. Pull the red emergency release cord to disconnect the door from the opener mechanism. This prevents accidental movement.
2. Secure The Garage Door
Use locking pliers to clamp the track below the bottom roller on both sides. This keeps the door from moving while you work.
3. Remove The Damaged Cable
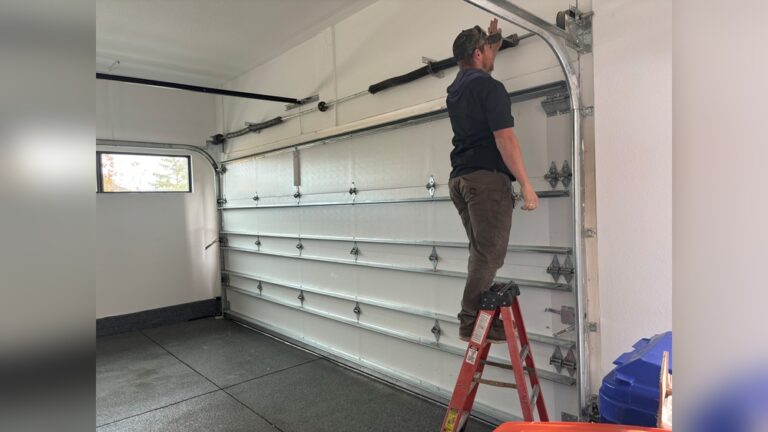
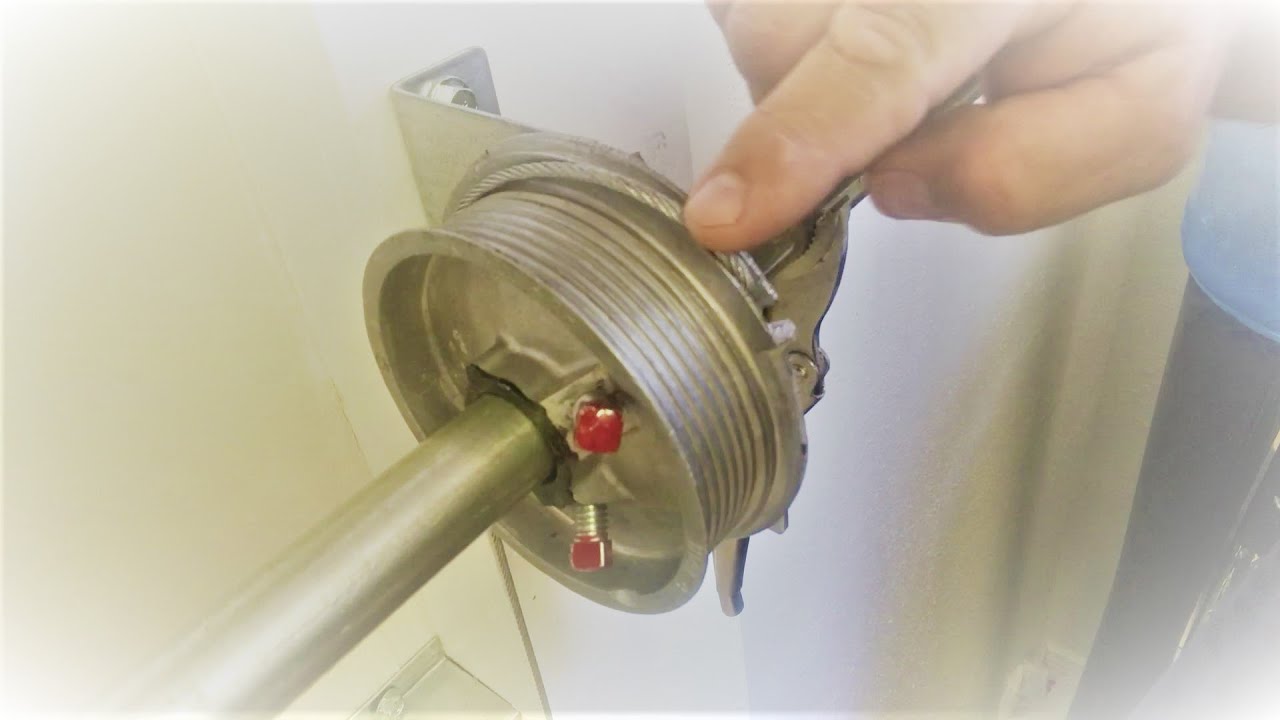
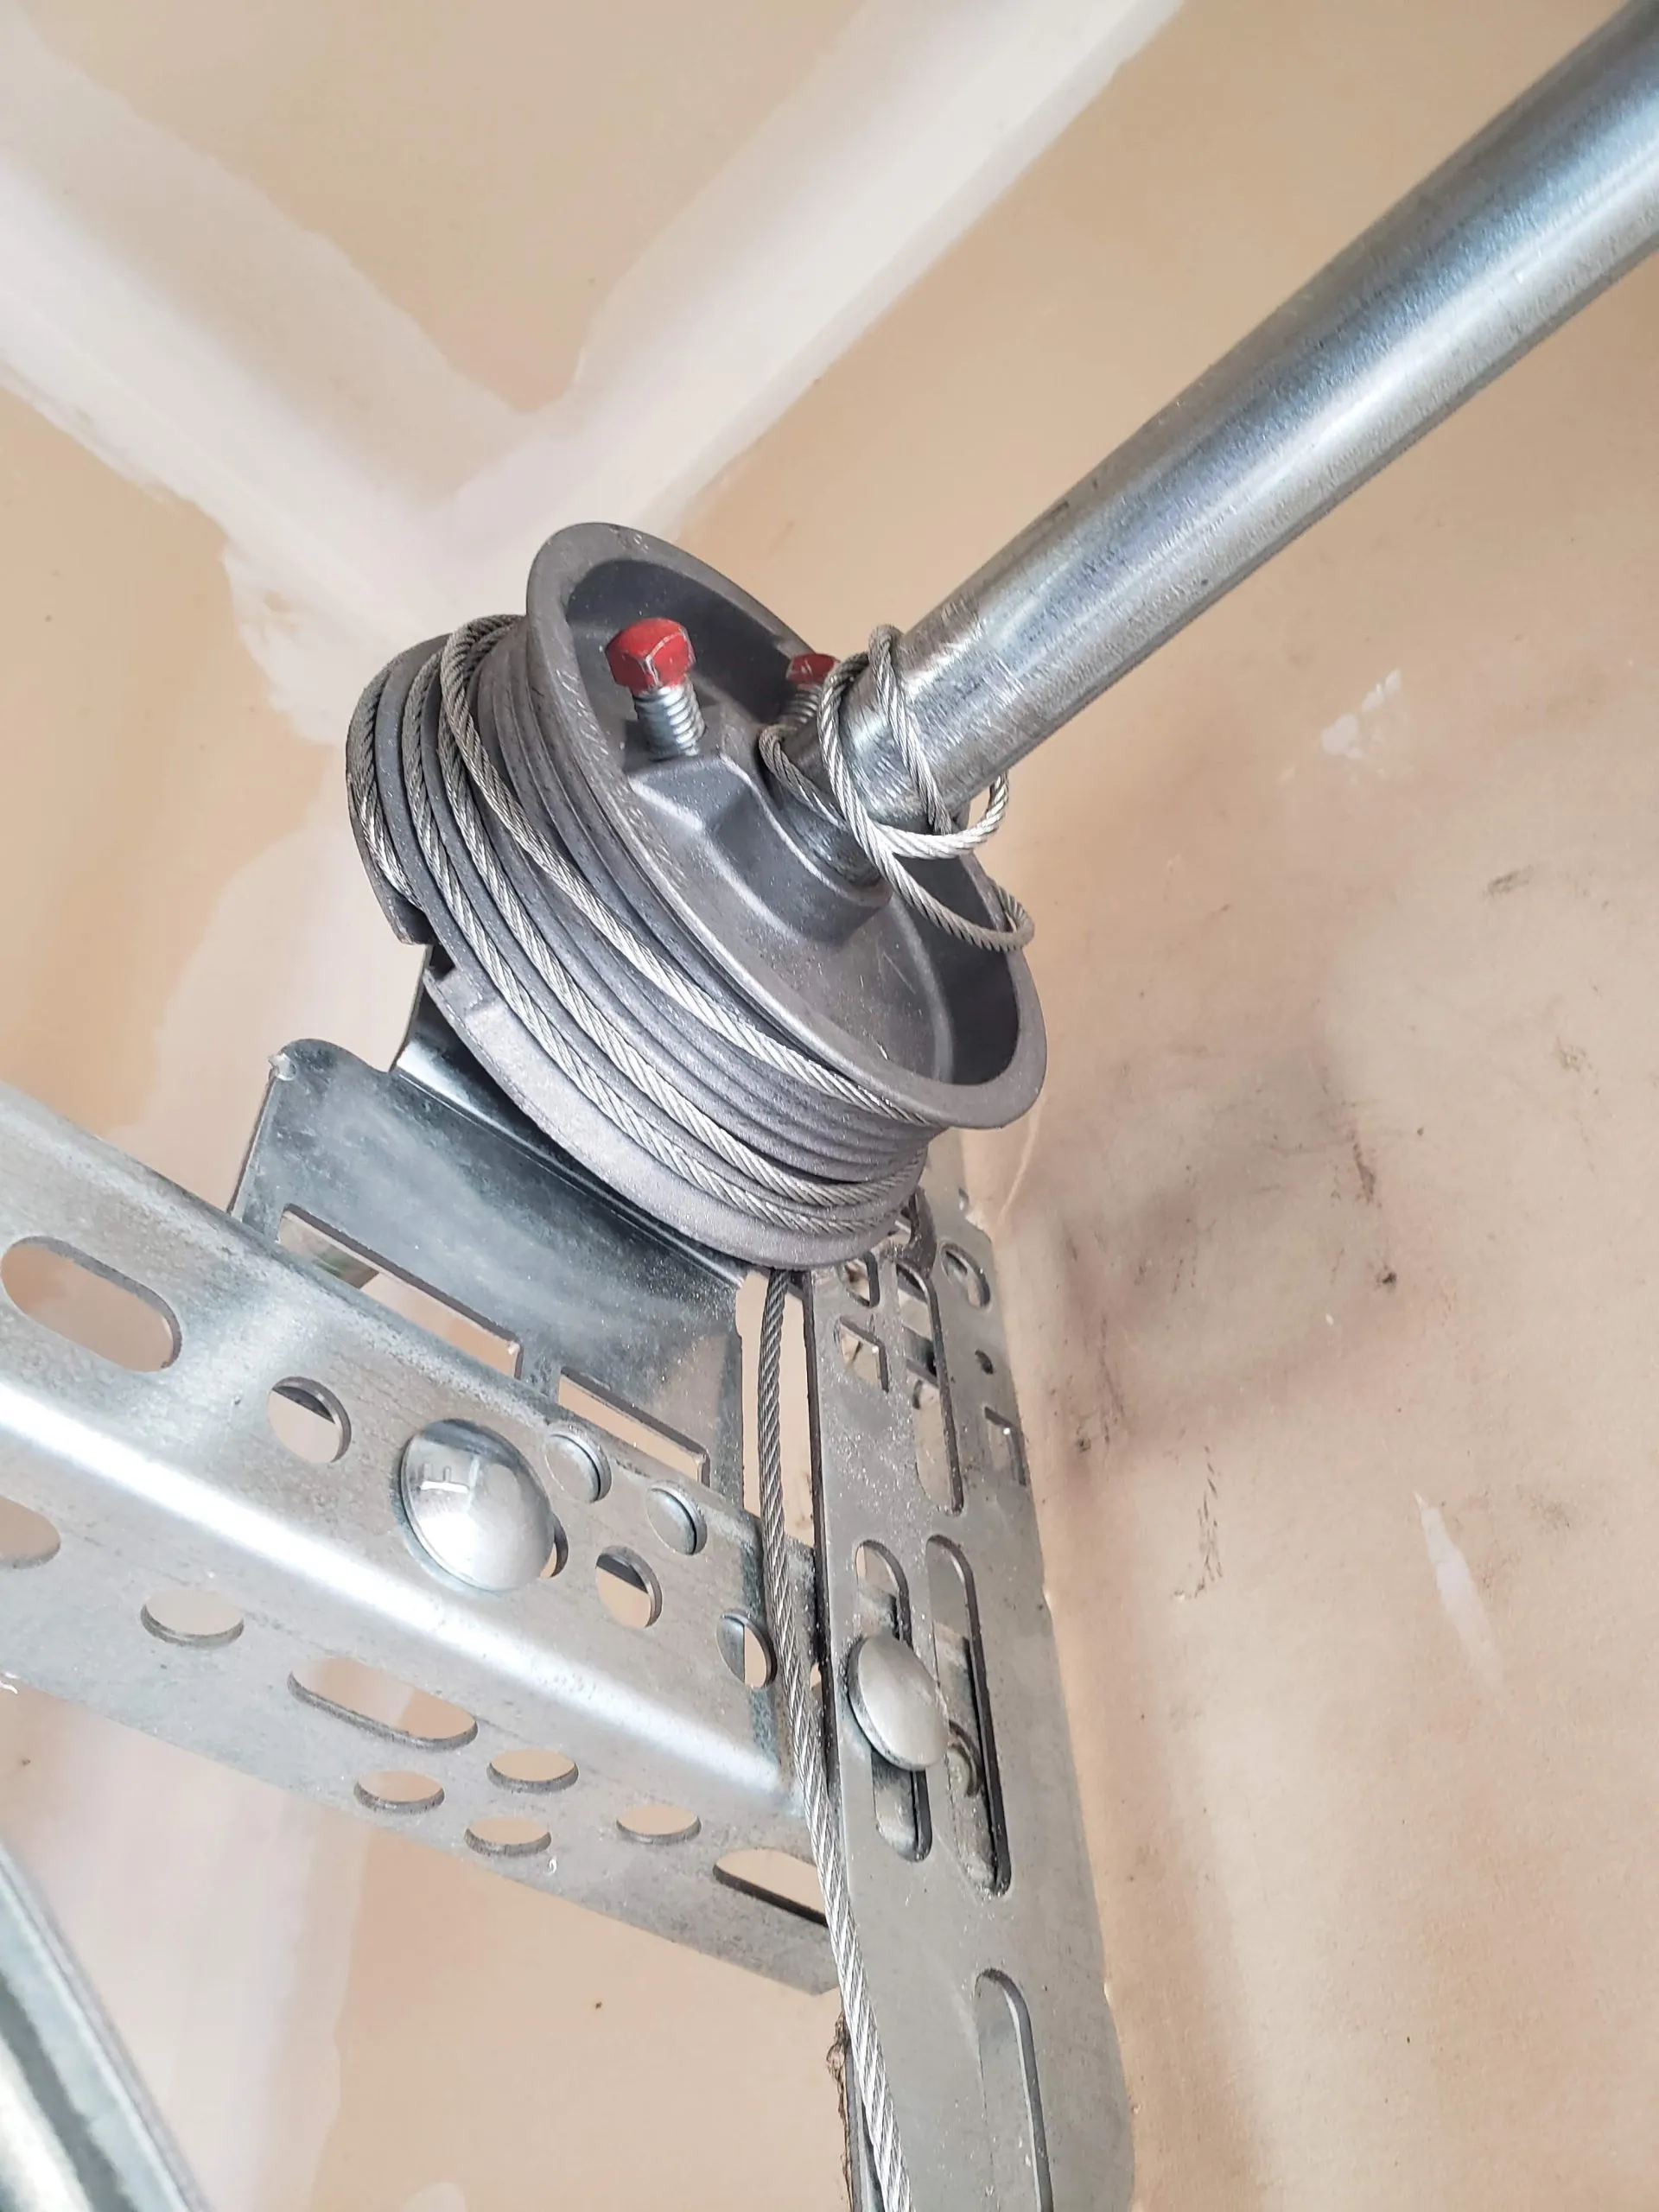
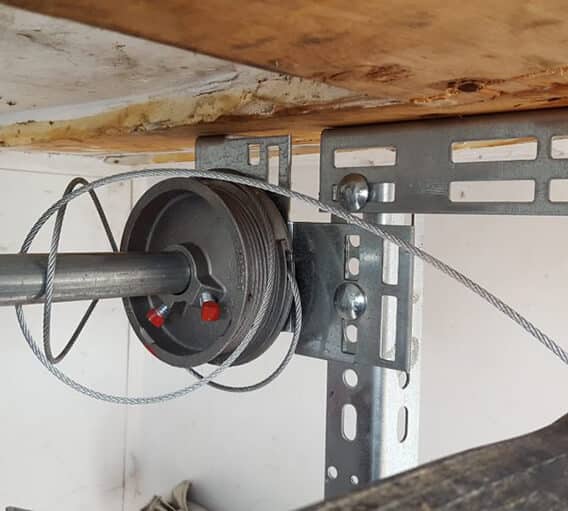
- Find the cable drum (at the top corner of the door).
- Loosen the set screws on the drum with an adjustable wrench.
- Gently unwind the damaged cable and remove it from the drum and bottom bracket.
4. Install The New Cable
- Attach one end of the new cable to the bottom bracket.
- Thread the other end up to the cable drum.
- Wind the cable neatly around the drum grooves.
- Tighten the set screws on the drum to secure the cable.
5. Check Tension And Alignment
- Make sure the cable is not loose or twisted.
- The cable should sit flat in the drum grooves.
- Compare both sides to ensure even tension.
6. Remove Pliers And Test The Door
- Take off the locking pliers.
- Reconnect the garage door opener.
- Lift and lower the door by hand first to check for smooth movement.
- Use the opener to test automatic function.
Common Mistakes To Avoid
Beginners often make errors that can cause more damage or create safety risks. Here are mistakes to watch for:
- Not securing the door before starting.
- Using the wrong cable length or type.
- Over-tightening the drum screws, which can strip the threads.
- Forgetting to check both sides for even tension.
- Ignoring signs of worn springs (fix these before replacing cables).
If you’re not confident, call a professional instead of risking injury.
Credit: 247superiorgaragedoor.com
Torsion Vs. Extension Cables: Key Differences
Understanding your door’s cable system is important. Here’s a quick comparison:
| Type | Location | Main Use | Typical Issues |
|---|---|---|---|
| Torsion Cable | Above the door | Works with torsion springs | Fraying, snapping, misalignment |
| Extension Cable | Alongside the door | Works with extension springs | Stretching, breaking, coming off pulley |
Always use the correct cable type for your system.
How Long Do Garage Door Cables Last?
On average, garage door cables last about 7–10 years, depending on use and maintenance. Here are some factors that affect their lifespan:
- Frequency of use: More cycles mean faster wear.
- Weather: Moisture causes rust, which weakens cables.
- Quality: Stronger cables last longer but may cost more.
Most homeowners open and close their garage door 2–4 times per day. That adds up to 700–1,400 cycles per year. Inspect cables yearly for early signs of wear.
When To Call A Professional
While many people can replace a cable themselves, there are times when you should hire an expert:
- Both cables are broken or off the drum.
- The spring is also damaged or broken.
- You’re unsure about the door type or cable length.
- The door is very heavy or won’t move at all.
- You don’t have the right tools or experience.
A professional can fix the issue safely and quickly. According to the International Door Association, professional repairs reduce the risk of injury and ensure long-term performance.
Cost Of Garage Door Cable Repair
The price to fix a garage door cable depends on whether you do it yourself or hire a professional. Here’s a quick breakdown:
| Repair Option | Average Cost | Includes |
|---|---|---|
| DIY Replacement | $15–$40 | Cable, basic tools |
| Professional Service | $90–$200 | Cable, labor, inspection |
DIY is cheaper but only recommended if you follow safety steps. Professional repair includes warranty and expert inspection.
Maintenance Tips For Longer Cable Life
You can prevent early cable problems by following simple maintenance steps:
- Lubricate cables with garage door spray twice a year.
- Clean dirt and debris from tracks and drums.
- Check for frayed wires or rust spots.
- Tighten any loose hardware.
- Open and close the door manually every few months to listen for noises.
By taking these steps, you extend the life of your garage door system.
Real-world Example: Homeowner Cable Fix
Let’s look at an example. Sarah noticed her garage door was crooked and hard to lift. She found a frayed cable on the left side. Here’s what she did:
- Unplugged the opener and released the door.
- Used pliers to secure the door in place.
- Removed the damaged cable and installed a new one.
- Checked both sides for even tension.
- Tested the door manually and with the opener.
The whole process took about an hour. By following safety steps and using the right tools, Sarah avoided injury and saved on repair costs.
Garage Door Cable Sizes And Selection
Choosing the right cable is important for safety and function. Here’s what to check:
- Diameter: Most residential cables are 1/8″ or 3/32″.
- Length: Measure your old cable or check the door height (usually 7–8 feet).
- Material: Galvanized steel is best for rust protection.
Compare the specifications of common cable sizes:
| Cable Diameter | Typical Use | Strength |
|---|---|---|
| 1/8″ | Standard garage doors | Strong, long-lasting |
| 3/32″ | Smaller/lighter doors | Flexible, easy to install |
If you’re unsure, bring your old cable to the hardware store or check your door’s manual.
Non-obvious Insights For Beginners
Some details are easy to miss if you’re new to garage door repair:
- Cable drums have grooves: Always wind the cable neatly in these grooves. If the cable overlaps, it can jam and snap again.
- Don’t lubricate the cable itself: Grease attracts dirt. Use a light spray on the drum, not the cable.
- Check the bottom bracket: If it’s bent or rusty, replace it too. A weak bracket can break and cause cable failure.
Paying attention to these details ensures a safe and lasting repair.
Frequently Asked Questions
What Causes Garage Door Cables To Break?
Garage door cables break due to age, rust, and friction. Over time, the metal becomes weak, especially if not lubricated or cleaned. Cold weather and moisture also speed up cable wear.
Can I Use Any Cable For My Garage Door?
No. You must use a cable that matches your door’s size and weight. Using the wrong cable can make the door unsafe or damage the opener. Check your door’s manual or ask a hardware store expert.
How Do I Know If My Spring Is Also Broken?
If your door is suddenly very heavy and hard to lift—even after fixing the cable—the spring might be broken. Look for a gap in the spring or loud snapping noise when the problem started.
How Often Should I Inspect My Garage Door Cables?
Inspect cables at least once per year. Look for fraying, rust, or loose ends. Regular checks help you spot problems before the cable breaks.
Where Can I Learn More About Garage Door Safety?
For more safety tips and maintenance info, visit the International Door Association website.
Fixing a garage door cable is a task many homeowners can handle with care and patience. By following these steps, you can restore your garage door’s safe, smooth operation and avoid costly repairs. If you’re ever unsure, don’t hesitate to contact a professional for help.