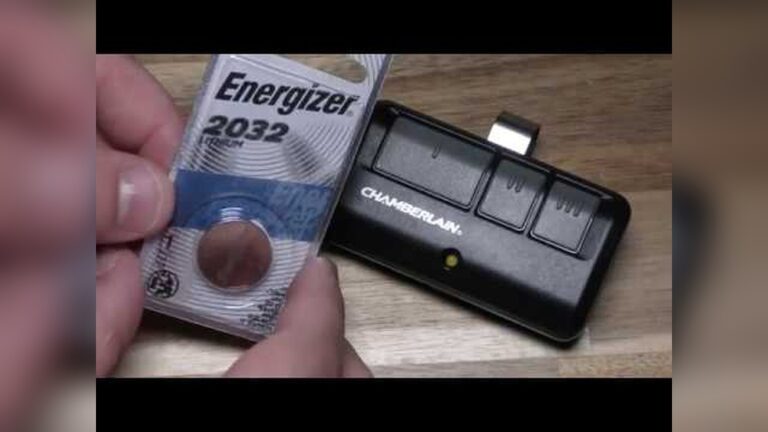
The Craftsman garage door opener learn button is a feature that many homeowners overlook—until they need it. If you’re new to garage door openers or just want to program a remote or keypad, understanding this button can save you time and trouble. This article breaks down everything you need to know, using simple words and clear steps. Whether you just moved into a new home or want to add a remote for family, you’ll find practical help here.
What Is The Craftsman Garage Door Opener Learn Button?
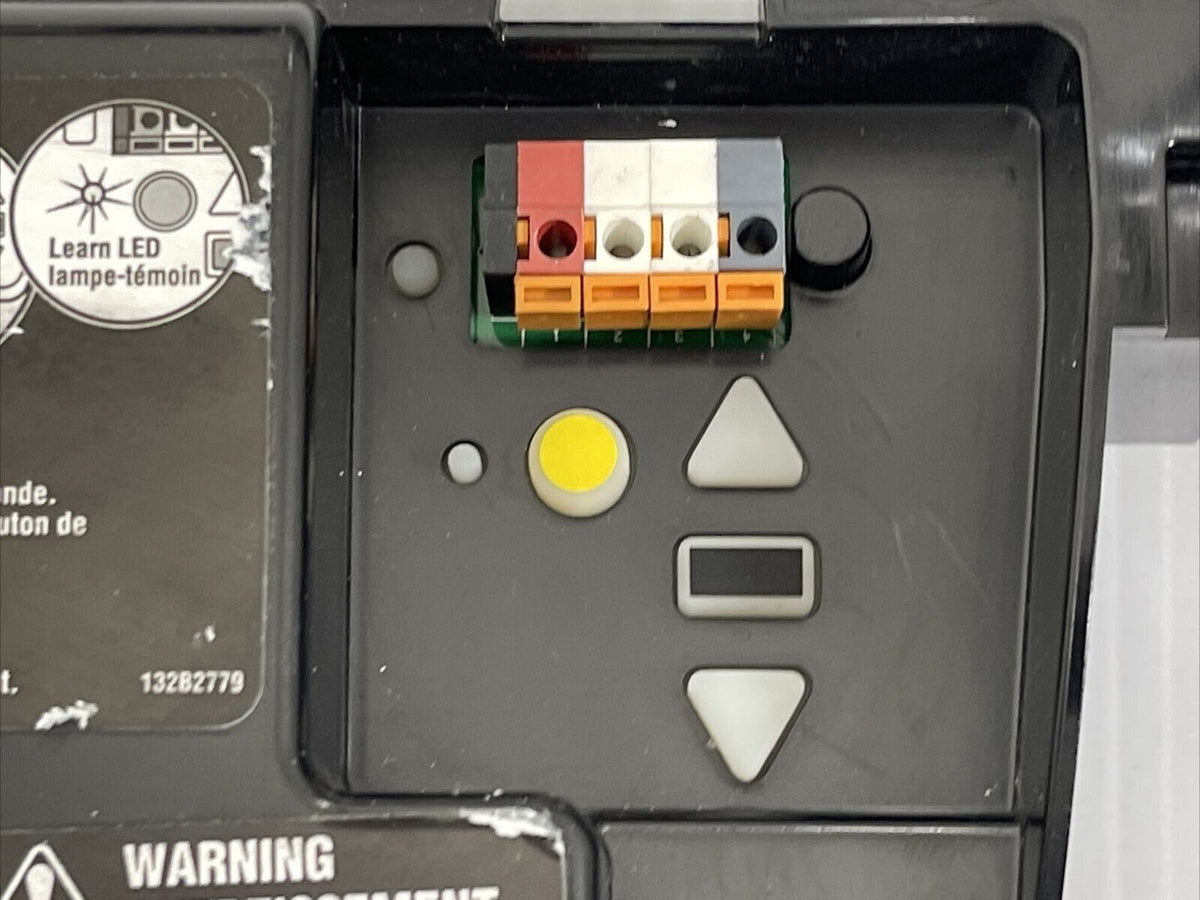
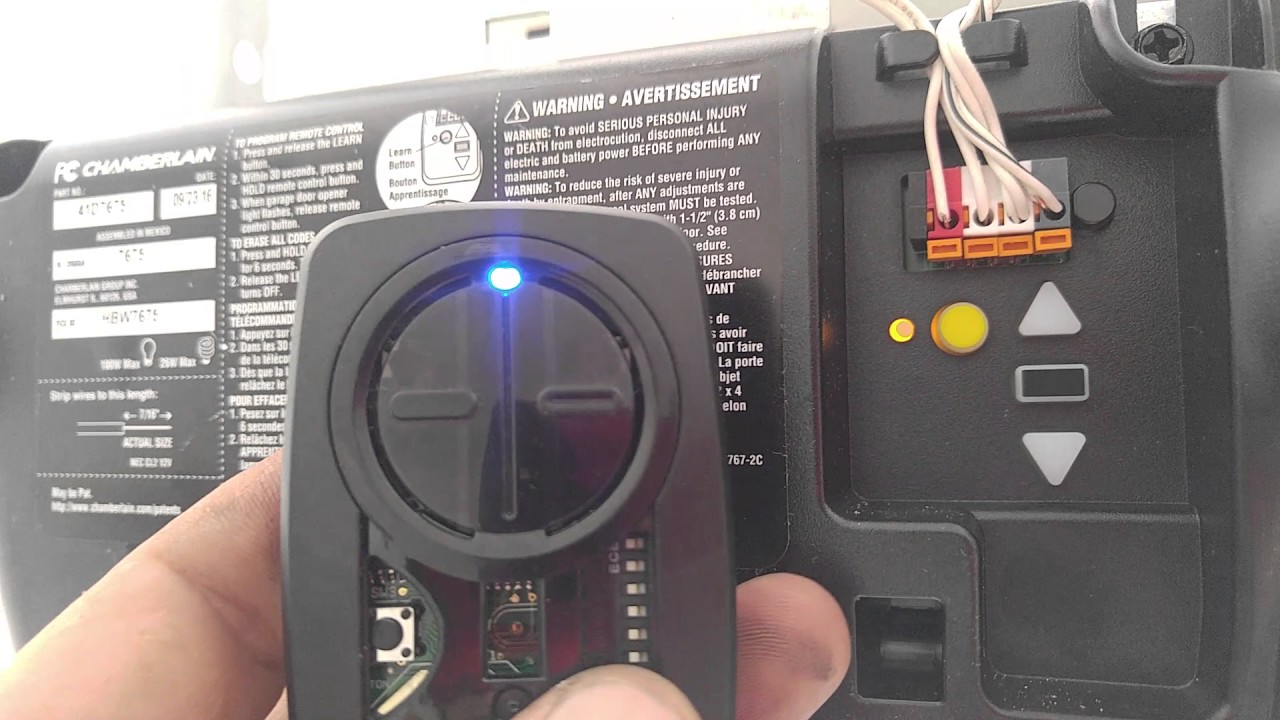
The learn button is a small button on the back or side of your Craftsman garage door opener. Its main job is to help your opener remember new remotes, keypads, or even clear old codes. Think of it as the “memory button” for your garage system.
Some key facts:
- Usually, the learn button is under the light cover or near the antenna wire.
- It’s often colored yellow, red, orange, purple, or green.
- Pressing this button starts the programming process for new remotes or keypads.
Why Is The Learn Button Important?
Modern garage door openers use rolling codes for security. This means the code changes every time you use your remote. The learn button helps your opener know which remotes are allowed to open your door. It also lets you:
- Erase lost or stolen remote codes
- Add new remotes
- Sync keypads for keyless entry
If you’re worried about someone else having access, using the learn button lets you reset everything in seconds.
Where To Find The Learn Button
Locating the learn button is your first step. Craftsman garage door openers are made by Chamberlain, so the design is similar to LiftMaster and Chamberlain units.
Typical locations:
- On the back panel of the main opener unit (the box attached to the ceiling)
- Under the light cover (often needs to be popped open)
- Near the antenna wire hanging from the opener
Look for a small square button. Its color can help you know what type of remote you need.
Example:
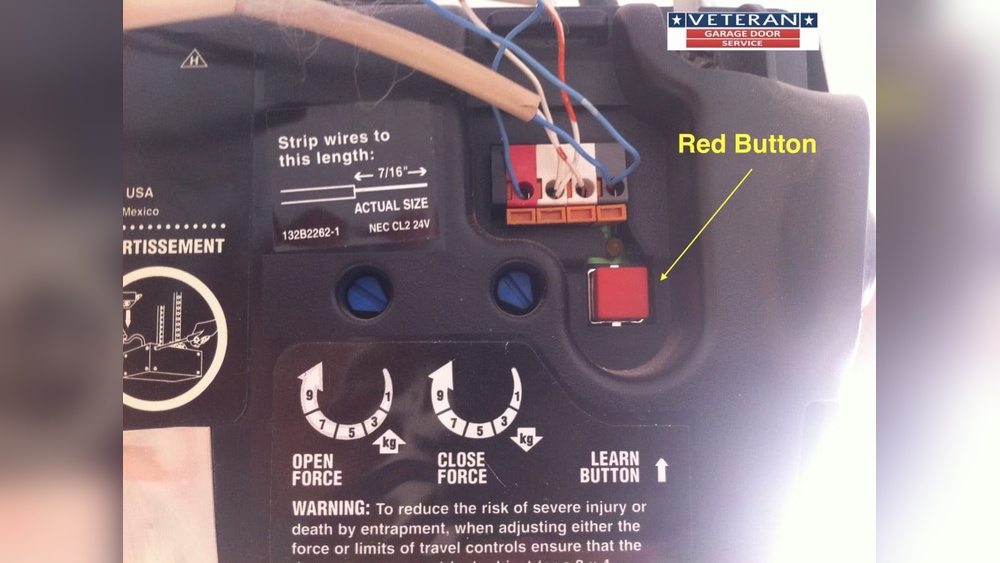
On a Craftsman 1/2 HP opener, the learn button is under the light lens on the back, next to the wiring terminals.
Credit: garagedoorinfospot.com
Learn Button Color And Compatibility
The color of your learn button matters. It shows what technology your opener uses and which remotes work with it. Here’s a handy comparison:
| Learn Button Color | Remote Frequency | Compatible Years | Security Technology |
|---|---|---|---|
| Yellow | 390/315 MHz | 2011–Present | Security+ 2.0 |
| Purple | 315 MHz | 2005–2011 | Security+ |
| Red/Orange | 390 MHz | 1997–2005 | Security+ |
| Green | 390 MHz | 1993–1997 | Billion Code |
| White/Grey | 390 MHz | Pre-1993 | Dip Switch |
Tip: Always match your remote to the learn button color for best results.
How To Program A Remote Using The Learn Button
Programming a remote is easier than most people think. Here’s a step-by-step guide:
- Climb safely: Use a sturdy ladder to reach the opener.
- Locate the learn button: Check behind the light cover or near the wiring terminals.
- Press and release the learn button: The indicator light will turn on and stay steady.
- Press the remote button: Within 30 seconds, press the button on your new remote.
- Watch for a click or flash: The opener light will blink or you’ll hear a click, showing the remote is programmed.
Practical example:
If you’re adding a remote for your Craftsman opener with a purple learn button, after pressing the learn button, you have 30 seconds to press the button on your remote. If the light blinks, you’re done.
How To Erase All Remotes (resetting Codes)
If you move into a new house or lose a remote, it’s smart to erase all old codes. Here’s how:
- Press and hold the learn button: Hold it for about 6-10 seconds.
- Wait for the light to turn off: This means all remotes and keypads are erased.
- Reprogram your remotes: Add back only the remotes you trust.
Warning: All existing remotes will stop working, so make sure you have the remotes you need before you begin.
Programming A Keypad With The Learn Button
Want to open your garage with a code instead of a remote? Most Craftsman openers let you add a wireless keypad.
- Step 1: Enter your chosen PIN on the keypad.
- Step 2: Press and release the learn button on the opener.
- Step 3: Within 30 seconds, press and hold the ENTER button on the keypad.
- Step 4: Release when the opener light blinks.
Now Your Code Should Work!
Common Issues With The Learn Button
Sometimes the learn button doesn’t seem to work. Here are the most common problems and solutions:
- Remote not programming: Check remote battery, make sure it matches the learn button color.
- Light doesn’t blink: Try unplugging the opener for 30 seconds and try again.
- Button stuck or not clicking: Dirt or age can cause the button to stick. Try gentle cleaning.
- Wrong remote: Some universal remotes don’t work with all learn button colors.
Real-world Example: Adding A Remote For A Craftsman 1/2 Hp Opener
Let’s say you have a Craftsman 1/2 HP opener with a red learn button (made in 2003). You buy a compatible remote (red button remotes).
- Climb up and find the red button under the lens cover.
- Press and release the button; the light comes on.
- Press the remote; the light blinks.
- Test the remote. The door should open and close.
If it doesn’t work, check the battery, try again, or check if your remote matches the opener year.
Security Benefits Of The Learn Button
The learn button isn’t just for convenience. It helps keep your garage safe.
- Rolling codes: Makes it almost impossible for thieves to copy your remote code.
- Easy reset: If you lose a remote, erase all codes with one button.
- Control: Only remotes you program will work.
Did you know? According to the FBI, over 1. 1 million home burglaries happened in the US in 2019. Garages are a common entry point. Using the learn button to control access reduces your risk.
Troubleshooting Table: What To Do When Things Go Wrong
Sometimes, things don’t go as planned. Here’s a quick guide:
| Problem | Possible Cause | Solution |
|---|---|---|
| Remote won’t program | Wrong remote type or dead battery | Check battery, match remote to learn button color |
| No indicator light | Power issue | Check outlet and power supply |
| Learn button not responding | Stuck button or faulty logic board | Clean button, call technician if needed |
| All remotes stopped working | Accidental code erase | Reprogram all remotes |
| Keypad not syncing | Wrong PIN or out of range | Reset keypad, move closer, try again |
Maintenance Tips For The Learn Button And Remotes
Keeping your system working well is simple with a few habits:
- Check remote batteries yearly. Weak batteries can cause issues.
- Inspect wiring and connections near the learn button.
- Clean the opener unit and button area with a dry cloth.
- Store remotes safely to avoid accidental button presses.
A small amount of care can prevent most problems.
Upgrading Your Craftsman Opener For Modern Features
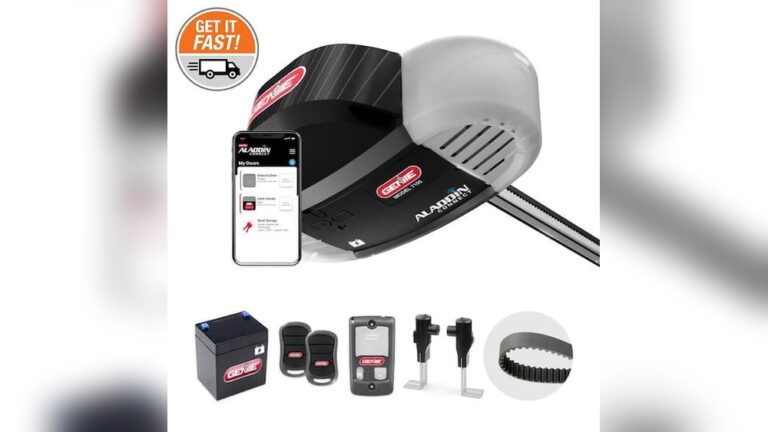
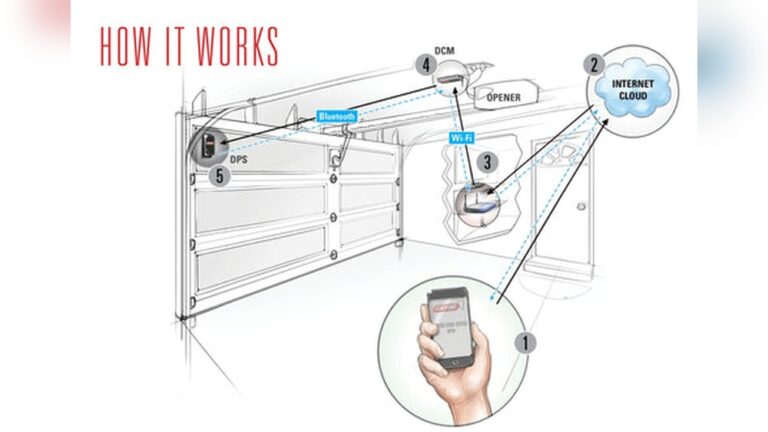
If your opener is older, you might want features like smartphone control, smart home integration, or better security. Many modern Craftsman models let you add:
- Wi-Fi modules for app control
- Battery backup for power outages
- Keyless entry pads for family
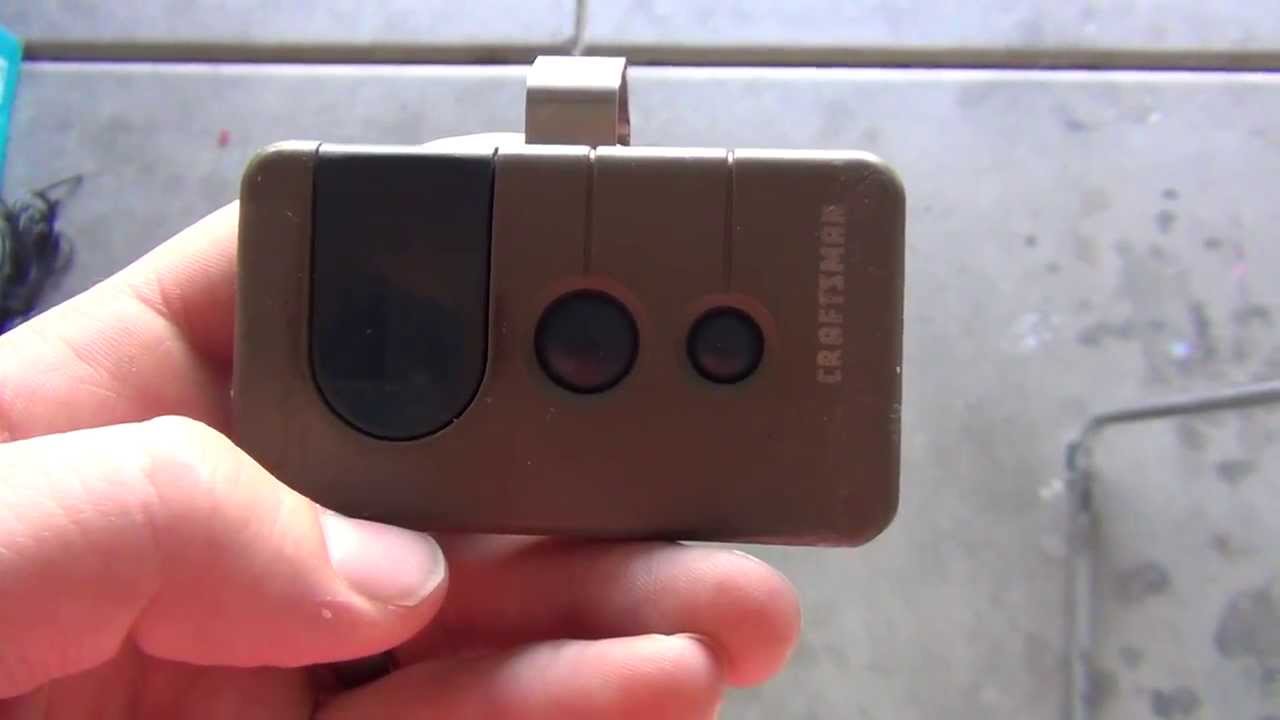
Before buying upgrades, check your learn button color. Some features only work with yellow or purple learn buttons.
Credit: www.youtube.com
Data Comparison: Old Vs. New Craftsman Openers
Here’s a quick side-by-side look at older vs. newer Craftsman openers:
| Feature | Older Models (Pre-2011) | Newer Models (2011+) |
|---|---|---|
| Learn Button Color | Red/Orange, Green, Purple | Yellow |
| Remote Frequency | 390, 315 MHz | 390/315 MHz Dual |
| Security | Security+, Billion Code | Security+ 2.0 (rolling code) |
| Smart Features | Rare | Wi-Fi, smartphone app |
| Battery Backup | No | Often included |
Non-obvious Tips Beginners Miss
Many beginners don’t realize:
- You can program up to 8-12 remotes or keypads on most Craftsman openers. If you reach the limit, older remotes may stop working until you erase and reprogram.
- The antenna wire (usually hanging down) is critical for good remote range. If it’s cut or missing, remotes may not work from the driveway.
Credit: www.youtube.com
Keeping Your System Secure
Don’t just add remotes—think about security:
- Always erase codes if you move into a new home.
- Don’t give remote access to service people or neighbors unless you trust them fully.
- Consider upgrading to a keypad or smart system for better control.
When To Call A Professional
Most people can program remotes and keypads themselves. But call a pro if:
- The learn button is physically broken or stuck
- The opener doesn’t power on at all
- You see sparks or smell burning near the opener
Repairs to wiring or the logic board can be dangerous if you’re not trained.
Where To Find More Details
For manuals, model numbers, and more technical info, the official manufacturer’s site is the best source. You can visit the Craftsman Garage Door Opener Support for guides, troubleshooting, and parts lists.
Frequently Asked Questions
How Do I Know If My Craftsman Opener Has A Learn Button?
Most Craftsman openers made after 1993 have a learn button. Look for a small colored button on the back or side of the main unit. If you don’t see one, check under the light cover.
Can I Program Any Universal Remote To A Craftsman Opener?
Not all universal remotes work. Match the remote to your learn button color and opener frequency. Some older openers require specific remotes for best results.
What Should I Do If My Remote Suddenly Stops Working?
First, change the battery. If it still fails, try reprogramming it with the learn button. If none of your remotes work, check the opener’s power and antenna wire.
How Many Remotes Can I Add To My Craftsman Opener?
Most models store 8–12 remote codes. If you reach the limit, you may need to erase old codes before adding new ones.
Is It Safe To Erase All Codes If I Lose A Remote?
Yes. Erasing all codes with the learn button is the best way to keep your garage secure if a remote is lost or stolen.
Taking control of your Craftsman garage door opener learn button puts you in charge of your home’s safety and convenience. With the right steps, you can add remotes, reset codes, and upgrade your system—no expert needed. Start small, follow these tips, and enjoy a secure, reliable garage for years to come.