Sealing the sides and top of your garage door is a simple way to make your home more comfortable and energy efficient. Gaps around the door let in cold air, dust, pests, and noise. Many homeowners don’t realize how much these small gaps can affect heating and cooling bills or allow rainwater to enter.
A well-sealed garage door improves comfort year-round and can even help protect items stored inside.
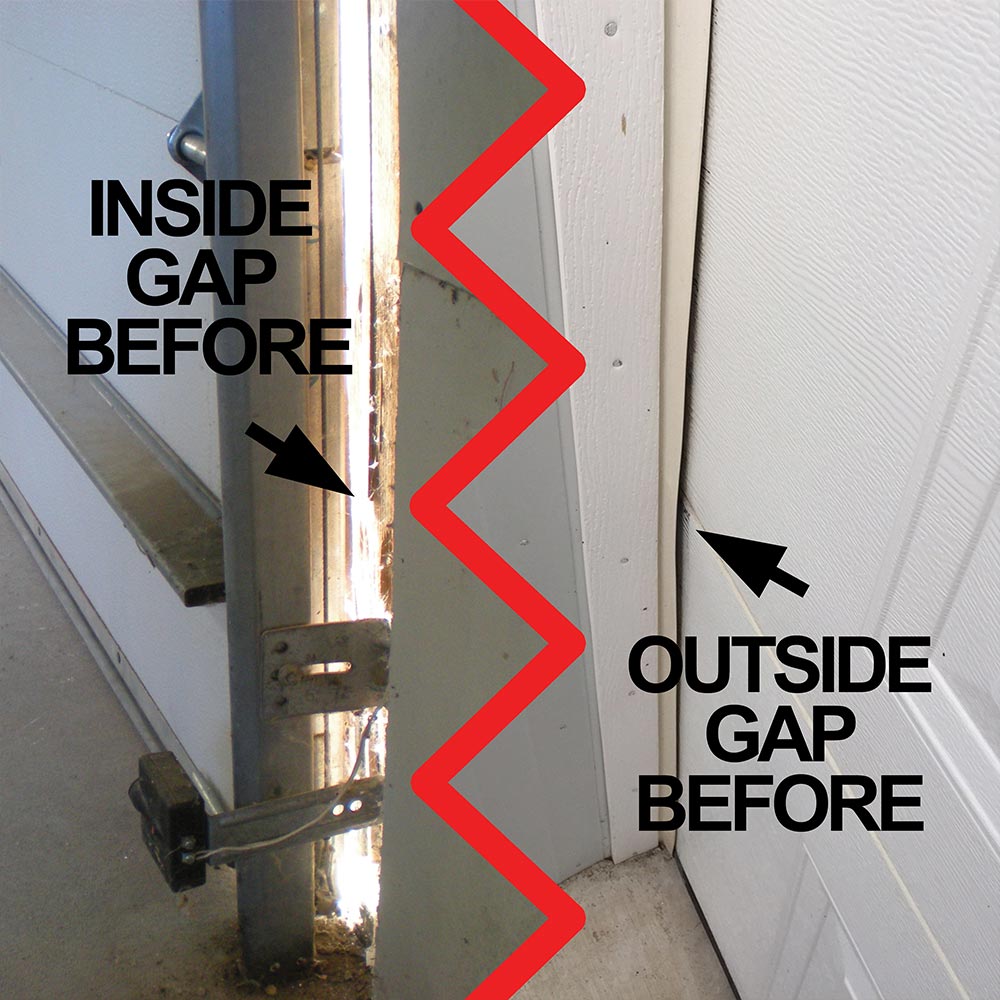
If you notice drafts or see daylight around your garage door, it’s time to seal those edges. Even small openings can let in moisture, insects, or freezing air in winter. Sealing your garage door is a project most beginners can do with basic tools and materials.
This guide will walk you through the steps, highlight common mistakes, and share tips for a lasting result.
Why Seal Garage Door Sides And Top?
Many garages are not fully insulated like the rest of the house. That makes it easy for outside air to come in through gaps around the door. Here are some reasons to seal these areas:
- Reduce energy loss: Air leaks make your garage colder in winter and hotter in summer. If your garage is attached to your house, this affects your home’s temperature too.
- Block pests and insects: Small animals and bugs often sneak in through open gaps.
- Prevent water damage: Rain and snow can blow through unsealed sides, causing wet floors or mold.
- Lower noise: Sealing gaps also helps keep outside noise down.
- Protect belongings: Sealed doors block dust and humidity, helping tools and stored items last longer.
A study by the U. S. Department of Energy found that sealing air leaks around doors and windows can cut home energy bills by up to 20%. Garage doors are a common source of leaks, so sealing them has real impact.
Types Of Garage Door Seals
There are different products for sealing the sides and top of a garage door. Choosing the right one depends on your door type and climate.
| Seal Type | Main Use | Best For |
|---|---|---|
| Vinyl Weatherstripping | Flexible seal for sides/top | Most standard garage doors |
| Rubber Bulb Seal | Compresses for tight fit | Cold or wet climates |
| Foam Tape | Self-adhesive, easy for small gaps | Beginner DIY, mild climates |
| Brush Seal | Flexible bristles block debris | Uneven surfaces, dust-prone areas |
Key Factors When Choosing A Seal
- Climate: Rubber seals work better in freezing areas, while vinyl handles sun and heat well.
- Gap Size: Measure the largest gap—most seals cover 1/4 to 1 inch.
- Door Material: Metal, wood, and vinyl doors may need different fasteners.
- Ease of Installation: Foam tape is simplest, but may not last as long as screw-on seals.
Many beginners pick foam tape because it’s easy. However, for long-term performance, a vinyl or rubber seal with screws is usually better.
Tools And Materials Needed
Before you start, gather all the items you’ll need. This avoids rushing to the store in the middle of your project.
- Tape measure: For accurate gap and door measurements.
- Utility knife or scissors: To cut seal material to length.
- Drill and bits: For installing screw-on seals.
- Screwdriver: Manual or powered.
- Weatherstripping seal: Vinyl, rubber, or foam—enough for both sides and the top.
- Pencil/marker: To mark screw locations.
- Ladder: If your garage door is tall.
- Safety glasses: Protects eyes from dust and debris.
Optional: Caulk for small cracks, and a putty knife for smoothing.
Step-by-step Guide To Sealing Garage Door Sides And Top
Sealing your garage door is a straightforward project, but working carefully gives the best results. Here’s a beginner-friendly process:
1. Measure The Door And Gaps
- Close your garage door.
- Use a tape measure to check the height of both sides and the width of the top.
- Measure the largest gap between the door and frame at each edge.
Tip: Write down the measurements and buy a little extra seal material in case of mistakes.
2. Choose And Cut The Seal Material
Select a seal type that fits your gap. Lay it out flat to avoid kinks.
- Mark the correct length for each side and the top.
- Cut the seal with scissors or a utility knife.
Example: If your door is 7 feet high and 9 feet wide, you’ll need two 7-foot pieces (sides) and one 9-foot piece (top).
3. Prepare The Surface
A clean surface helps the seal stick and last longer.
- Brush away dust, cobwebs, and old seal material.
- If using adhesive-backed seals, wipe with a damp cloth and let dry.
- For screw-on seals, check for splinters or rough spots and sand lightly.
4. Position And Attach The Seal
For Adhesive (foam Or Vinyl) Seals:
- Peel off a small section of backing to start.
- Line up the seal with the edge of the door frame so it slightly presses against the door when closed.
- Press firmly as you peel and stick the rest into place.
For Screw-on Seals:
- Hold the seal in place and mark screw holes with a pencil.
- Drill small pilot holes if needed.
- Attach the seal with screws, making sure the flexible edge brushes against the closed door.
Insight: Don’t press the seal too hard against the door. A little flexibility allows the door to open and close smoothly.
5. Check The Seal And Adjust
- Close and open the garage door several times.
- Make sure the seal compresses but doesn’t block the door’s movement.
- If you see daylight, adjust the seal position or add a second layer for large gaps.
Pro Tip: For uneven garage floors or frames, brush seals can fill gaps better than flat vinyl.
Common Mistakes And How To Avoid Them
Beginners often run into the same issues when sealing garage doors. Here’s how to avoid them:
- Choosing the wrong seal: Don’t use foam tape for large or uneven gaps; it wears out fast.
- Not cleaning the surface: Dust and old adhesive make new seals fall off quickly.
- Misaligning the seal: If the seal is too far from the door, it won’t block air; too close, and the door sticks.
- Ignoring the top edge: Many people only seal the sides, but the top leaks air too.
- Forgetting to check door movement: Test the door after installing seals—adjust if it drags or jams.
How Sealing Affects Energy Efficiency
Sealing garage door sides and top isn’t just about comfort. It can make a noticeable impact on your energy bills. According to the U. S. Department of Energy, air leaks in a typical home cause a 25–30% loss in heating and cooling energy.
The garage is one of the largest sources of these leaks.
Here’s a simple example:
| Garage Size | Estimated Energy Loss (per year) | Potential Savings with Sealing |
|---|---|---|
| Single (12×20 ft) | $50–$75 | $10–$20 |
| Double (20×20 ft) | $80–$120 | $16–$35 |
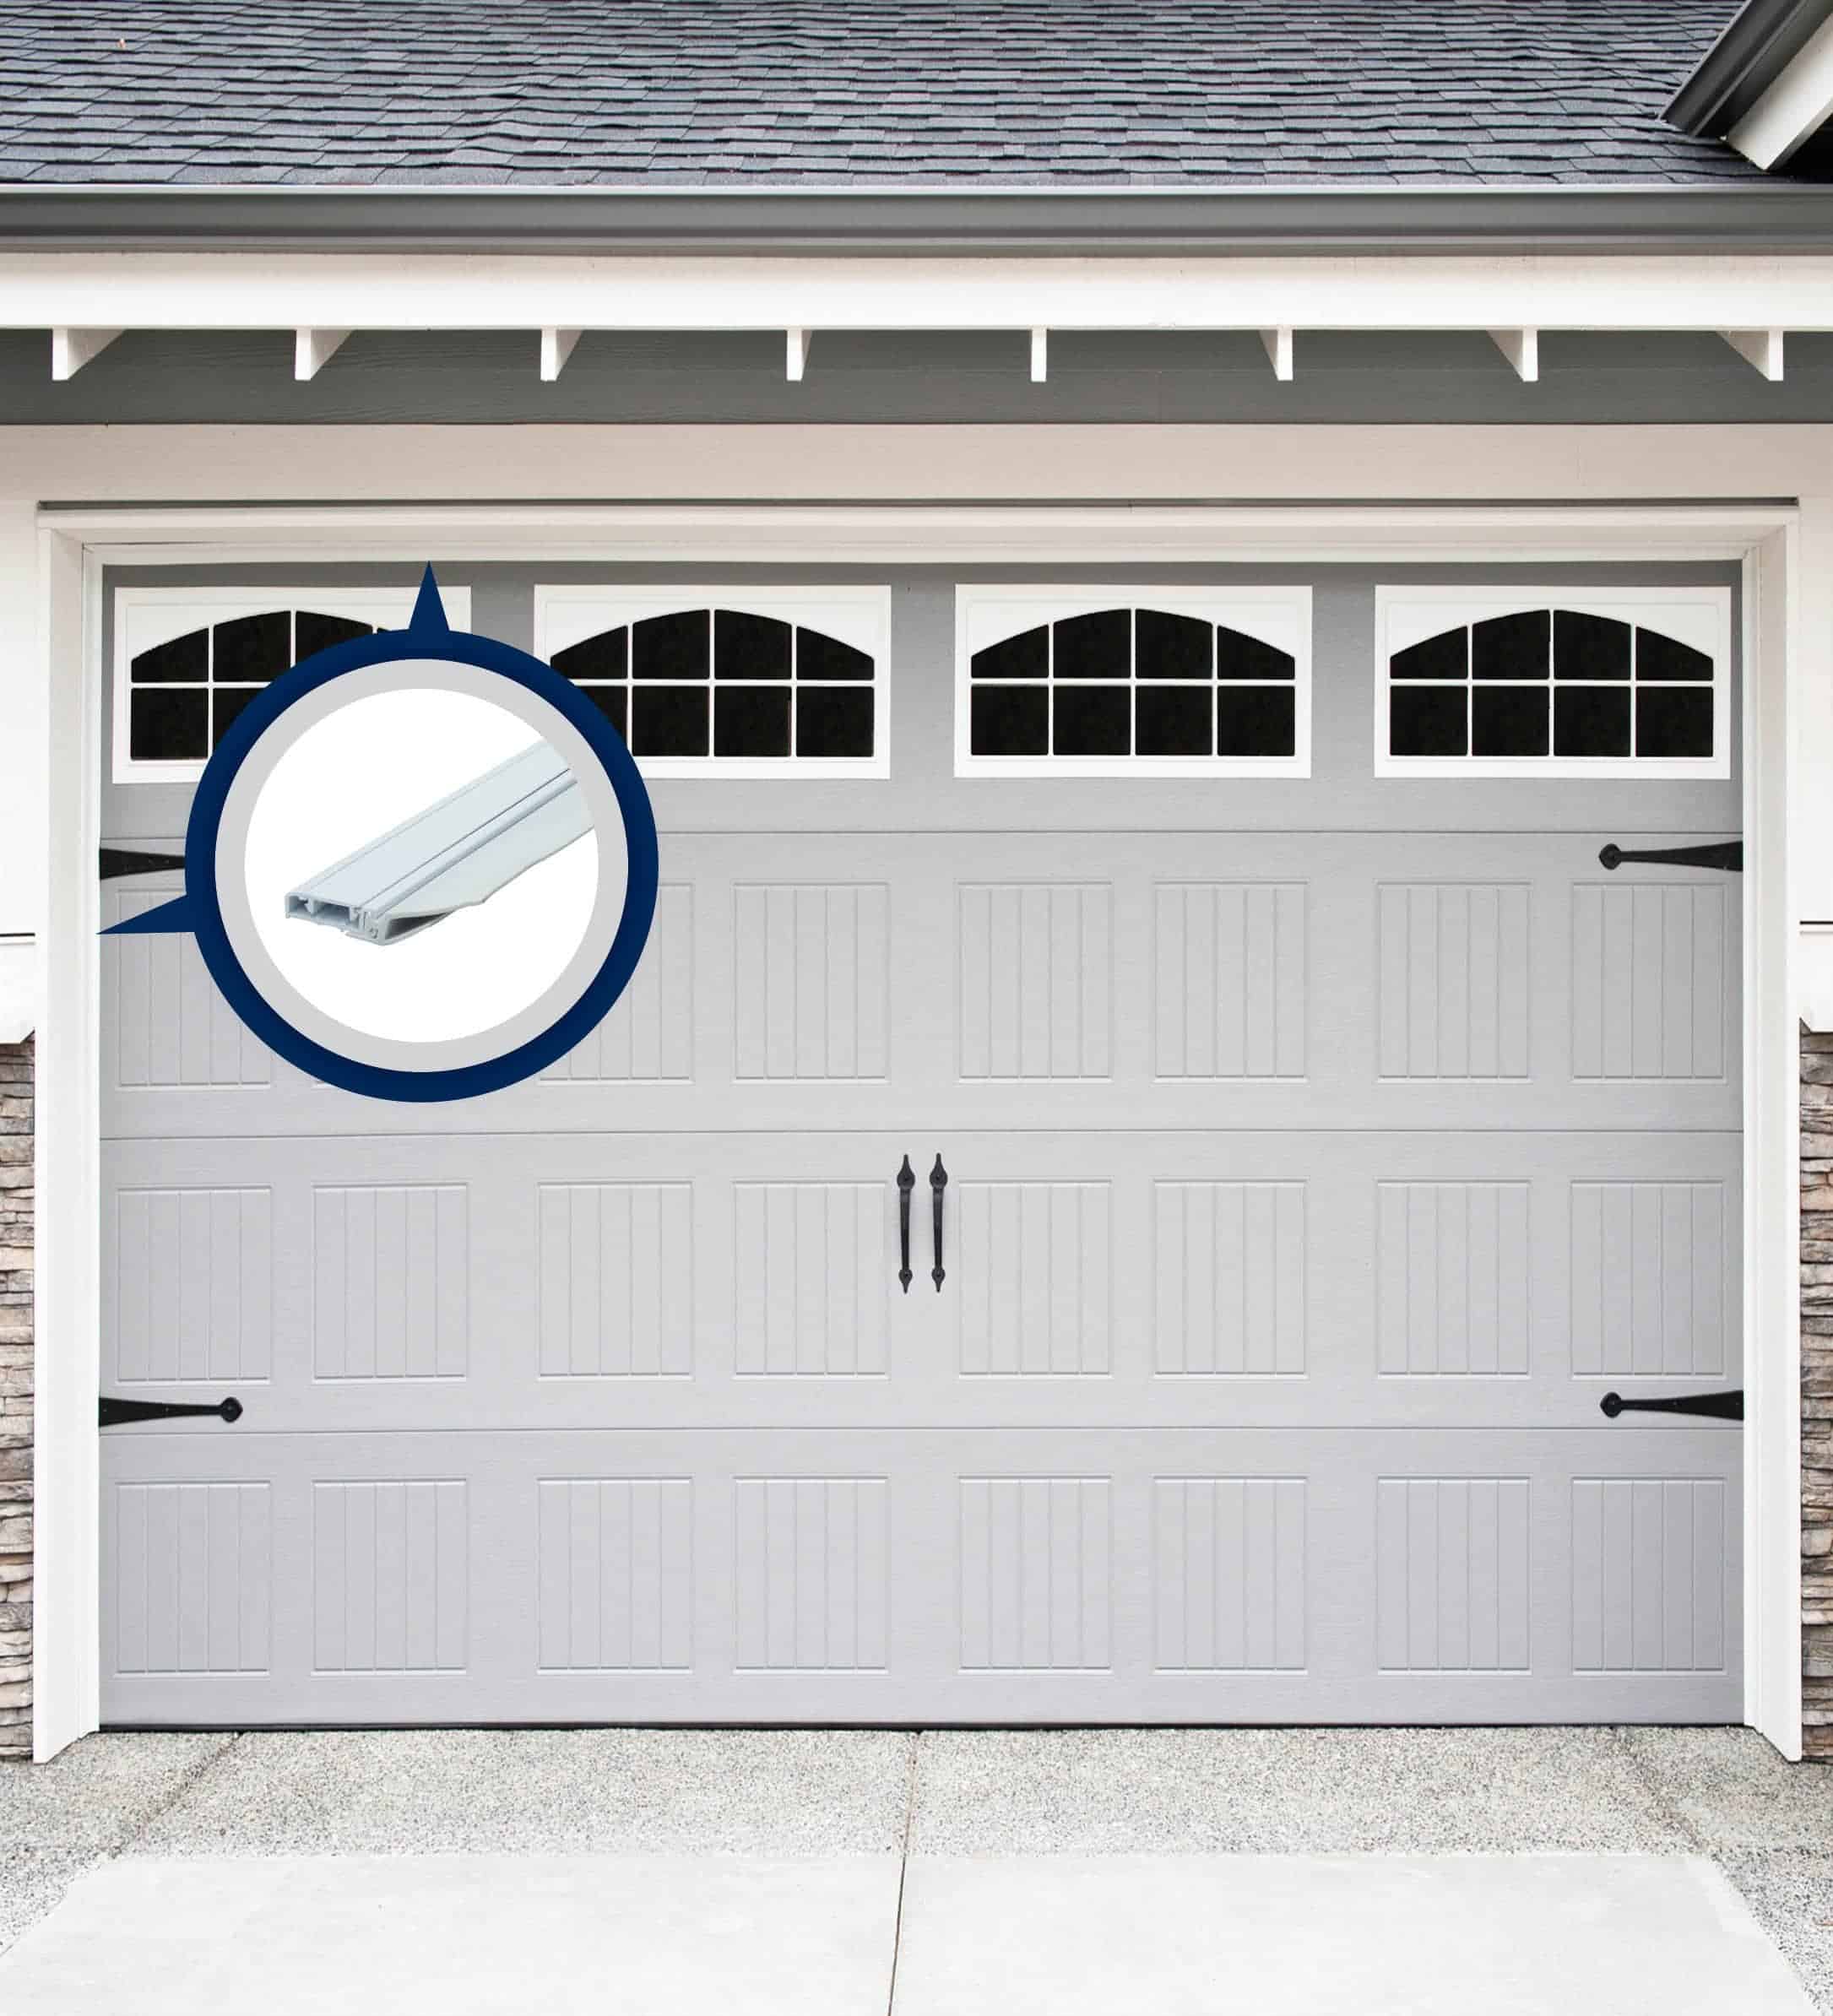
While these numbers look small, sealing the garage is often combined with other weatherproofing steps. The total impact adds up over time, especially in regions with harsh winters or hot summers.
Credit: climalocsolutions.com
Maintenance Tips For Long-lasting Seals
Installing a seal is just the start. With a little yearly maintenance, you can keep your garage door sealed for years.
- Inspect once a year: Check for cracks, gaps, or peeling.
- Clean regularly: Wash seals with mild soap and water to prevent dust buildup.
- Replace when worn: Most vinyl and rubber seals last 3–5 years; foam may need replacing sooner.
- Lubricate moving parts: Properly working hinges and rollers reduce wear on seals.
If you live in an area with lots of rain or ice, check after each season for damage.
Cost And Time Estimates
Sealing your garage door is a cost-effective project. Here’s what most homeowners can expect:
| Material | Average Cost | DIY Time Needed | Expected Lifespan |
|---|---|---|---|
| Foam Tape | $10–$20 | 30–45 minutes | 1–2 years |
| Vinyl/Rubber Seal Kit | $20–$40 | 1–2 hours | 3–5 years |
| Professional Install | $100–$200 | 1–2 hours | 3–5 years |
DIY installation is usually enough for most people. If your garage door is very old or damaged, consider professional help.
Credit: www.snirtstopper.com
When To Call A Professional
Most garage door sealing is simple, but some situations need expert help:
- Large gaps (over 1 inch)
- Rotten or damaged door frames
- Door does not close evenly or has mechanical problems
If you’re not comfortable using power tools or working on a ladder, a garage door specialist can install seals quickly and safely.
Frequently Asked Questions
How Do I Know If My Garage Door Needs Sealing?
If you see daylight around the edges, feel drafts, or notice water, insects, or dust getting inside, your garage door needs sealing. Closing the door and looking for light is an easy test.
Can I Seal My Garage Door If It’s Not Perfectly Straight?
Yes, flexible seals like rubber or brush types can fill uneven gaps. For large or uneven gaps, avoid foam tape—it may not last. In some cases, adjusting or repairing the door frame helps.
How Long Do Garage Door Seals Last?
Most vinyl and rubber seals last 3–5 years with proper care. Foam seals may wear out in 1–2 years. Weather, sunlight, and use affect how long they last.
Will Sealing The Garage Door Stop All Water Leaks?
Sealing the sides and top helps a lot, but water can still enter at the bottom or through cracks in the floor. Make sure the bottom seal is also in good shape and repair any cracks in the concrete.
Where Can I Find More Information About Garage Door Weatherproofing?
The U.S. Department of Energy offers reliable advice on weatherproofing homes, including garages. You can read their guides at Energy Saver.
Sealing your garage door sides and top is a smart, beginner-friendly way to cut energy costs and protect your space. With just a few tools and a little time, you can make your garage more comfortable and keep out unwanted dust, pests, and drafts.
Regular checks and occasional updates will help your seal last for years, making this a simple home upgrade with lasting benefits.

Credit: www.amazon.com