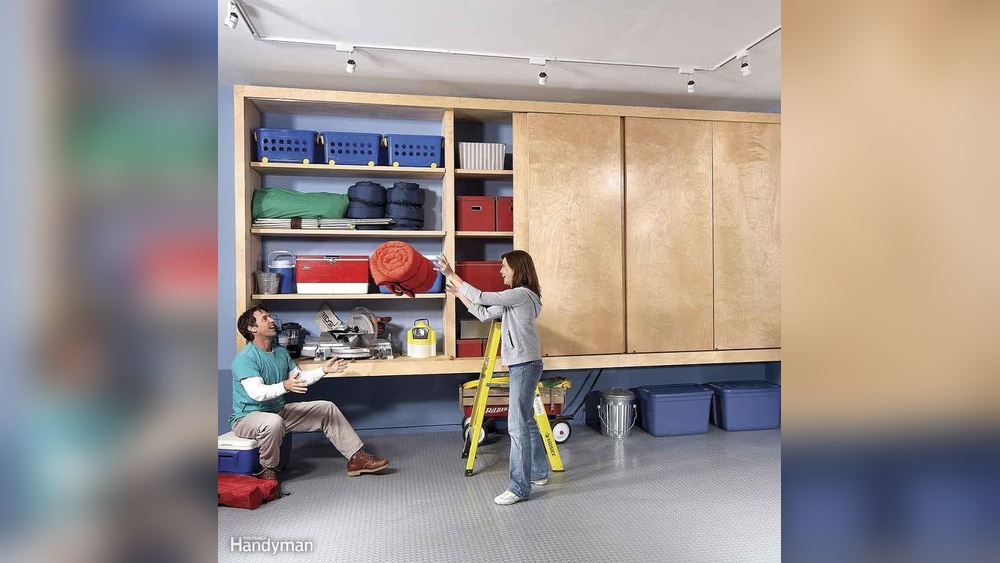
Building your own garage cabinets is one of the smartest ways to organize tools, sports gear, and all the things that pile up in your garage. Many homeowners want more storage but worry about cost or complicated instructions. The truth is, you can make sturdy, attractive cabinets—even if you’re a beginner. With the right guidance, tools, and materials, you’ll create storage that matches your needs and budget. Let’s break down how to make DIY garage cabinets that last, look good, and fit your space perfectly.
Why Build Diy Garage Cabinets?
Ready-made cabinets can be expensive and may not fit your garage’s unique size or needs. DIY cabinets are cost-effective, customizable, and often stronger. Here are a few key reasons people choose to build:
- Save money: DIY projects usually cost 40–60% less than buying finished cabinets.
- Custom fit: You decide the exact size, layout, and number of shelves.
- Better quality: You control the materials and build for heavy tools or special items.
- Satisfaction: Finishing a project yourself brings pride and confidence.
Planning Your Garage Cabinets
Good planning is the most important step. Before you buy wood or pick up a drill, take time to decide:
Measure Your Space
- Use a tape measure to check the length, height, and depth of your garage walls.
- Think about door swing and how much walking space you’ll need.
- Mark these measurements on paper or use free online design tools.
Decide What To Store
- Group items: Tools, chemicals, sports equipment, or car care.
- Heavy items need lower shelves; lightweight items can go higher.
- Think about adding locks for chemicals or sharp tools if you have children.
Choose A Cabinet Style
Common garage cabinet types include:
- Wall-mounted: Keeps the floor clear, good for smaller garages.
- Freestanding: Sits on the floor, easy to move.
- Modular: Multiple units that fit together, easy to expand later.
| Cabinet Type | Best For | Pros | Cons |
|---|---|---|---|
| Wall-mounted | Small spaces | Saves floor space | Needs strong wall studs |
| Freestanding | Heavy tools | Easy to move | Takes up floor space |
| Modular | Growing needs | Expandable | Can cost more |

Credit: www.youtube.com
Tools And Materials Needed
You don’t need fancy tools to build strong cabinets. Most people can do this project with basic equipment.
Tools
- Circular saw or table saw
- Drill and drill bits
- Screwdriver or impact driver
- Measuring tape
- Level
- Carpenter’s square
- Stud finder (for wall cabinets)
- Sandpaper
Materials
- Plywood (3/4-inch thick) for cabinet boxes and shelves
- 2×4 lumber for frames and supports
- Wood screws (2-inch and 1-1/4 inch)
- Cabinet hinges
- Handles or pulls
- Wood glue
- Paint, primer, or sealant
Pro tip: Avoid particleboard in humid garages; plywood resists moisture and lasts longer.
Step-by-step: Building Simple Garage Cabinets
Let’s build a basic wall cabinet, 36 inches wide, 24 inches tall, and 12 inches deep. This size fits most garages and can hold tools, paint cans, or cleaning supplies.
1. Cut The Panels
- Cut two side panels (24” tall x 12” deep).
- Cut a top and bottom panel (36” wide x 12” deep).
- Cut a back panel (36” wide x 24” tall) if you want a closed back.
2. Assemble The Box
- Lay the panels flat.
- Attach the top and bottom to the sides using wood glue and screws.
- Check with a square to keep corners at 90 degrees.
- Attach the back panel with screws (optional but adds strength).
3. Add The Shelves
- Decide shelf height based on what you will store.
- Mark shelf lines inside the cabinet.
- Attach shelves using screws through the sides.
4. Build And Attach Doors
- Cut two door panels (each 18” wide x 24” tall for a 36” cabinet).
- Sand edges smooth.
- Attach hinges to the doors, then screw them onto the cabinet box.
- Adjust doors so they close evenly.
5. Finish The Cabinet
- Fill screw holes with wood filler if you want a smooth look.
- Sand all surfaces.
- Paint, stain, or seal with a waterproof finish.
Beginner tip: Paint cabinets before mounting to the wall. It’s easier and less messy.
6. Mount The Cabinet
- Use a stud finder to locate wall studs.
- Drill screws through the cabinet back into studs for strong support.
- Use a level to keep everything straight.

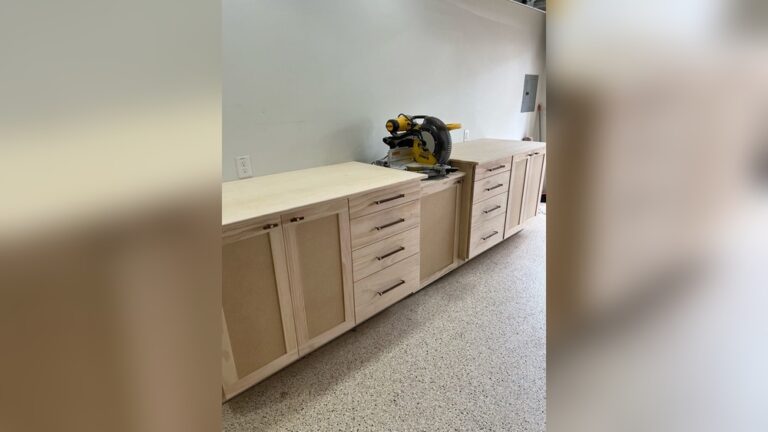
Credit: homewiththedaniels.com
Key Design Tips For Beginners
Many first-time builders miss small details that make a big difference:
- Ventilation matters: In humid garages, leave small gaps in the back panel for air flow to prevent mold.
- Door alignment: Use adjustable hinges if possible. They help fix crooked doors easily.
- Edge banding: For a finished look, add iron-on edge banding to plywood edges.
- Label shelves: Mark shelves for specific tools or chemicals. It saves time and keeps things organized.
- Lighting: Add stick-on LED lights inside cabinets for better visibility.
Cost Breakdown: Diy Vs. Pre-made Cabinets
Understanding your budget is important. Here’s a typical cost comparison for a basic 36-inch cabinet:
| Item | DIY Cost (USD) | Pre-Made Cost (USD) |
|---|---|---|
| Plywood & Lumber | $55 | Included |
| Hinges & Handles | $15 | Included |
| Screws & Glue | $10 | Included |
| Paint/Sealant | $15 | Included |
| Labor | Your Time | $80–$200 |
| Total | $95 | $220–$350 |
DIY saves money but takes 3–5 hours per cabinet, depending on your skill.
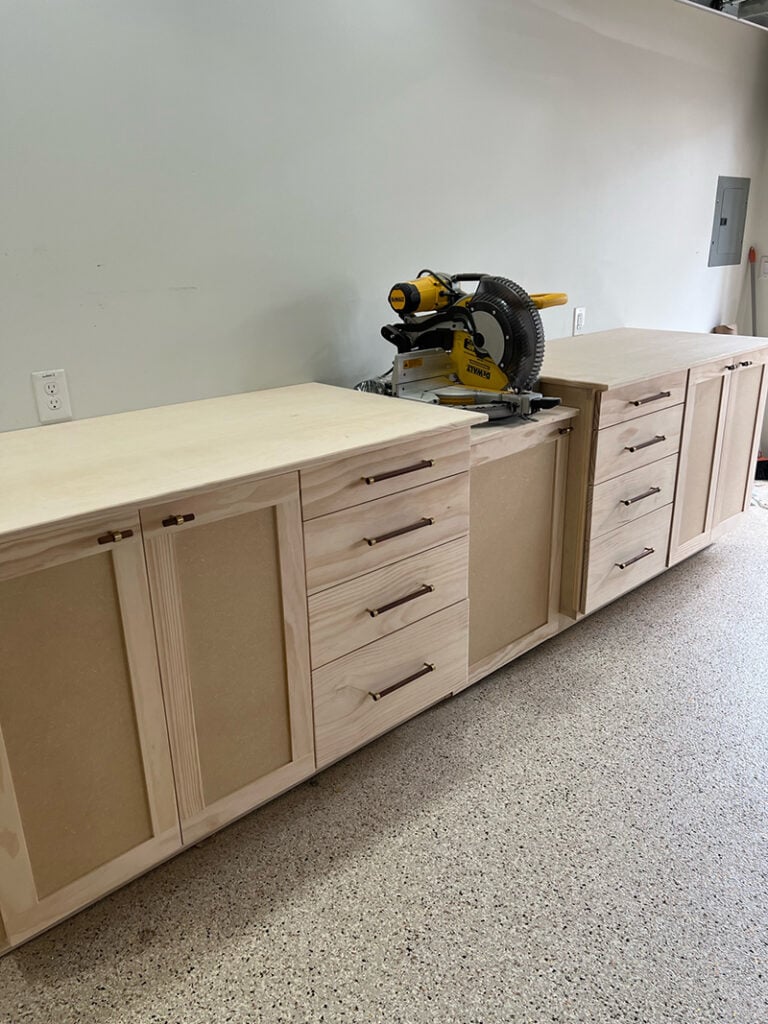
Credit: www.jennasuedesign.com
Mistakes Beginners Often Make
Learning from others’ mistakes helps avoid wasted time and money:
- Skipping wall stud checks: Cabinets not anchored to studs can fall.
- Using the wrong screws: Use wood screws, not drywall screws, for strength.
- Ignoring humidity: Untreated wood can warp in garages. Always seal or paint.
- Overloading shelves: Standard 3/4-inch plywood shelves hold about 80 lbs. Spread heavy tools across shelves.
- Poor measuring: Triple-check measurements before cutting. One wrong cut can ruin a panel.
Upgrades For Better Garage Cabinets
Once you master the basics, consider these upgrades:
- Soft-close hinges: Make doors close quietly and gently.
- Pull-out bins: Store screws, nails, or small parts in sliding bins.
- Heavy-duty casters: Add wheels to freestanding cabinets for mobility.
- Pegboard panels: Mount pegboards inside doors for hanging tools.
- Magnetic strips: Hold screwdrivers or wrenches for quick access.
Real-life Example: Beginner Success Story
Jake, a new homeowner, built his first set of garage cabinets over a weekend. He started with a simple 36-inch wide design, using plans from a popular DIY blog. By following clear steps, he spent about $120 and finished in two afternoons.
He later added more shelves and even built a matching workbench. Jake said the most useful part was learning to use a drill and circular saw. The cabinets have held up to heavy paint cans and power tools for over two years.
Maintenance Tips For Longevity
Your cabinets will last longer with a little care:
- Clean spills quickly to prevent stains.
- Check for loose screws or hinges every 6 months.
- Repaint or reseal every 2–3 years, especially in humid climates.
- Avoid storing flammable chemicals in closed cabinets without vents.
Insight: Store heavy items on the bottom shelf to prevent tipping and make access safer.
Are Diy Garage Cabinets Right For You?
DIY garage cabinets fit most budgets and skill levels. If you can measure, cut, and screw panels together, you can build a cabinet. The main things to consider are time, patience, and a willingness to learn. If you’re short on time or want a polished look, you can build the cabinet box and buy pre-made doors.
That’s a good middle ground for beginners.
If you want more design ideas, the Family Handyman website offers free plans and inspiration.
Frequently Asked Questions
How Much Weight Can Garage Cabinet Shelves Hold?
Standard 3/4-inch plywood shelves can safely hold 60–80 pounds if supported on the sides and back. For heavier tools or equipment, use thicker plywood or add extra supports beneath the shelf.
Can I Build Garage Cabinets Without Power Tools?
It is possible, but much harder and slower. A hand saw and screwdriver will work for small cabinets, but power tools make the job faster and the cuts more accurate. Borrow or rent tools if you don’t own them.
What Is The Best Material For Garage Cabinets?
Plywood is the top choice for most DIY garage cabinets. It’s strong, resists moisture, and holds screws well. Avoid using MDF or particleboard in damp garages, as these can swell or crumble over time.
Should I Paint Or Seal Garage Cabinets?
Always paint or seal your cabinets, especially in garages. This protects the wood from moisture and dirt. Use exterior-grade paint or polyurethane for the longest life. Apply at least two coats.
How Do I Keep Cabinets From Sagging?
Prevent sagging by:
- Using at least 3/4-inch thick plywood for shelves.
- Adding a center support for shelves over 36 inches wide.
- Securing cabinets to wall studs.
- Not overloading with heavy items.
Building your own garage cabinets is within reach, even for beginners. With careful planning, the right materials, and some patience, you’ll create strong, useful storage that makes your garage safer and more organized.