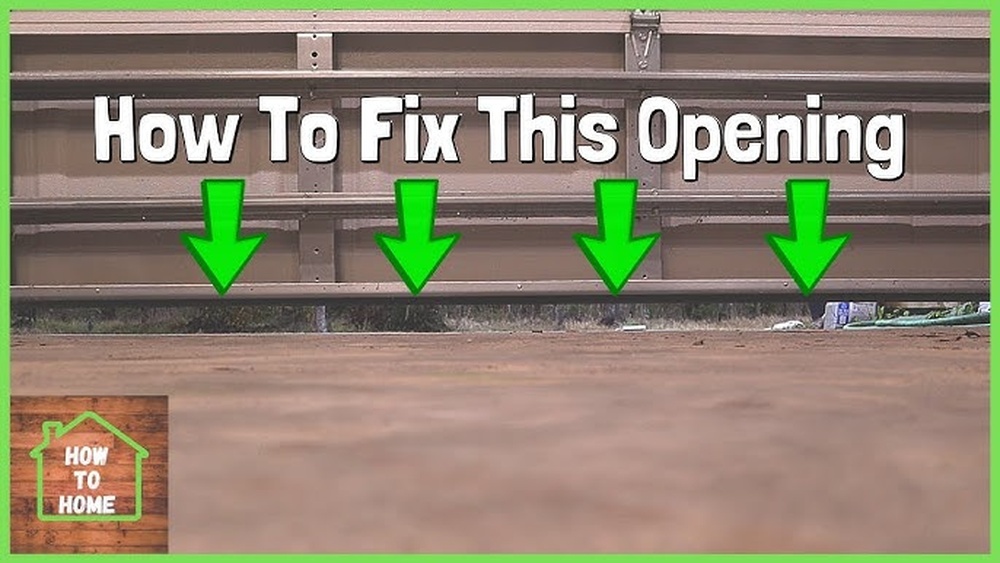
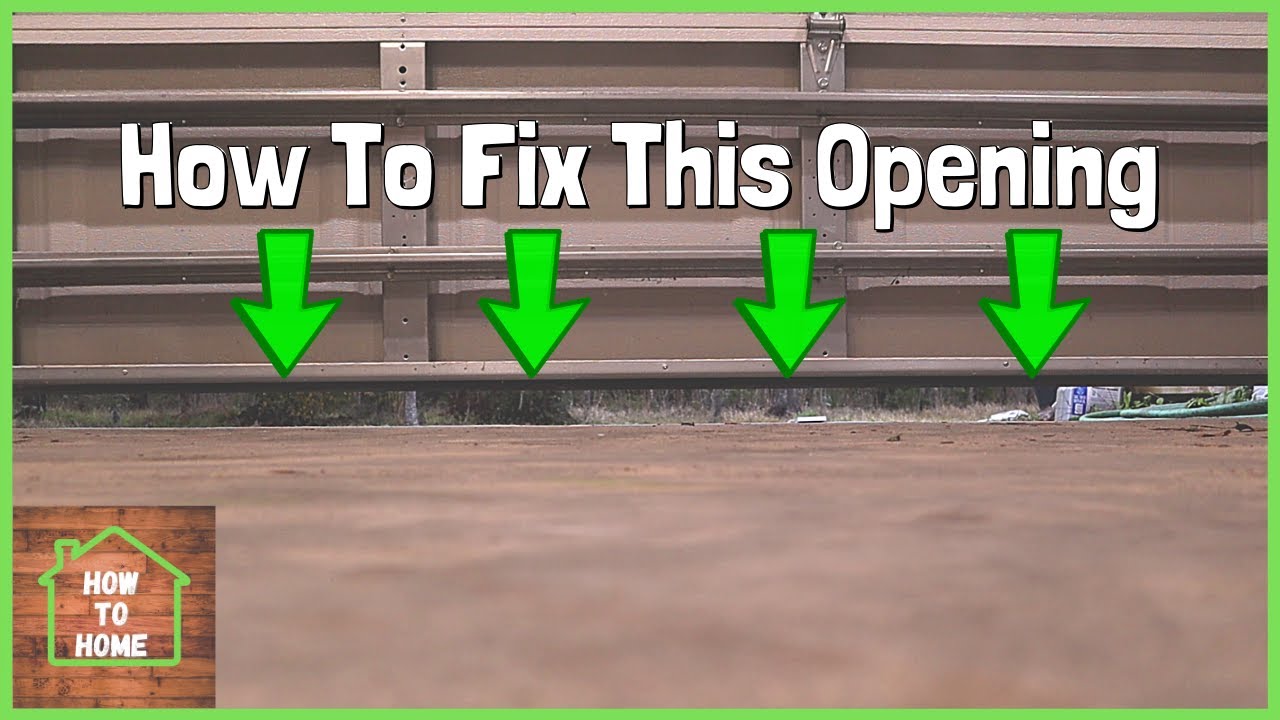
A garage door that won’t close all the way can be frustrating. It may leave your home and possessions less secure. You might worry about safety, pests getting in, or your car being exposed. This problem is common, but the causes can be simple or tricky. If you’re a beginner, you can fix many issues yourself without calling a professional. In this article, you’ll learn how to spot the reasons behind your garage door not closing all the way, what you can do, and how to avoid common mistakes.
Common Causes Of Garage Door Not Closing All The Way
Understanding why your garage door isn’t closing helps you fix it faster. Here are the most frequent reasons:
- Obstructed Safety Sensors
- Modern garage doors have photo-eye sensors near the bottom.
- If something blocks the sensor, the door won’t close.
- Dirt, spider webs, or toys can block or misalign sensors.
- Track Issues
- The garage door moves on metal tracks.
- Bent, dirty, or misaligned tracks can prevent full closure.
- Even small debris or rust may stop the door.
- Remote Control Problems
- Weak batteries or interference can cause incomplete closing.
- Sometimes, the remote needs reprogramming.
- Limit Settings
- Garage door openers have limit switches to set how far the door travels.
- If the limit is wrong, the door stops early or reverses.
- Broken Springs or Cables
- Springs and cables help lift and lower the door smoothly.
- If they’re damaged, the door may not close completely.
- Manual Lock Engaged
- Some doors have a manual lock that stops the door from closing.
- Accidentally engaging this lock can cause the problem.
Each of these issues has specific symptoms. For example, if the door starts closing but stops and reverses, sensors or limits are likely. If it’s stuck or moves unevenly, tracks or springs may be the culprit.
How To Diagnose The Problem
You don’t need special skills or tools to check most garage door problems. Here’s a beginner-friendly approach:
Step 1: Inspect The Sensors
- Look near the floor on both sides of the door.
- Check for dirt, cobwebs, or objects blocking the sensor.
- Make sure both sensors are facing each other.
Step 2: Check The Tracks
- Visually inspect the tracks for bends, gaps, or debris.
- Run your hand along the track (be careful of sharp edges).
- If you see rust or buildup, clean with a cloth.
Step 3: Test The Remote
- Try closing the door with the wall switch and the remote.
- If the wall switch works but the remote doesn’t, replace batteries.
- Move closer to the opener and try again.
Step 4: Review Limit Settings
- Listen for the opener motor stopping early or reversing.
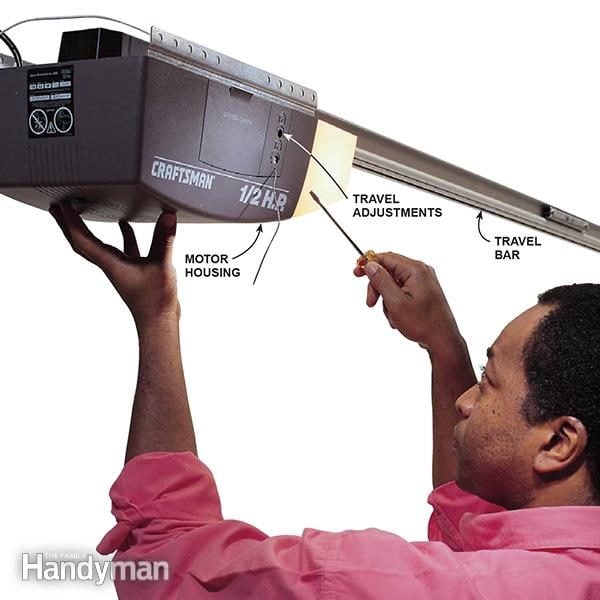
- Find the limit switch adjustment screws (often labeled “up” and “down”).
- Check your manual for exact location.
Step 5: Examine Springs And Cables
- Look above the door for springs and along the sides for cables.
- Check for visible damage, gaps, or broken parts.
- Do NOT touch springs—they can be dangerous.
Step 6: Check Manual Locks
- See if your door has a manual lock or latch.
- Make sure it’s fully disengaged.
Fixes For Garage Door Not Closing All The Way
Once you know the cause, you can try the following solutions:
Cleaning And Aligning Sensors
- Wipe sensors gently with a dry cloth.
- Remove any obstacles in the sensor’s path.
- Adjust the sensor brackets so they face each other.
- Check indicator lights on the sensors. Both should be solid.
Track Repair And Maintenance
- Remove debris and wipe tracks clean.
- If tracks are bent, use a rubber mallet to gently straighten.
- Tighten loose screws holding the track.
- Lubricate tracks with a silicone-based garage door lubricant.
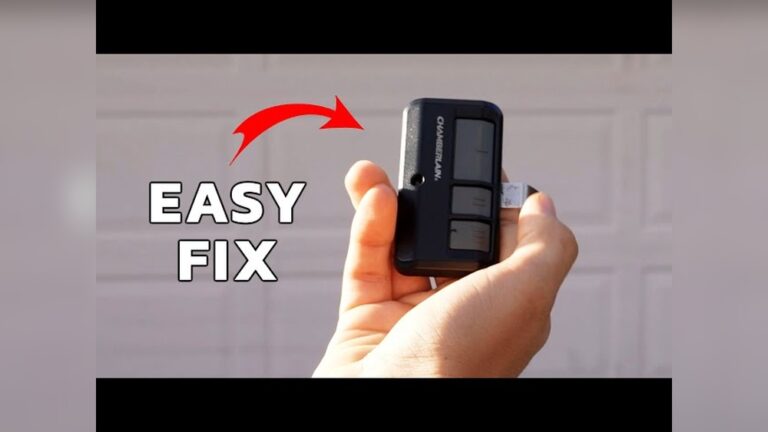
Remote Control Troubleshooting
- Replace remote batteries with fresh ones.
- Reprogram the remote following your opener’s manual.
- Avoid using the remote near large metal objects, which can cause interference.
Adjusting Limit Settings
- Using a screwdriver, turn the limit adjustment screw:
- Clockwise to increase travel distance (if door stops too early)
- Counterclockwise to decrease travel distance (if door closes too far)
- Test after each adjustment.
- Most openers require small, gradual changes.
Handling Springs And Cables
- If you see broken springs or cables, call a professional.
- Do not attempt to fix these yourself; it can cause injury.
Unlocking Manual Locks
- Slide or rotate the lock mechanism to the “open” position.
- Try closing the door again.
Data: Garage Door Closure Issues By Cause
Here’s a breakdown of common causes, based on homeowner surveys:
| Cause | Percentage (%) | Average Fix Cost |
|---|---|---|
| Sensor Obstruction | 35 | $0 – $30 |
| Track Issues | 25 | $10 – $70 |
| Remote Problems | 15 | $5 – $50 |
| Limit Setting | 10 | $0 |
| Springs/Cables | 10 | $80 – $300 |
| Manual Lock | 5 | $0 |
Sensor obstruction is the most common issue, with many fixes costing nothing if you do it yourself.
Credit: www.familyhandyman.com
Example: Real-life Garage Door Fix
Let’s look at a typical scenario:
- Maria notices her garage door stops halfway and reverses.
- She checks the sensors and finds one covered with spider webs.
- After cleaning, the door still won’t close.
- She adjusts the sensor so both lights turn green.
- The door now closes fully.
This example shows how simple actions can solve the problem. Many homeowners think the issue is expensive or complex, but often it’s quick to fix.
Garage Door Opener Comparison
Different openers have different troubleshooting features. Here’s a comparison of popular models:
| Brand | Sensor Type | Limit Adjustment | Remote Reset |
|---|---|---|---|
| Chamberlain | Infrared | Manual Screw | Easy (Button) |
| LiftMaster | Infrared | Manual Screw | Moderate (Programming) |
| Genie | Infrared | Electronic | Easy (Button) |
| Craftsman | Infrared | Manual Screw | Easy (Button) |
Genie openers often have electronic limit settings, which are easier for beginners.

Credit: www.reddit.com
Practical Tips For Beginners
- Always start with the sensors and tracks—these cause most problems.
- Use a flashlight to check for small objects or debris.
- Never force the door closed. This can damage parts.
- Keep the area clear of objects that might block sensors.
- If unsure about springs or cables, call a professional.
Many beginners miss checking the limit settings. Adjusting these can solve “door reverses” or “door stops early” problems. Also, some forget to test both the wall switch and remote. If one works and the other doesn’t, the fix is usually simple.
Safety Reminders
Garage doors are heavy and can cause injury if handled incorrectly. Always:
- Disconnect the opener before working on tracks.
- Keep children and pets away from the area.
- Wear gloves when cleaning or adjusting parts.
- Never touch or repair springs yourself.
If you’re not comfortable, it’s best to get help from a certified technician.
Credit: www.youtube.com
When To Call A Professional
Some fixes are easy for beginners, but others need expert help. Call a professional if:
- Springs or cables are broken.
- The door makes loud noises or jerks violently.
- The opener shows error codes you don’t understand.
- You’ve tried basic fixes and the problem persists.
Professional repairs can cost from $80 to $300, depending on the issue. They have tools and training to fix dangerous problems safely.
Preventive Maintenance
Regular maintenance helps avoid closure issues:
- Clean sensors and tracks monthly.
- Lubricate moving parts every six months.
- Test the door’s balance once a year.
- Check remotes and replace batteries as needed.
Most garage door manufacturers suggest yearly inspections. Preventive steps can save you money and keep your garage secure.
Data: Average Repair Times
Here’s a quick look at how long common fixes take:
| Repair Type | DIY Time | Professional Time |
|---|---|---|
| Sensor Cleaning | 10–15 minutes | 5 minutes |
| Track Cleaning | 15–30 minutes | 10–20 minutes |
| Remote Battery Change | 5 minutes | 5 minutes |
| Limit Adjustment | 10–20 minutes | 10 minutes |
| Spring/Cable Repair | Not recommended | 30–60 minutes |
Most fixes are quick and easy for beginners.
Frequently Asked Questions
Why Does My Garage Door Stop And Reverse?
This usually happens if the photo-eye sensors are blocked or misaligned. It can also be caused by incorrect limit settings. Clean the sensors and adjust the limits as needed.
Can I Fix A Garage Door Spring Myself?
No. Garage door springs are under high tension and can cause injury. Always call a professional for spring or cable repairs.
How Do I Know If The Problem Is The Remote Or The Opener?
Test the door using the wall switch. If the switch works but the remote doesn’t, replace the batteries. If neither works, check the opener’s power and settings.
Is It Safe To Adjust The Limit Settings?
Yes, but do it gradually and follow your opener’s manual. Small changes can solve the problem. Never adjust settings while the door is moving.
How Often Should I Clean The Sensors And Tracks?
For best results, clean sensors and tracks every month. This prevents most common issues and keeps your garage door working smoothly.
If you follow these steps, your garage door will work reliably and safely. Most issues are simple for beginners to fix. For more detailed guides and troubleshooting, visit Family Handyman.
Remember, regular maintenance and quick action can prevent bigger problems. If you face a tricky issue, don’t hesitate to call a professional. Your garage door is a key part of home security and convenience—keeping it in top shape pays off.