Installing a garage door opener might sound challenging, but with the right guidance, most homeowners can do it themselves. A garage door opener adds convenience, safety, and value to your home. Whether you are replacing an old unit or adding one for the first time, understanding the steps and key points is essential. This guide will walk you through the process, provide practical tips, and help you avoid common mistakes.
Understanding Garage Door Openers
Before starting installation, it’s helpful to know the main types of garage door openers and their features. This choice affects noise, speed, and cost.
Types Of Garage Door Openers
| Type | Main Feature | Best For | Average Cost |
|---|---|---|---|
| Chain Drive | Strong, affordable | Detached garages | $150–$250 |
| Belt Drive | Quiet operation | Attached garages | $200–$350 |
| Screw Drive | Low maintenance | Moderate use | $180–$300 |
| Direct Drive | Very quiet, durable | Luxury homes | $300–$500 |
Chain drive models are the most common for their low price and strength. Belt drive openers are quieter and better for garages next to living spaces. Screw drive and direct drive types are less common but offer unique benefits.
Key Features To Consider
- Horsepower: Most homes need 1/2 or 3/4 HP units.
- Remote controls: Look for multi-button remotes.
- Smart technology: Some models allow control from your smartphone.
- Battery backup: Keeps your garage working during power outages.
- Safety sensors: Required by law in many areas for added protection.
Tools And Materials Needed
Having the right tools makes installation smoother and safer. Here’s a list of what you typically need:
- Power drill with bits
- Adjustable wrench and socket set
- Screwdrivers (flat and Phillips)
- Step ladder (6 feet or taller)
- Level and measuring tape
- Hammer
- Wire cutters/strippers
- Safety glasses and gloves
Tip: Always read the manufacturer’s instructions before you start. Each model may have unique steps or requirements.
Preparing For Installation
Safety First
- Disconnect power to the garage door before starting.
- Check that the door is balanced and moves smoothly. A poorly balanced door can damage the opener.
- Have a friend help. Many steps are easier with two people.
Measuring And Marking
- Measure the garage door height. Standard openers fit 7-foot doors; extension kits are needed for taller doors.
- Mark the centerline above the door where the opener rail will mount.
- Check ceiling height—minimum clearance is usually 2 inches above the opener rail.
Removing An Old Opener
If you are replacing an old unit:
- Unplug and remove the old opener and bracket.
- Check for worn or broken parts, especially springs and cables.
Step-by-step Garage Door Opener Installation
Follow these steps for a typical opener. Adjust as needed for your specific model.
1. Assemble The Opener
- Lay out all parts on the garage floor.
- Assemble the rail and attach it to the power unit.
- Slide the trolley onto the rail.
Common mistake: Tighten all bolts only after aligning the parts.
2. Mount The Rail And Power Unit
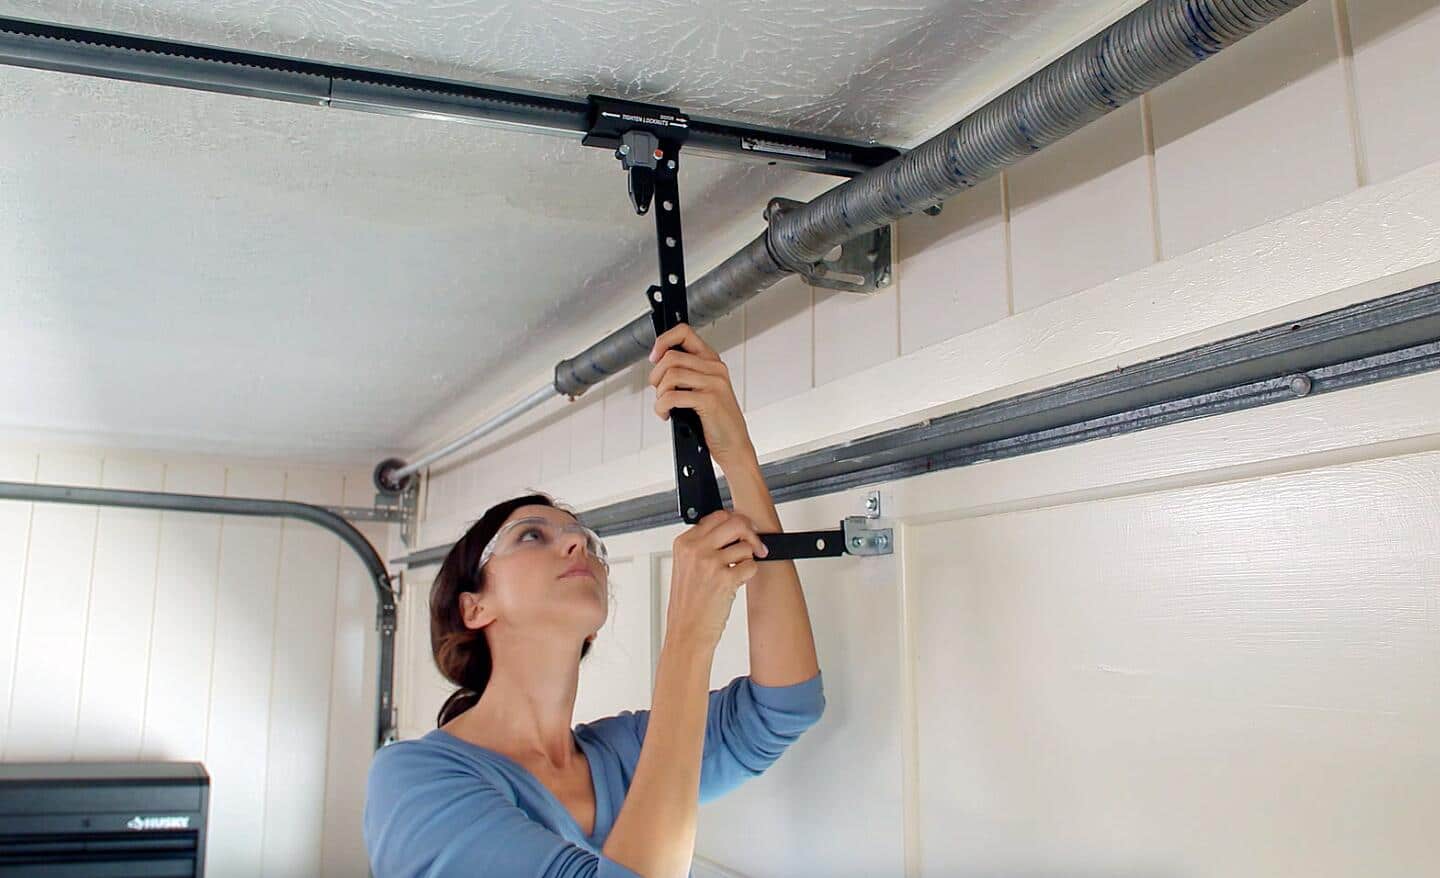
- Attach the rail to the header bracket above the garage door.
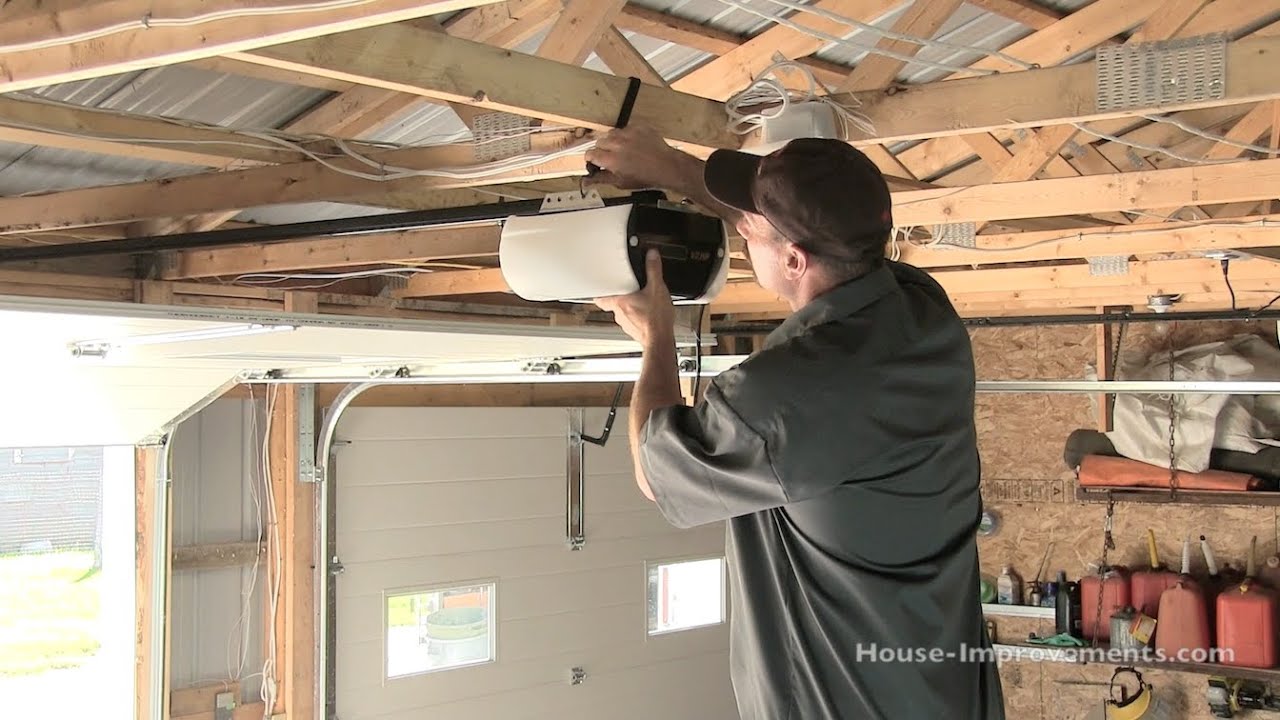
- Secure the power unit to ceiling joists using the included straps and hardware.
- Use a level to ensure the rail is straight.
| Step | Why It Matters | Common Error |
|---|---|---|
| Rail alignment | Smooth door travel | Uneven rail causes noise |
| Ceiling support | Safety and stability | Weak support can fall |
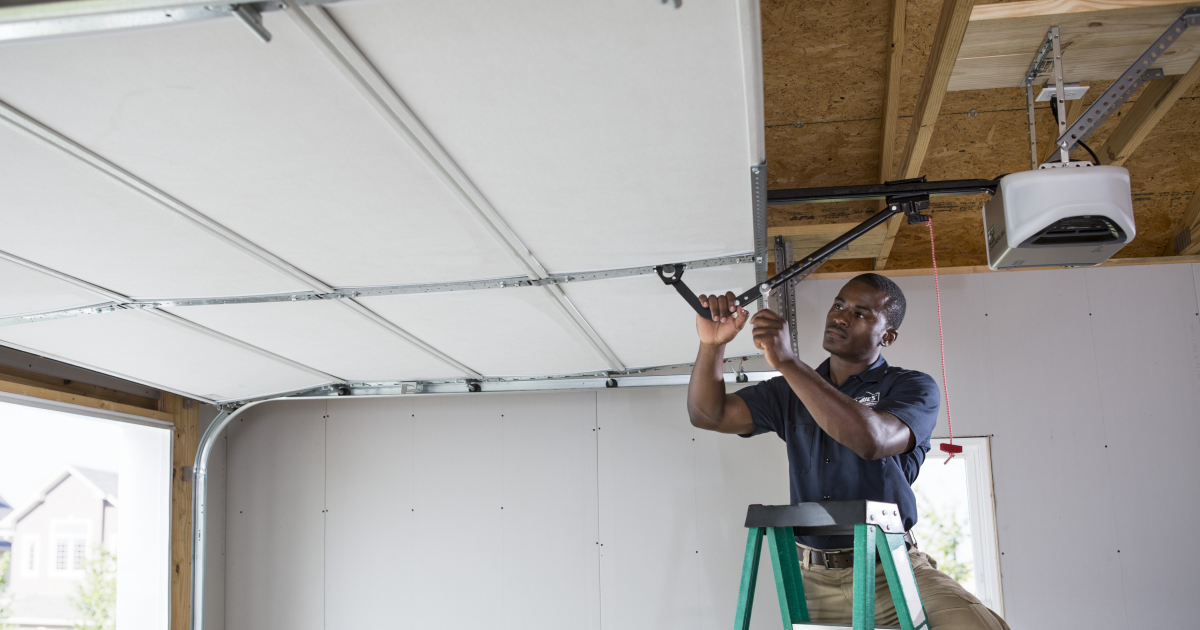
3. Attach The Door Arm And Trolley
- Connect the door arm to the garage door.
- Attach the trolley to the door arm.
- Make sure all bolts are tight.
Tip: Use the pre-drilled holes in the door for best results.
4. Install Safety Sensors
- Place safety sensors 6 inches above the floor on both sides of the door.
- Run the wires along the wall and connect them to the opener.
- Test the sensors. The door should reverse if an object breaks the beam.
Beginner insight: Sensors must be perfectly aligned. Even small misalignments can stop the door from closing.
5. Wire The Controls
- Mount the wall button near the entry to the garage.
- Run the wires to the opener (usually low-voltage, safe to handle).
- Connect according to the color coding in the manual.
6. Program Remotes And Keypads
- Follow the manufacturer’s steps to pair remotes and keypads.
- Test range and responsiveness.
Non-obvious tip: Some openers have a “learn” button inside the unit. Press it before pairing.
7. Power Up And Test
- Plug in the opener.
- Run the door up and down several times.
- Adjust force and travel limits if the door does not fully open or close.
Important: If the door sticks or reverses unexpectedly, stop and check all steps.
Common Mistakes And How To Avoid Them
Even simple errors can cause problems or safety risks. Here’s how to avoid the most frequent issues:
- Skipping the balance check. An unbalanced door strains the motor and can break parts.
- Weak ceiling mounting. Always use solid joists, not drywall or thin wood.
- Ignoring safety sensor alignment. Misaligned sensors stop the door from closing.
- Loose bolts and fasteners. Double-check all hardware before plugging in.
- Wrong force settings. Too much force can damage the door; too little, and it won’t close fully.
Pro tip: Always test the opener several times before regular use. Listen for odd noises and watch for smooth travel.
Maintenance Tips For Long Life
A garage door opener can last 10–15 years with simple care. Here’s how to keep yours running smoothly:
- Lubricate the rail and moving parts every 6 months.
- Check sensors and wiring for damage or dirt.
- Test the auto-reverse safety feature monthly by placing a small object in the door’s path.
- Replace batteries in remotes every 1–2 years.
- Tighten screws and brackets yearly.
If you notice unusual noises, slow operation, or the door not closing fully, inspect all parts immediately.
Credit: www.youtube.com
When To Call A Professional
While many people can install a garage door opener themselves, some situations require expert help:
- Torsion spring repairs. These are under high tension and dangerous.
- Electrical wiring beyond simple low-voltage controls.
- Heavy or custom doors that need special support.
If you are unsure about any step, contact a licensed installer. Safety should always be the top priority.
Cost And Time Estimates
The cost of installing a garage door opener includes both the unit and any extra materials. Here’s what to expect:
- Opener unit: $150–$500 depending on type and features
- Installation kit (brackets, straps): $20–$50 if not included
- Professional labor: $150–$300 (DIY saves this cost)
Most homeowners can finish the job in 4–6 hours. Budget more time if you are new to DIY projects.
Credit: www.wisconsingaragedoorpro.com
Practical Data: Real-world Example
Let’s look at a common scenario:
- Homeowner installs a belt drive opener on a 7-foot insulated door
- Total cost: $250 (opener) + $30 (extra hardware)
- Time spent: 5 hours (including reading instructions)
- Result: Quieter operation, added smartphone control, increased home value
This example shows that careful planning leads to good results—even for first-timers.
Smart Garage Door Openers
Modern openers often include Wi-Fi and smart features. Here’s what you need to know:
- App control allows you to open or close the door remotely.
- Alerts notify you if the door is left open.
- Integration with home assistants like Alexa or Google Home.
Smart openers cost about $50–$100 more but offer more convenience and security. For more details, see the Consumer Reports Garage Door Opener Buying Guide.
Garage Door Opener Comparison
Choosing the right opener depends on your needs. Here’s a quick comparison:
| Feature | Chain Drive | Belt Drive | Screw Drive | Direct Drive |
|---|---|---|---|---|
| Noise Level | High | Low | Medium | Very Low |
| Price | Low | Medium | Medium | High |
| Maintenance | Moderate | Low | Low | Very Low |
| Durability | High | High | Medium | High |
Frequently Asked Questions
What Horsepower Garage Door Opener Do I Need?
Most homes use 1/2 HP openers for standard doors. For heavier or double doors, 3/4 HP is better. Only large custom doors need 1 HP or more.
How Long Does It Take To Install A Garage Door Opener?
For beginners, installation takes 4 to 6 hours. If you work slowly or need to run new wiring, it may take longer. Reading the manual and preparing all tools saves time.
Can I Use My Old Garage Door With A New Opener?
Yes, if your door is in good shape and balanced. Check for broken springs or warped panels before installing a new opener.
Why Won’t My Garage Door Close All The Way?
Common reasons include misaligned safety sensors, blocked tracks, or improper force settings. Realign sensors and check the manual for adjustments.
Are Smart Garage Door Openers Safe?
Yes, most use encrypted connections and can be integrated with home security systems. Always use strong passwords and update firmware for the best safety.
Installing a garage door opener is a project many homeowners can tackle with patience and the right information. It adds real convenience and security to your home. With careful planning, attention to detail, and regular maintenance, your new opener will work smoothly for years.
If you ever feel unsure, don’t hesitate to contact a professional for help.
Credit: www.lowes.com