How To Install Garage Door Weather Stripping
A drafty garage can cause problems you might not notice right away. Cold air, water, and even small animals can sneak in through gaps around your garage door. This makes your home less energy-efficient and less comfortable. The solution is simple: install garage door weather stripping. Many homeowners think this job is too hard, but with the right steps and tools, almost anyone can do it.
Weather stripping is a small investment that can make a big difference. It helps keep out dust, rain, insects, and even noise. You’ll save money on energy bills and protect your belongings from damage. If you’re new to DIY projects, don’t worry.
This guide will show you everything step by step. You’ll learn how to choose the right materials, measure accurately, and install weather stripping that lasts.
Why Garage Door Weather Stripping Matters
Many people don’t realize how much energy is lost through a garage door. In winter, cold air leaks in. In summer, hot air seeps inside. According to the US Department of Energy, up to 30% of a home’s energy loss happens through poorly sealed doors and windows. Sealing your garage door can help cut energy bills by 10–15% annually.
But saving money isn’t the only reason to add weather stripping. Here’s what else it does:
- Blocks water: Keeps rain and snow from entering.
- Stops pests: Prevents mice, bugs, and spiders from getting inside.
- Reduces noise: Makes your garage and home quieter.
- Protects items: Keeps stored things safe from moisture and dirt.
Many beginners overlook the importance of sealing the sides and top of the garage door, not just the bottom. Sealing all edges is key for the best results.
Types Of Garage Door Weather Stripping
Choosing the right type is important. Each kind fits a specific part of the door and offers different benefits. Here’s a quick comparison to help you decide:
| Type | Where Used | Main Benefit | Typical Lifespan |
|---|---|---|---|
| Bottom Seal | Bottom of door | Blocks drafts, water | 3–5 years |
| Side Seal (Stop Molding) | Sides of door frame | Blocks air, pests | 5–7 years |
| Top Seal | Top of door | Stops heat loss | 5–7 years |
| Threshold Seal | Floor under door | Extra water barrier | 4–6 years |
Bottom seals are the most common and easiest to replace. Side and top seals (also called stop molding) are often missed but are vital for a full seal. Threshold seals stick to the floor and work well if your driveway slopes toward the garage.
Tools And Materials Needed
Before you start, make sure you have everything ready. Here’s what you’ll need:
- Weather stripping kit (choose the right type for your door)
- Measuring tape
- Utility knife or heavy-duty scissors
- Hammer and nails (for wood doors/stop molding)
- Drill and screws (for metal doors or threshold)
- Screwdriver
- Pencil or marker
- Cleaning supplies (rag, mild cleaner)
- Step ladder (if your door is tall)
- Safety glasses and gloves
Many beginners forget to check the thickness of their garage door or the track type. Measure both before buying your weather stripping. This prevents buying the wrong size or style.
Measuring Your Garage Door
Accurate measuring is key for a good fit. Here’s how to do it:
- Width: Measure the door’s width at the bottom, sides, and top. Some doors are not perfectly square.
- Height: Measure the full height of the opening.
- Track type: Look at the bottom of the door. Most doors have either a T-style or bulb seal track. Match your new seal to the existing track.
- Side and top frame: Measure the length of both sides and the top frame where you’ll install the molding.
Tip: Write down every measurement. Many beginners forget one and have to remeasure later.
Step-by-step Guide: Installing Bottom Weather Stripping
Bottom seals take the most wear and tear. Replacing them is a smart first step. Here’s how to do it:
1. Remove The Old Seal
- Open the garage door fully.
- Pull or slide out the old seal. Some seals are nailed or screwed—remove fasteners first.
- Clean the bottom edge with a rag and mild cleaner.
2. Prepare The New Seal
- Cut the new seal to the measured width. Leave an extra inch for adjustment.
- If your door has a metal track, spray a little soapy water for easier sliding.
3. Install The Seal
- Slide or push the new seal into the track. For wooden doors, nail or screw the seal in place.
- Make sure the seal is centered and hangs down evenly on both sides.
4. Test The Seal
- Close the door and look for gaps. Adjust if needed.
- Trim any excess with a utility knife.
Here’s a quick look at common bottom seal types:
| Seal Type | Fits Track Style | Best For |
|---|---|---|
| T-Style | Double T-slot | Most metal doors |
| Bulb | Single slot | Older wood doors |
| Bead End | Bead slot | Custom doors |
Many beginners miss cleaning the track, which can make installing the new seal harder. Always clean before installing.
Installing Side And Top Weather Stripping
The sides and top are often forgotten, but these gaps let in as much air as the bottom. Here’s how to seal them:
1. Choose The Right Material
Most side and top seals are vinyl or rubber stop molding. Choose flexible material for the best seal.
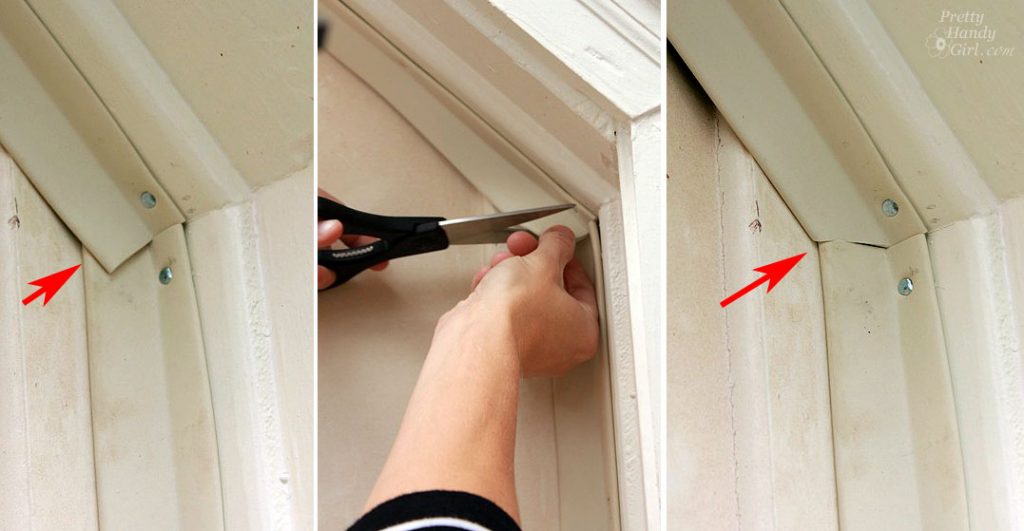
2. Measure And Cut
- Measure each side and the top.
- Cut the molding to fit. Mark with a pencil for accuracy.
3. Attach The Seals
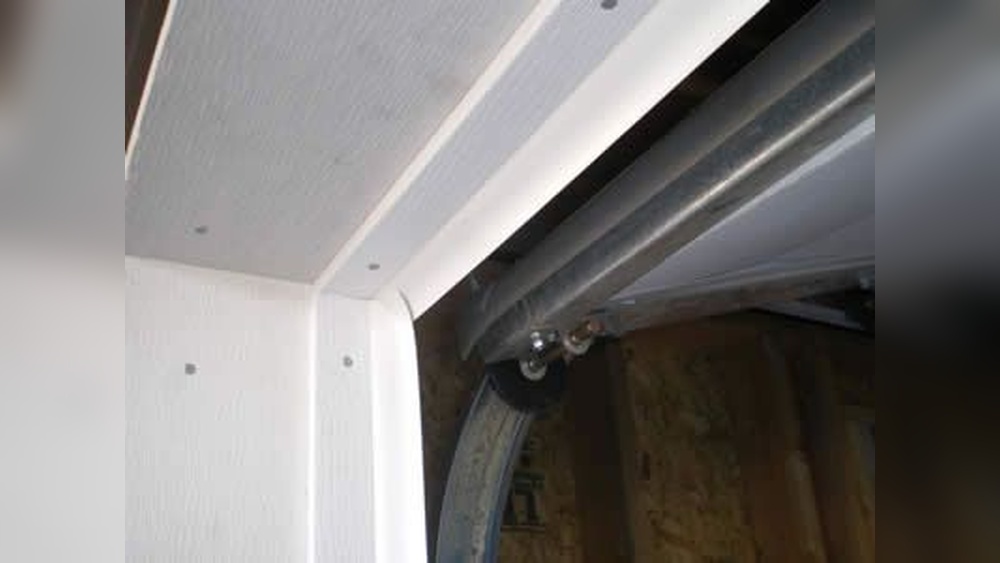
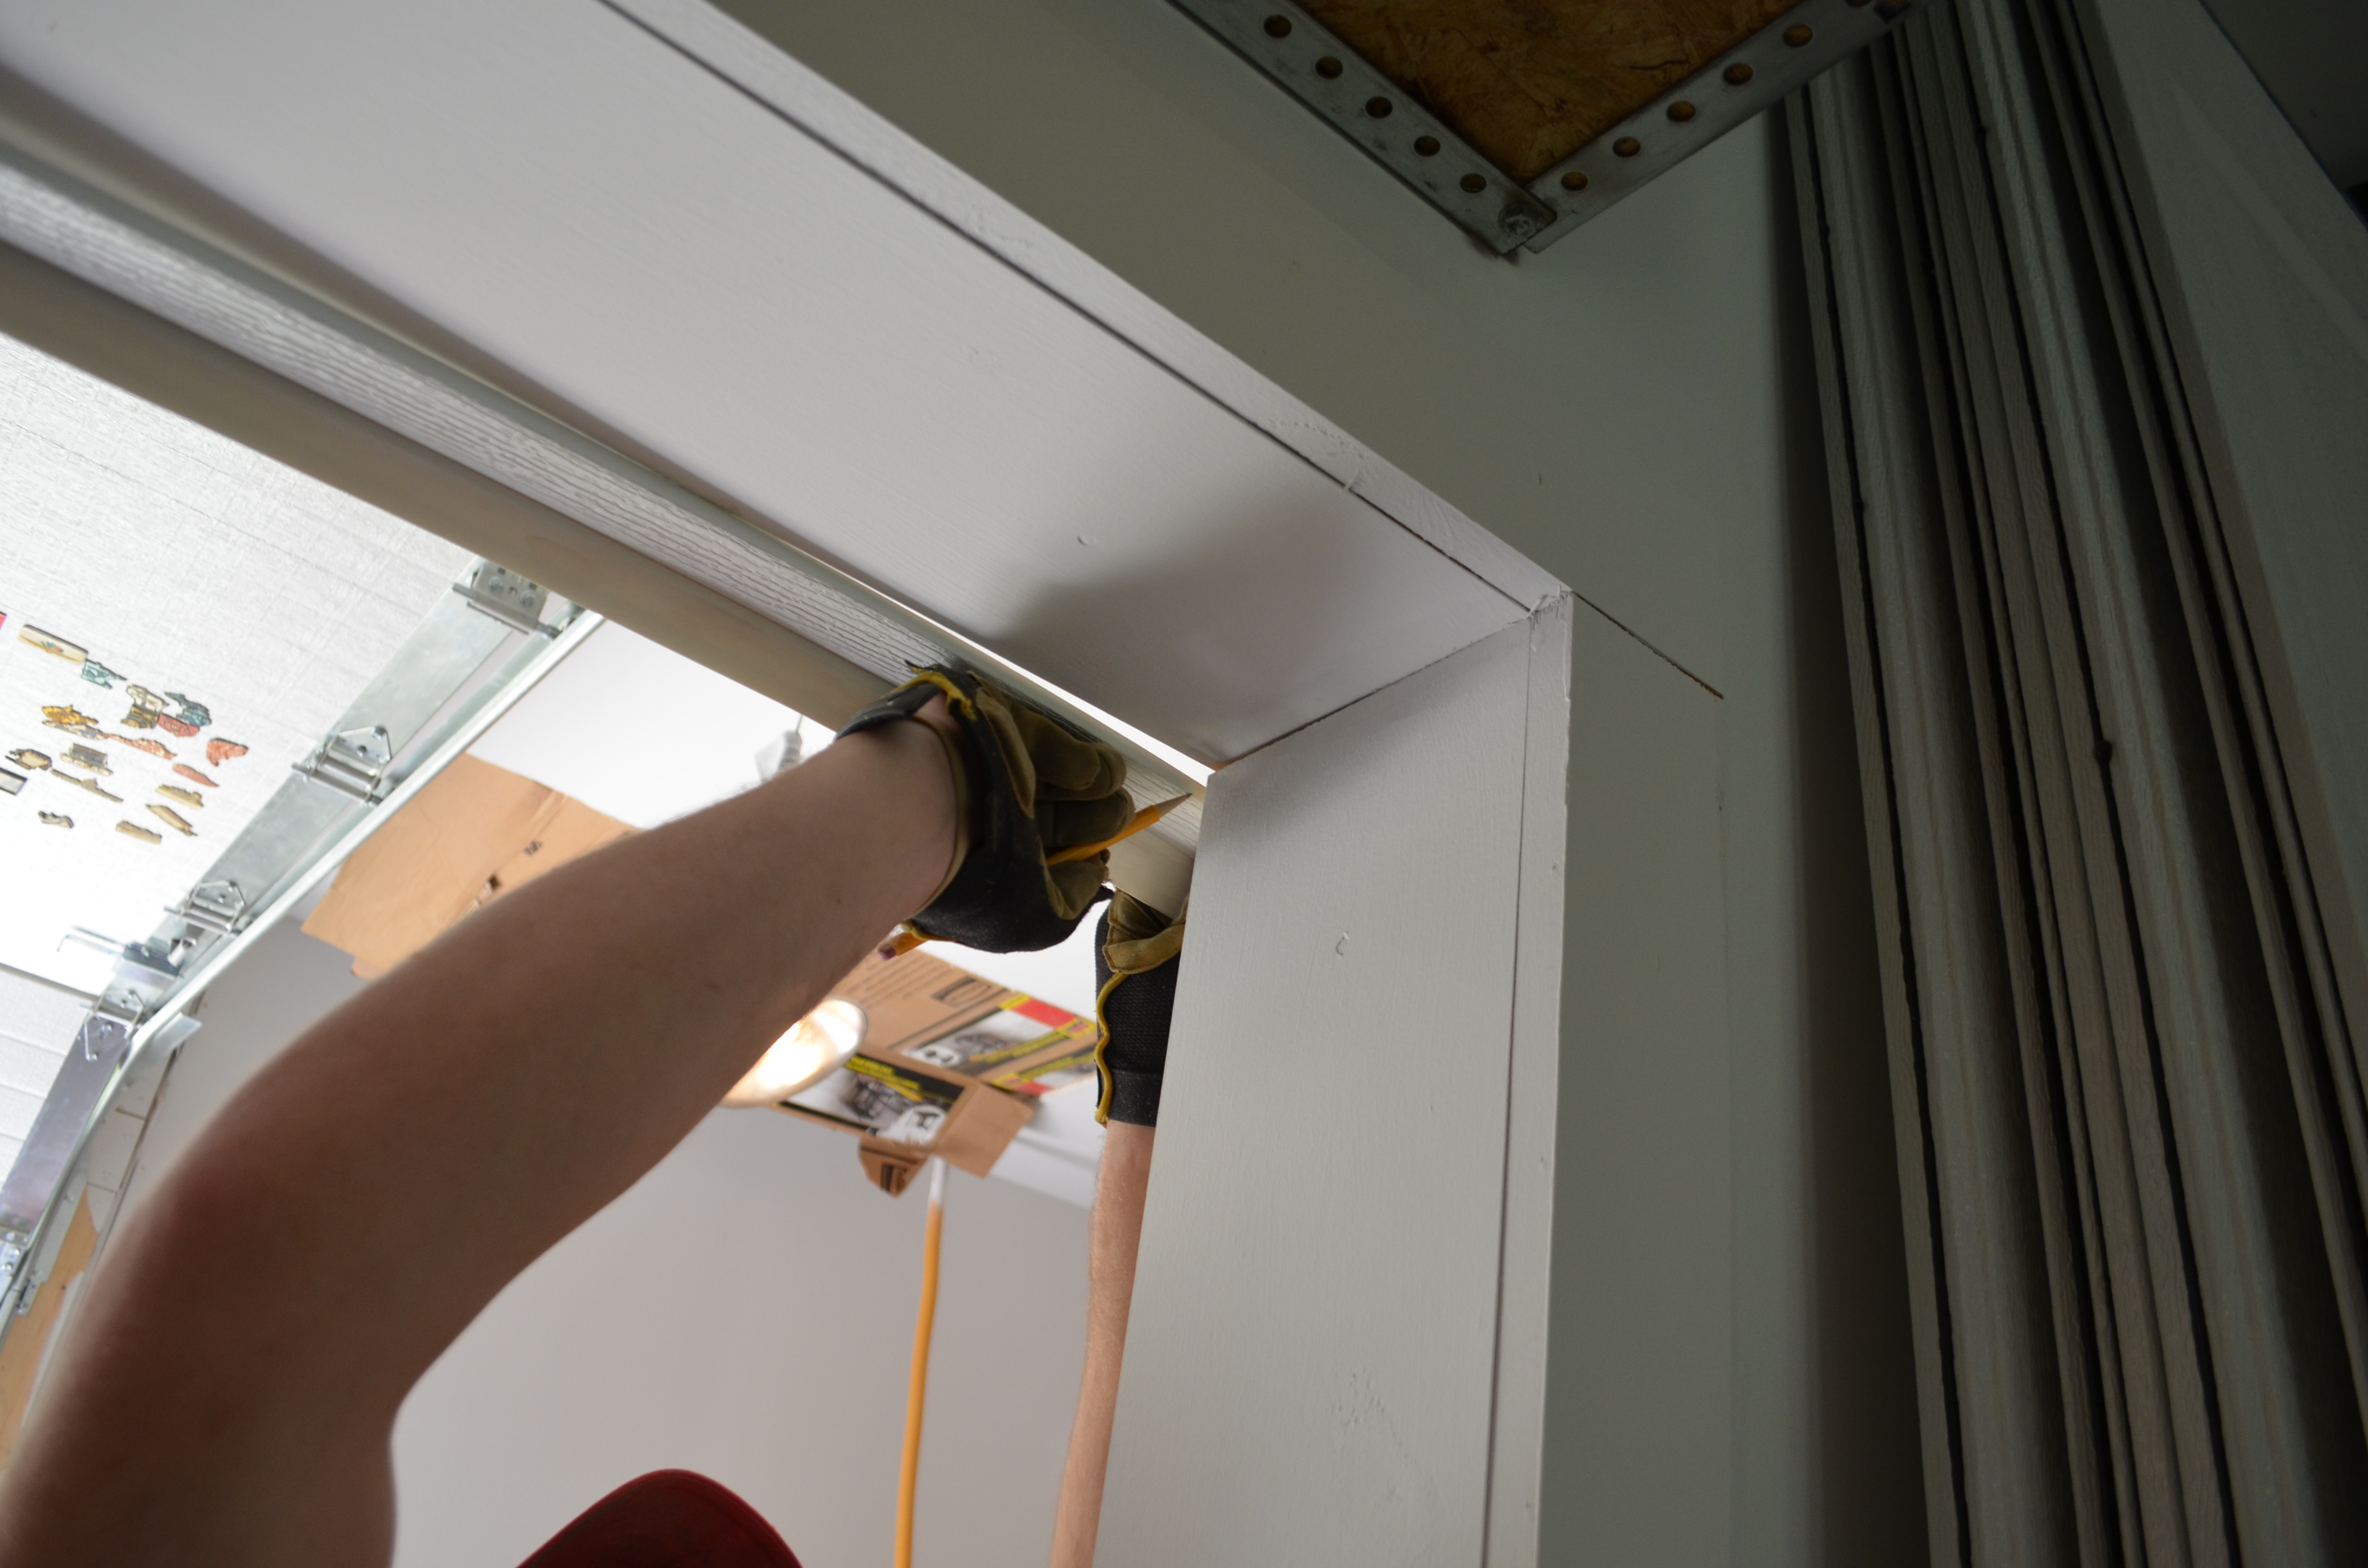
- Start at one side. Hold the molding so the soft edge presses gently against the closed door.
- Nail or screw the molding to the frame, spacing fasteners every 12–16 inches.
- Repeat for the other side and the top.
Tip: Don’t press the seal too hard against the door. It should touch the door but not stop it from closing.
Adding A Garage Door Threshold
Thresholds are optional but provide extra protection against heavy rain or sloped driveways. Here’s how to install one:
1. Clean The Floor
- Sweep and clean the area where the threshold will sit.
- Let it dry completely.
2. Position The Threshold
- Close the garage door.
- Roll out the threshold and fit it snugly against the closed door.
- Mark the edges with a pencil.
3. Glue Down The Threshold
- Lift the threshold and apply adhesive (usually comes with the kit) in a zigzag pattern.
- Press the threshold into place, lining up with your marks.
- Close the door and let the adhesive cure for the time recommended by the manufacturer (usually 24 hours).
Tip: Don’t drive over the threshold until the adhesive is fully set.
Common Mistakes And How To Avoid Them
Many first-timers run into simple problems that are easy to avoid:
- Wrong seal size: Always measure before buying.
- Skipping cleaning: Dirt and debris can prevent a good seal.
- Installing too tightly: Seals should touch, not crush, against the door.
- Ignoring side and top gaps: Sealing only the bottom is not enough.
- Not checking after installation: Always test the door to make sure it closes smoothly and seals well.
A non-obvious insight: If your garage floor is uneven, choose a flexible threshold seal or use a double-layer bottom seal for a better fit.

Credit: www.youtube.com
Maintenance Tips For Long-lasting Seals
Weather stripping does not last forever. Here’s how to keep it working well:
- Inspect every 6 months for cracks, tears, or gaps.
- Clean the seals with mild soap and water to remove dirt and road salt.
- Lubricate metal tracks (if used) to prevent seals from sticking.
- Replace immediately if you see daylight under or around the door.
- Check during different seasons—rubber contracts in cold weather and may need adjustment.
A tip beginners often miss: Store leftover weather stripping in a cool, dry place. You’ll have the right material handy for quick repairs.
When To Call A Professional
Most homeowners can install weather stripping themselves. But call a pro if:
- Your door is heavy or hard to move.
- You find signs of rot, rust, or structural damage.
- The door does not close properly after sealing.
A professional can also install heavy-duty commercial-grade seals for very drafty garages.
Credit: www.garagedoorweatherseal.com
Cost And Savings
Installing garage door weather stripping is affordable. Here’s a breakdown:
| Item | Average Cost | DIY or Pro |
|---|---|---|
| Bottom Seal | $15–$40 | DIY |
| Side/Top Molding | $20–$50 | DIY |
| Threshold Kit | $25–$60 | DIY |
| Professional Install | $100–$250 | Pro |
Most homes spend under $100 for a full DIY upgrade. This can pay for itself in energy savings within one year.
Frequently Asked Questions
How Often Should I Replace Garage Door Weather Stripping?
Most weather stripping lasts 3–7 years, depending on material and climate. Inspect it every six months for cracks, tears, or gaps. Replace it as soon as you see damage or daylight under the door.
What Is The Best Material For Garage Door Weather Stripping?
Vinyl and rubber are the most popular. Rubber is very flexible and lasts longer in cold weather. Vinyl is more affordable and works well for mild climates. Some premium seals use silicone, which resists UV and extreme temperatures.
Can I Install Weather Stripping On An Old Garage Door?
Yes, you can. Measure carefully and choose a style that fits your door type. For very old wooden doors, you may need to use nails or screws instead of sliding seals. Always clean and repair the door first for best results.
Why Is My Garage Still Drafty After Installing Weather Stripping?
Check for these common issues:
- Gaps in side or top seals
- Uneven garage floor
- Seal installed too loosely or tightly
- Damaged or warped door frame
Address these problems for a tighter seal. If you still have drafts, consider adding a threshold seal or contacting a professional.
Where Can I Learn More About Garage Door Maintenance?
For more information, visit the U.S. Department of Energy’s weatherization guide. It covers door sealing, caulking, and more energy-saving tips.
Weather stripping your garage door is a simple upgrade that saves energy, protects your garage, and keeps your home comfortable. With the right materials and a little care, you can do it yourself and enjoy the results for years.
Credit: prettyhandygirl.com