Reset Garage Door Keypad
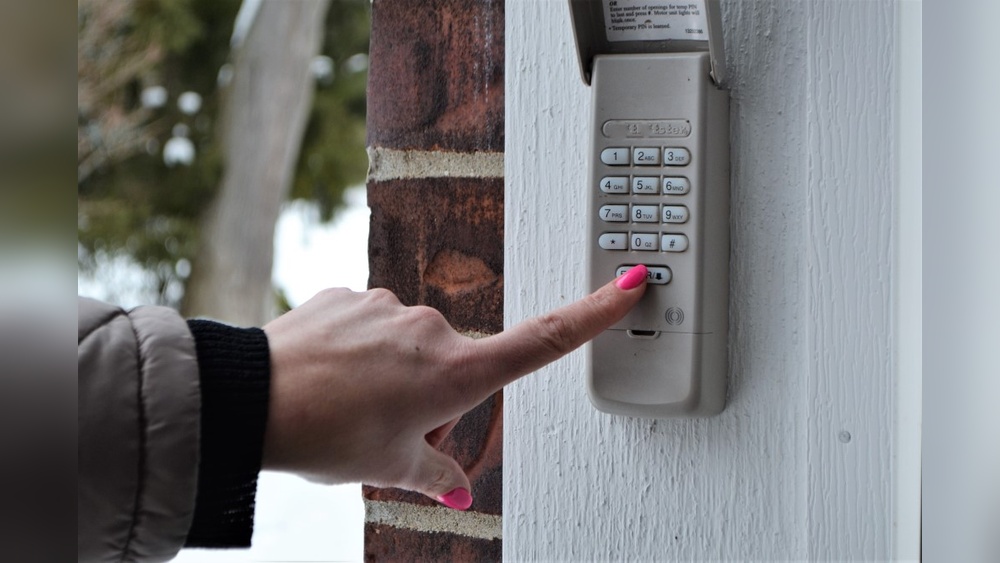
A garage door keypad gives you an easy way to open and close your garage without a key or remote. But sometimes, you might need to reset it. Maybe you forgot your code, moved to a new home, or worry someone else knows your code. Resetting your garage door keypad is a simple task you can do yourself. This guide walks you through the steps, explains why and when to reset, and shares tips to keep your garage more secure.
Why Reset Your Garage Door Keypad?
Many people use the same code for years without changing it. But this can be risky. Here are main reasons to reset your keypad:
- Forgotten Code: If you don’t remember your old code, resetting is the fastest way to regain access.
- Moved Into a New House: Always reset the keypad so previous owners or tenants can’t enter.
- Security Concerns: If you think someone else knows your code, reset it right away.
- Malfunction or Error: Sometimes, the keypad stops working or doesn’t respond. A reset can fix simple glitches.
Resetting your keypad is a smart habit. It helps keep your home and family safe.
Basic Types Of Garage Door Keypads
Understanding your keypad type helps you reset it easily. Most systems fit into these categories:
- Wireless Keypad: Common outside the garage, battery-powered.
- Built-in Keypad: Part of the wall unit inside your garage.
- Smart Keypad: Connects to Wi-Fi or a smartphone app.
Each type has a different reset process. Always check your keypad’s brand and model before starting.
Popular Brands
You may see these names on your keypad:
- Chamberlain
- LiftMaster
- Genie
- Craftsman
All have small differences, but the steps are often similar.
Credit: www.overheaddoorcompanyofhuntsville.com
Tools And Preparation
You don’t need special tools. But a few things help:
- Step stool or ladder: For reaching the garage door opener unit.
- New batteries: Many keypads stop working when batteries are low.
- Owner’s manual: Some models need specific steps.
Always read safety warnings on your device before starting.
Step-by-step: How To Reset A Garage Door Keypad
Most resets take just 5–10 minutes. Here’s a beginner-friendly process for common brands.
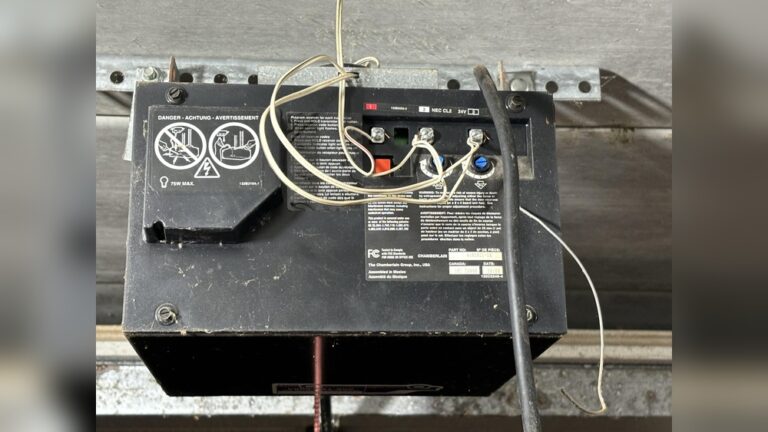
1. Locate The “learn” Or “smart” Button
The Learn button is usually on the garage door opener (the box hanging from the ceiling). It’s often:
- Under a light cover
- Colored (yellow, red, orange, or purple)
- Labeled “Learn” or “Smart”
If you can’t find it, check your manual or look for a small button near the antenna wire.
2. Clear Old Codes
Press and hold the Learn button for about 6–10 seconds. The indicator light will turn off or blink, showing old codes are erased.
Tip: Clearing codes logs out all remotes and keypads. You’ll need to reprogram them.
3. Reset The Keypad Code
After clearing, set a new code:
- Press the Learn button again (quick press, don’t hold).
- Go to your keypad within 30 seconds.
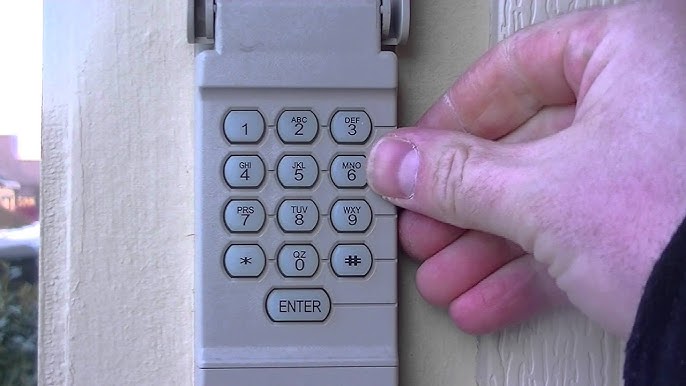
- Enter your chosen 4-digit code, then press the Enter button.
The opener’s light should blink or you’ll hear a click. This means the new code works.
4. Test The Keypad
Walk outside. Enter your code on the keypad. The garage should open or close.
If not, repeat the steps. Replace batteries if the keypad doesn’t light up.
5. Reconnect Other Remotes
Remember, erasing codes means you need to add back any handheld remotes. Use the same Learn button and follow the steps in your manual.
Resetting Different Keypad Brands
Some brands have unique steps. Here are quick guides for popular ones:
Chamberlain/liftmaster
- Press and release the Learn button.
- Enter new code on the keypad, press Enter.
- Light flashes = code accepted.
Genie
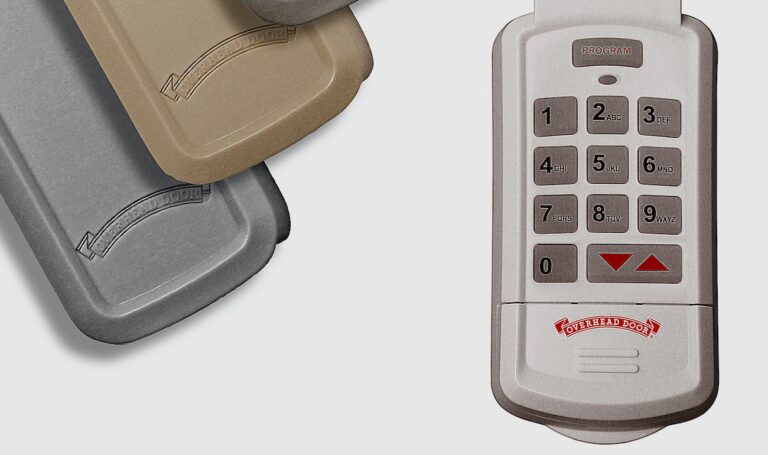
- Open the keypad cover fully.
- Press Program twice.
- Enter your PIN, then press Enter.
- Press the Learn Code button on the opener.
- Enter PIN again, then Enter.
Craftsman
- Press Learn once (don’t hold).
- Enter new code on the keypad, then Enter.
- Light blinks = done.
Always check your manual for model-specific steps.
Troubleshooting Common Problems
Some users struggle with resets. Here’s how to solve top issues.
- Keypad Doesn’t Light Up
- Change the batteries.
- Check for stuck or dirty buttons.
- Code Not Accepted
- Wait a few seconds between steps.
- Make sure you press the Learn button correctly (don’t hold for “add,” hold to “erase”).
- Keypad Works, Remotes Don’t
- After a reset, add back all remotes.
- Each remote needs reprogramming.
- No Response at All
- Check power to the opener.
- Inspect for loose wires or damage.
- Keypad Still Uses Old Code
- Clear codes again. Repeat steps carefully.
- Some keypads store codes even after battery removal.
If you’re still stuck, search for your keypad’s model online or visit the official Chamberlain Support page for help.

Credit: www.wikihow.com
Keypad Reset Comparison For Top Brands
Below is a side-by-side look at how different brands reset:
| Brand | Reset Button Location | Time to Reset | Special Steps |
|---|---|---|---|
| Chamberlain | Opener unit (ceiling) | 2–5 min | Quick press “Learn” button |
| Genie | Keypad + opener | 5–8 min | Press “Program” twice |
| Craftsman | Opener unit | 2–5 min | Enter code, press “Enter” |
| LiftMaster | Opener unit | 2–5 min | Similar to Chamberlain |
Security Tips After Resetting
Changing your code is only one part of garage security. Try these steps to stay safe:
- Use a code that isn’t easy to guess (no birthdays or 0000).
- Change your code every 6–12 months.
- Don’t share your code unless needed.
- Check for worn keys or faded numbers (replace if needed).
- If you lose your remote, reset codes right away.
Some new keypads let you set temporary codes for guests or deliveries. Always delete these when not needed.
When To Call A Professional
Most resets are DIY, but sometimes you need help:
- The keypad is broken or water-damaged.
- The opener won’t accept new codes.
- Wires are loose or corroded.
- You see error messages or lights that won’t clear.
A trained technician can fix complex problems, replace keypads, or upgrade your system.
How Often Should You Reset?
For most people, changing the code once a year is enough. But you should reset if:
- Someone moves out or loses a remote.
- You notice odd behavior (door opens on its own).
- You rent your home to others.
Some homeowners reset every few months for extra safety.
Keypad Reset Vs. Full Opener Reset
You might wonder if you need a full system reset. Here’s a quick comparison:
| Action | Effect | When to Use |
|---|---|---|
| Keypad Reset | Changes keypad code only | Forgotten code, new owner, security update |
| Full Opener Reset | Erases all remotes and keypads | Lost remote, moving out, suspected hacking |
Most people only need a keypad reset. Full resets are for bigger concerns.
Safety Precautions
Never rush the process. Follow these safety tips:
- Unplug the opener before opening covers or touching wires.
- Never use metal tools inside the keypad.
- If you use a ladder, make sure it’s stable.
- Keep small children away during resets.
If you feel unsure, ask a family member to help.
Extra Tips For Beginners
Here are two tips even experienced users sometimes forget:
- Write down your new code but store it in a safe place (not in the garage).
- Check the keypad battery at least once a year. Weak batteries cause keypad errors and failed resets.
Also, after resetting, test the system multiple times. Try opening and closing the door from different distances.
Example: Resetting A Chamberlain Keypad
Let’s walk through a real example. Suppose you bought a house with a Chamberlain opener.
- Climb a step ladder. Find the yellow Learn button on the ceiling unit.
- Press and hold the button for 8 seconds. All previous codes are erased.
- Press the Learn button again (quick press).
- Enter your new 4-digit code on the keypad outside.
- Press Enter. The light on the opener flashes.
- Test the keypad. The door opens and closes.
If you have remotes, add them back one by one using the Learn button.
Credit: www.youtube.com
Common Mistakes To Avoid
Even simple resets can go wrong. Watch out for:
- Holding the Learn button too long: This erases all programming, not just the keypad.
- Entering code too slowly: Most units give you 30 seconds to complete programming.
- Not replacing old batteries: Many people skip this step and think the keypad is broken.
- Forgetting to re-add remotes: After a full reset, all remotes must be programmed again.
Faq Section
Frequently Asked Questions
How Do I Know If My Keypad Reset Worked?
If the reset worked, the garage door will open or close with your new code. The opener’s light may blink or you’ll hear a click. If nothing happens, repeat the steps or check the battery.
Can I Set A Temporary Code For Visitors?
Many modern keypads let you set a temporary access code. This code works for a short time or a set number of uses. Check your keypad’s manual for instructions.
What If I Lost My Keypad Manual?
You can usually find manuals online by searching your keypad’s brand and model. Most manufacturer websites have free PDFs. Or, contact customer support for help.
Is It Safe To Reset The Keypad Myself?
Yes, it’s safe if you follow instructions and basic safety tips. Always unplug the opener if you open covers or touch wires. If you feel unsure, call a technician.
Why Won’t My New Code Work After Resetting?
This can happen if you enter steps too slowly, use the wrong sequence, or have low battery power. Double-check each step, replace batteries, and try again. If problems continue, your keypad may need repair.
Resetting your garage door keypad is simple and keeps your home secure. With the right steps and a little care, you’ll have peace of mind and easy access every day.