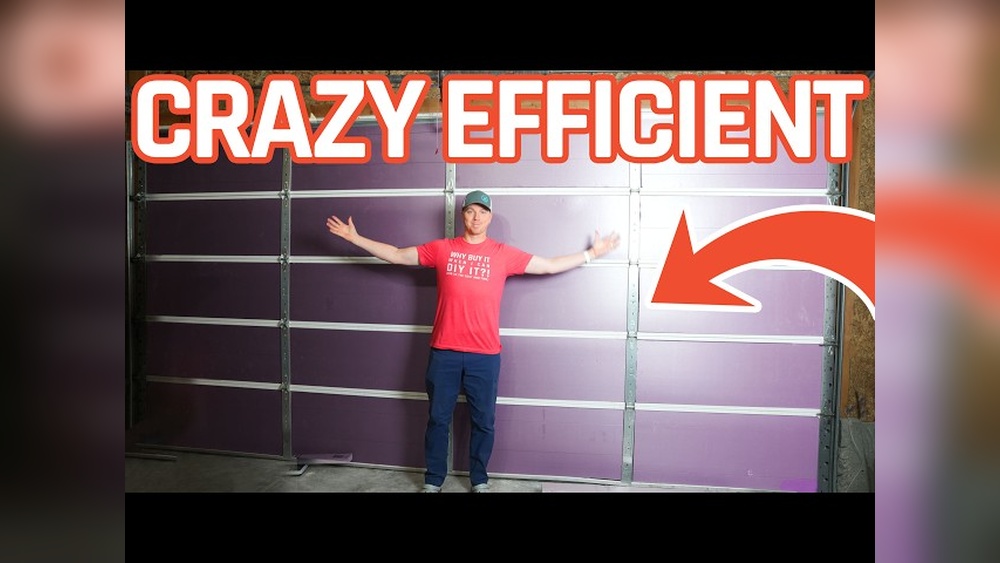
Insulating your garage door is one of the smartest ways to boost home comfort and energy savings. Many garages are not heated or cooled, but they can let unwanted heat or cold into your house. This makes your home’s temperature less stable and causes higher energy bills.
By adding the right insulation, you can control the temperature in your garage, protect stored items, and even reduce noise from outside.
For beginners, this guide explains every step in simple language. You will learn how to choose the best insulation, what tools you need, and how to install it safely. We’ll also share some key mistakes to avoid, and how to check your results.
Even if you have never done a DIY project before, you will find practical tips and examples to help you succeed.
Why Insulate Your Garage Door?
A garage door is often the largest opening in your house. Without insulation, it acts like a thin metal barrier. This lets outside temperatures pass through easily. Here’s why garage door insulation matters:
- Reduces energy loss: Keeps heat out in summer and cold out in winter.
- Improves comfort: Makes the garage more usable year-round.
- Protects items: Maintains safer temperatures for tools, cars, and storage.
- Lowers noise: Blocks outside sounds like traffic or neighbors.
- Increases home value: Many buyers see insulated garages as a plus.
Example: If you have a room above the garage, insulation can make a big difference. The floor will feel warmer in winter and cooler in summer.
Types Of Garage Door Insulation
Choosing the right insulation is important. Each type has strengths and weaknesses. Here’s a simple comparison:
| Type | R-Value (per inch) | Cost | Ease of Installation | Durability |
|---|---|---|---|---|
| Polystyrene Panels | 3-4 | Medium | Easy | Good |
| Foam Board | 3.6-8 | Low-Medium | Easy | Excellent |
| Reflective Foil | 3-6 (with air gap) | Low | Very Easy | Good |
| Spray Foam | 6-7 | High | Hard | Excellent |
| Fiberglass Batts | 2.9-3.8 | Low | Medium | Fair |
What Is R-value?
R-Value measures how well insulation stops heat flow. Higher numbers mean better insulation. For garage doors, an R-Value of 6 to 9 is usually enough. Don’t chase the highest number; focus on what fits and is easy to install.
Most Popular Options
- Polystyrene panels: Lightweight, easy to cut, good for most metal doors.
- Reflective foil: Great for hot climates and simple DIY jobs.
- Foam board: Rigid and durable, fits most doors.
Tip: Avoid fiberglass if your garage is very damp. It can absorb moisture and lose performance.
Tools And Materials You Will Need
Before starting, gather everything you need. This saves time and makes the job safer.
Basic tools:
- Tape measure
- Utility knife or sharp scissors
- Straight edge or ruler
- Marker or pencil
- Heavy-duty gloves
- Safety glasses
Materials:
- Insulation panels or rolls (enough to cover your door)
- Double-sided tape or adhesive (check what works with your insulation type)
- Aluminum foil tape for sealing edges
- Optional: Garage door insulation kit
Cost example: Insulating a standard double garage door (16×7 feet) with foam board can cost $50–$100 in materials. Most beginners finish the job in 2–3 hours.
Step-by-step Guide To Insulate Your Garage Door
1. Clean And Prepare The Door
- Close the door and wipe it down. Remove dust, oil, or spider webs.
- Check for rust or damage. Fix these before starting.
- Make sure the door opens and closes smoothly.
2. Measure Door Panels
- Use a tape measure to find the width and height of each panel.
- Write down each size. Panels may not be exactly the same.
- Measure twice to avoid mistakes.
3. Cut Insulation To Size
- Lay the insulation on a flat surface.
- Mark the measurements on the material.
- Use a sharp utility knife and a straight edge for clean cuts.
- Wear gloves to avoid cuts or irritation.
4. Attach The Insulation
- Place the cut piece inside the panel frame. It should fit snugly but not too tight.
- Use double-sided tape or adhesive to hold it in place. Press firmly for a good bond.
- For reflective foil, make sure the shiny side faces out or as recommended by the manufacturer.
5. Seal The Edges
- Use aluminum foil tape to seal any gaps or edges.
- This stops air leaks and helps the insulation last longer.
- Don’t cover moving parts or hinges.
6. Repeat For All Panels
- Work panel by panel until the entire door is covered.
- Stand back and check for loose spots or gaps.
7. Test The Door
- Open and close the door slowly. Make sure nothing blocks the movement.
- Listen for new sounds or resistance. If you notice any, adjust insulation as needed.
Practical tip: If you use adhesive, let it set for at least 1 hour before moving the door often.
Common Mistakes To Avoid
Many beginners make simple errors that reduce the benefits. Here’s how to avoid them:
- Measuring once: Always measure twice, cut once.
- Blocking hinges or tracks: Leave moving parts clear.
- Ignoring gaps: Even small air leaks reduce insulation value.
- Choosing the wrong material: Match insulation to your door type and climate.
- Not sealing edges: Unsealed edges let in air and moisture.
Non-obvious insight: If your door has windows, don’t forget to insulate around them. Clear plastic film can help, but check for condensation problems.
How Garage Door Insulation Affects Energy Use
Insulating your garage door can have a real impact on your home’s energy use. Here’s an example:
- A study by the U.S. Department of Energy found that insulated garage doors can reduce heat flow into the garage by up to 71%.
- Homeowners in cold states report winter garage temperatures 10–12°F warmer after insulation.
- This means your home heating and cooling systems work less, saving you money every month.
Fact: If your garage is attached to your home, insulation is even more important. The garage acts as a buffer zone. Without insulation, hot or cold air easily enters your living spaces.

Credit: www.theawesomeorange.com
Diy Vs. Professional Installation
Should you do it yourself or hire a pro? Here’s a quick comparison to help you decide:
| Factor | DIY | Professional |
|---|---|---|
| Cost | $50–$150 (materials only) | $200–$600 (labor + materials) |
| Skill Needed | Beginner-friendly | None |
| Time | 2–4 hours | 1–2 hours |
| Customization | High | Medium |
| Warranty | No | Yes (usually) |
Non-obvious insight: Many insulation kits are made for specific door types. If your door is not standard, DIY may fit better. But if you want a perfect look and less effort, a pro is a good choice.
How To Check Your Results
After you finish, it’s important to check your work:
- Stand inside the garage on a hot or cold day. Do you feel less heat or cold near the door?
- Use your hand to check for drafts around the edges.
- Touch the inside of the door. Insulated panels should feel less hot or cold than before.
- Look for any sagging or loose panels.
If you find any problems, adjust the insulation or add more tape. A good job should last for years.
Extra Tips For Maximum Results
- Weatherstripping: Add or replace weatherstripping around the garage door. This stops drafts and moisture.
- Seal the bottom: Use a new rubber threshold or bottom seal.
- Check the ceiling and walls: Insulating only the door is good, but if your garage is very cold or hot, consider the ceiling and wall insulation too.
- Use light colors: If you paint the door, lighter colors reflect more heat, keeping the garage cooler.
When Not To Insulate
There are a few cases where garage door insulation is not the best choice:
- If your garage is used for painting or work that needs ventilation, insulation can trap fumes.
- If your garage has severe water leaks, fix these before insulating.
- Detached garages used only for storage may not need insulation unless you store sensitive items.
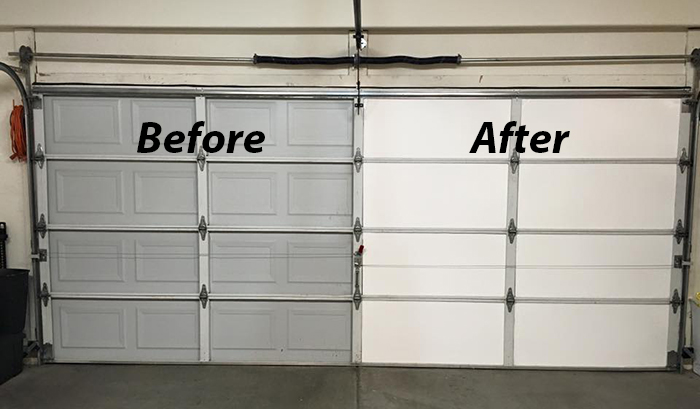
Credit: www.abettergaragedoorinc.com
Environmental Impact
Insulating your garage door is also good for the environment. By reducing energy use, you cut greenhouse gas emissions. For example, the average U.S. home saves about 770 pounds of CO2 per year with garage insulation improvements. This is equal to planting 40 trees each year.
If you want to learn more about how insulation saves energy, the U.S. Department of Energy has extra resources.
Frequently Asked Questions
How Long Does Garage Door Insulation Last?
Most types of garage door insulation last 10–20 years if installed and sealed properly. Foam boards and polystyrene panels are the most durable. Check yearly for damage or loose panels.
Can I Insulate My Garage Door If It’s Made Of Wood?
Yes. Wood doors can be insulated using foam board or reflective foil. Make sure to use adhesives that will not damage the wood. Avoid heavy materials that could strain the door.
Will Insulation Make My Garage Door Too Heavy?
Most DIY insulation materials are lightweight and add 2–5 pounds per panel. This is not enough to affect most garage door openers. However, always check your opener’s manual. If unsure, ask a pro to adjust the springs.
Can I Use Spray Foam On A Garage Door?
Spray foam provides excellent insulation, but it is not beginner-friendly. It can make the door too heavy and may block movement. For most people, foam board or panels are safer and easier.
Is There A Best Time Of Year To Insulate My Garage Door?
Early spring or fall are ideal. You avoid working in extreme heat or cold. But you can insulate at any time as long as the door is dry and clean.
Upgrading your garage door with insulation is one of the best home projects for comfort, energy savings, and noise control. With the right materials and a few hours of work, even beginners can do a professional-looking job. Take your time, follow each step, and enjoy a more comfortable, efficient garage year-round.

Credit: www.homedepot.com