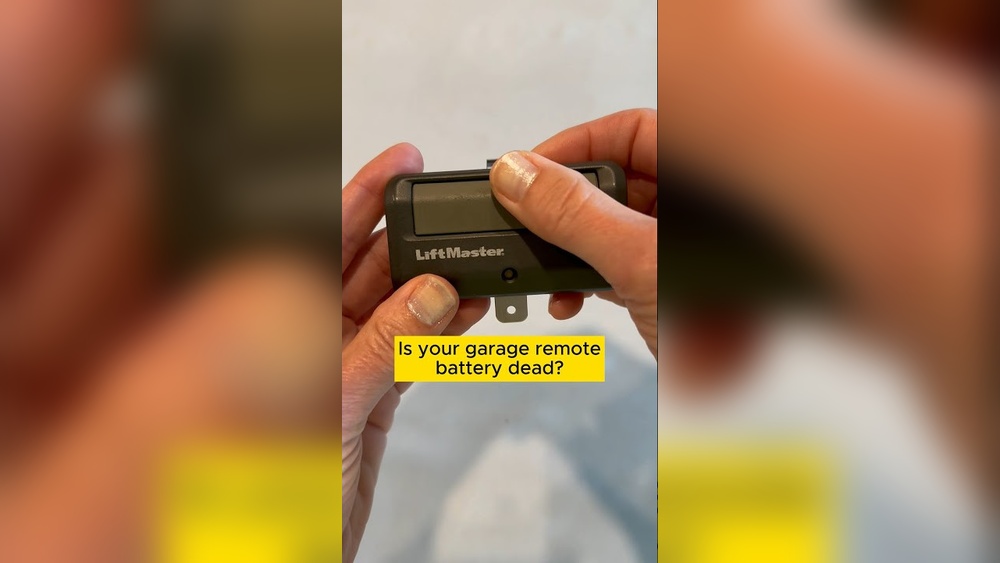
If your garage door remote suddenly stops working, you might worry that something is broken. But often, the problem is simple—a dead battery. Changing the battery in a LiftMaster garage door opener is an easy DIY task. You don’t need special tools or skills. This guide will walk you through each step, explain common mistakes, and help you avoid confusion. You’ll also learn how to troubleshoot simple problems and keep your garage secure.
Why Change The Battery In Your Liftmaster Opener?
A working battery is essential for your garage door remote or keypad. Without it, you might get stuck outside or inside your garage. Here’s why replacing the battery matters:
- Security: A working remote prevents others from forcing the door open.
- Convenience: You won’t have to get out of your car in rain or snow.
- Maintenance: Regular battery changes help keep the opener’s electronics healthy.
Many people delay changing the battery until it stops working completely. But if you notice the remote working only from close range, it’s a sign the battery is weak.
Recognizing Signs Of A Weak Or Dead Battery
Sometimes, a failing battery is obvious. Other times, the signs are subtle. Look for these clues:
- Remote works only up close, not from the street.
- The opener responds slowly or not at all.
- Keypad lights seem dim or flicker.
- You have to press the button several times before the door moves.
If your remote is more than one year old, it’s smart to check the battery, even if it’s still working.

Credit: www.youtube.com
Types Of Liftmaster Garage Door Openers
Not every LiftMaster opener uses the same battery. There are three main types:
- Remote controls: Handheld devices you keep in your car.
- Wireless keypads: Mounted outside, you enter a code to open the door.
- Wall control panels: Some models have battery backup for power outages.
Here’s a quick comparison to help you identify your device:
| Device | Common Battery Type | Typical Location | Battery Life |
|---|---|---|---|
| Remote Control | CR2032, CR2016, A23 | In your car | 1-2 years |
| Wireless Keypad | 9V | Mounted outside garage | 1-2 years |
| Wall Control Panel | AAA, AA | Inside garage (wall) | 2-3 years |
Always check your user manual or open the device to confirm the battery type before buying a replacement.
Tools And Materials You’ll Need
You don’t need many tools to change the battery. Here’s what you should have ready:
- Replacement battery (correct type for your device)
- Small flathead screwdriver or coin (for opening the remote)
- Clean cloth (to wipe contacts)
- Pen or marker (to note battery change date)
- User manual (optional, for reference)
It’s a good habit to keep spare batteries at home. Most batteries last over a year, but buying in bulk can save time.
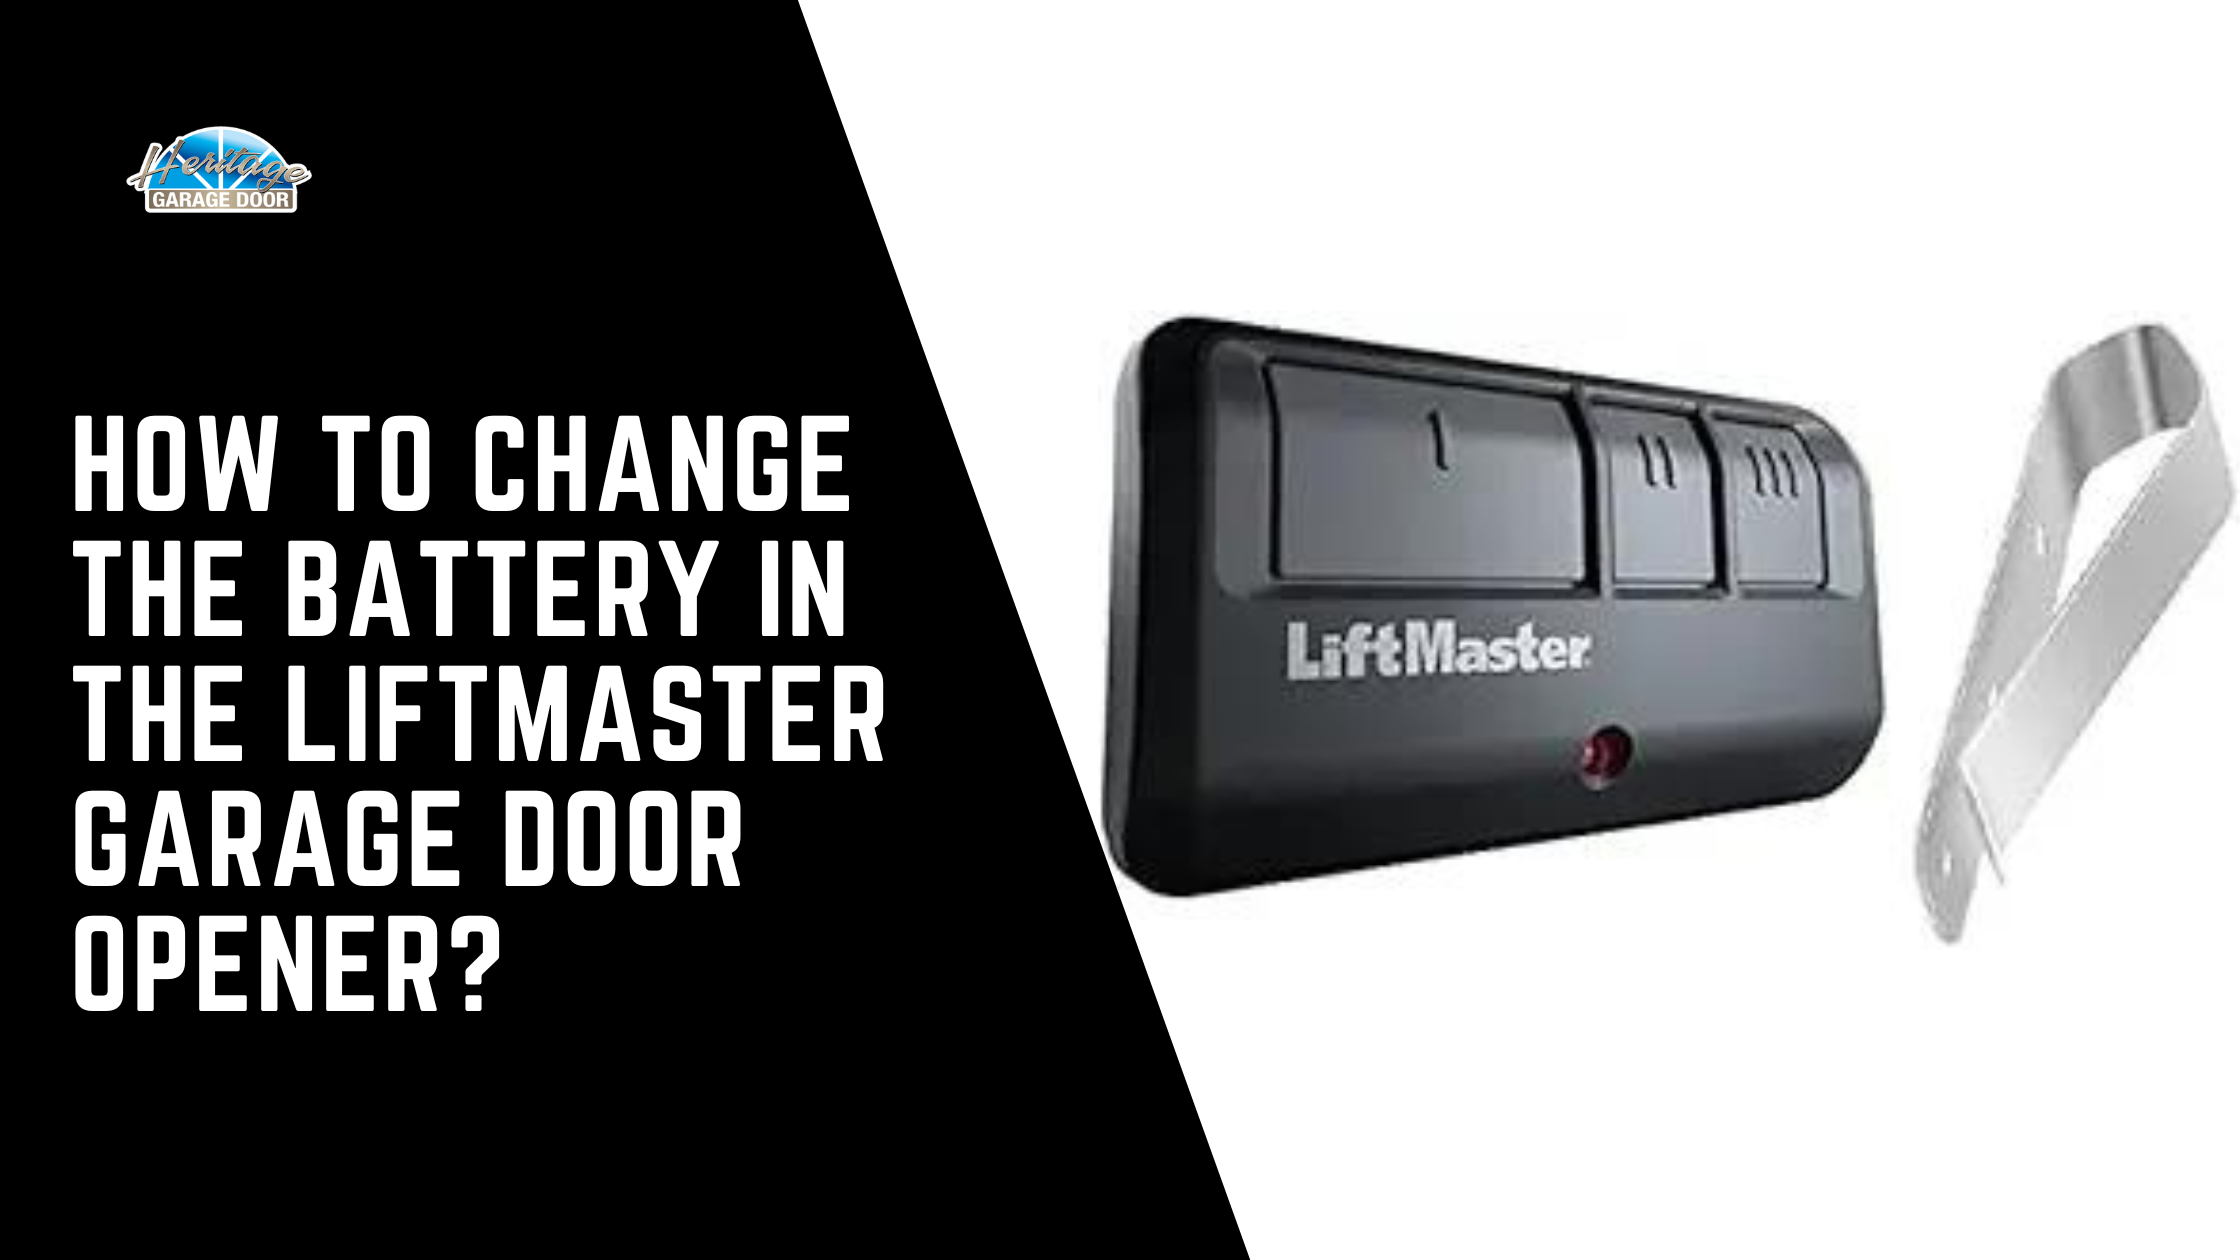
How To Change The Battery In A Liftmaster Remote Control
Follow these clear steps for most LiftMaster remotes:
- Open the remote
- Look for a small notch or seam.
- Insert a flathead screwdriver or coin.
- Gently twist to pop the remote open.
- Remove the old battery
- Note the battery type (CR2032, CR2016, or A23 are common).
- Observe the position (which side is facing up).
- Use your fingers or the screwdriver to lift out the battery.
- Clean the contacts
- Use a dry cloth to wipe metal contacts.
- This prevents corrosion and improves battery life.
- Insert the new battery
- Place the new battery in the same orientation as the old one.
- Make sure it’s seated firmly—loose batteries can cause problems.
- Snap the remote back together
- Line up the two halves.
- Press until you hear a click.
- Test the remote
- Stand a few feet from the garage.
- Press the button. The door should open or close smoothly.
If it doesn’t work, double-check the battery orientation or try another new battery.
How To Change The Battery In A Liftmaster Wireless Keypad
Keypads are mounted outside the garage. The process is simple but slightly different:
- Open the keypad cover
- Slide up or flip open, depending on the model.
- Find the battery compartment
- Usually at the bottom or behind the keypad.
- You might need a screwdriver to remove a small panel.
- Remove the old battery
- Most keypads use a standard 9V battery.
- Gently disconnect the snap connector.
- Attach the new battery
- Match up the connectors (snap in place).
- Insert the battery into the compartment.
- Replace the cover
- Secure any screws if needed.
- Close the keypad and test by entering your code.
If the keypad doesn’t light up or respond, check that the connector is secure.
How To Change The Battery In A Liftmaster Wall Control Panel
Some advanced LiftMaster models have a wall panel with battery backup. Here’s how to change it:
- Turn off power to the opener
- For safety, unplug the garage opener or turn off the breaker.
- Open the wall control panel
- Usually held by a screw or plastic clips.
- Remove the front cover.
- Remove the old batteries
- Use your fingers to pull out AA or AAA batteries.
- Insert fresh batteries
- Match the positive (+) and negative (-) ends.
- Close the panel and secure it.
- Restore power and test
- Plug in the opener or turn on the breaker.
- Test the panel to make sure it works.
This battery is for backup only, so you might not notice a problem unless there’s a power outage.
Common Mistakes To Avoid
Changing a battery seems easy, but small errors can cause headaches. Here are mistakes beginners often make:
- Wrong battery type: Always check the model number or open the device first.
- Incorrect battery orientation: Look for plus (+) and minus (-) symbols.
- Forcing the remote open: Use gentle pressure—remotes are not waterproof or shockproof.
- Touching battery contacts with wet hands: Moisture can cause corrosion.
- Not cleaning contacts: Dirt or residue can block power flow.
If your remote still doesn’t work, try resetting the opener or consult the manual.
How Often Should You Change The Battery?
On average, garage remote batteries last between one and two years. But frequency depends on:
- How often you use the remote
- Temperature changes (cold weather drains batteries faster)
- Battery brand and quality
A good rule: replace the battery every 12–18 months, or whenever you notice weaker performance.
What To Do If The Remote Still Doesn’t Work
If you replace the battery and the remote still fails, try these steps:
- Reprogram the remote: Sometimes the remote loses its connection.
- Check for corrosion: Look for white powder or green residue on contacts.
- Replace with a new remote: If your remote is over 5 years old, it might have internal damage.
- Check the opener’s power source: Make sure the opener is plugged in and the outlet works.
For advanced troubleshooting, visit the official LiftMaster Support page.

Credit: diy.stackexchange.com
Cost Comparison: Diy Vs Professional Service
Most people can change the battery themselves for the cost of a battery. Here’s a quick look at the costs:
| Option | Cost | Time Needed | Convenience |
|---|---|---|---|
| DIY (Do It Yourself) | $2–$8 (battery) | 5–10 minutes | Very convenient |
| Professional Service | $50–$100 (service call) | 1–3 days (wait for appointment) | Less convenient |
Unless you have a physical disability or complicated opener, DIY is almost always the best choice.
Practical Tips For First-time Battery Replacement
- Buy name-brand batteries: They last longer and have better reliability.
- Mark the battery change date: Use a sticker or permanent marker.
- Keep extra batteries in your car or garage.
- Test the remote from different distances to confirm it works well.
- Recycle old batteries: Don’t throw them in the trash—use a recycling program.
Many beginners forget to check battery orientation or snap the remote shut all the way. Double-check every step to avoid headaches.
Credit: heritagedoor.com
Keeping Your Garage Opener In Top Shape
Regular maintenance goes beyond battery changes. Here’s how to extend the life of your opener:
- Clean remote contacts every year with a dry cloth.
- Check for firmware updates if your opener is Wi-Fi enabled.
- Lubricate garage door tracks and rollers twice a year.
- Inspect for loose screws or wiring.
- Test the safety sensors: Make sure the door reverses if it hits an object.
These small habits prevent bigger problems and keep your garage safe.
When To Call A Professional
Sometimes, changing the battery doesn’t fix the problem. Call a professional if:
- The remote works, but the door doesn’t move at all.
- The opener makes strange noises or flashes error lights.
- You see frayed wires or broken parts inside the opener.
- The keypad or wall panel is unresponsive, even with a new battery.
A garage door is heavy—don’t try to repair springs or motor parts yourself.
Frequently Asked Questions
How Do I Know Which Battery My Liftmaster Remote Uses?
Most LiftMaster remotes use CR2032, CR2016, or A23 batteries. Check the label inside the battery compartment or your user manual. You can also search for your model number online.
Do I Need To Reprogram My Remote After Changing The Battery?
Usually, you don’t need to reprogram the remote. But some older remotes may lose their memory if the battery is removed for a long time. If the remote doesn’t work after battery change, try reprogramming it using your opener’s “Learn” button.
How Do I Safely Dispose Of Old Batteries?
Do not throw batteries in the trash. Take them to a battery recycling center or local electronics store. Many supermarkets and hardware stores have recycling bins for small batteries.
What Should I Do If The Remote Still Doesn’t Work With A New Battery?
- Check the battery is installed with the correct orientation.
- Clean the contacts with a dry cloth.
- Try a different new battery.
- Reprogram the remote.
- If it still fails, the remote may be faulty and need replacing.
Can I Use Rechargeable Batteries In My Liftmaster Remote?
It’s best not to use rechargeable batteries. Most remotes are designed for alkaline or lithium disposable batteries. Rechargeables have lower voltage and may not last as long.
Changing the battery in your LiftMaster garage door opener is a small job that can save you time, money, and hassle. With a few basic tools and the right battery, you’ll have your remote working again in minutes. Regular battery checks and simple maintenance will keep your garage secure and convenient for years to come.