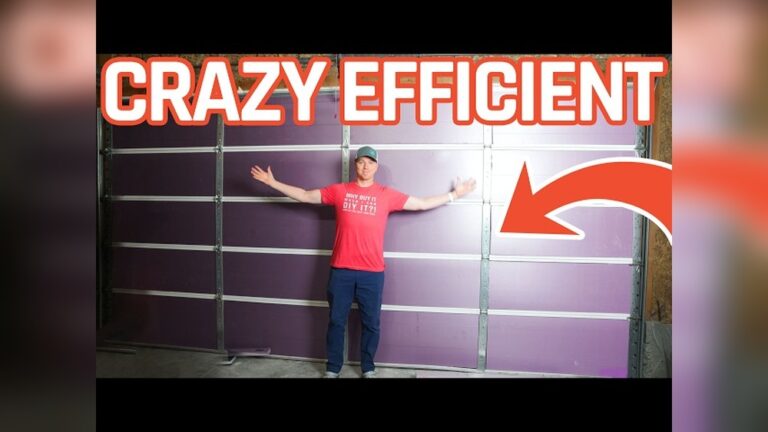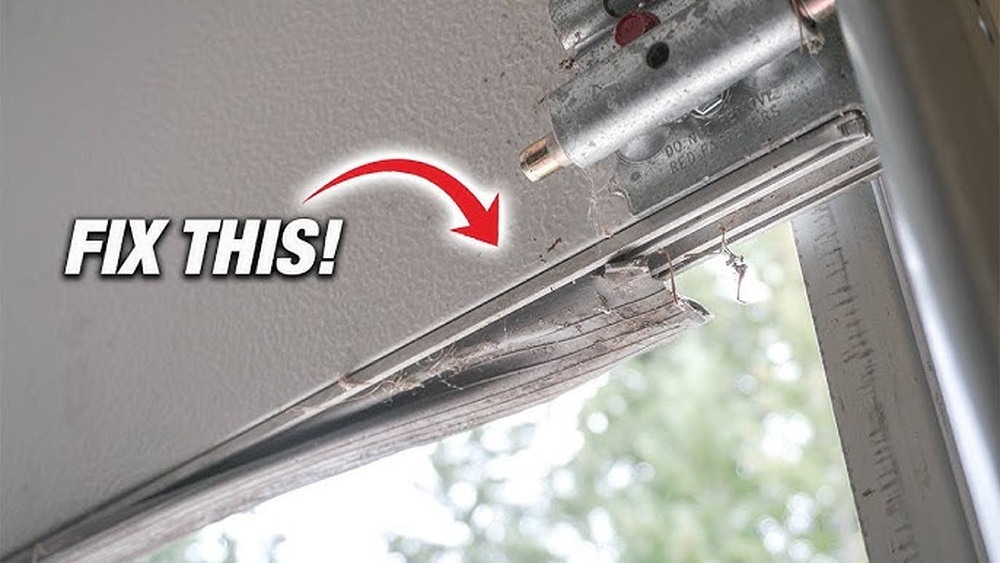
Replacing a garage door seal might seem like a small task, but it plays a big role in keeping your garage clean, dry, and energy-efficient. Over time, old seals crack, harden, or let in water, dust, and pests. If you see light coming in under your garage door or feel a draft, it’s probably time to replace the seal.
The good news is that this is a simple DIY job, even for beginners. With the right tools, a bit of guidance, and some patience, you can make your garage more comfortable and protected in just a few hours.
Why Replace A Garage Door Seal?
A garage door seal is a strip of rubber or vinyl attached to the bottom, sides, or top of your garage door. It blocks out rain, snow, debris, and unwanted critters. Many homeowners overlook this small part, but it can cause big problems if ignored.
- Keeps your garage dry during storms.
- Blocks cold or hot air, helping save on energy bills.
- Stops bugs and rodents from sneaking inside.
- Reduces dust and dirt, making cleaning easier.
A worn seal can lead to water damage, mold, and higher heating or cooling costs. Replacing it is a simple way to avoid expensive repairs later.
Types Of Garage Door Seals
Before starting, it helps to know the different types of seals. Each type fits a specific garage door style.
| Seal Type | Common Material | Where Used | Main Benefit |
|---|---|---|---|
| Bottom Seal | Rubber, Vinyl | Bottom edge | Weather, pest, and debris protection |
| Threshold Seal | Rubber | Garage floor | Extra water resistance |
| Side/Top Seal | Vinyl, Foam | Door frame sides/top | Blocks air and dust |
For most homes, the bottom seal is the most important. It wears out the fastest and is usually the main source of leaks.
Signs You Need A New Garage Door Seal
Not sure if it’s time to change your seal? Here are some clear signs:
- Visible cracks or gaps in the seal.
- Light shines through when the garage door is closed.
- Water, bugs, or leaves inside your garage after rain or wind.
- Drafts or cold spots near the bottom of the door.
- The seal feels hard and brittle, not flexible.
If you notice one or more of these, it’s a good idea to replace the seal soon.
Tools And Materials Needed
You don’t need many tools for this job. Most can be found in a basic toolbox or at your local hardware store.
- New garage door bottom seal (make sure it matches your door type)
- Flathead screwdriver
- Utility knife or scissors
- Tape measure
- Pliers
- Soapy water (for cleaning)
- Rag or old towel
- Safety gloves
Some garage doors have a retainer (a metal or plastic track). Check your door before buying the seal. Most seals are T-shaped, bulb-shaped, or flat. Match the new seal’s profile to your old one for best results.
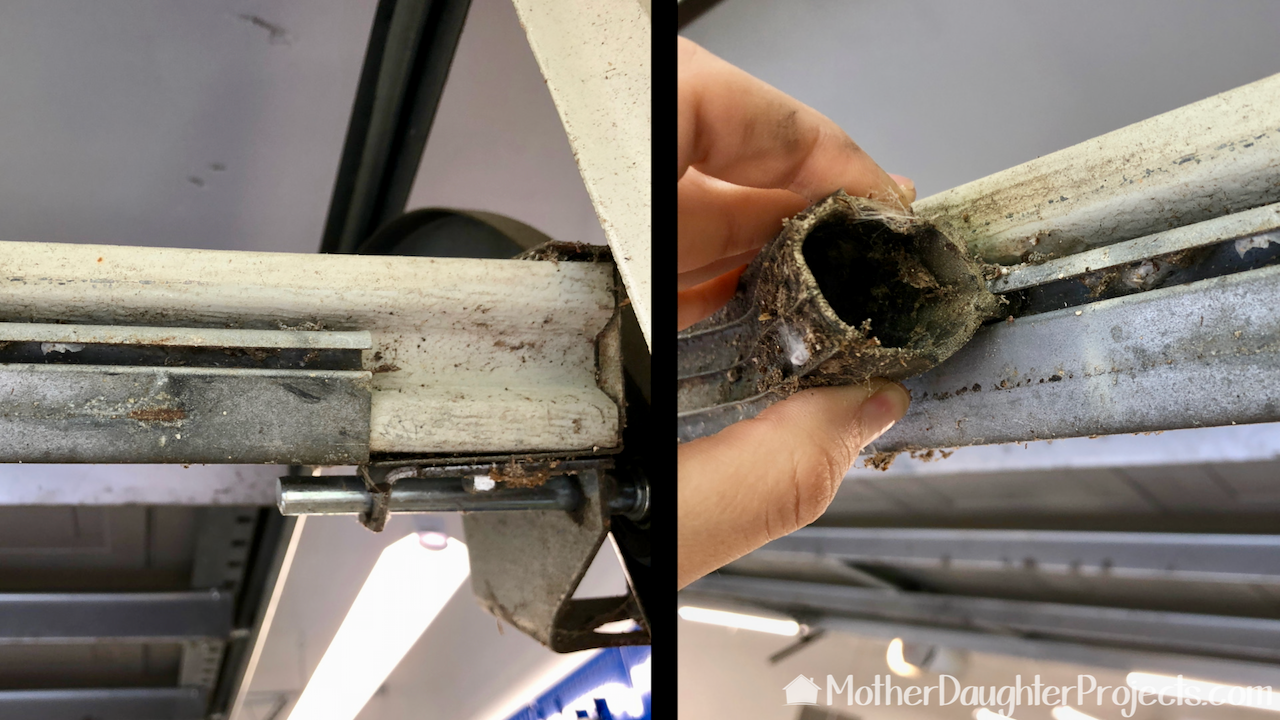
Credit: www.motherdaughterprojects.com
How To Measure For A New Seal
Getting the right size is key. An incorrect size can lead to a poor fit, leaks, or wasted money.
- Measure the width of your garage door (side to side). Most seals come in standard lengths, but measure for accuracy.
- Check the thickness of your old seal. If you don’t have one, measure the width of the channel or retainer.
- Look at the profile of your current seal. Take a photo or bring the old seal to the store for comparison.
If you’re unsure, ask a hardware store expert for help. They can point you to the right product.
Step-by-step Guide: Replacing A Garage Door Seal
Changing a garage door seal is a straightforward process. Follow these steps for a smooth experience:
1. Open The Garage Door
Raise the door to a comfortable working height. This keeps it steady and easy to reach.
2. Remove The Old Seal
- Use a flathead screwdriver or pliers to pull out the old seal from one end.
- If it’s stuck, cut it into sections with a utility knife.
- Slide the remaining pieces out of the retainer.
- Clean the retainer or bottom edge with soapy water and a rag. Remove dirt, rust, or glue.
3. Prepare The New Seal
- Lay the new seal flat in the sun for 30 minutes if it’s curled. This makes it easier to handle.
- Check that the profile matches your old seal.
4. Install The New Seal
- Slide one end of the seal into the retainer’s slot.
- Push or pull it through the full length of the door. Use a friend for long doors.
- If the seal resists, add a little soapy water to help it slide.
- Make sure the seal is centered and hangs evenly on both sides.
5. Trim Excess Material
- Use scissors or a utility knife to cut off extra seal at both ends.
- Leave a half-inch overhang to allow for shrinkage.
6. Test The Fit
- Close the garage door.
- Check for gaps, leaks, or uneven spots.
- If needed, adjust the seal until it sits flush with the floor.
7. Finish Up
- Dispose of the old seal properly.
- Clean up any tools or debris.
For visual learners, many manufacturers provide installation videos online. Watching one can make the process even clearer.
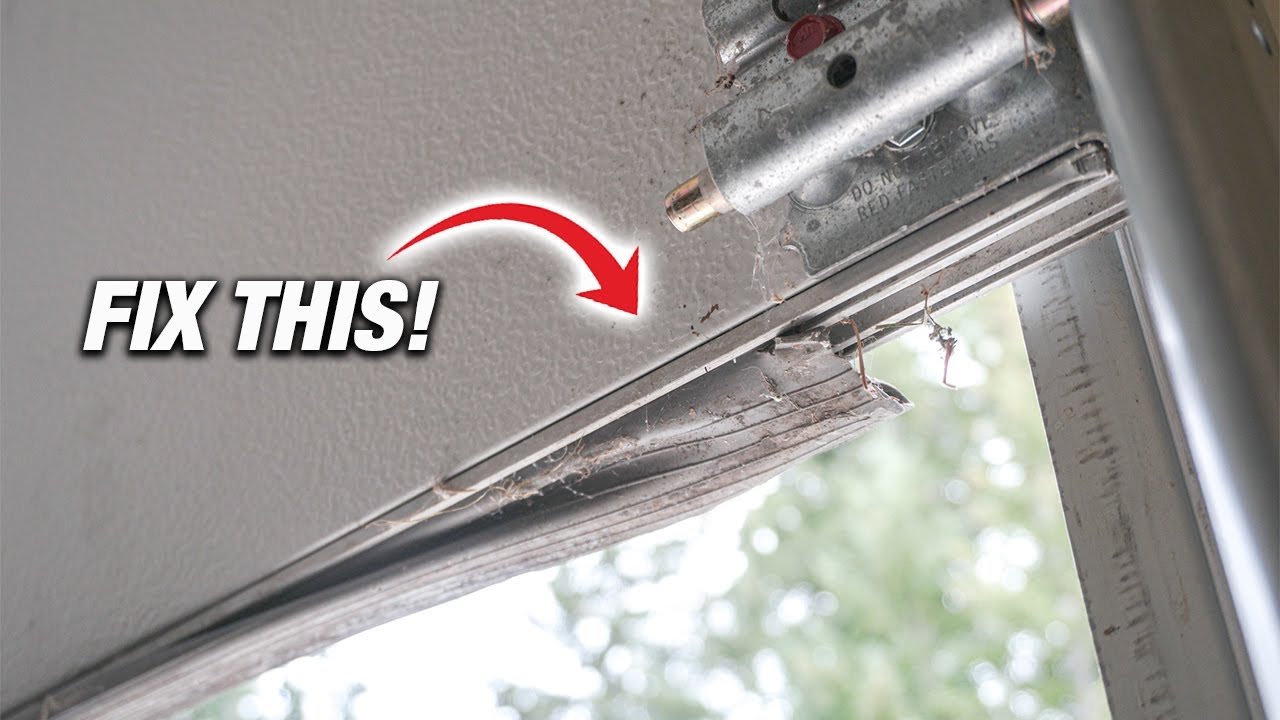
Credit: www.youtube.com
Common Mistakes To Avoid
Many beginners make small errors that can lead to frustration or a poor result. Here’s how to avoid them:
- Not measuring carefully: Guessing leads to buying the wrong seal.
- Skipping cleaning: Dirt in the retainer can keep the new seal from fitting right.
- Forcing the seal: If it sticks, add soapy water or check for bent edges.
- Cutting too short: Leave a little extra at the ends to prevent shrinkage.
- Ignoring the door’s level: If your floor or door is uneven, you may need a thicker seal.
One less obvious mistake: Some people forget to check the side and top seals. While less common, these can also crack and let in drafts. Inspect them when you do the bottom seal.
Comparing Garage Door Seal Materials
Not all seals are created equal. The material affects durability, weather resistance, and cost.
| Material | Durability | Weather Resistance | Price Range |
|---|---|---|---|
| Rubber | High | Excellent | $$ |
| Vinyl | Medium | Good | $ |
| Silicone | Very High | Best | $$$ |
Rubber seals are most common and work well in most climates. Vinyl is a budget-friendly choice for mild weather. Silicone is top-of-the-line for extreme temperatures but costs more.
Cost Of Replacing A Garage Door Seal
Most homeowners can replace a seal for $15 to $50, depending on the door width and material. Professional installation costs $75 to $150, but most people can do it themselves in under two hours.
Average cost breakdown:
- Seal only: $15–$50
- DIY tools: $0–$10 (if you need a utility knife or screwdriver)
- Professional labor: $75–$100 extra
Doing it yourself saves money and gives you the confidence to handle small repairs in the future.
How Long Does A Garage Door Seal Last?
A quality seal lasts 3 to 5 years in most homes. Factors that affect lifespan:
- Climate: Extreme heat, cold, or sun weakens seals faster.
- Garage use: Daily use or heavy traffic wears seals out sooner.
- Material: Rubber and silicone last longer than vinyl.
Check your seal once a year, especially before winter or rainy seasons.
Extra Tips For A Better Seal
- In very wet areas, add a threshold seal to the floor for double protection.
- Check for door alignment issues. If the door is crooked, no seal will fit perfectly.
- Use garage door lubricant on the retainer if the new seal is hard to slide.
- If your floor is uneven, look for a “bulb” style seal, which fills bigger gaps.
Most beginners forget to check how tight the door closes after installing the new seal. If the door is hard to close, the seal might be too thick. Try a thinner version if needed.
Environmental And Energy Benefits
A good seal can lower your energy bills by reducing drafts and keeping out extreme temperatures. According to the U.S. Department of Energy, sealing air leaks around doors and windows can save up to 10% on heating and cooling costs each year. This small upgrade helps the environment by reducing energy waste and keeps your garage more comfortable for working or storage.
When To Call A Professional
Some situations require expert help:
- The door is damaged or doesn’t close evenly.
- The retainer is bent or broken.
- You have a custom or very old garage door.
A pro can fix alignment issues, install a new retainer, or recommend special seals for unusual doors. For most standard doors, though, replacing the seal is a safe and easy DIY project.
Example: Diy Success
Mark, a homeowner from Ohio, replaced his 16-foot garage door seal last winter. He spent $30 on a high-quality rubber seal and finished the job in 45 minutes. That spring, he noticed fewer bugs and less water in his garage after heavy rain.
Mark’s energy bill was $15 lower the next month, showing even small upgrades matter.

Credit: thediyplaybook.com
Frequently Asked Questions
How Often Should I Replace My Garage Door Seal?
Most seals last 3 to 5 years, but harsh weather or frequent use can shorten their lifespan. Check your seal each year for cracks or gaps, and replace it when it no longer blocks air, water, or light.
Can I Install A Garage Door Seal Without Professional Help?
Yes, most homeowners can replace a garage door seal with basic tools and a little patience. Read instructions carefully, measure your door, and watch an installation video if you need extra guidance.
What Type Of Seal Is Best For Cold Climates?
Rubber and silicone seals handle cold weather best. Silicone stays flexible in freezing temperatures, but rubber is a good balance of durability and cost. Avoid vinyl in areas with harsh winters.
Will A New Seal Make My Garage Warmer?
A new, well-fitted seal blocks drafts and moisture, making your garage warmer in winter and cooler in summer. This can also help lower your energy bills if your garage is attached to your home.
Where Can I Find More Information About Garage Door Maintenance?
You can learn more about seals and maintenance from the U.S. Department of Energy website, which offers tips for homeowners.
Replacing your garage door seal is a quick, affordable way to protect your home from weather, pests, and energy loss. With the steps and tips above, even beginners can complete this project and enjoy a cleaner, more comfortable garage all year round.