Installing an automatic garage door opener can transform your daily routine. You no longer need to get out of your car during rain, late nights, or when carrying heavy bags. With a push of a button, your garage door opens smoothly.
But many homeowners feel nervous about installing this device themselves. The process looks complex, but it’s manageable if you follow clear steps and understand the basics. This guide will help you learn how to install an automatic garage door opener, even if you’re a complete beginner.
Why Choose An Automatic Garage Door Opener?
Automatic garage door openers offer real benefits:
- Convenience: Open your garage from inside your car.
- Security: Most systems have rolling codes to prevent hacking.
- Safety: Built-in sensors stop the door if something blocks it.
- Value: Adds appeal and value to your home.
A survey from the Door & Access Systems Manufacturers Association showed that over 70% of US homes with garages have automatic openers. This means most homeowners find them useful and reliable.
Key Types Of Garage Door Openers
Before you buy, you need to know which type suits your garage. Here’s a quick overview:
| Type | Strengths | Weaknesses |
|---|---|---|
| Chain Drive | Affordable, strong, good for heavy doors | Noisy, needs regular maintenance |
| Belt Drive | Quiet, smooth operation | More expensive than chain drive |
| Screw Drive | Simple design, fewer moving parts | Noise increases with age, not ideal for cold climates |
| Direct Drive | Very quiet, minimal maintenance | Costly, less common |
For most beginners, belt drive models are a good choice. They’re quiet and easy to install. If your garage is below bedrooms, noise matters.
What You Need Before Starting
Preparation saves time and avoids mistakes. Here’s what you’ll need:
- Garage door opener kit (motor, rail, sensors, remote)
- Drill and bits
- Wrench set
- Screwdrivers
- Hammer
- Tape measure
- Stepladder
- Safety glasses
- Garage door manual (check compatibility)
- Extension cord (if outlet is far)
Most kits include clear instructions. Read them fully before starting.
Garage Door Compatibility: Don’t Skip This Step
Not every garage door works with every opener. Here’s how to check:
- Door weight: Heavier doors need stronger openers.
- Balance: Test by lifting the door halfway. It should stay in place.
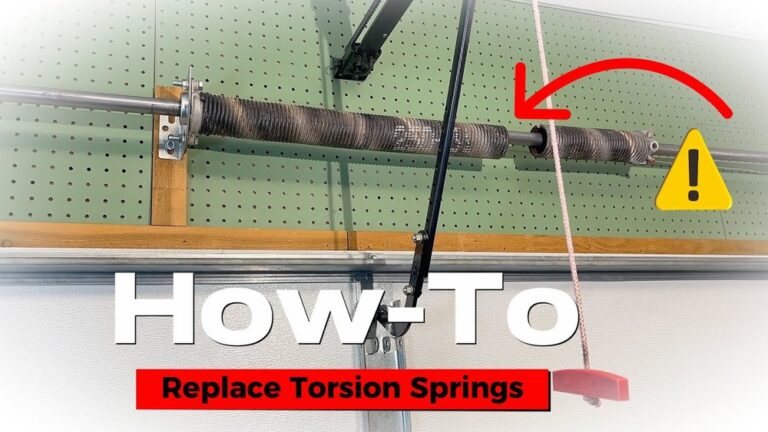
- Spring system: Torsion springs are safer and more reliable than extension springs.
- Height and width: Standard openers fit 7-foot doors. If yours is taller, buy a compatible extension kit.
If your door feels heavy or hard to lift, fix this first. Openers are not designed to lift unbalanced doors.

Credit: asapgaragedoorsseattle.com
Step-by-step Installation Guide
Installing an automatic garage door opener is easier if you break it into steps. Beginners often miss some small but important details, so here’s a clear approach.
1. Clear The Workspace
- Remove cars, bikes, and storage items.
- Make sure the area is well-lit.
- Place tools within reach.
2. Assemble The Rail And Attach The Motor
- Lay out all parts from the kit.
- Snap or screw together the rail (track).
- Attach the motor unit to one end.
- Secure all fasteners tightly.
3. Mount The Rail To The Garage Ceiling
- Use a tape measure to center the rail above the garage door.
- Mark drilling points on the ceiling joist.
- Drill pilot holes for screws.
- Lift the rail and secure it with bolts and brackets.
Tip: If joists are not directly above, use a piece of wood (mounting board) to bridge the gap.
4. Connect The Opener To The Door
- Attach the curved door arm to the door bracket.
- Connect the straight arm from the rail to the curved arm.
- Use bolts and nuts from the kit.
- Tighten all connections.
5. Install Safety Sensors
- Sensors stop the door if something blocks it.
- Place sensors on both sides of the door, about 6 inches above the floor.
- Use the provided brackets to attach sensors.
- Run wires along the wall, securing with clips.
Common Mistake: Don’t place sensors too high. They must detect low objects like pets.
6. Wire The Controls
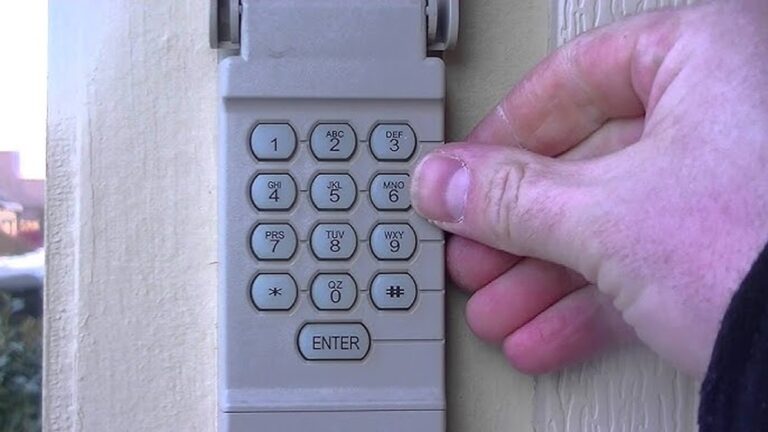
- Connect the wall switch near the garage entrance.
- Run wires from the opener motor to the switch.
- Use low-voltage wire (usually included).
- Secure wires along the wall, away from moving parts.
7. Plug In And Test
- Plug the motor into a grounded outlet.
- Test the opener using the remote and wall switch.
- Watch for smooth movement and correct stopping points.
Non-obvious insight: If the door opens but doesn’t close, check sensor alignment. Even a small bump can cause failure.
Practical Data: Installation Time And Costs
Most beginners can install an opener in 4–6 hours. Hiring a professional costs $300–$500, but DIY kits often cost $150–$350 depending on features.
Some popular brands include Chamberlain, LiftMaster, and Genie. Each offers models for different needs.
Common Mistakes And How To Avoid Them
Many first-time installers face avoidable problems:
- Skipping door balance check: Causes opener strain and early failure.
- Wrong sensor height: Makes safety features useless.
- Loose bolts: Motor can shake and damage ceiling.
- Poor wire management: Leads to snags or electrical hazards.
- Ignoring instructions: Every kit is slightly different.
Take your time and double-check each step. Safety matters more than speed.
Comparing Popular Garage Door Opener Models
To help you choose, here’s a quick comparison of three best-selling models:
| Model | Drive Type | Noise Level | Horsepower | Price Range |
|---|---|---|---|---|
| Chamberlain B970 | Belt | Very Low | 1.25 HP | $250–$350 |
| LiftMaster 8500 | Direct | Ultra Quiet | 0.75 HP | $400–$500 |
| Genie ChainDrive 500 | Chain | Medium | 0.5 HP | $150–$250 |
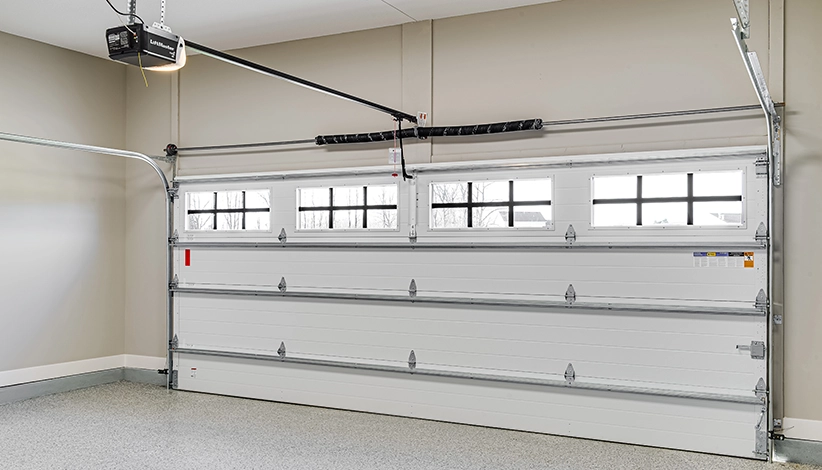
If you want a quiet opener for attached garages, choose belt or direct drive models. For detached garages, chain drive saves money.
Credit: www.clopaydoor.com
Smart Features And Upgrades
Modern openers offer extras that make life easier:
- Wi-Fi control: Open or close your door from your phone.
- Battery backup: Works during power outages.
- LED lighting: Brightens your garage without extra fixtures.
- Auto-close timers: Prevent you from forgetting to shut the door.
These features help with safety and convenience. For example, if you travel often, Wi-Fi control lets you check your garage status remotely.
Safety Tips For Beginners
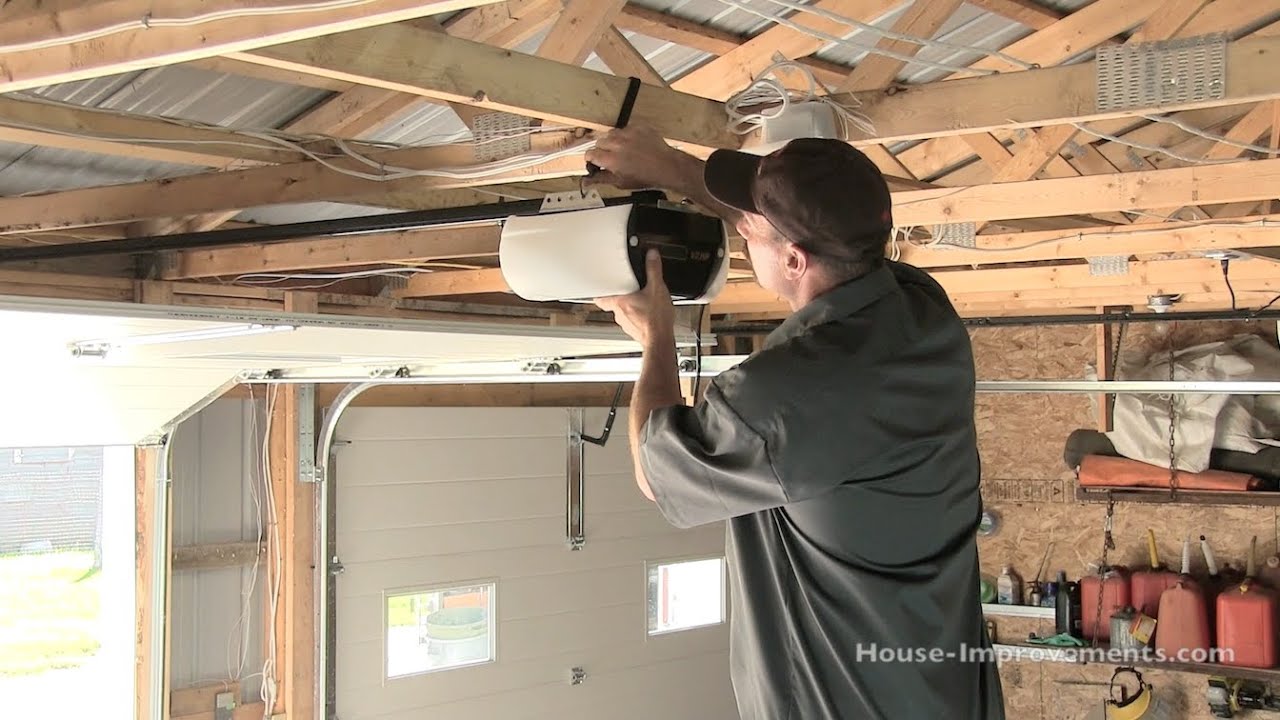
Installing an automatic garage door opener involves tools and electricity. Follow these safety tips:
- Turn off power before wiring.
- Wear safety glasses to protect your eyes.
- Use a sturdy ladder and never overreach.
- Keep children and pets away during installation.
- Test safety sensors after installation.
If you feel unsure about electrical wiring, ask for help or hire a pro. Safety should always come first.
Credit: www.youtube.com
Maintenance After Installation
To keep your opener working well:
- Lubricate moving parts every 6 months.
- Check sensor alignment monthly.
- Tighten bolts yearly.
- Replace remote batteries as needed.
A well-maintained opener lasts 10–15 years. If your opener struggles, check for obstructions or worn parts.
Real-life Example: Family Installation Story
Sarah, a beginner in Texas, installed her first automatic opener in one afternoon. She followed the kit instructions, watched a video, and asked her neighbor for help with mounting the motor. The hardest part was aligning the safety sensors, which took two tries. Now, her family enjoys hassle-free access. Sarah says: “If I can do it, anyone can. Just go step by step.”
Data Table: Professional Vs Diy Installation
Here’s a quick cost and time comparison:
| Method | Average Cost | Time Needed | Skill Level |
|---|---|---|---|
| DIY | $150–$350 | 4–6 hours | Beginner–Intermediate |
| Professional | $300–$500 | 1–2 hours | Professional |
DIY saves money but takes longer. If you’re comfortable with basic tools, it’s a rewarding project.
When To Call A Professional
Some situations need expert help:
- Your garage door is old, heavy, or damaged.
- You’re unsure about electrical wiring.
- The opener kit doesn’t match your door type.
- You want advanced features like smart home integration.
Professionals can handle tricky installations and guarantee safety. If you have doubts, investing in a pro is wise.
Frequently Asked Questions
How Long Does It Take To Install An Automatic Garage Door Opener?
Most beginners need 4–6 hours for installation. Reading the instructions and preparing tools ahead of time speeds up the process.
Can I Install A Garage Door Opener On Any Door?
You need a balanced, compatible door. Test your door by lifting it halfway; if it stays, it’s balanced. Heavier or custom doors may need special kits.
Do Garage Door Openers Work During Power Outages?
Not all models do. Choose one with a battery backup if you need access during outages. This feature is common in newer models.
Are Automatic Garage Door Openers Safe For Children And Pets?
Yes, if you install safety sensors correctly. Sensors stop the door if something blocks it. Always test sensors after installation.
What Maintenance Does An Automatic Garage Door Opener Need?
- Lubricate the rail and moving parts every 6 months.
- Check and align sensors monthly.
- Replace remote batteries as needed.
- Tighten bolts yearly for stability.
For more technical information, visit the Wikipedia page on garage door openers.
Installing an automatic garage door opener is a practical upgrade. With careful planning and step-by-step guidance, even beginners can complete the project confidently. Enjoy the convenience, security, and value your new opener brings to your home.