How To Install Garage Door Sensors
Garage door sensors are a key part of keeping your home safe. They help stop the door if something or someone is in the way. Many new garage door openers need sensors to meet safety laws. If your sensors are not working, or you need to install new ones, this guide will help you do it yourself, step by step.
Even if you have never done a project like this before, you can follow along.
Why Garage Door Sensors Matter
Installing garage door sensors is not just about following the rules. These small devices can prevent serious injuries and damage. Every year, thousands of accidents happen because garage doors close on pets, kids, or cars. Sensors create an “invisible beam” near the floor. If anything breaks the beam, the door will not close.
Important facts:
- The U.S. Consumer Product Safety Commission (CPSC) says all garage door openers made after 1993 must have safety sensors.
- Most home insurance companies may not cover injuries if your garage sensors are missing or broken.
What You Need Before You Start
Before you begin, gather all the tools and parts. This makes the process smoother. Here’s what you will need:
- New garage door sensors (check your opener brand, like Chamberlain or LiftMaster)
- Screwdriver (usually Phillips)
- Drill with bits
- Wire stripper/cutter
- Tape measure
- Level (small one works)
- Mounting brackets (often come with sensors)
- Wire nuts or connectors
- Stepladder
- Pencil
Pro tip: Double-check your garage opener’s manual. Sensor types and wiring may be a little different depending on the brand.
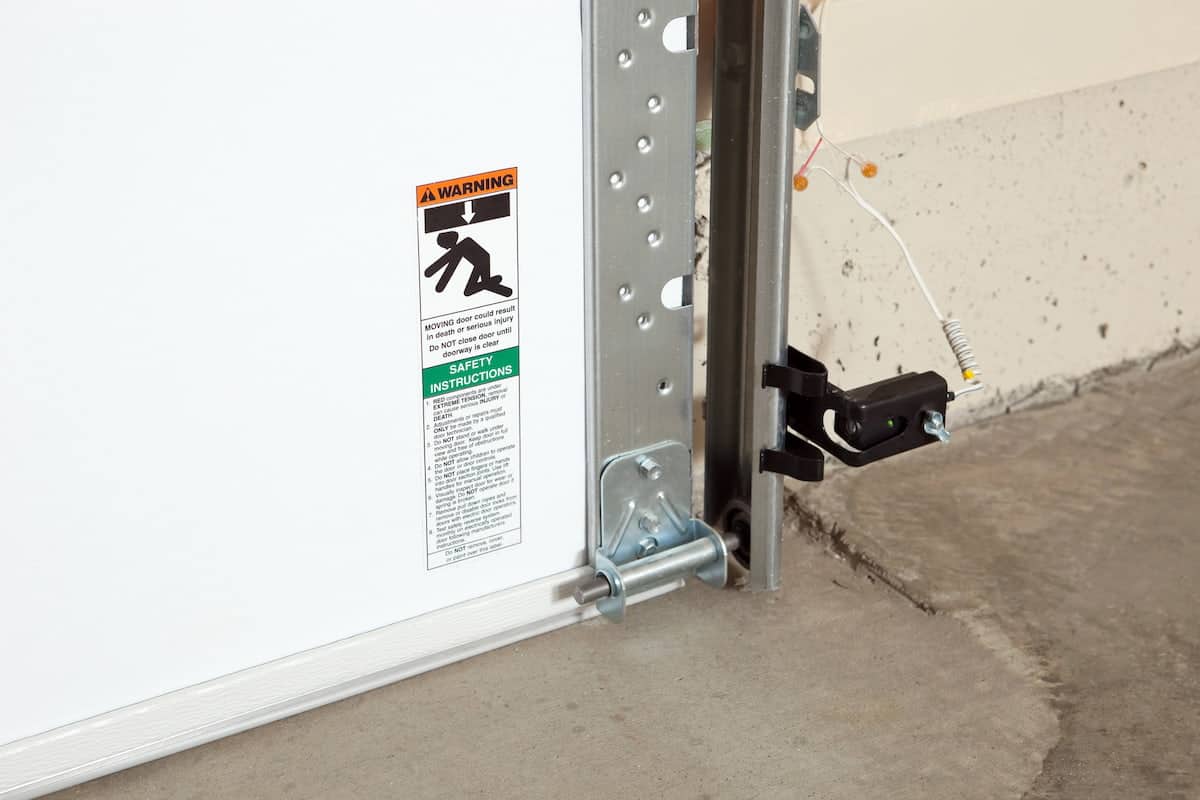
Credit: bdkdoor.com
How Garage Door Sensors Work
Sensors use infrared light to make a safety line across the bottom of your garage door. When the door is closing, the sensors send a beam from one side to the other. If something breaks the beam, the sensors tell the opener to stop or reverse the door.
Here’s a simple comparison:
| Feature | With Sensors | Without Sensors |
|---|---|---|
| Stops for People/Pets | Yes | No |
| Meets Safety Law | Yes | No |
| Insurance Friendly | Yes | Risk of claim denial |
Step-by-step: How To Install Garage Door Sensors
Let’s get started with the main part: installing your sensors. Take it step by step and be patient.
1. Turn Off Power
Safety first! Unplug the garage door opener or turn off the breaker before you touch any wires. This step protects you from electric shock.
2. Find The Right Sensor Position
Sensors work best when placed:
- 6 inches above the floor (for most brands)
- On both sides of the door, facing each other
- Firmly attached to the metal or wood of the door track
Use a tape measure to mark the exact height on both sides with a pencil. Make sure the spots are level.
3. Attach The Mounting Brackets
Most kits include brackets. If not, buy ones that fit your sensor type.
- Use your screwdriver or drill to attach brackets at your marks.
- Make sure they are tight and do not move when bumped.
4. Mount The Sensors
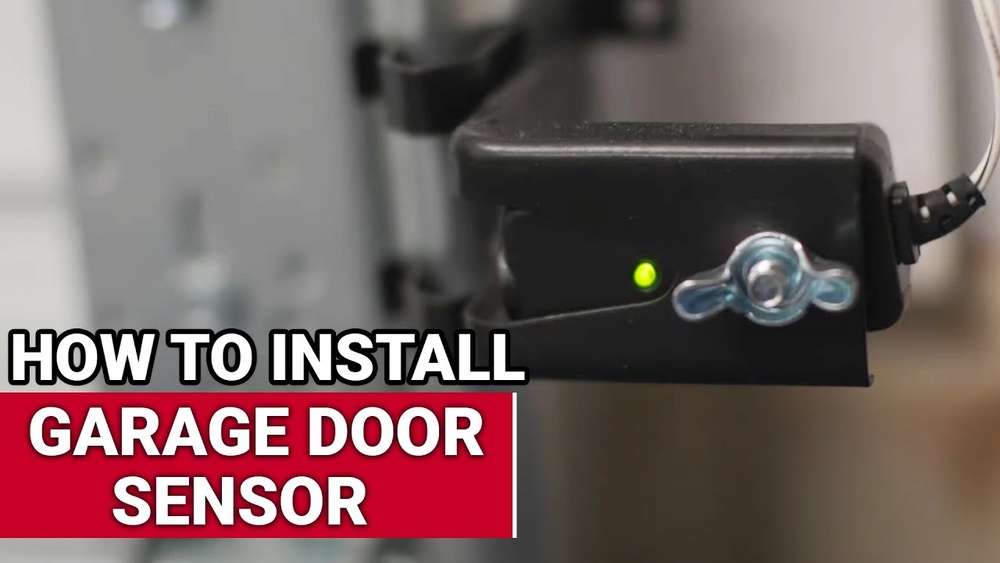
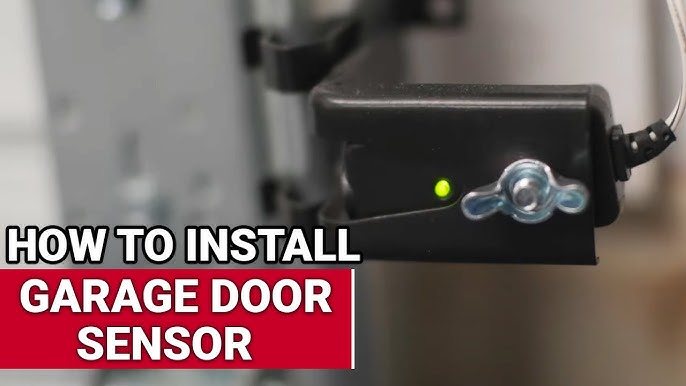
Slide or snap the sensors into the brackets. The sensor with the green light is usually the “receiver,” and the one with the yellow or orange light is the “sender.” Check your manual to confirm.
- Point both sensors directly at each other.
- Do not aim them up, down, or sideways.
Quick test: If you see both lights come on after wiring, they are facing correctly.
5. Run The Wires
Some openers use pre-installed wires; others need you to run new wires.
- Run the wires along the wall, up to the opener’s main unit.
- Use wire staples or clips to hold the wire in place, but do not pinch or cut the wire.
- Leave a little extra wire near the opener for easy connection.
Tip beginners miss: Do not run sensor wires next to high-voltage lines (like those for your garage outlets). This can cause interference and false alarms.
6. Connect The Wires
Check your opener’s manual for the correct terminals. Usually, you’ll see labels like “SENS” or “Sensor. ”
- Strip about 1/2 inch of insulation from each wire.
- Connect the wires to the opener—often, there are two terminals for each sensor.
- Use wire nuts or push-in connectors for a solid connection.
Example wiring:
- White wire to white terminal (common)
- Black or red wire to the other terminal
If your opener is color-coded, match the wire colors.
7. Power On And Test
Plug the opener back in or flip the breaker on. The sensor lights should turn on. If not, check your wiring.
- Try to close the garage door with the remote.
- Wave your hand or a stick in front of the sensor beam. The door should stop or reverse.
- If not, re-align the sensors until both indicator lights are on and steady.
8. Secure And Finalize
- Tidy up any loose wires with zip ties.
- Double-check all screws and brackets are tight.
- Make sure the sensors cannot be easily bumped out of place.
Bonus tip: Write the install date on the sensor with a marker. This helps track age and maintenance.
Credit: www.youtube.com
Common Problems And How To Fix Them
Even after you install the sensors, you might run into issues. Here’s a quick troubleshooting guide:
| Problem | Possible Cause | Easy Fix |
|---|---|---|
| Sensor lights are off | No power or bad wiring | Check connections, breaker, or replace wire |
| One light blinking | Sensors not aligned | Re-aim sensors until both lights are steady |
| Door won’t close | Dirty lens or beam blocked | Clean lens, clear area |
| Random reversing | Interference from other wires | Move sensor wire away from power lines |
Mistakes To Avoid
Many beginners make the same mistakes. Avoid these:
- Wrong height: Always install sensors 4-6 inches above the floor.
- Loose brackets: Sensors must not wiggle. Vibration can move them out of alignment.
- Skipping the test: Always test with an object before calling the job done.
- Mixing up wires: Follow your opener’s wiring colors and labels.
- Ignoring sunlight: Direct sun can sometimes confuse sensors. Use shades or covers if needed.
When To Call A Professional
Most people can install sensors with basic tools. But call a pro if:
- Your opener is very old or does not list sensor support.
- Wires are damaged inside the wall.
- You see sparks or smell burning.
Professional installs usually cost $80–$150, depending on your area. For most modern homes, DIY is safe and much cheaper.
How To Maintain Your Garage Door Sensors
Sensors do not need much care, but a little attention keeps them working for years.
- Wipe the lenses every few months with a soft cloth.
- Check alignment if your door starts acting up.
- Look for spider webs or leaves blocking the beam.
- Test the system every 3–6 months with a box or stick.
Did you know? Most sensor problems are caused by dust or small misalignments, not broken parts.
Comparing Popular Sensor Brands
If you need to buy new sensors, here’s a quick comparison of the most common brands:
| Brand | Compatibility | Price Range | Warranty |
|---|---|---|---|
| Chamberlain | Chamberlain, LiftMaster, Craftsman | $25–$40 | 1 year |
| Genie | Genie only | $20–$35 | 1 year |
| Linear | Linear only | $30–$50 | 2 years |
Tip: Always buy sensors that match your opener’s brand and model number. Universal sensors rarely work well.
Safety Regulations And Standards
Garage door sensors are required in the U.S. for all automatic openers built after 1993. This is part of the UL 325 safety standard. These rules help prevent injuries and deaths.
If you are upgrading an old opener, check if it supports sensors before buying. Some very old models may need a full opener replacement to meet current laws. For more on safety standards, see the CPSC’s official safety guide.
Credit: support.chamberlaingroup.com
Frequently Asked Questions
How Do I Know If My Garage Door Sensors Are Bad?
If your garage door will not close, and the opener lights blink, or you see one sensor light off, your sensors may be bad. Try cleaning the lenses and realigning first. If the problem stays, replace the sensors.
Can I Bypass Garage Door Sensors?
You can temporarily bypass sensors by holding the wall switch button down. However, this is not safe or legal as a long-term fix. Always keep sensors working for safety.
Are All Garage Door Sensors Universal?
No. Most sensors only fit their own brand and model. Check your opener’s manual or the old sensor’s part number before buying replacements.
How Much Does It Cost To Install Garage Door Sensors?
DIY sensor kits cost $20–$50. Professional installation can cost $80–$150. Doing it yourself saves money and only takes about an hour.
What Causes Garage Door Sensors To Stop Working?
Common causes are:
- Dirt or spider webs on the lens
- Misalignment from bumps or vibration
- Broken wires from age
- Sunlight shining directly into the sensor
Keeping sensors clean and aligned prevents most problems.
Installing garage door sensors may look hard, but with the right tools and clear steps, most people can do it safely. You increase the safety of your family and meet important legal rules. Take your time, double-check your work, and test the system when finished. A small effort now can prevent big problems later.