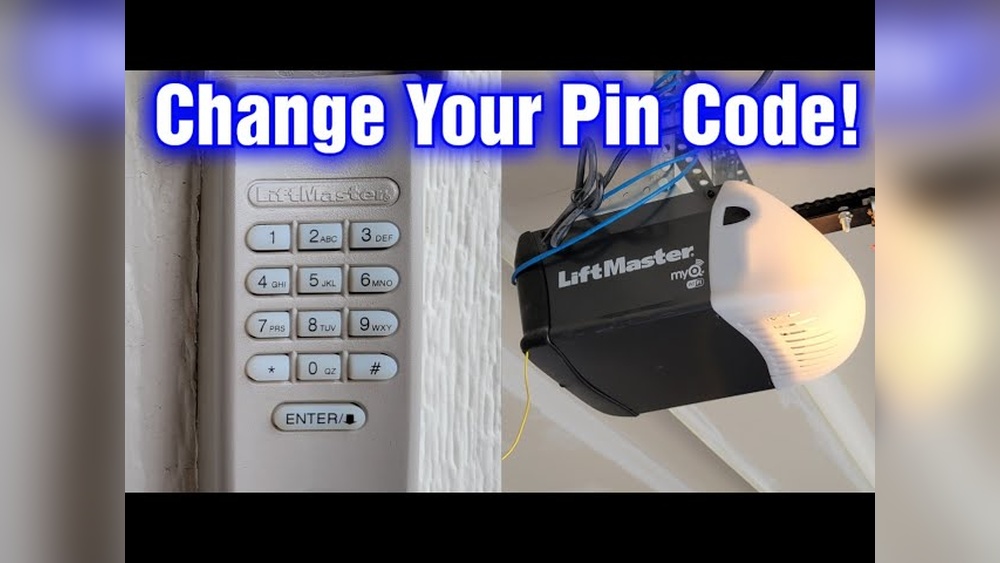
Changing the code on your Liftmaster garage door opener can improve security and help you manage access to your home. Many people never update their default codes, leaving their garage and house at risk. If you are new to garage door openers or have never changed a code before, the process can seem confusing. This guide will walk you through every step, explain the different methods, and answer common questions. You will also see real examples, quick tips, and data to help you protect your home more effectively.
Why Change Your Liftmaster Code?
Changing your Liftmaster code is a smart security move. Here’s why:
- Prevent unauthorized access: Default or old codes can be guessed by someone who knows the manufacturer’s standards.
- Control access: If you’ve given out your code to neighbors, service people, or guests, updating the code ensures only you and your family have access.
- Peace of mind: Regular updates reduce the risk of break-ins.
A study by the National Crime Prevention Council found that about 9% of home break-ins happen through the garage. Many of these happen because the security code was never changed.
Understanding Your Liftmaster System
Before you start, it helps to know which type of Liftmaster opener you have. Most models fall into one of these categories:
- Keypad entry systems (mounted outside your garage)
- Remote controls (handheld devices)
- Wall-mounted control panels (inside your garage)
Your process may change slightly depending on the type. Most newer Liftmaster systems use rolling code technology, which means the code changes automatically every time you use it. However, you still need to set a “master” code for keypads and remotes.
Identifying Your Model
Check the back panel or side of your opener for a model number. Common models include Liftmaster 8500, 8355, and 8365. Older models may have a row of DIP switches (small toggles), while newer ones use a Learn or Program button.
Here’s a quick comparison:
| Feature | Older Models | Newer Models |
|---|---|---|
| Programming Method | DIP Switches | Learn Button |
| Remote Type | Fixed Code | Rolling Code |
| Security Level | Basic | High |
Knowing your model type helps you follow the right instructions.

Credit: www.youtube.com
How To Change Liftmaster Code: Step-by-step
For Keypad Entry Systems
Most homeowners use a keypad on the outside wall. Here’s how to update your code:
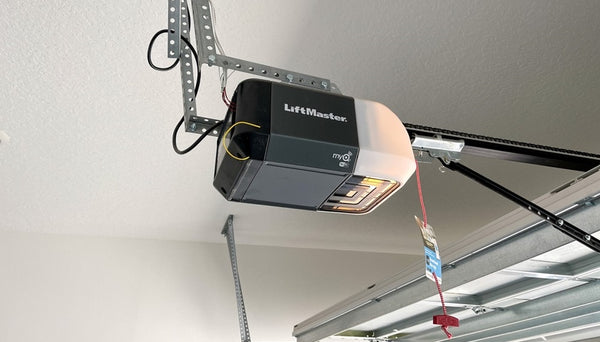
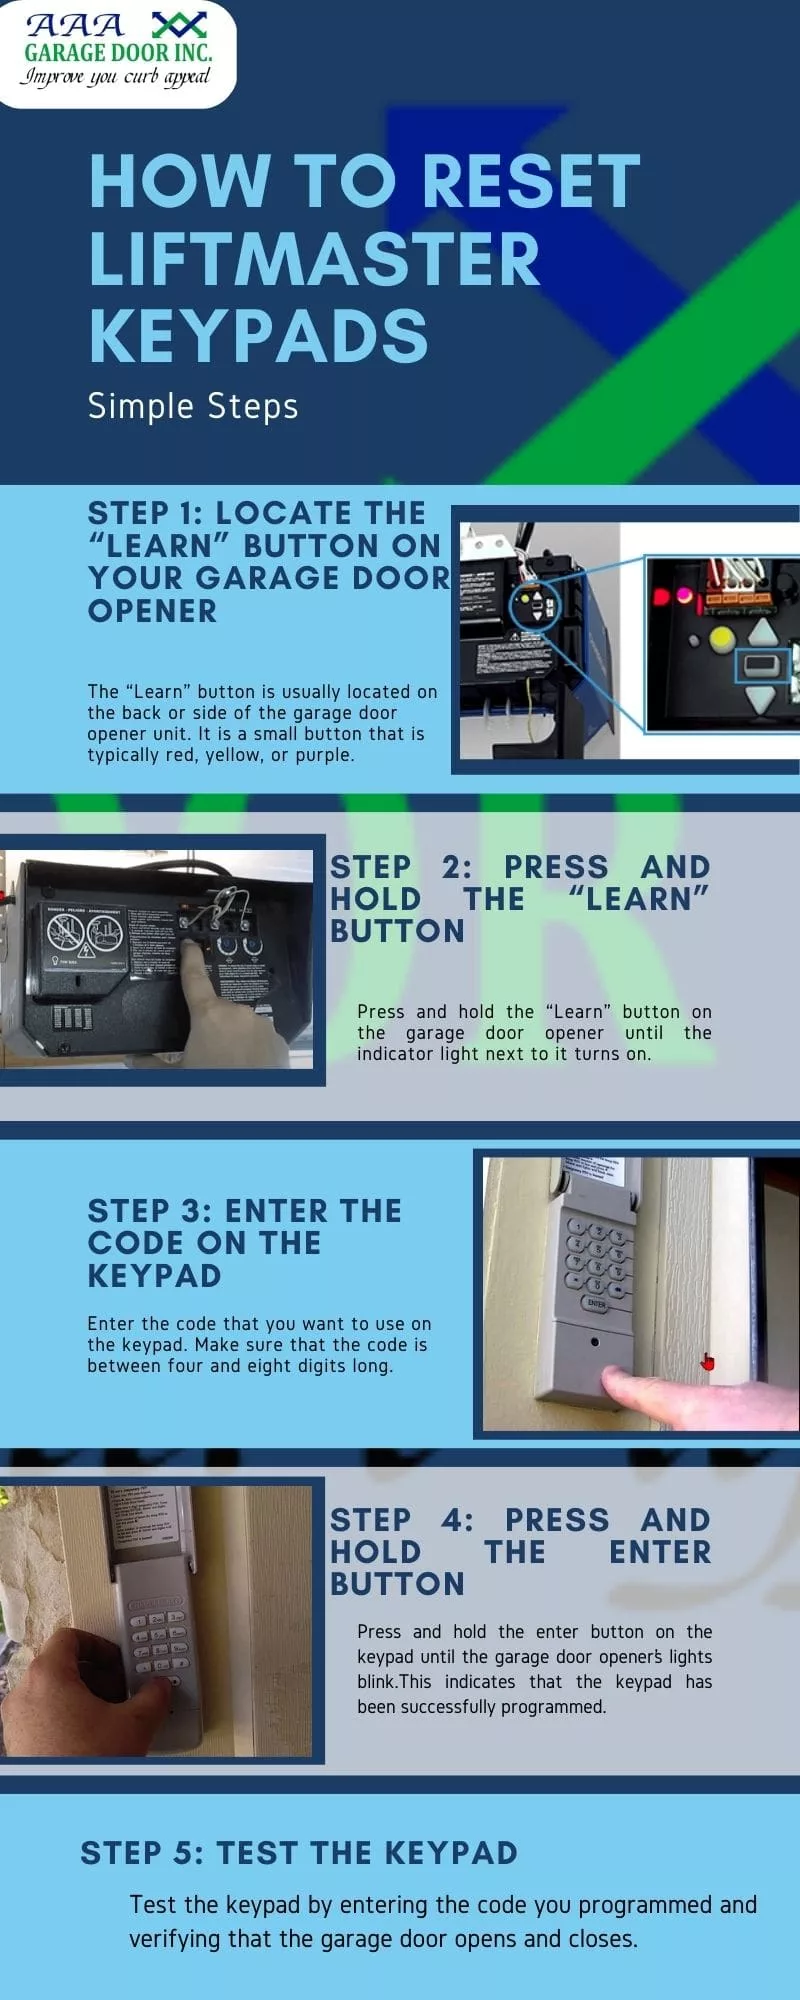
- Locate the Learn Button: Open your garage door motor housing. The Learn button is usually near the antenna wire. It can be yellow, red, orange, or purple.
- Clear Old Codes: Press and hold the Learn button until the indicator light turns off (about 6 seconds). This erases all old codes.
- Press the Learn Button Again: Quickly press and release the Learn button. The light will come on, waiting for a new code.
- Enter New Code: On your keypad, type your new 4-digit code, then press the Enter button.
- Test Your Code: Wait 10 seconds, then enter your new code again to check if the door opens.
Tip: Choose a code that is easy to remember but hard to guess (avoid birthdays or repeated numbers).
For Remote Controls
If you want to change the code for your remote control:
- Erase Old Remotes: Hold the Learn button until the light goes out.
- Program New Remote: Press the Learn button once. Within 30 seconds, press the button on your remote you wish to program. The opener light will blink or click to confirm.
If you have multiple remotes, repeat the last step for each one.
For Wall-mounted Control Panels
Some garages have a multi-function wall control inside. The process is similar:
- Enter Programming Mode: Press and hold the program button until the LED starts blinking.
- Enter New PIN: Type the new code, then press Enter.
- Save: Wait for the blinking to stop.
For Dip Switch Models (older Openers)
If your opener is an older model with DIP switches:
- Find the DIP Switches: These are inside both your opener and remote. There are usually 8–12 switches.
- Set a New Pattern: Change the pattern of up/down switches in both the opener and all remotes to match.
- Test the System: Try the remote to make sure it opens the door.
Insight: DIP switch codes offer less security. If you have one, consider upgrading to a newer model.
Practical Example: Changing The Code On A Liftmaster 878max Keypad
Let’s look at a real example for the popular Liftmaster 878MAX keypad:
- Press and hold the and #* buttons until the keypad stops blinking.
- Enter your current 4-digit code, then press #.
- Enter your new 4-digit code, then press Enter.
- The light will blink to confirm.
If you make a mistake, wait 30 seconds and try again.
Common Mistakes To Avoid
Many beginners run into simple problems when changing their Liftmaster code. Here are the top mistakes and how to avoid them:
- Not clearing old codes: Always erase old codes before setting a new one, especially after moving into a new house.
- Waiting too long: After pressing the Learn button, you usually have only 30 seconds to enter a new code.
- Mismatched remote and opener: For DIP switch systems, the switches in the opener and remote must match exactly.
- Weak code choice: Avoid using simple codes like 1234 or 0000, which are easy to guess.
How Often Should You Change Your Code?
Experts recommend updating your garage door code every 6–12 months, or immediately if:
- You lose a remote.
- You move into a new home.
- You suspect someone else knows your code.
Changing your code regularly helps keep your home safe.
What If You Forget Your Code?
If you forget your keypad code, you can reset it by following the steps above to clear all old codes and create a new one. For remotes, you may need to reprogram each remote device.
Some newer models let you reset with a MyQ app or by contacting Liftmaster customer support.
Security Tips For Your Liftmaster Opener
A few extra steps will give you even more protection:
- Use the lock feature: Some wall controls have a lock button that disables all remotes when you’re away.
- Check for updates: Newer Liftmaster openers may have firmware updates for better security.
- Cover your keypad: Install a cover or shade to stop others from seeing your code.
- Audit access: If you give a code to a service person, change it as soon as their job is done.
Comparison: Liftmaster Vs. Other Brands
If you’re considering updating your opener, it can help to see how Liftmaster compares to others:
| Brand | Programming Method | Security Level | App Control |
|---|---|---|---|
| Liftmaster | Learn Button, Keypad | High (Rolling Code) | Yes (MyQ App) |
| Chamberlain | Learn Button, Keypad | High (Rolling Code) | Yes |
| Genie | Learn Button, DIP Switch | Medium | Yes (Aladdin App) |
| Craftsman | Learn Button, Keypad | Medium-High | No |
Liftmaster stands out for its strong security and easy-to-use programming.
Troubleshooting Problems
If your code change does not work, try these fixes:
- Check battery: A weak keypad or remote battery can block programming.
- Reset all devices: Clear codes and start fresh.
- Follow timing: Enter codes within the 30-second window after pressing the Learn button.
- Inspect wiring: For wall panels, loose wires can cause problems.
- Review instructions: Each model has slight differences—download your manual from the Liftmaster website if needed.
Advanced Tip: Some keypads have a “temporary PIN” feature. This lets you set a code for guests or deliveries that works only once or for a short time.
When To Call A Professional
Sometimes, changing the code is not enough. If you see these warning signs, contact a garage door professional:
- Your opener does not respond to any remotes or keypads.
- The Learn button does not seem to work.
- You have lost all remotes and can’t access the garage.
- The wiring appears damaged or the unit is very old.
Professional help is especially important for older or high-use systems.
Data: How Secure Is A Changed Code?
Many people wonder if changing the code really improves safety. According to the FBI’s Uniform Crime Reporting:
- Garages are a target in 1 out of 12 home burglaries.
- Homes with changed or rolling codes are 60% less likely to have forced garage entry than those with default codes.
This means a simple code change can lower your risk by more than half.
Credit: allsecurityequipment.com
Quick Reference: Steps At A Glance
For a fast summary, here’s what you do:
- Locate your opener’s Learn button.
- Clear old codes by holding the button.
- Press the Learn button again.
- Enter your new code on the keypad or remote.
- Test to confirm.
Write down your new code and keep it in a safe place—not your car.
Resources And Support
If you need more help, visit the official Liftmaster Support page. You’ll find manuals, model-specific guides, and video walkthroughs.
Credit: aaagds.com
Frequently Asked Questions
How Do I Find The Learn Button On My Liftmaster Opener?
Look for a small colored button (yellow, orange, red, or purple) on the back or side of your main garage door opener unit. It may be under the light cover. The button is often labeled “Learn” or “Program.”
What If My Keypad Is Not Working After Changing The Code?
Check the battery first. Then, make sure you entered the new code within 30 seconds of pressing the Learn button. If it still fails, reset the system and try again.
Can Someone Hack My Liftmaster Code?
Modern Liftmaster openers use rolling code technology, which makes them very hard to hack. Older DIP switch systems are less secure, so consider upgrading if you have one.
How Do I Program A Temporary Code For Guests?
Many keypads let you set a temporary code by entering your master code, then pressing a specific button (often “*” or “#”). Check your model’s manual for the exact steps.
Will Changing My Code Erase All Remotes?
Yes, clearing codes with the Learn button will remove all paired remotes and keypads. You’ll need to reprogram each device you want to use.
By following these steps, you can keep your home safer with a fresh, secure Liftmaster code. Regular updates, strong code choices, and using all security features will protect your garage for years to come.