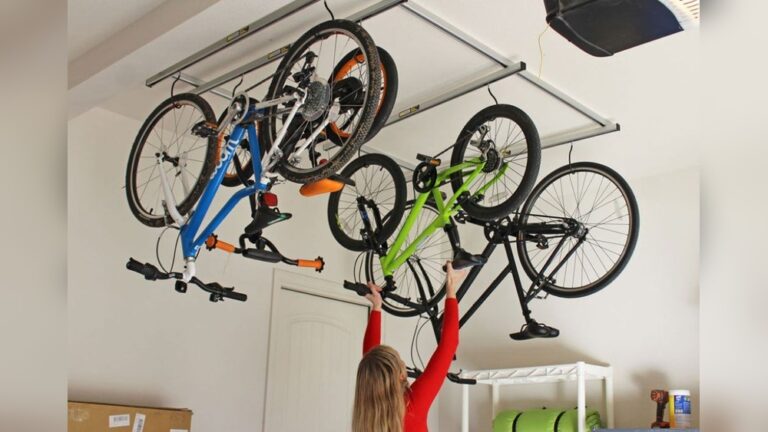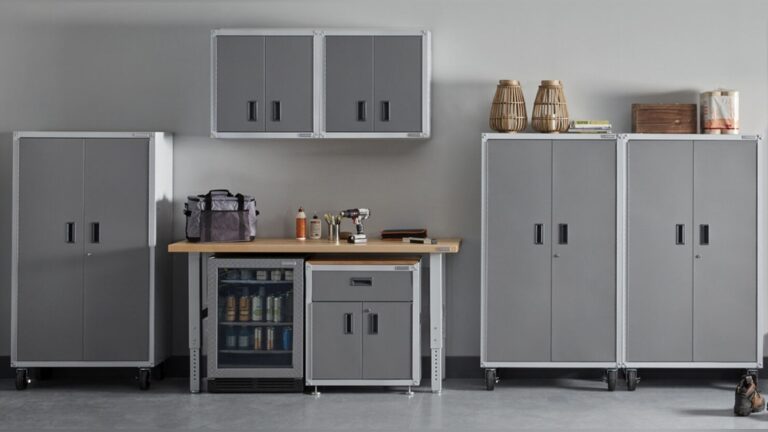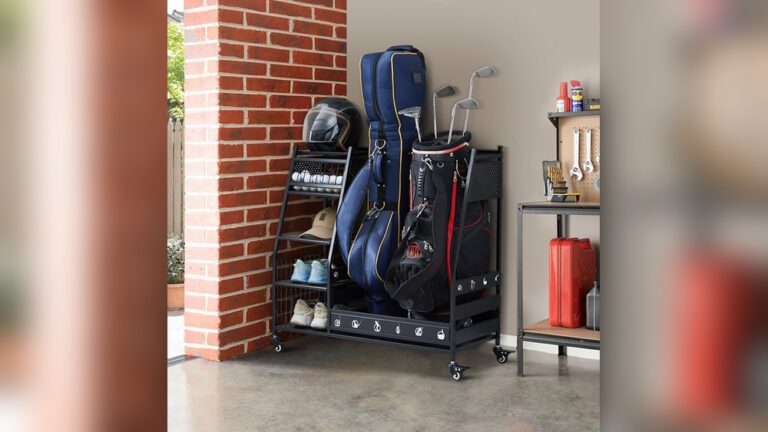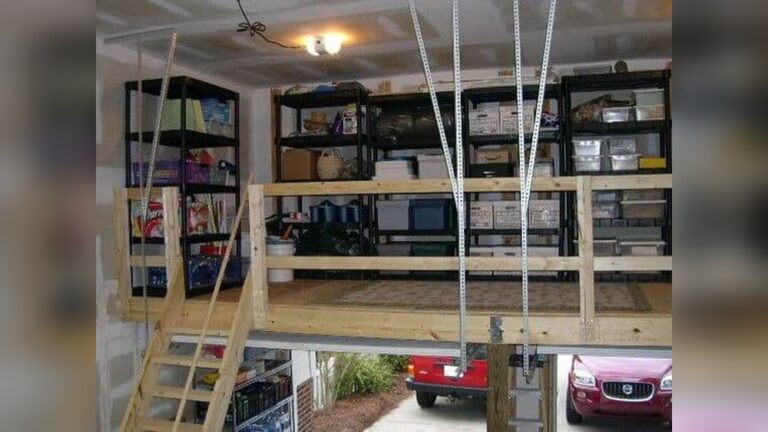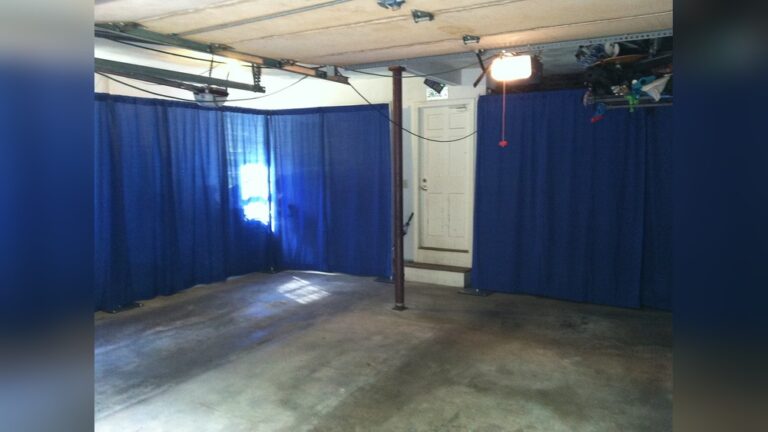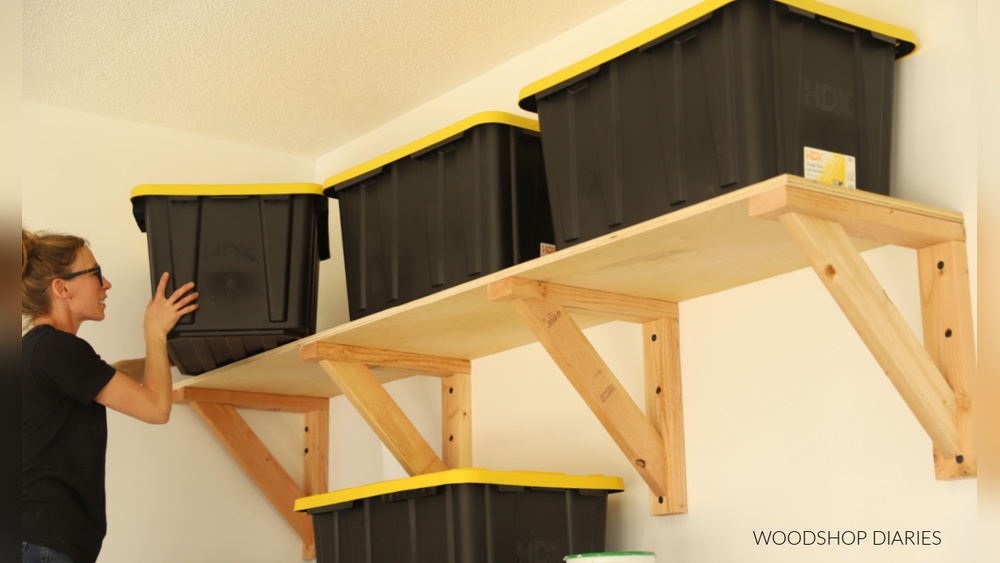
Building your own garage shelves is one of the most effective ways to create more space and organize your tools, gear, and supplies. Many beginners worry that making shelves is difficult or expensive, but with the right guidance, anyone can do it.
DIY garage shelves are affordable, customizable, and strong enough for most storage needs. Whether you have a small single-car garage or a larger workspace, smart shelving can transform clutter into order.
Why Build Diy Garage Shelves?
If you’re tired of messy floors and overflowing boxes, garage shelves help you use vertical space. This means you store more without taking up valuable floor area. Some reasons people choose DIY shelves:
- Save money: Building shelves is cheaper than buying pre-made units.
- Custom fit: You control the size and layout to match your garage.
- Strength: Homemade shelves can hold heavier items than many store-bought options.
- Learning: Building shelves improves your skills and confidence with simple tools.
A study by the National Association of Home Builders found that 85% of homeowners wanted more garage storage. DIY shelving is a top solution.
Planning Your Garage Shelves
Before you start, think carefully about your needs. Good planning prevents mistakes and wasted money.
Measure Your Space
- Use a tape measure to check the width, height, and depth of your available wall.
- Decide how many shelves you want and how tall each shelf should be.
- Consider doorways, windows, and electrical outlets.
Example: If your garage wall is 10 feet wide, you might fit three 3-foot shelves with space left for access.
Choose Shelf Materials
The most popular materials are wood, metal, and plastic. Each has pros and cons.
| Material | Strength | Cost | Ease of Use | Best For |
|---|---|---|---|---|
| Wood | High | Moderate | Easy | Heavy tools |
| Metal | Very High | High | Medium | Long-term storage |
| Plastic | Low | Low | Very Easy | Light items |
For most beginners, wood is the best choice. It’s easy to cut, strong, and affordable.
Estimate Your Budget
DIY shelves cost less than store units. Here’s a rough breakdown for a basic 3-shelf unit (8 feet wide):
| Item | Estimated Cost |
|---|---|
| Wood (2x4s, plywood) | $40-$60 |
| Screws & brackets | $10-$20 |
| Tools (if needed) | $0-$50 |
Total cost: $50–$130 depending on tools and materials.
Tools And Materials You’ll Need
For a basic wooden shelf, you need:
- 2×4 lumber for the frame and supports
- Plywood sheets for the shelf surface
- Wood screws (2–3 inch)
- Brackets (optional for extra support)
- Drill with drill bits
- Saw (hand saw or circular saw)
- Tape measure
- Level to keep shelves straight
- Pencil for marking
Non-obvious tip: If you don’t have a saw, most hardware stores will cut wood for you. This saves time and effort.
Step-by-step Guide: Building Garage Shelves
Follow these steps for strong, beginner-friendly shelves.
1. Mark Your Wall
- Use a pencil and level to mark where each shelf will go.
- Make sure shelves are at least 12 inches apart for storage bins.
- Mark where the frame supports (vertical 2x4s) will be attached.
2. Cut Your Wood
- Cut 2x4s to the length of your shelves.
- Cut plywood to fit the shelf surface.
- Double-check measurements to avoid waste.
3. Build The Shelf Frames
- Lay out two 2x4s parallel (length of shelf).
- Attach short 2x4s (width of shelf) at both ends to make a rectangle.
- Use screws to secure corners tightly.
4. Attach Frames To The Wall
- Place shelf frames against the wall at your marks.
- Use screws to attach vertical supports to wall studs for strength.
- Check with a level to keep shelves flat.
Non-obvious insight: Always attach supports to wall studs, not drywall. Shelves attached to drywall alone can collapse.
5. Add Shelf Surface
- Place plywood sheet on each frame.
- Screw plywood to the frame (every 8–12 inches).
- Check for any rough edges.
6. Install Brackets (optional)
- For heavier loads, add metal brackets under shelves.
- This prevents sagging and increases weight capacity.
7. Test Your Shelves
- Place some heavy items to check stability.
- If shelves wobble, tighten screws or add extra brackets.

Credit: frillsanddrills.com
Safety Tips For Diy Garage Shelves
Safety should always come first. Here’s how to avoid common mistakes:
- Wear safety goggles when cutting or drilling.
- Use gloves to avoid splinters.
- Make sure shelves are attached to wall studs (not just drywall).
- Do not overload shelves. Most basic shelves hold 100–200 lbs per section.
- Keep a clean workspace to prevent accidents.
A surprising fact: Over 30% of garage injuries are caused by falling items. Secure shelves properly to prevent accidents.
Common Mistakes Beginners Make
Knowing these can save you time and money:
- Wrong measurements: Double-check before cutting.
- Skipping wall studs: Shelves attached to drywall may fall.
- Using cheap materials: Low-quality wood can bend or break.
- No level: Uneven shelves make storage difficult.
- Overloading: Respect weight limits to avoid collapse.
Non-obvious tip: Paint or seal wood shelves to protect against moisture and pests.
Customizing Your Garage Shelves
Once your basic shelves are up, you can personalize them for your needs.
Add Adjustable Shelves
- Use metal tracks and brackets so you can move shelves up or down.
- Perfect for changing storage needs.
Install Bin Holders
- Attach strips or hooks for plastic bins.
- Makes sorting small items easy.
Make Corner Shelves
- Use triangular plywood and 2x4s for corners.
- Good for maximizing space in small garages.
Add Wheels For Mobility
- Build shelves on a frame with locking casters.
- Move shelves easily for cleaning or rearranging.
Comparing Diy Vs Store-bought Garage Shelves
Let’s look at how homemade shelves compare to store options:
| Feature | DIY Shelves | Store-Bought Shelves |
|---|---|---|
| Cost | $50–$130 | $100–$300 |
| Strength | High (wood/metal) | Medium (metal/plastic) |
| Customization | Full control | Limited |
| Skill Needed | Basic tools | None |
| Time Required | 2–4 hours | 30 minutes |
DIY shelves are best for those who want a custom fit and strong structure. Store shelves are faster but less flexible.
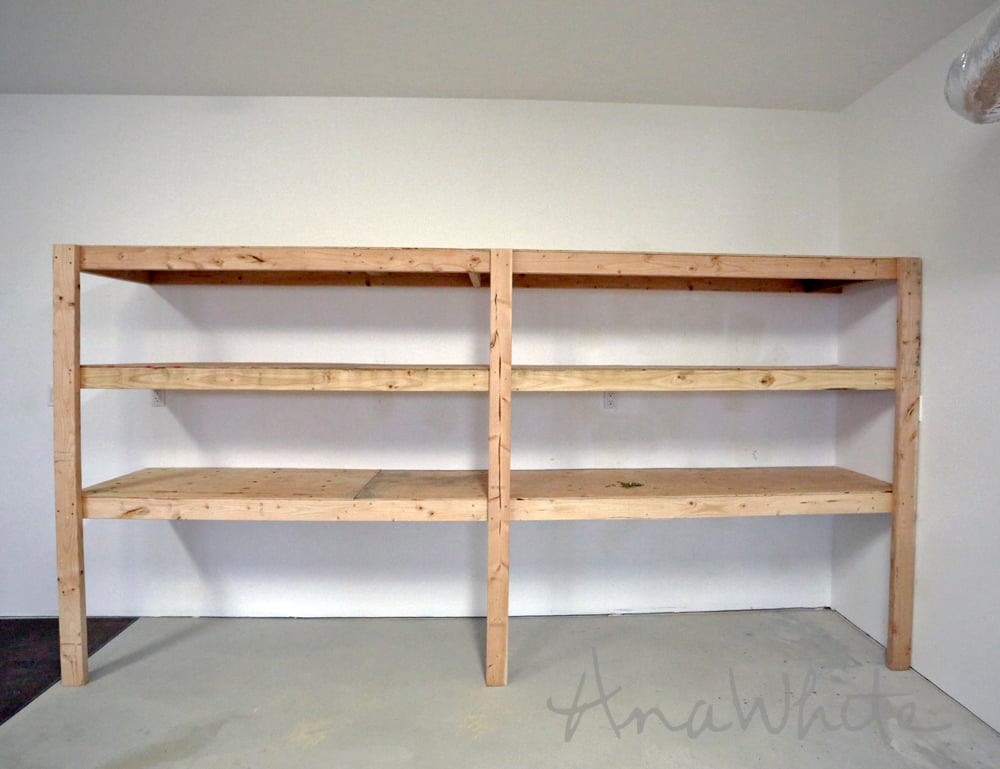
Credit: www.ana-white.com
Real-life Example: Beginner Success Story
Let’s look at a beginner’s project. John, a homeowner with no carpentry experience, built three 8-foot garage shelves in one afternoon. He spent $75 on materials and used basic tools borrowed from a neighbor. By attaching shelves to wall studs and adding brackets, John safely stored heavy paint cans and power tools.
He reported that his garage felt “twice as big” after organizing with shelves.
Practical Tips To Maximize Garage Shelf Use
- Group similar items together (tools, sports gear, cleaning supplies).
- Use clear bins for small items. Label them for easy access.
- Store heavy things on lower shelves for safety.
- Leave space for future storage needs.
- Clean shelves regularly to prevent dust and pests.
Non-obvious insight: Install a small shelf near the garage door for essentials like keys, gloves, or flashlights.
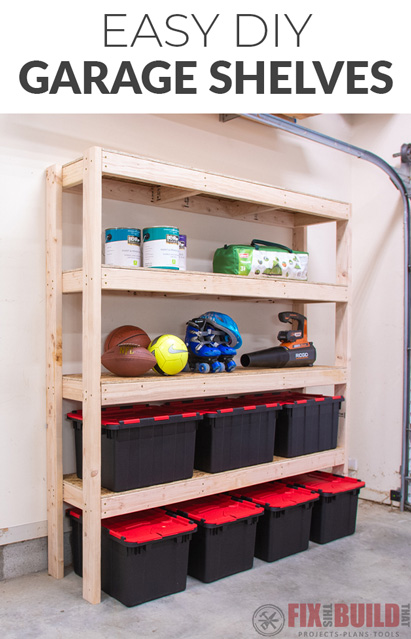
Credit: fixthisbuildthat.com
Frequently Asked Questions
How Much Weight Can Diy Garage Shelves Hold?
Most basic wooden shelves hold 100–200 lbs per shelf if attached to wall studs. Using thicker wood or extra brackets increases strength. Always check the load before storing heavy items.
What’s The Easiest Shelf Design For Beginners?
A simple wall-mounted shelf using 2x4s and plywood is easiest. It needs few tools and steps. Avoid complex adjustable systems until you gain confidence.
Can I Build Shelves Without Power Tools?
Yes. You can use a hand saw and screwdriver, though it takes more time. Most hardware stores will cut wood for you, so you only need to assemble and attach.
How Do I Prevent Shelves From Sagging?
- Use thicker plywood (at least ¾ inch)
- Add support brackets under shelves
- Keep shelf spans under 4 feet if storing heavy items
Where Can I Find More Beginner Guides?
Check reliable DIY sites like Family Handyman for step-by-step tutorials and videos.
Final Thoughts
DIY garage shelves are one of the most rewarding beginner projects. You save money, build skills, and gain valuable storage. With careful planning, the right materials, and basic tools, you can create shelves that last for years. Remember to measure twice, use strong supports, and customize your shelves to fit your life.
Even small garages become more useful with smart shelving. Start with simple designs, follow safety steps, and enjoy a cleaner, more organized space.