A garage door is a big, moving machine in your home. It keeps your car and storage space safe. But what happens when you see a yellow sensor light on your garage door? For many homeowners, this little light brings confusion and worry. The yellow sensor is a key safety feature. It helps prevent the door from closing on people, pets, or things. Still, when the light changes or stays on, you need to know what it means and how to fix any problems.
This article will help you understand the garage door sensor yellow light. We’ll explain how these sensors work, what causes the yellow light, and simple steps to fix common problems. You’ll find clear instructions, real examples, and answers to the most-asked questions. Whether you want to do quick troubleshooting or just understand your garage door better, this guide will walk you through everything you need to know.
What Is A Garage Door Sensor?
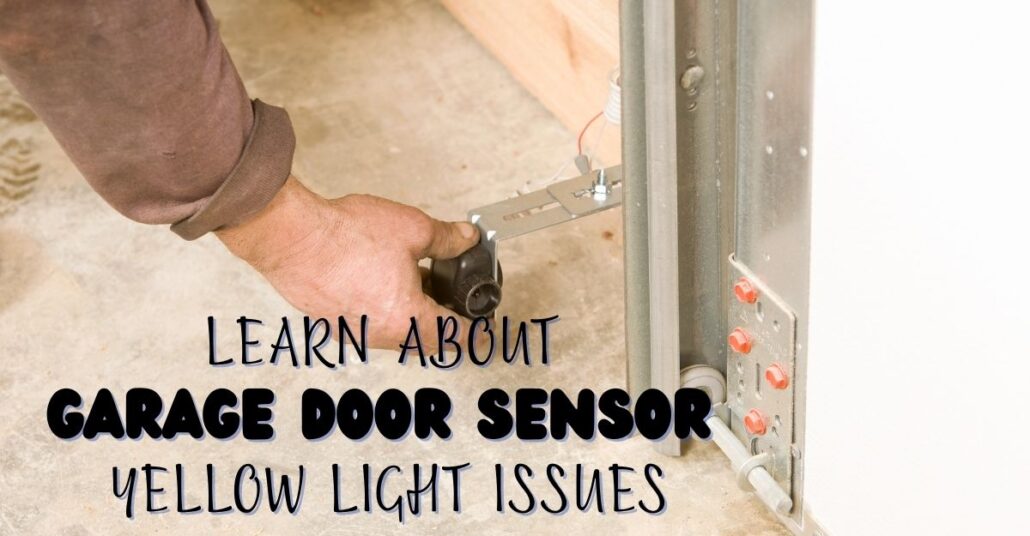
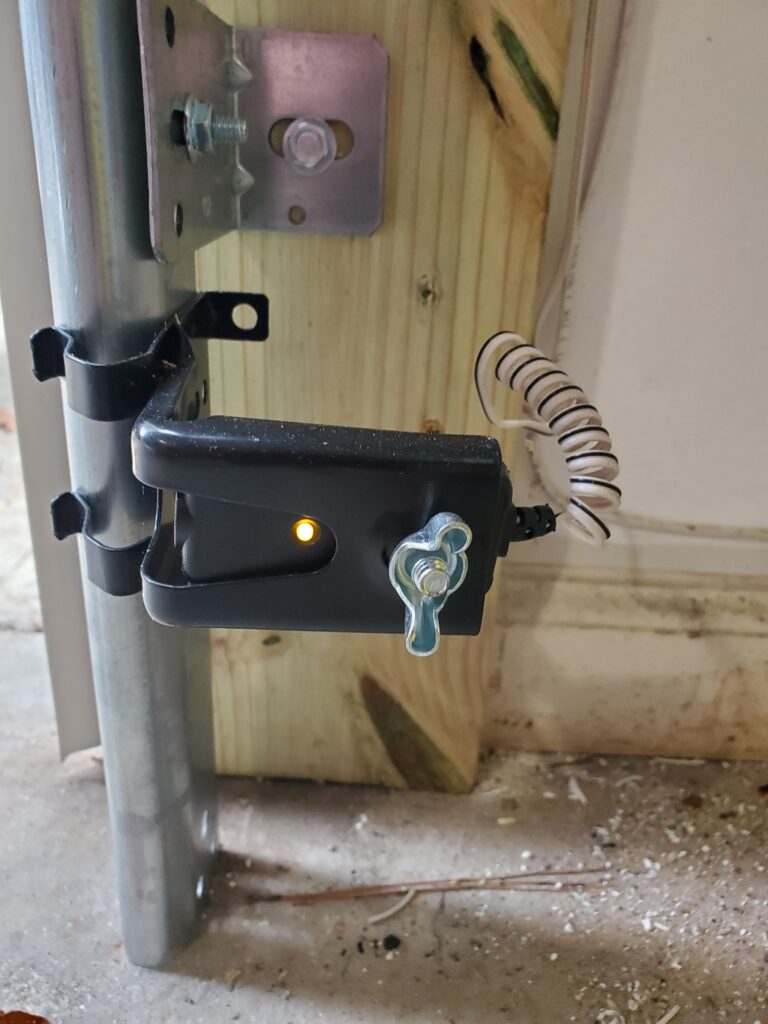
A garage door sensor is a small device placed near the bottom of your garage door tracks. Most garage doors have two sensors: one on each side. These sensors are usually part of a safety system called a photoelectric eye or photo-eye.
- One sensor sends an invisible beam of light to the other.
- If something blocks the beam, the door will not close.
- This helps prevent injuries or damage.
Most sensors have small LED lights to show their status. The color of these lights gives you clues if something is wrong.
What Does The Yellow Sensor Light Mean?
On many garage door openers, like Chamberlain or LiftMaster, the sensors use two different colors:
- Green light: The receiving sensor, showing it is getting power and a signal.
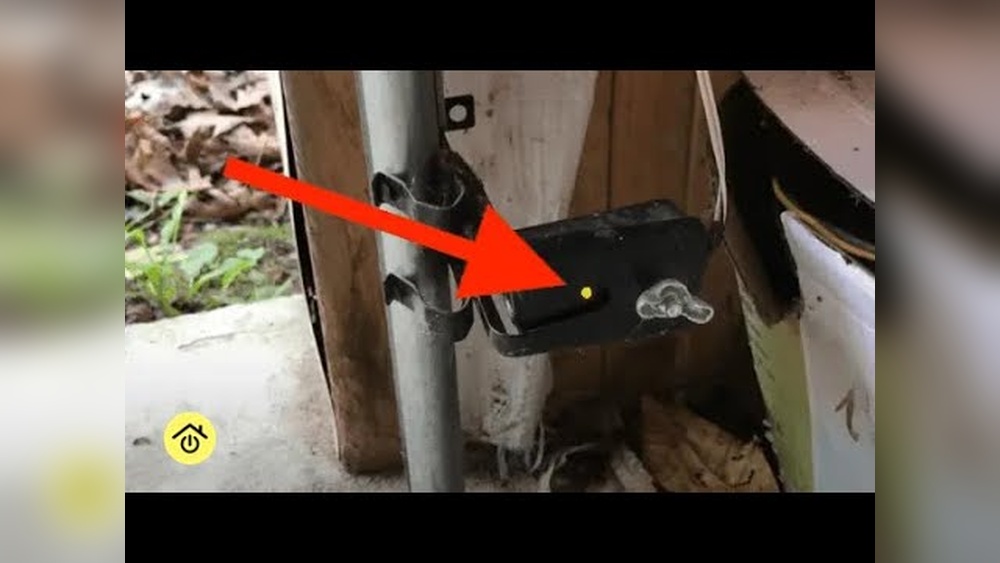
- Yellow (or sometimes orange/amber) light: The sending sensor, showing it is powered on.
If the yellow light is on and steady, it usually means the sensor is working. But if it blinks or goes off, there is a problem.
Key points about the yellow sensor:
- It is normal for the sending sensor to have a yellow or amber light.
- The light must be solid and not blinking.
- If the yellow light is off or flickering, the sensor may not work.
Credit: inlandoverheaddoor.com
How Garage Door Sensors Work
Garage door sensors use a simple but smart system to keep your family safe. Here’s how they work:
- Infrared beam: One sensor sends an invisible infrared beam to the other side.
- Detection: If anything blocks this beam (person, pet, object), the sensor tells the opener to stop or reverse the door.
- LED indicator: The yellow light shows the sending sensor is powered. The green light shows the receiving sensor is aligned.
If either light is off or blinking, your door might not close as it should.
Common Causes Of A Yellow Sensor Light
A steady yellow light usually means the sensor is powered. But problems can still happen. Here are common causes for garage door sensor yellow light issues:
- Sensor misalignment: If sensors are not lined up, the door won’t close.
- Obstruction: Something may be blocking the sensor’s beam.
- Dirty lens: Dust or spider webs on the sensor lens can stop the beam.
- Loose wires: Wires connecting the sensors may be loose or damaged.
- Sunlight interference: Bright sunlight can affect sensor signals.
- Old or faulty sensor: Sensors can wear out over time.
Knowing the cause helps you choose the right fix.
How To Troubleshoot A Yellow Sensor Light
Solving a sensor problem is often easy if you follow these steps. Here’s what to do if you see a yellow sensor light:
1. Check For Obstructions
- Look for boxes, bikes, or other objects blocking the beam.
- Remove any items in the path.
- Clean the area around the sensors.
2. Clean The Sensor Lenses
- Wipe the sensor lenses with a soft cloth.
- Remove dust, dirt, or cobwebs.
3. Align The Sensors
Sensors must face each other perfectly.
- Gently move each sensor until the lights are steady.
- Use a level if needed.
- Secure the sensors so they don’t move.
4. Inspect The Wires
- Check for loose or broken wires at the sensors.
- Tighten any loose connections.
- Replace damaged wires if needed.
5. Block Sunlight
Direct sunlight can confuse the sensors.
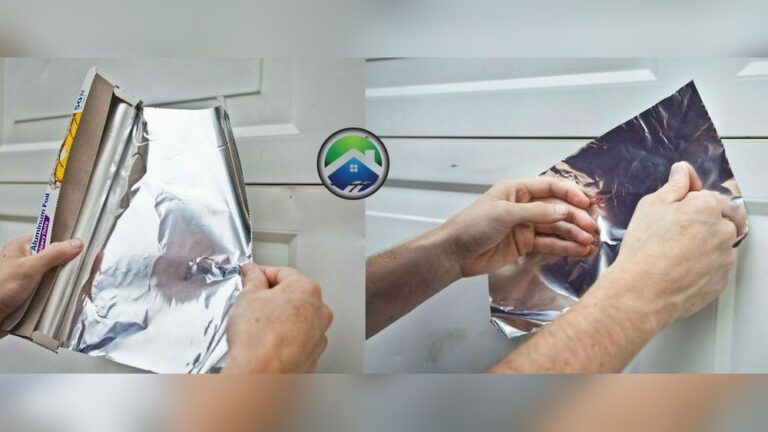
- Use a piece of cardboard or shade to cover the sensors from sun glare.
- Test if the light becomes steady.
6. Test The Door
- Try closing the door with the remote.
- Watch both sensor lights. Both should stay solid.
- If one light goes off or blinks, the problem is not fixed.
Most problems can be solved with these steps. If the yellow light is still blinking or off, you may need to replace the sensor.
Practical Example: Fixing A Misaligned Sensor
Let’s say your garage door won’t close, and you see a yellow light on one sensor and a blinking green on the other. This usually means the sensors are misaligned.
- Move the sensor with the blinking light gently left or right.
- Watch for the green light to turn solid.
- Once both lights are steady, try closing the door.
- If it works, you have fixed the alignment!
This simple step solves the problem in most homes.
Symptoms And What They Mean
Different sensor light patterns can tell you what’s wrong. Here’s a quick guide:
| Yellow Light | Green Light | What It Means |
|---|---|---|
| Solid | Solid | Sensors working |
| Solid | Blinking | Misaligned sensors |
| Blinking | Solid or Off | Power or wiring issue |
| Off | Off | No power to sensors |
This table helps you quickly understand what the lights mean, so you can solve the problem faster.
How To Replace A Faulty Garage Door Sensor
If cleaning, aligning, and checking wires do not fix the problem, the sensor may be bad. Here’s how to replace it:
- Unplug the opener: Always turn off power first for safety.
- Remove old sensor: Unscrew and disconnect wires.
- Attach new sensor: Connect wires and mount in place.
- Align the sensors: Make sure both lights are steady.
- Test the door: Try opening and closing to check if the problem is gone.
Most sensors cost $20–$40 and are easy to install. Always buy the same brand as your opener for best results.

Credit: www.wikihow.com
Cost Comparison: Diy Vs. Professional Repair
Many people wonder if they should fix a garage door sensor yellow problem themselves or call a pro. Here’s a quick comparison.
| Method | Typical Cost | Time Needed | Skill Level |
|---|---|---|---|
| DIY | $20–$50 | 30–60 minutes | Basic |
| Professional | $80–$200 | 1–2 hours | None |
DIY is cheaper and quick if you feel confident. If not, hiring a pro can save you time and stress.
Real-world Data: How Often Do Sensors Fail?
Garage door sensors are built to last. However, real-world data shows:
- Most sensors last 8–10 years with normal use.
- About 30% of sensor problems come from dirt or misalignment, not failure.
- Only 10% of cases need a sensor replacement.
This means you can often fix the yellow sensor light problem without buying new parts.
Non-obvious Insights For Beginners
Many new homeowners miss these key points:
- Both sensors matter. Even if only the yellow light is on, you must check both sensors for problems.
- Garage doors won’t always close if the sensor is dirty, even if the lights look okay. Always clean the lenses.
- Garage door openers sometimes reset after a power outage. If you see strange lights, unplug and replug the opener.
- Small vibrations can move sensors out of alignment. Check sensor position if your garage is used often.
When To Call A Professional
While most sensor problems are easy to fix, call a pro if:
- You see burnt wires or signs of water damage.
- Both sensor lights are off, even after checking the power.
- The door moves randomly or makes strange noises.
Professional help is safer when you’re unsure.
Comparison: Popular Garage Door Sensor Brands
Different garage door brands use slightly different sensors. Here’s a quick look at the most common ones.
| Brand | Sensor Light Colors | Replacement Cost | Ease of Installation |
|---|---|---|---|
| Chamberlain | Yellow & Green | $20–$35 | Easy |
| LiftMaster | Yellow & Green | $20–$40 | Easy |
| Genie | Red & Green | $25–$45 | Medium |
| Craftsman | Yellow & Green | $20–$35 | Easy |
Always check your opener’s manual before buying new sensors.
Safety Tips For Garage Door Sensors
- Test the safety reverse function every month.
- Keep sensors clean and free from dust.
- Don’t let children play near the door.
- Never tape over or bypass the sensors—they protect your family.
Garage door sensors are not just for convenience, but also for safety.
Credit: allgoodgaragedoor.com
Frequently Asked Questions
Why Is My Garage Door Sensor Yellow Light Blinking?
A blinking yellow light usually means the sensor is not aligned or there’s a wiring problem. Make sure both sensors face each other with no blockage. Check wires for damage. If the problem continues, the sensor may need replacing.
Can I Bypass The Yellow Sensor To Close My Garage Door?
Bypassing the sensor is not safe and is not recommended. The sensors protect people and pets from injury. If your door won’t close, use the manual close button (hold until closed), but fix the sensor as soon as possible.
How Do I Know If My Garage Door Sensors Are Bad?
If both sensor lights are off, or they stay blinking after cleaning and aligning, the sensors may be bad. Try replacing with new ones. If the new sensors still don’t work, the problem could be in the opener’s logic board.
Are Yellow Sensor Lights The Same On All Garage Doors?
No, not all garage door brands use yellow sensors. Chamberlain, LiftMaster, and Craftsman often use yellow (sending) and green (receiving). Some brands use red and green or other colors. Always check your owner’s manual.
Where Can I Find More Information About Garage Door Safety?
You can learn more about garage door safety features and standards from the Underwriters Laboratories, which sets safety rules for garage door openers.
A yellow sensor light is important for your garage door’s safe operation. With a little knowledge and simple tools, most problems are easy to fix. Keeping sensors clean, aligned, and working will protect your family and keep your garage running smoothly.
If you ever feel unsure, don’t hesitate to call a professional for help.