Building garage cabinets may seem difficult if you’re new to DIY projects, but with the right steps, anyone can create strong, organized storage. Custom cabinets can transform a messy garage into a neat, usable workspace. You’ll save money by building them yourself, and you can design them to fit your exact needs.
This guide will walk you through every step, from planning and materials to installation and finishing, with a focus on simple explanations for beginners.
Why Build Your Own Garage Cabinets?
Store-bought garage cabinets are expensive and may not fit your space well. Building your own allows you to:
- Customize size and layout for your garage
- Use stronger materials for better durability
- Save money compared to pre-made cabinets
- Gain satisfaction from a DIY project
A well-organized garage increases your home’s value and makes daily life easier. For example, adding cabinets can free up floor space, keep tools safe, and reduce clutter.
Planning Your Garage Cabinets
Proper planning is the key to a successful project. Start by thinking about what you need to store and how much space you have.
Measure Your Garage
- Use a tape measure for wall length, height, and depth
- Decide how much wall space you want for cabinets
- Check for obstacles: Windows, outlets, doors
Choose Cabinet Type
There are three main types of garage cabinets:
| Cabinet Type | Best For | Mounting |
|---|---|---|
| Base Cabinets | Heavy tools, work surfaces | Floor |
| Wall Cabinets | Small tools, chemicals | Wall-mounted |
| Tall Cabinets | Brooms, sports gear | Floor/wall |
Beginners often forget to leave enough space for garage doors to open or for cars. Double-check your plan before buying materials.
Sketch A Simple Design
- Draw your garage wall on paper
- Mark cabinet locations and sizes
- Plan for shelving height and number of shelves
A simple sketch helps you estimate material needs and avoid mistakes.
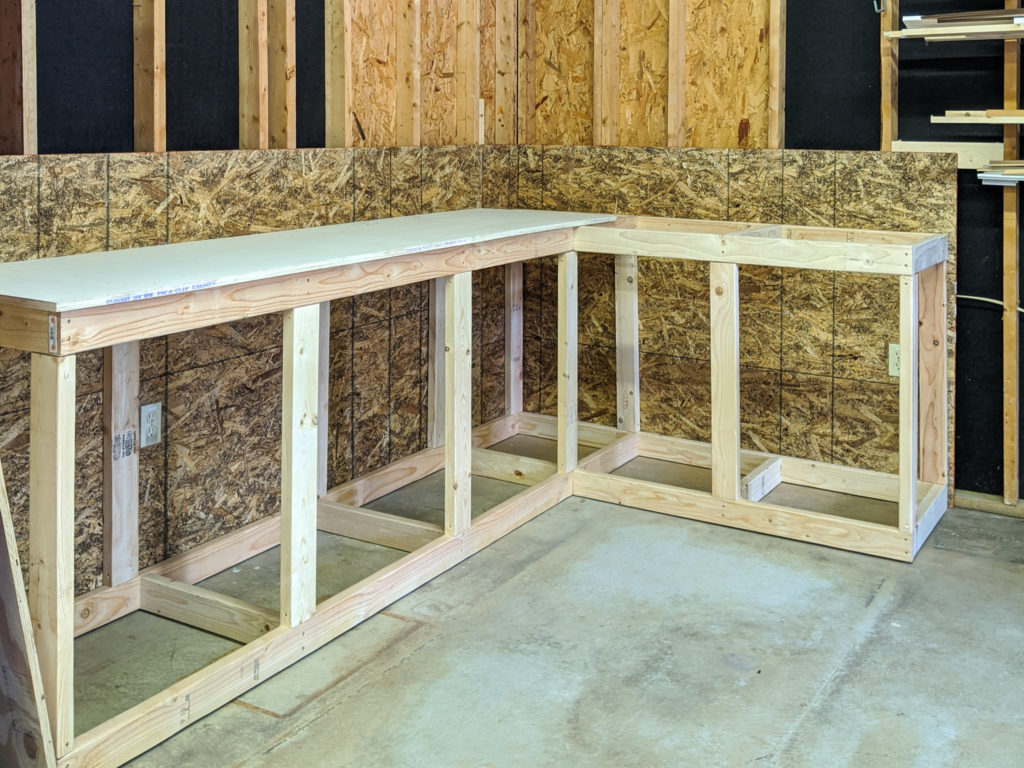
Credit: simplyalignedhome.com
Tools And Materials Needed
Having the right tools and materials makes your project easier and safer.
Basic Tools
- Circular saw or table saw
- Drill with bits and screwdriver heads
- Measuring tape and pencil
- Level
- Square or straight edge
- Clamps
Materials
- 3/4-inch plywood (for strength and durability)
- 1/4-inch plywood (for cabinet backs)
- Wood screws (1 1/4-inch and 2-inch)
- Wood glue
- Hinges and handles (for doors)
- Paint, primer, or polyurethane finish
Tip: Avoid particle board in damp garages; plywood resists moisture better.
Example Material List For One 4-foot Base Cabinet
- Two sheets of 3/4-inch plywood (4×8 feet)
- One sheet of 1/4-inch plywood (4×8 feet)
- One box of 1 1/4-inch wood screws (100 count)
- Two cabinet hinges
- One handle
A common mistake is buying too little plywood. Always get a bit extra for mistakes.
Cutting And Preparing The Pieces
Cutting is the most important and time-consuming step. Measure twice before you cut.
Cutting Guide
Most cabinets are simple boxes. For a 4-foot-wide, 2-foot-high, 2-foot-deep base cabinet, you’ll need:
- 2 sides: 24” x 34.5”
- 2 top/bottom: 24” x 48”
- 1 back: 23.25” x 47.25” (thin plywood)
- 2-3 shelves: 22.5” x 46.5”
Practical tip: When cutting large sheets, use a circular saw with a straight edge guide for safer, straighter cuts.
| Piece | Quantity | Size (inches) | Material |
|---|---|---|---|
| Side Panel | 2 | 24 x 34.5 | 3/4″ plywood |
| Top/Bottom | 2 | 24 x 48 | 3/4″ plywood |
| Shelf | 2-3 | 22.5 x 46.5 | 3/4″ plywood |
| Back | 1 | 23.25 x 47.25 | 1/4″ plywood |
Don’t forget to sand the edges after cutting to prevent splinters.
Assembling The Cabinet Box
Now it’s time to build your cabinet frame. This is where your project comes to life.
Step-by-step Assembly
- Attach the sides to the bottom panel with wood glue and screws. Check alignment with a square.
- Secure the top panel in the same way.
- Install shelves at your chosen heights. Use a level to keep them straight.
- Attach the back panel with glue and short screws or a staple gun.
- Double-check squareness by measuring diagonals; they should match.
Non-obvious insight: Pre-drill screw holes to avoid splitting the plywood. Beginners often skip this and end up with cracked panels.
Building And Mounting Cabinet Doors
Doors keep dust out and make your garage look cleaner.
Simple Door Construction
- Cut 3/4-inch plywood to fit the cabinet opening, leaving a 1/8-inch gap on all sides.
- Attach hinges to the door, then to the cabinet face.
- Install handles at a comfortable height.
If you want a more finished look, edge-band the door with thin wood strips or iron-on veneer.
Common mistake: Forgetting to check that doors swing open without hitting nearby walls or cabinets.
Finishing Touches
A good finish protects your cabinets from moisture and dirt.
Painting And Sealing
- Sand all surfaces with medium and then fine sandpaper.
- Wipe off dust with a damp cloth.
- Apply a coat of primer if painting.
- Paint with interior/exterior latex paint or use a clear polyurethane for a natural look.
- Let dry fully before use.
Practical tip: Use a paint roller for large panels and a brush for edges.
Mounting Cabinets To The Wall
Wall cabinets must be safely secured. Here’s how:
- Find the studs in your wall with a stud finder.
- Drill pilot holes through the back of your cabinet into the studs.
- Use 3-inch screws for strong support.
For heavy cabinets, have a friend help lift and hold them in place.
Customizing Your Cabinets
Customization makes your garage more efficient.
Add Features
- Adjustable shelves for different tools
- Pull-out bins for small parts
- Pegboards inside doors for hand tools
- Locks for chemical or valuable items
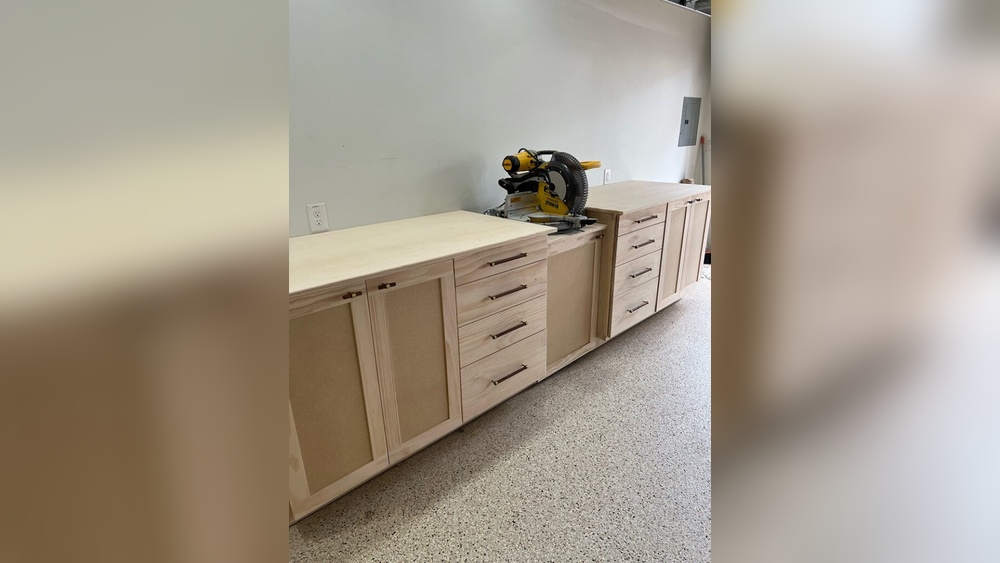
Example: Add a countertop to base cabinets for a workbench area.
Compare Custom Vs. Pre-made Cabinets
Here’s a quick look at why building can be better:
| Feature | DIY Cabinets | Pre-Made Cabinets |
|---|---|---|
| Cost | $100–$250 per cabinet | $250–$500 per cabinet |
| Customization | Full control | Limited |
| Strength | High (plywood) | Medium (particle board) |
| Time Needed | 6–10 hours | Ready to install |

Credit: homewiththedaniels.com
Safety Tips For Beginners
- Always wear safety glasses when cutting or drilling.
- Use hearing protection with power tools.
- Keep your workspace clean to avoid tripping.
- Never rush; double-check every measurement.
- Ask for help when lifting heavy cabinets.
Non-obvious insight: Test-fit pieces before gluing or screwing. This lets you fix mistakes before they become permanent.
How To Avoid Common Mistakes
Even experienced DIYers make errors. Here’s how to avoid the most common:
- Forgetting to measure twice before cutting
- Not checking for level and square during assembly
- Using the wrong screws (too long can poke through, too short will not hold)
- Skipping wall stud checks (risk of falling cabinets)
- Rushing the painting or finishing steps
Pro tip: Label each cut piece with pencil as you go. This prevents confusion during assembly.
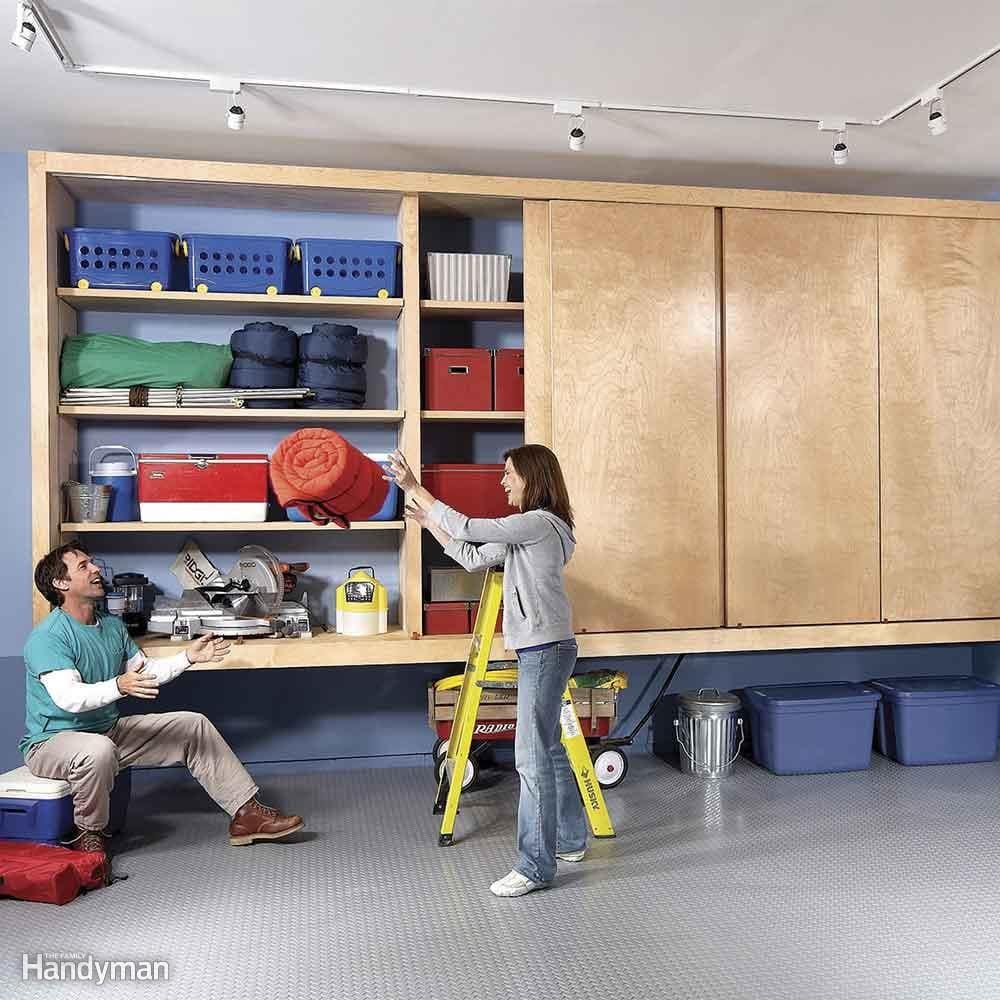
Credit: www.familyhandyman.com
Cost And Time Estimates
Building your own garage cabinets is affordable and fast if you plan well.
- Cost: $100–$250 per basic cabinet (materials only)
- Time: 6–10 hours for your first cabinet
The cost depends on plywood quality and hardware. Home improvement stores often have sales or discounts for bulk plywood.
If you want more detail on cabinet building basics, check out this Family Handyman guide.
Frequently Asked Questions
What Is The Best Wood For Garage Cabinets?
Plywood is the best choice. It is strong, resists warping, and handles garage humidity better than particle board.
How Deep Should Garage Cabinets Be?
Standard depth is 16–24 inches. For most tools and bins, 20 inches is perfect. Deeper cabinets can make it hard to reach the back.
Can I Install Cabinets By Myself?
Wall cabinets are heavy. It’s best to have two people for lifting and mounting. Floor cabinets can be built and moved by one person.
How Do I Make My Cabinets Waterproof?
Paint or seal cabinets with polyurethane or exterior paint. Keep cabinets off the floor using adjustable feet or a base to avoid water damage from spills.
Is It Cheaper To Build Or Buy Garage Cabinets?
Building is usually cheaper and gives better quality for the price. You spend more time but get exactly what you want.
Building garage cabinets is a beginner-friendly project if you follow clear steps and avoid common mistakes. Careful planning, strong materials, and safe work habits lead to cabinets that last for years. With your new cabinets, your garage will be more organized and useful—making every DIY task easier.