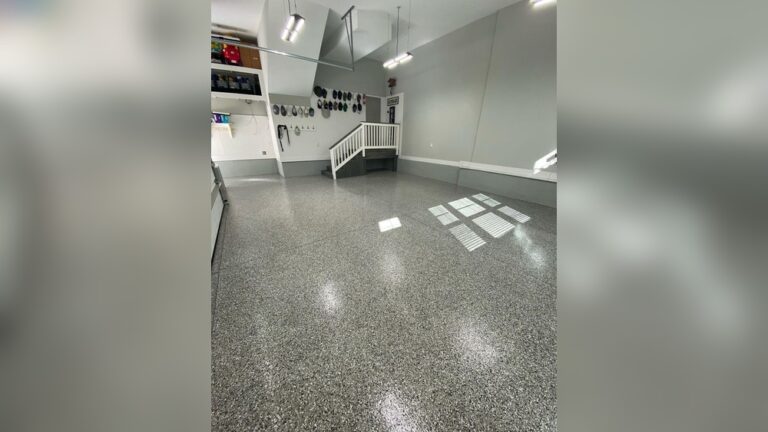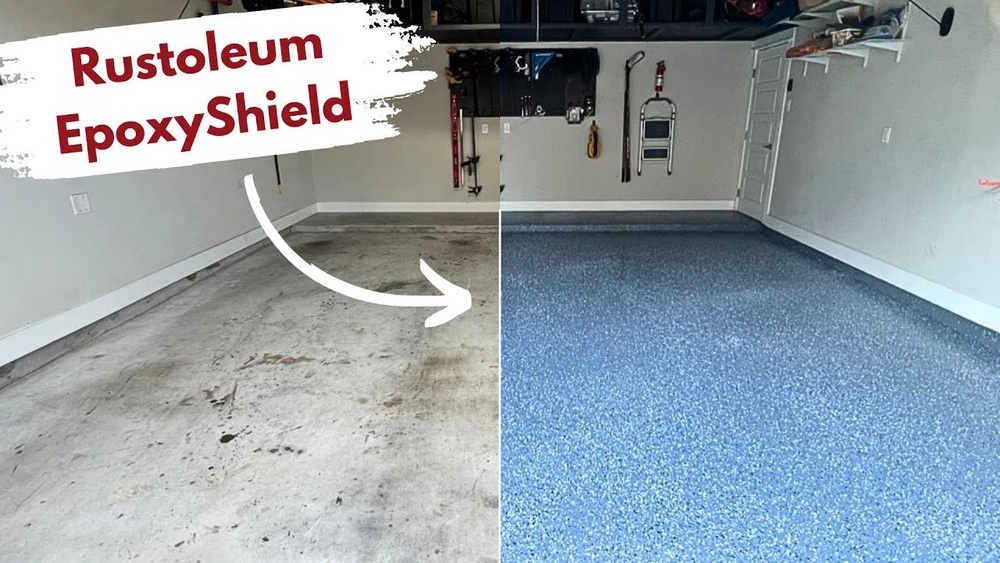
Epoxy garage floors are becoming popular for many homeowners. They look clean, resist stains, and last longer than regular concrete. If you want to improve your garage, learning how to apply epoxy is a smart choice. This guide explains everything you need to know, step by step.
Even if you are new to DIY projects, you will find clear instructions and practical tips to help you achieve a professional finish.
Why Choose Epoxy For Garage Floors?
Epoxy is a strong coating that bonds to concrete. It gives your garage floor a shiny, smooth surface and protects against oil, water, and chemicals. Here are some main reasons people choose epoxy garage floors:
- Durability: Epoxy can last 10–20 years with proper care.
- Easy Cleaning: Dust, dirt, and spills wipe off easily.
- Stain Resistance: Epoxy stops oil, brake fluid, and other garage stains.
- Better Appearance: Your garage looks modern and bright.
- Value Increase: A finished garage can boost your home’s value.
A study by the National Association of Realtors found that garage improvements, like epoxy floors, can increase home value by up to 7%.
Planning And Choosing The Right Epoxy
Before you start, it’s important to plan and select the best epoxy for your needs. Not all epoxies are the same. Consider these factors:
| Epoxy Type | Features | Best For |
|---|---|---|
| Water-Based Epoxy | Easy to apply, less odor, dries quickly | DIY beginners |
| Solvent-Based Epoxy | Stronger, more durable, needs ventilation | Heavy-use garages |
| 100% Solids Epoxy | Thickest, professional grade, longer life | Commercial garages |
For most homeowners, water-based epoxy is easiest to use. If you expect heavy vehicle traffic or want maximum durability, consider solvent-based or 100% solids epoxy.
Credit: nilds.gov.ng
Tools And Materials Needed
Having the right tools makes the job easier and ensures a good result. You will need:
- Epoxy kit (contains resin, hardener, and sometimes color chips)
- Concrete cleaner or degreaser
- Etching solution (often citric acid or muriatic acid)
- Paint roller (with extension pole)
- Paintbrush (for edges)
- Protective gloves and eyewear
- Bucket and mop
- Stiff broom
- Painter’s tape
- Plastic sheeting (to protect walls and doors)
- Floor scraper (for removing old paint or glue)
A typical two-car garage (about 400 sq ft) will require 2–3 gallons of epoxy.
Preparing The Garage Floor
Preparation is the most important step. Skipping this can lead to peeling or bubbles. Follow these steps:
- Clear the Area: Remove all items from the garage. Sweep away dust and debris.
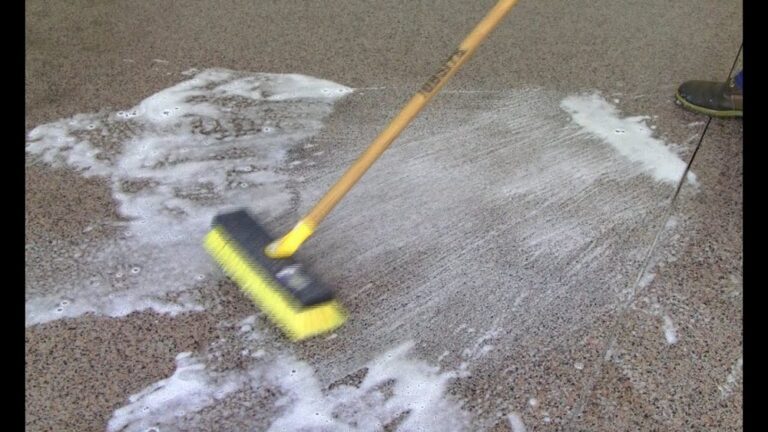
- Clean the Floor: Use a concrete cleaner to remove oil, grease, and stains. Mop thoroughly.
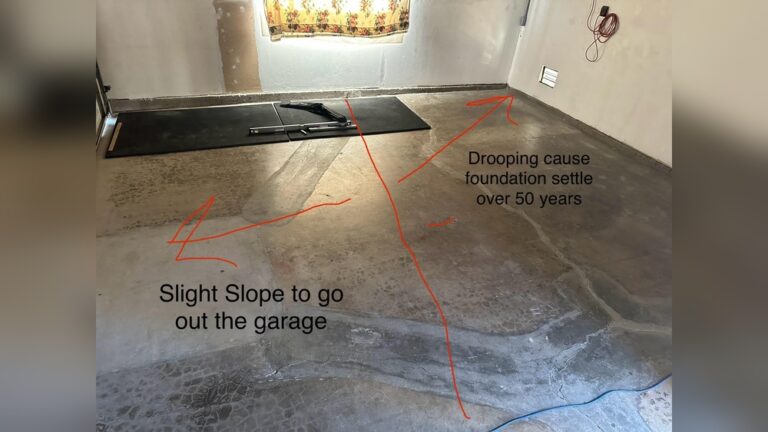
- Repair Cracks: Fill any cracks or holes with concrete patch. Let it dry.
- Etch the Surface: Apply etching solution to open the concrete pores. This helps epoxy bond better. Rinse well and let the floor dry completely.
- Test for Moisture: Tape a plastic sheet to the floor for 24 hours. If water appears underneath, your floor may be too damp for epoxy.
Expert tip: Many beginners skip etching or cleaning. This is a common mistake. Always check the floor is clean and dry before applying epoxy.
Mixing And Applying Epoxy
Epoxy must be mixed correctly. Follow these steps for best results:
- Read Instructions: Each epoxy kit is different. Read the manufacturer’s guide carefully.
- Mix Components: Combine resin and hardener in a bucket. Stir for 2–3 minutes until fully blended.
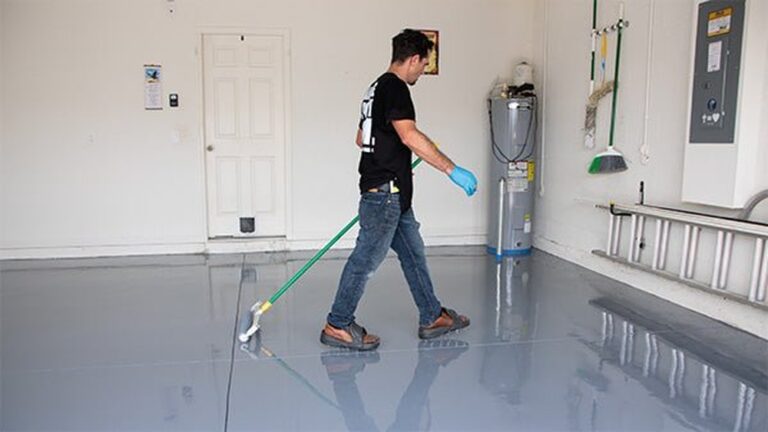
- Start Edges: Use a paintbrush to apply epoxy along the walls and corners.
- Roll the Floor: Use a roller to spread epoxy in sections. Work quickly, as epoxy starts to harden within 30–45 minutes.
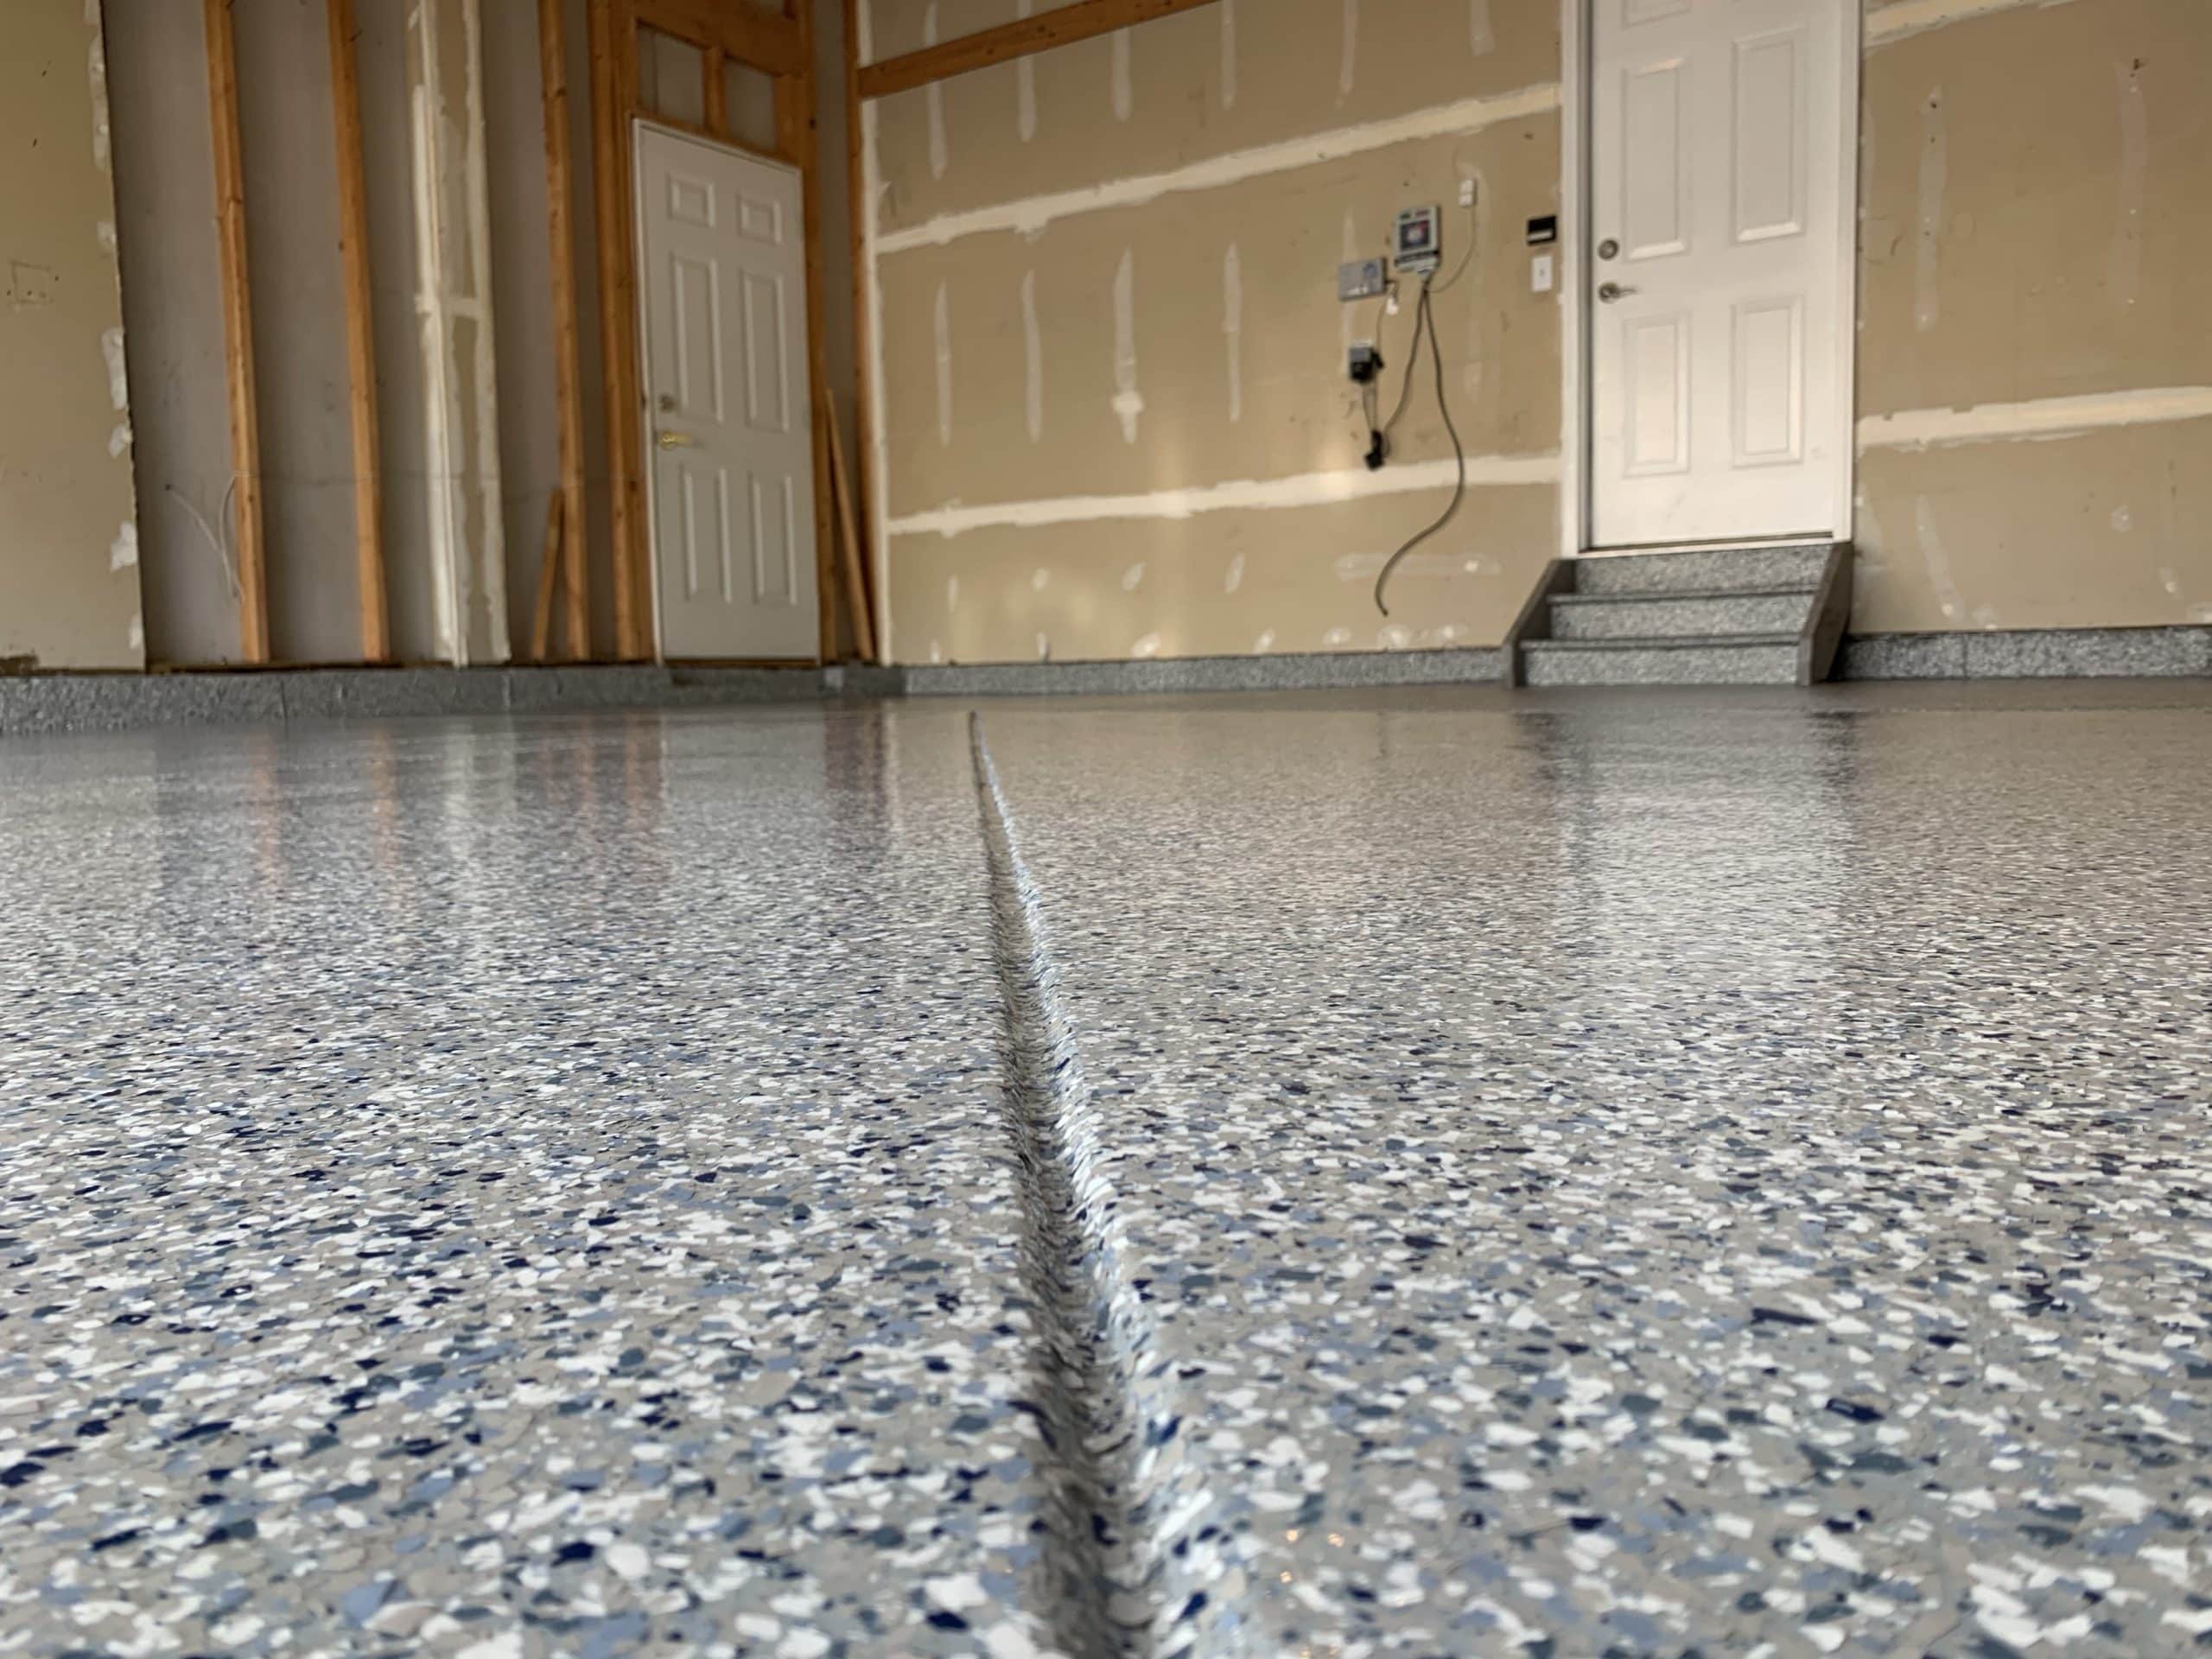
- Add Color Chips: If you want a speckled look, sprinkle color chips while the epoxy is still wet.
- Avoid Overlap: Apply each section smoothly. Overlapping can cause uneven texture.
| Step | Time Needed | Tip |
|---|---|---|
| Mixing Epoxy | 2–3 minutes | Use a drill mixer for large batches |
| Applying Edges | 15–20 minutes | Work in small sections |
| Rolling Floor | 60–90 minutes | Keep a wet edge |
| Sprinkling Chips | 10–20 minutes | Sprinkle evenly for best look |
Drying And Curing
After you finish, the epoxy needs time to dry and cure. This is important for strength and durability.
- Initial Dry Time: Most epoxies dry to touch in 12–24 hours.
- Full Cure: Wait 72 hours before moving heavy items or driving cars onto the floor.
- Ventilation: Keep windows and doors open for fresh air.
Practical insight: Many beginners rush to use the garage too soon. Waiting the full cure time prevents marks and damage.
Common Mistakes And How To Avoid Them
Even with good instructions, mistakes happen. Here are problems to watch for:
- Skipping Floor Prep: Leads to peeling or bubbles.
- Wrong Mixing Ratio: Epoxy won’t harden or will remain sticky.
- Not Working Fast Enough: Epoxy can set before you finish.
- Ignoring Temperature: Ideal temperature is 60–80°F. Cold or humid conditions cause issues.
- Using Too Little Epoxy: Thin coats wear out quickly.
| Mistake | Effect | Prevention |
|---|---|---|
| Poor Surface Prep | Peeling, bubbles | Clean, etch, dry floor |
| Wrong Mix | Sticky, soft floor | Follow kit instructions |
| Slow Application | Uneven texture | Work quickly in sections |
| Thin Coating | Fast wear, stains | Apply recommended amount |
Maintenance Tips For Epoxy Floors
An epoxy garage floor is low-maintenance, but some care helps it last longer:
- Sweep Regularly: Removes grit that can scratch the surface.
- Mop Occasionally: Use mild soap and water for cleaning.
- Avoid Harsh Chemicals: Strong acids or solvents can damage epoxy.
- Protect from Heavy Impacts: Drop mats under tools or jacks.
- Touch Up Chips: Small chips can be repaired with leftover epoxy.
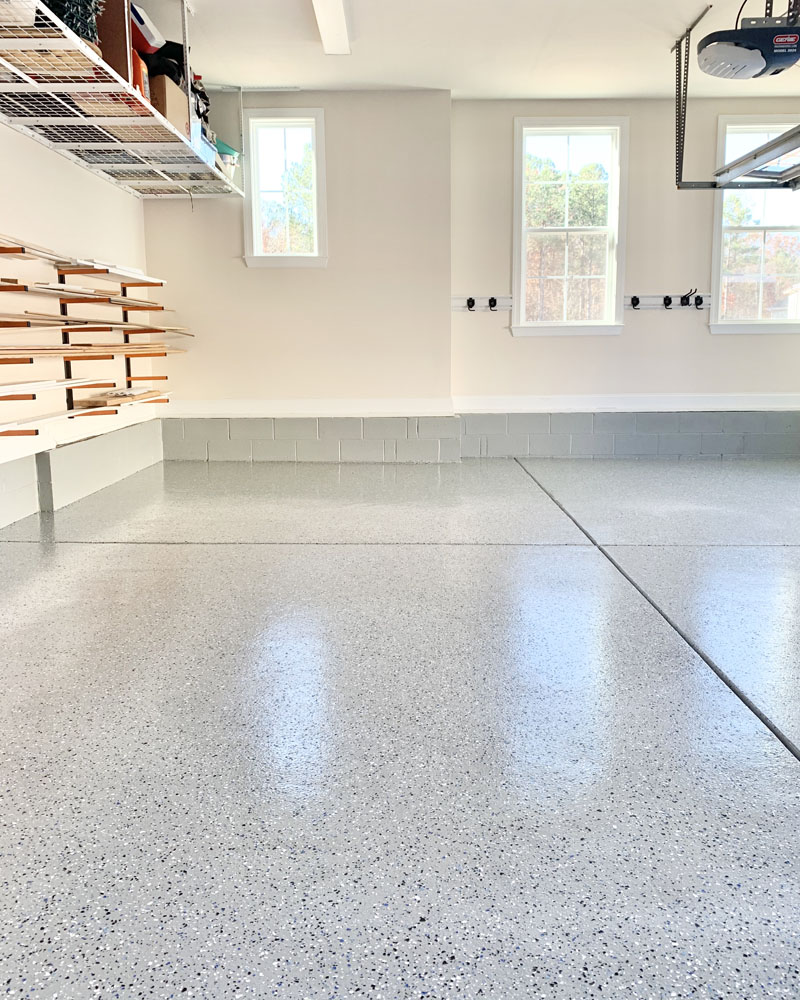
A well-maintained epoxy floor can keep its shine for over a decade.
Credit: philiporflop.com
Practical Examples And Data
Let’s look at a real-world example. A homeowner named John applied water-based epoxy to his two-car garage in Chicago. He spent $250 on materials and worked over a weekend. After two years, the floor still looked new. John reported:
- No oil stains after regular car maintenance
- Easy to clean with a broom and mop
- No peeling or cracks
According to a survey by HomeAdvisor, the average cost for professional epoxy installation is $1,200–$2,500. Doing it yourself saves up to 70%.
Safety Precautions
Epoxy contains chemicals that can irritate skin and eyes. Always follow safety steps:
- Wear gloves and goggles
- Work in a ventilated area
- Keep pets and children away
- Dispose of waste properly
If you use solvent-based epoxy, wear a mask and open windows to avoid breathing fumes.

Credit: www.garageexperts.com
When To Call A Professional
Some floors need extra care. You may need a professional if:
- Your concrete has deep cracks or moisture issues
- You want a complex color or design
- Your garage is larger than 600 sq ft
Professionals have special tools and experience for difficult jobs. For most regular garages, DIY epoxy is safe and effective.
Frequently Asked Questions
How Long Does Epoxy Garage Floor Last?
A well-applied epoxy garage floor can last 10–20 years. Good maintenance extends its life. Heavy traffic or neglect can reduce durability.
Can I Apply Epoxy If My Garage Floor Is Painted?
Epoxy sticks best to bare concrete. If your floor is painted, you must remove old paint before applying epoxy. Use a floor scraper or chemical remover.
Is Epoxy Slippery When Wet?
Epoxy can be slippery, especially when wet. To reduce risk, add anti-slip additives or sprinkle color chips for texture.
What Is The Best Temperature For Applying Epoxy?
The ideal temperature is 60–80°F. Too cold or too hot can affect drying and bonding. Always check the manufacturer’s recommendation.
Can I Park My Car Immediately After Applying Epoxy?
No. Wait at least 72 hours after applying epoxy before parking your car. This ensures the floor is fully cured and strong.
Epoxy garage floors make your space look clean and modern, protect concrete, and boost your home’s value. With careful preparation and the right materials, most homeowners can achieve a professional finish. Take your time, follow each step, and your garage will impress for years to come. For more information on epoxy flooring, visit Home Depot.