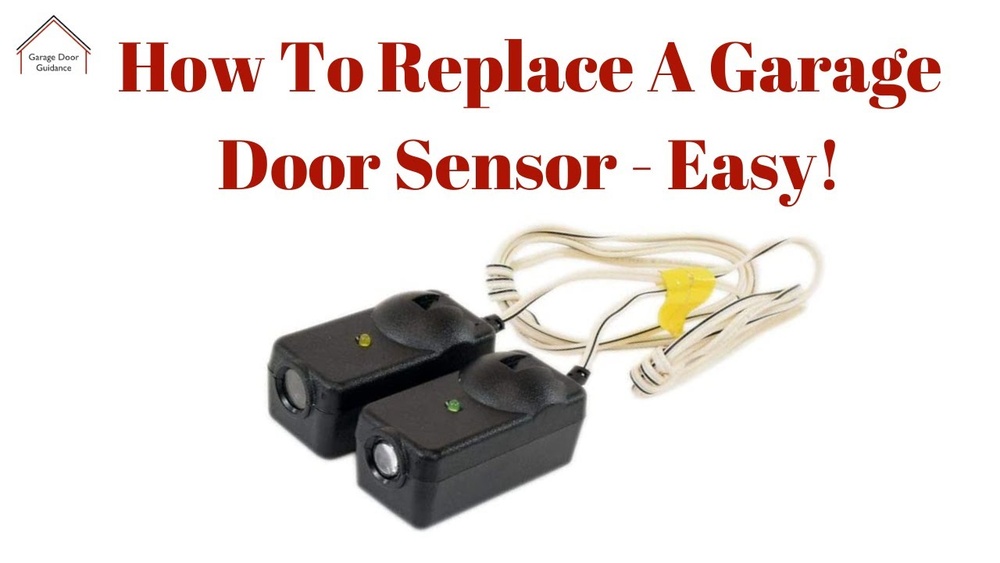
Replacing garage door sensors may sound technical, but it’s a task most homeowners can do with a bit of guidance. When your garage door won’t close all the way, reverses suddenly, or the lights on the sensors blink, you likely have a sensor problem.
Faulty sensors can be a safety risk, so fixing them fast matters. This guide will walk you through how to replace garage door sensors step by step. You’ll learn how to recognize sensor issues, choose the right replacements, and install them safely—all in clear, simple English.
Understanding Garage Door Sensors
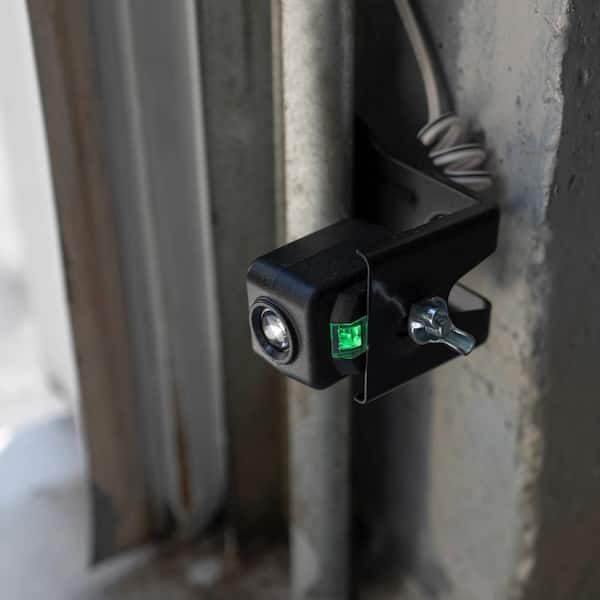
Garage door sensors are essential safety devices. They sit about 6 inches above the ground on both sides of your garage door. Their main job is to stop the door from closing if something, like a child or a pet, is in the way.
- Photo-eye sensors use an invisible beam of light. If something breaks the beam, the door reverses.
- Most modern garage doors use these sensors for safety.
If sensors fail, your door may not close, or it may start to reverse for no reason. This can leave your garage unsecured and put your family at risk.
Common Symptoms Of Bad Sensors
You might need to replace your sensors if you notice:
- Blinking indicator lights on one or both sensors
- The garage door starts to close, then opens again
- The door only closes if you hold the wall button down
It’s easy to confuse sensor problems with opener issues, so check the lights and sensor alignment first.
Tools And Materials Needed
Before you start, gather these items:
- New garage door sensors (make sure they match your opener brand)
- Screwdriver (usually a Phillips head)
- Wire strippers/cutters
- Electrical tape or wire connectors
- Tape measure
- Ladder (if sensors are mounted high)
Optional but helpful:
- Cordless drill with screwdriver bit
- Small flashlight
Garage door sensors are widely available online and at home improvement stores. A basic set usually costs between $20 and $50.
Choosing The Right Garage Door Sensors
Not all sensors are universal. Most sensors work only with the same brand and sometimes only with certain models. Using the wrong sensor can cause the system to fail.
Here’s a quick comparison of popular brands:
| Brand | Typical Model Prefix | Compatibility | Price Range |
|---|---|---|---|
| Chamberlain/LiftMaster | 41A5034, 41A4373 | Chamberlain, LiftMaster, Craftsman | $20-$40 |
| Genie | 37220R, 35093R | Genie Openers Only | $25-$45 |
| Overhead Door | 37221R | Overhead Door, some Genie | $25-$50 |
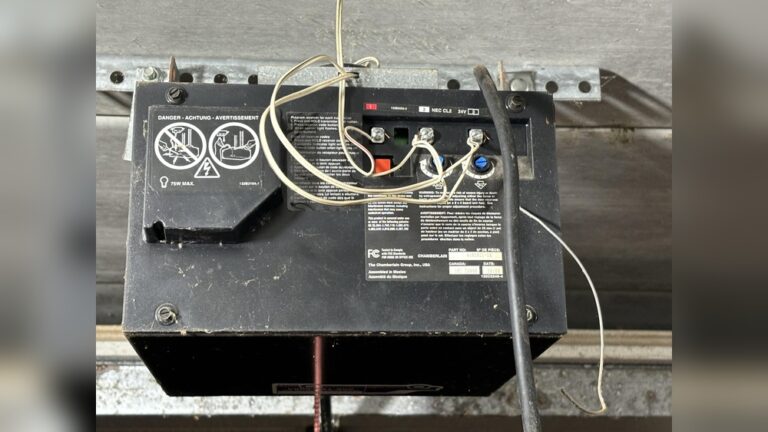
Tip: Check your opener’s brand and model number (usually on the back or side of the motor unit). Match this to the sensor set you buy.
Safety Precautions Before Starting
Working with garage doors involves both electrical and mechanical risks. Always:
- Unplug the garage door opener before you start.
- Use a sturdy ladder.
- Keep children and pets away from the work area.
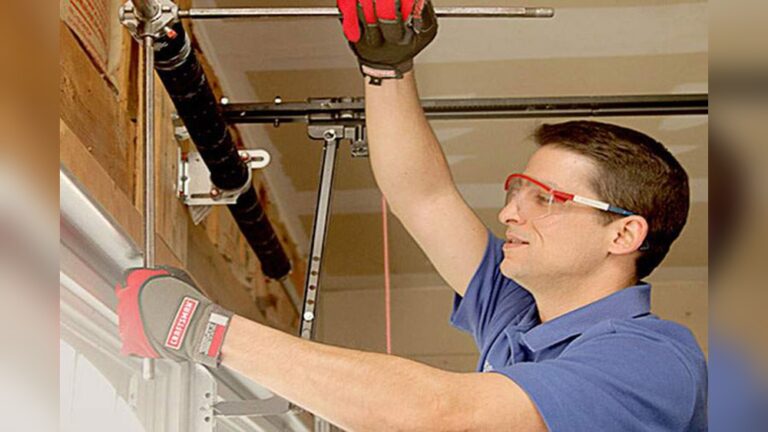
- Wear safety glasses if you’re working in tight spaces.
Important: Never work on the door or tracks while the opener is plugged in.
Step-by-step Sensor Replacement
Replacing sensors is a process you can handle with patience and care. Here’s how to do it:
1. Disconnect Power
- Unplug the garage door opener from the electrical outlet.
- If hard-wired, switch off the breaker.
This step prevents electric shock and accidental door movement.
2. Locate The Sensors
- Find the two sensors at the bottom of the door tracks, one on each side.
- They are usually held in place with metal brackets or plastic clips.
Most sensors have a small LED light. One sensor sends the beam (transmitter), and the other receives it.
3. Remove The Old Sensors
- Loosen the screws or nuts holding the sensor to the bracket.
- Gently pull the sensor out.
- Cut or disconnect the wires close to the sensor (leave enough wire to connect the new sensor).
Pro tip: Take a photo of the wiring before you disconnect anything. This helps with reinstallation.
4. Prepare The Wires
- Strip about ½ inch of insulation from each wire end.
- If wires are frayed, trim them and strip fresh ends.
- Check for corrosion or damage—replace any bad wires.
5. Install The New Sensors
- Connect the wires from the new sensor to the wires from the opener.
- White wire to white wire, black wire to black or other color.
- Use wire connectors or twist wires together and wrap with electrical tape.
- Attach the new sensor to the bracket.
- Repeat on the other side.
Most brands have color-coded wires, but always confirm with the instructions.
6. Align The Sensors
Proper alignment is key. The two sensors must “see” each other for the system to work.
- Adjust each sensor so the lenses face each other directly.
- Tighten the bracket screws.
- There should be no obstacles or dirt on the sensor lenses.
Quick check: Both indicator lights should be solid (not blinking) when aligned.
7. Test The System
- Plug the opener back in or turn on the power.
- Close the garage door using the remote or wall button.
- Wave an object (like a broomstick) in front of the sensors. The door should reverse instantly.
If the lights are blinking or the door won’t close, realign the sensors or check the wiring.
Common Issues And Troubleshooting
Sometimes, replacement doesn’t go as planned. Here are solutions to typical problems:
- Light still blinks: Try cleaning the lenses, realigning, or checking wire connections.
- One sensor light is off: Check the wiring; you may have a loose or crossed wire.
- Door still won’t close: Make sure there’s nothing blocking the sensor path, including spider webs or debris.
- Sensors not compatible: Double-check you bought the right set for your opener model.
Garage doors are sensitive to even small misalignments—use a tape measure to keep both sensors at the same height.

Credit: www.ifixit.com
Practical Tips For A Smooth Replacement
- Keep all tools and parts within arm’s reach before starting.
- Use zip ties to secure loose wires and keep them away from moving parts.
- If your garage is dark, use a small flashlight to see the wiring clearly.
- When buying sensors online, read customer reviews for installation tips.
Non-obvious insight: Sometimes, sensor problems are caused by sunlight or bright reflections. If your sensors face direct sunlight, try shading them with a small piece of cardboard.
When To Call A Professional
Most sensor replacements are DIY-friendly. But call a pro if:
- Wires are damaged inside the wall.
- You can’t identify your opener brand.
- The opener still fails after new sensors are installed.
Professionals have tools to test opener circuits and repair complex wiring problems.
Comparing Diy Vs. Professional Sensor Replacement
Understanding the differences can help you decide which option is best for you.
| Aspect | DIY Replacement | Professional Service |
|---|---|---|
| Cost | $20–$50 for sensors | $80–$200 (parts & labor) |
| Time Required | 30–60 minutes | 15–30 minutes |
| Skill Level | Beginner to intermediate | Expert |
| Warranty | None (unless part is faulty) | Often included |
| Risk of Mistakes | Higher, but low for most people | Very low |
For many, the DIY route saves money and is quick. But if you’re not comfortable with wiring or power tools, hiring a pro ensures safety and reliability.
Sensor Brands And Average Lifespan
Garage door sensors are built to last, but not forever. Here’s a look at average lifespans:
| Brand | Average Lifespan | Warranty |
|---|---|---|
| Chamberlain/LiftMaster | 7–10 years | 1 year |
| Genie | 6–9 years | 1–2 years |
| Overhead Door | 7–10 years | 1 year |
Non-obvious tip: Electrical surges from storms or power outages often cause early sensor failure. Using a surge protector for your garage opener can extend the sensor’s life.

Credit: www.youtube.com
Real-world Example
Let’s look at a typical scenario:
Sarah noticed her garage door would not close unless she held the wall button down. After checking for blockages and cleaning the sensors, the problem continued. She bought a replacement sensor set matching her Chamberlain opener, followed the steps above, and finished the swap in under 45 minutes. The door now closes smoothly, and both sensor lights are solid.
Lesson: Matching the brand and careful alignment make the biggest difference.
Extra Tips For Longer Sensor Life
- Keep sensor lenses clean using a soft cloth.
- Avoid hitting sensors with bikes or tools.
- Check alignment every few months, especially after storms or moving large items.
A little maintenance can prevent future problems and extend the life of your garage door system.
Credit: www.homedepot.com
Frequently Asked Questions
How Do I Know If My Garage Door Sensors Are Bad?
If your door won’t close, reverses for no reason, or the sensor lights are blinking or off, your sensors may be faulty. Try cleaning and realigning them first. If problems continue, replacement is likely needed.
Can I Use Any Brand Of Sensors With My Garage Door Opener?
No. Most sensors are brand-specific. Always match the sensor to your opener’s brand and model. Using the wrong sensor can cause the system to fail.
What Tools Do I Need To Replace Garage Door Sensors?
You’ll need a screwdriver, wire cutters/strippers, electrical tape or connectors, and sometimes a ladder. Most replacements are simple and don’t require special tools.
How Long Does It Take To Replace Garage Door Sensors?
For most people, the job takes 30–60 minutes. If wires are hard to reach or need repairs, it may take longer.
Where Can I Find More Information About Garage Door Safety?
Visit the U.S. Consumer Product Safety Commission for safety guidelines and tips on maintaining automatic garage doors.
Replacing garage door sensors is a manageable DIY project for most homeowners. With the right tools, a little patience, and the steps above, you can restore your garage door’s safety and reliability in under an hour. Stay safe, and enjoy the peace of mind that comes with a secure, working garage door system.