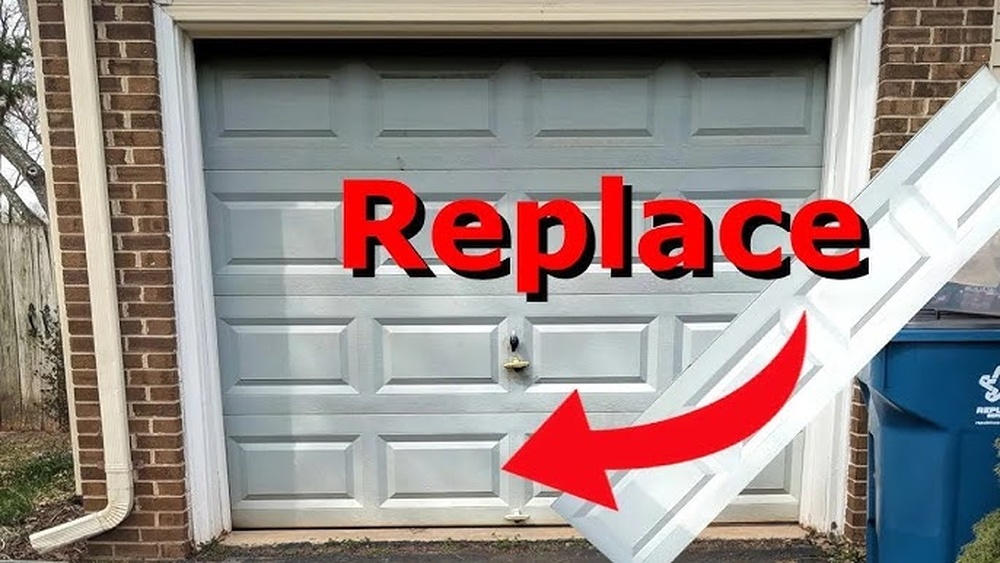
Replacing a garage door panel may sound complicated, but it’s a task many homeowners can handle with the right guidance. Over time, garage door panels can get dented, cracked, or warped due to accidents, weather, or daily use. Fixing just the damaged panel is often much cheaper than replacing the whole door. If you’re looking to improve your home’s curb appeal or fix a safety hazard, learning how to replace a garage door panel is a practical skill.
This guide will walk you through everything, from choosing the right panel to installing it safely. You’ll get clear steps, real examples, and practical tips so even beginners can do the job with confidence.
Why Replace A Garage Door Panel?
A damaged garage door panel is more than just an eyesore. Here are some reasons why replacement matters:
- Security: A cracked or bent panel can make it easier for intruders to enter.
- Energy efficiency: Gaps and cracks let in cold air, raising your heating and cooling costs.
- Structural integrity: One weak panel can put stress on the whole door.
- Cost savings: Replacing a panel costs less than a whole new door.
- Home value: A fresh, matching panel improves your property’s look and resale value.
For example, a single new garage door panel may cost between $150 and $400, while a full door replacement often runs $800–$2,000.
When Should You Replace A Garage Door Panel?
Not every dent or scratch means you need a new panel. Here’s when replacement is the best choice:
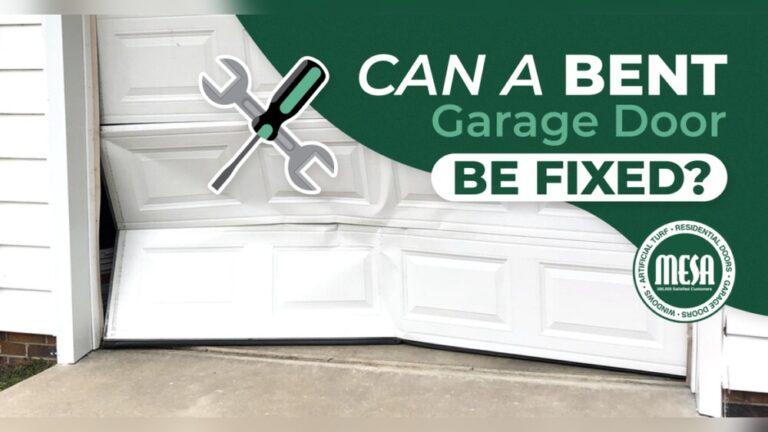
- Large dents or cracks that affect opening and closing
- Water or rust damage that weakens the metal or wood
- Panels that don’t align with the rest of the door
- Broken insulation (in insulated panels)
- Sagging panels due to warping
If you see minor scratches, repainting may be enough. But for deep damage, replacement is safest.
Can You Replace Just One Panel?
Yes, you can usually replace a single panel if the rest of the door is in good shape. Most modern garage doors are made of sections that connect with hinges. However, there are cases when you may need to replace more than one:
- The panels are old and the design is discontinued.
- Multiple panels are damaged.
- The frame is bent or out of alignment.
Always check your door’s brand and model. Call the manufacturer or a local dealer to confirm that replacement panels are available.
Tools And Materials You’ll Need
Having the right tools makes this project safer and faster. Here’s a checklist for most standard garage doors:
- Replacement panel (matched by size, design, and material)
- Socket wrench set
- Screwdriver (Phillips and flathead)
- Adjustable wrench
- Drill (for stubborn screws)
- Safety glasses and gloves
- Stepladder
- C-clamps (to hold the door in place)
- Lubricant (for hinges and tracks)
- Tape measure
For wood doors, you may need wood filler and paint. For steel or aluminum, have touch-up paint handy.
How To Measure For A Replacement Garage Door Panel
Getting the right size is key. Follow these steps:
- Measure width: Use a tape measure across the bottom of the panel.
- Measure height: Measure from the bottom to the top edge.
- Check thickness: Most panels are 1–2 inches thick.
- Note the design: Count the number of sections (raised or flat) and check the color.
Take a photo of your door and bring it to the hardware store. If you’re ordering online, have the manufacturer’s name and model number ready.
How To Replace A Garage Door Panel: Step-by-step
Replacing a garage door panel usually takes 2–4 hours. Always work with the door in the down position and disconnect the opener to avoid accidents.
1. Secure The Door
- Pull the garage door opener’s release cord to disconnect it.
- Place C-clamps under the bottom roller to keep the door from moving.
2. Remove The Damaged Panel
- Unscrew the hinges connecting the panel to the one above it.
- Unbolt the track and rollers from the side of the panel.
- Slide the panel out with help (panels can be heavy).
3. Install The New Panel
- Slide the new panel into place.
- Attach the hinges to the panel above.
- Reattach the rollers and tracks.
- Tighten all screws and bolts.
4. Test The Door
- Remove the C-clamps.
- Reconnect the garage door opener.
- Open and close the door by hand to check alignment.
- Lubricate the hinges and tracks.
Tip: Always have a helper for heavy panels. Never try to work on the door’s springs—these are dangerous and require a pro.
Choosing The Right Replacement Panel
Not all panels are the same. Consider these factors before buying:
- Material: Steel, aluminum, wood, vinyl, or fiberglass
- Insulation: Single, double, or triple-layer panels
- Design: Raised panel, carriage house, flush
- Finish: Pre-painted or ready-to-paint
Here’s a quick comparison of common garage door panel materials:
| Material | Durability | Maintenance | Cost (per panel) |
|---|---|---|---|
| Steel | High | Low | $120–$350 |
| Aluminum | Medium | Low | $100–$250 |
| Wood | Medium | High | $200–$400 |
| Vinyl | High | Very Low | $150–$300 |
Non-obvious tip: Some panels have extra insulation or weather sealing. These cost a bit more but save energy in the long run.
How Much Does It Cost To Replace A Garage Door Panel?
Costs can vary depending on your location, door type, and labor. Here’s a breakdown:
- DIY replacement: $150–$400 (panel only)
- Professional installation: $250–$800 (includes labor)
- Paint and supplies: $20–$50 extra
- Specialty panels: $400+ for custom wood or insulated panels
If your door is older, you may pay more for a matching panel. Always ask for a quote before hiring a pro.
Here’s a side-by-side look at DIY vs. pro panel replacement:
| Option | Total Cost | Time Required | Skill Level |
|---|---|---|---|
| DIY | $150–$450 | 2–4 hours | Intermediate |
| Professional | $250–$800 | 1–2 hours | None |
Note: DIY saves money but takes more time. Hiring a pro is faster and safer, especially for large or heavy doors.
Safety Tips For Garage Door Panel Replacement
Garage doors are heavy and under tension. Stay safe with these tips:
- Never touch the torsion spring above the door—these can cause serious injury.
- Disconnect the opener before working.
- Use gloves and eye protection to avoid cuts.
- Work with a helper to lift heavy panels.
- Check alignment after replacing the panel—misalignment can damage the opener.
If you’re unsure, call a licensed technician. Home accidents with garage doors cause over 20,000 injuries each year in the US.
Common Mistakes Beginners Make
It’s easy to overlook small details. Watch out for these beginner errors:
- Ordering the wrong size or style panel
- Forgetting to disconnect the opener
- Losing track of hinge and roller positions
- Not tightening bolts enough
- Misaligning the panel (causing the door to jam)
A simple trick: Take photos of the door before you start. This makes reassembly much easier.
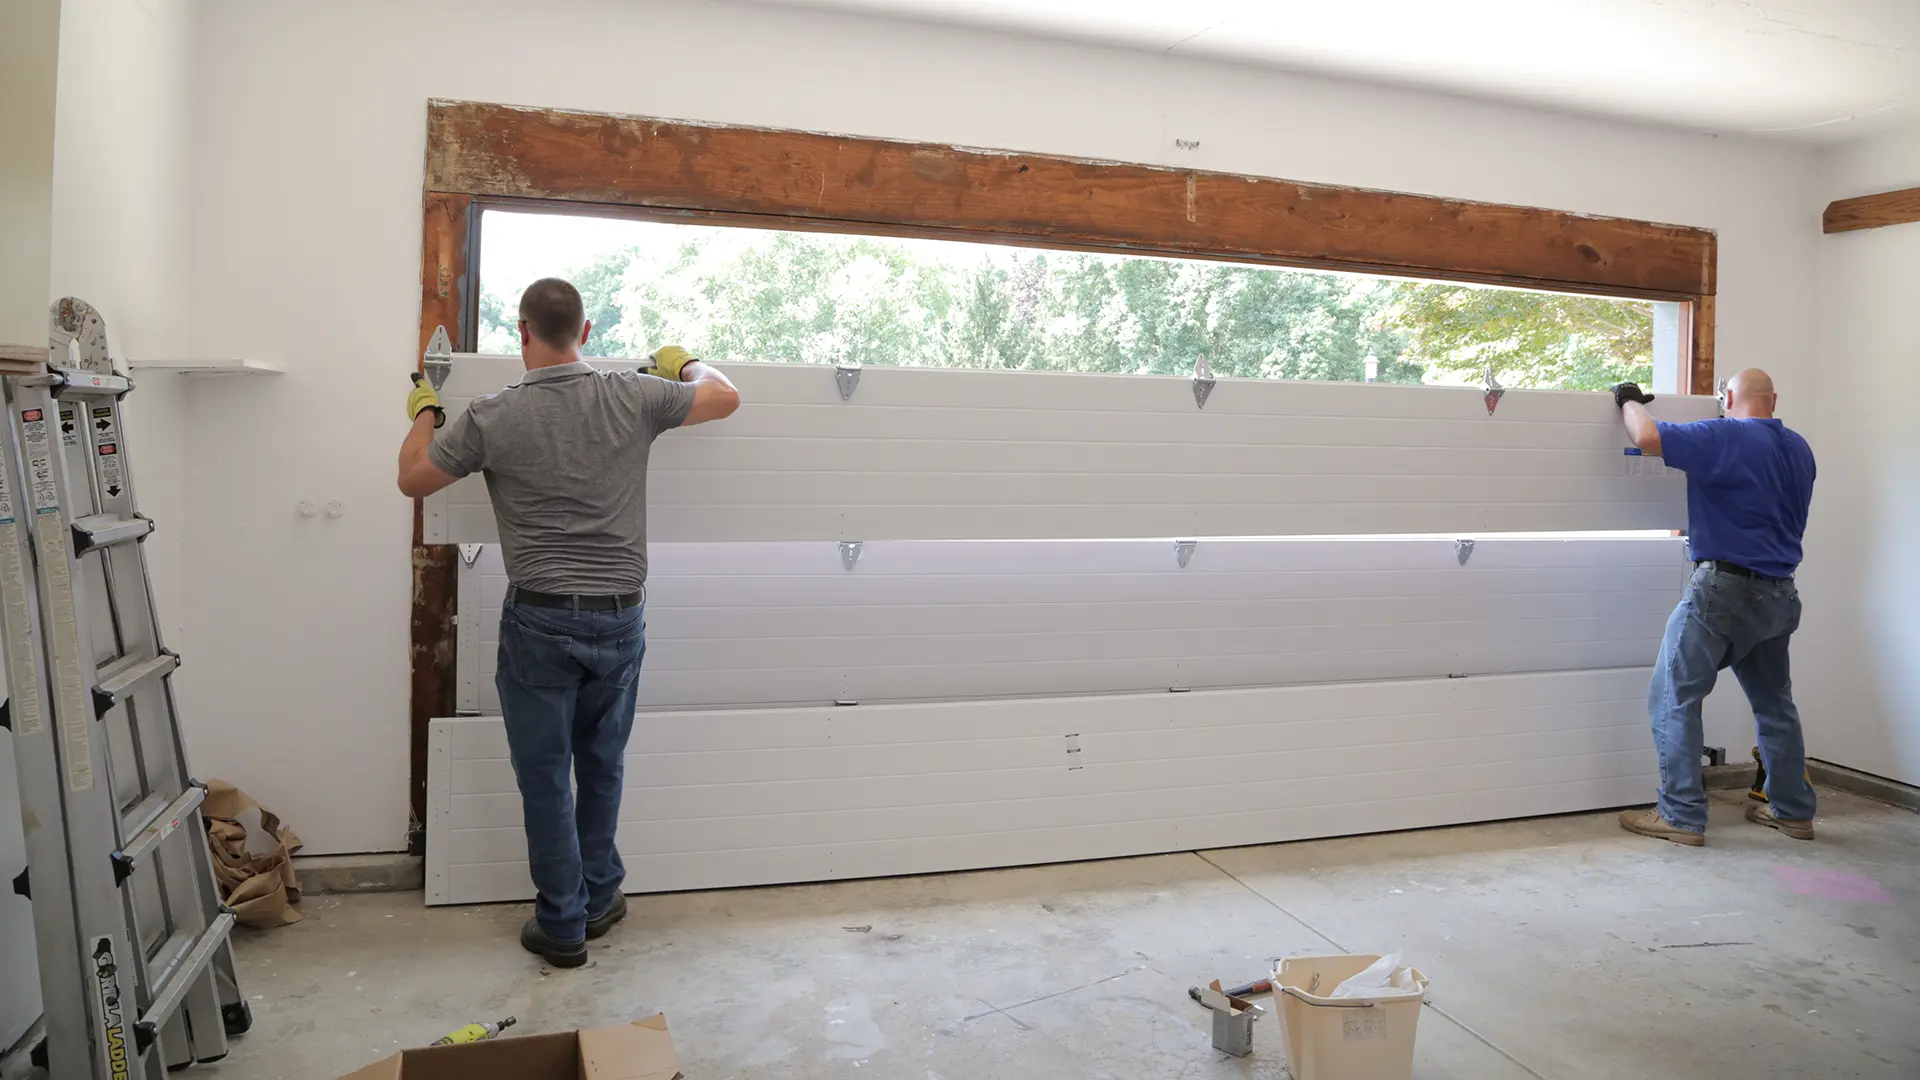
Credit: www.clopaydoor.com
When To Call A Professional
Some jobs are best left to the experts, especially if:
- The panel is near the top (close to the spring)
- The frame or track is bent
- You have a custom or older door
- You’re not comfortable with tools
A professional will handle the replacement safely and quickly. They can also check for hidden problems, like damaged rollers or cables.
How To Keep New Panels Looking Great
After installing your new panel, help it last longer with regular care:
- Clean the door every few months with mild soap and water
- Lubricate the hinges and tracks twice a year
- Touch up paint to prevent rust or rot
- Check weatherstripping for gaps or tears
Proper maintenance adds years to your door’s life and keeps your garage secure.

Credit: parts4garagedoors.com
Real Example: Saving Money With Diy Panel Replacement
Sarah from Ohio noticed a large dent in the bottom panel of her steel garage door after a minor car accident. She called a repair service and got a quote for $600. Instead, Sarah bought a matching panel for $180 and installed it herself with her brother in about three hours.
She saved over $400 and learned how to maintain her garage door for the future.
Non-obvious insight: Many local hardware stores can order panels for your door brand, even if they’re not in stock. Bring your door’s information for the best match.
Frequently Asked Questions
How Do I Know Which Garage Door Panel To Buy?
Check your door’s brand, model number, and measurements. Most panels have a sticker on the edge or inside with this info. If in doubt, call the manufacturer or visit a local dealer with photos.
Can I Replace A Garage Door Panel Myself?
Yes, if you have basic tools and follow safety steps. The process is easier for panels near the bottom of the door. For top panels or if you’re unsure, hire a pro.
Will A New Panel Match My Old Door?
Manufacturers keep colors and designs for several years, but older doors may have faded paint. You might need to paint the new panel to match. Always check the finish before buying.
How Long Does It Take To Replace A Panel?
Most DIY jobs take 2–4 hours. Professionals usually finish in 1–2 hours. Time depends on your door’s type, the panel’s location, and your skill level.
Where Can I Find More About Garage Door Repairs?
For more detailed information and safety guidelines, visit the Family Handyman website.
Replacing a garage door panel is a smart way to fix damage and update your home without a huge cost. With the right tools, a little planning, and a focus on safety, you can handle this project yourself. Remember to measure carefully, choose the correct panel, and don’t hesitate to ask for help if you need it.
Your garage door will look and work like new—protecting your home for years to come.

Credit: www.youtube.com