Sealing garage door gaps is one of the easiest ways to make your garage more comfortable, energy efficient, and pest-free. Gaps under, above, or around your garage door can let in rain, dust, insects, and cold or hot air. Many homeowners don’t realize how much these small openings affect their garage’s temperature and cleanliness.
By learning how to seal these gaps, you can protect your home and save money on energy bills.
Why Sealing Garage Door Gaps Matters
Gaps in your garage door may look small, but they have a big impact. Here’s why sealing them is important:
- Energy savings: Up to 30% of heating or cooling loss in a garage happens through unsealed gaps.
- Pest control: Mice can squeeze through a gap as small as 1/4 inch. Sealing keeps out rodents and insects.
- Weather protection: Rain, snow, and wind can enter through gaps, damaging your belongings.
- Less dust and debris: Unsealed gaps allow leaves, dirt, and pollen to blow inside.
- Better comfort: Sealing gaps helps keep your garage warmer in winter and cooler in summer.
Many people overlook garage door gaps, but sealing them is an easy DIY project.
Common Types Of Garage Door Gaps
Before you start, it’s helpful to know where gaps usually appear:
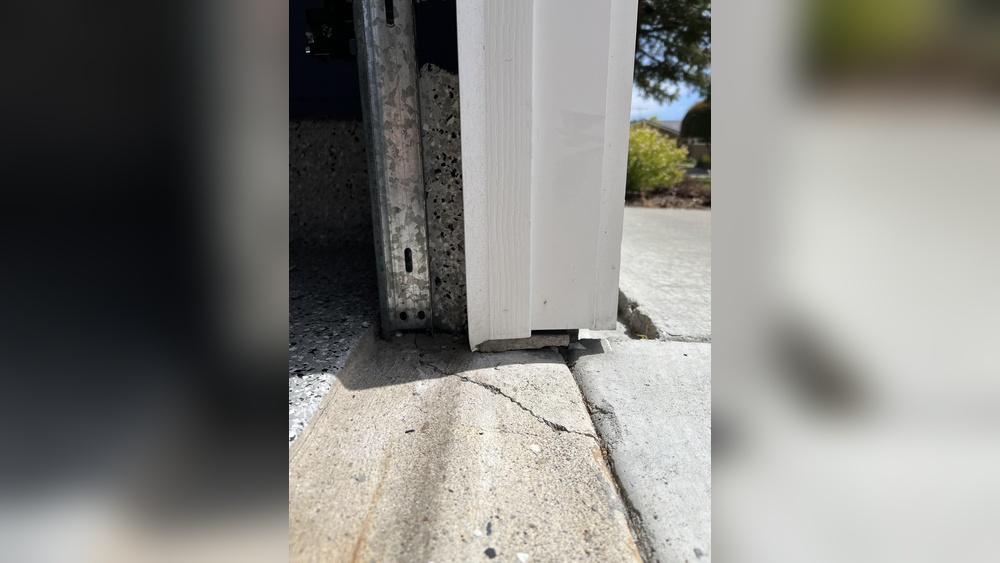
- Bottom gap: The space between the door and the floor.
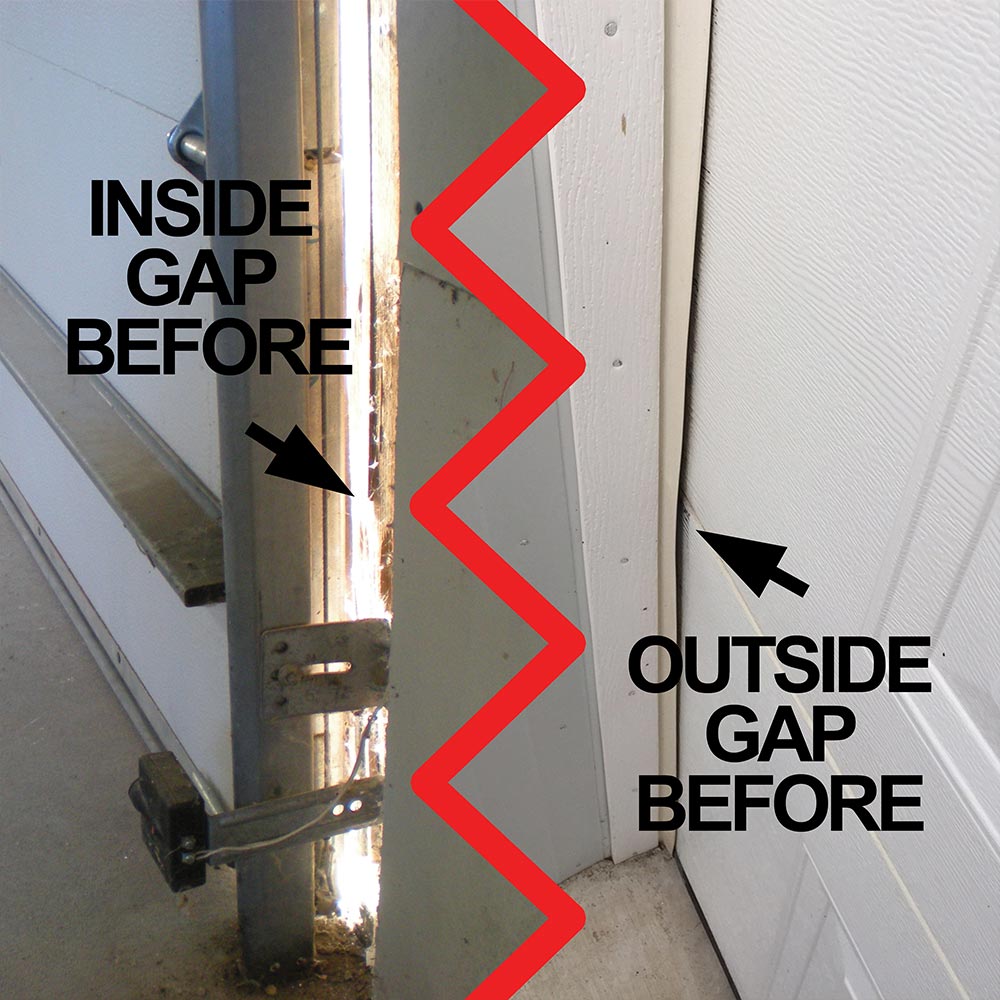
- Side gaps: The space between the door’s edges and the side walls.
- Top gap: The gap between the door’s top and the header.
- Panel gaps: Spaces between garage door panels (on older doors).
Not all doors have every type of gap. The most common problem is at the bottom, especially if the floor is uneven.
Tools And Materials You’ll Need
Sealing garage door gaps is simple with the right tools. Here’s what you may need:
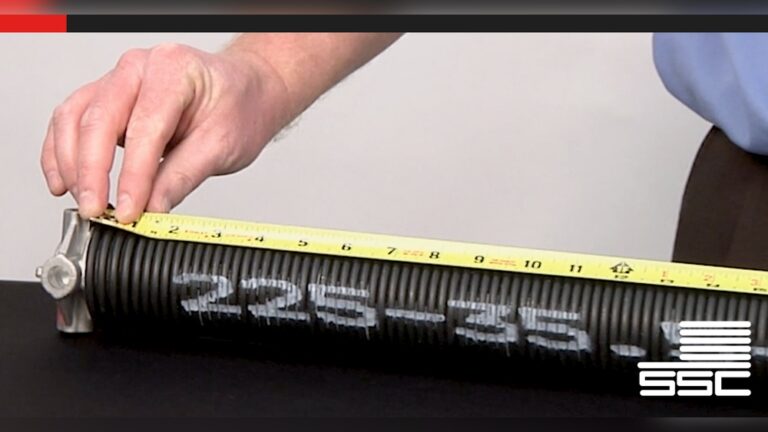
- Measuring tape (for accurate sizing)
- Utility knife or scissors
- Screwdriver or drill
- Heavy-duty adhesive (for some seals)
- Garage door threshold seal
- Bottom weatherstripping
- Side and top weatherstripping
- Caulk (for small cracks)
- Brush seal (for uneven surfaces)
Different gaps require different materials. For example, bottom gaps need a rubber or vinyl seal, while side gaps use flexible weatherstripping.
How To Check For Gaps
Finding all the gaps is the first step. Here’s a simple way to check:
- Close your garage door.
- Stand inside the garage during daylight.
- Look for sunlight coming through the edges or bottom.
- Feel for drafts with your hand.
If you see light or feel air, that’s where you need to seal.

Credit: www.reddit.com
Step-by-step Guide: Sealing The Bottom Gap
The bottom gap is the most common. Here’s how to seal it:
1. Measure The Width
Use a tape measure to check the width of your door. Standard sizes are 8, 9, 16, or 18 feet.
2. Choose The Right Seal
Common types are:
- Bulb seals: Rounded, good for uneven floors.
- Flat seals: Work on flat floors.
- T-type seals: Fit into a track on the door.
- Remove the Old Seal
If your door has old weatherstripping, pull it out. Use a screwdriver to remove any screws or nails.
4. Clean The Surface
Dirt can stop the seal from sticking. Wipe the bottom edge of the door with a damp cloth.
5. Cut The New Seal
Use scissors or a knife to cut the seal to match your door’s width.
- Install the New Seal
- For track-type seals, slide it into the grooves.
- For nail-on seals, align and nail or screw it to the door’s bottom.
- For adhesive seals, peel off the backing and press it firmly.
- Test the Door
Close the door and check for light or air leaks. Adjust if needed.
Example: Bottom Seal Replacement
A homeowner with a 16-foot-wide garage door found a 1/2 inch gap under one side. By installing a new bulb seal, they stopped water from entering during rain. This upgrade cost about $25 and took less than 30 minutes.
Sealing Side And Top Gaps
Side and top gaps are often missed. Here’s how to seal them:
1. Measure The Height And Width
Measure both side edges and the top edge of the door.
2. Select Weatherstripping
Look for flexible vinyl or rubber weatherstripping, also called garage door stop molding.
3. Cut To Size
Cut strips to match the lengths measured.
- Attach to the Door Frame
- Place the seal so it presses against the closed door.
- Use nails or screws to secure it along the frame.
- Check for a Tight Fit
The seal should touch the door without stopping it from opening or closing.
Example: Side Gap Fix
A 9-foot garage door had a 1/4 inch gap on one side. After adding vinyl weatherstripping, the homeowner noticed fewer spiders and less dust.
Credit: www.snirtstopper.com
Fixing Uneven Garage Floors
Sometimes the floor under your garage door is not level. This creates uneven gaps that regular seals can’t always fix.
Solutions For Uneven Floors
- Threshold Seal:
A thick rubber strip that sticks to the floor, not the door. It fills uneven spots and seals tightly.
- Adjustable Bottom Seal:
Some seals have extra “fins” or can be trimmed for a custom fit.
- Self-leveling Caulk:
For small dips, fill them with outdoor caulk before sealing.
Comparison: Types Of Bottom Seals
Here’s a quick look at the main options for bottom seals:
| Type | Best For | Pros | Cons |
|---|---|---|---|
| Bulb Seal | Uneven floors | Flexible, good seal | May wear faster |
| Flat Seal | Flat surfaces | Easy to install | Poor for gaps |
| Threshold Seal | Large or uneven gaps | Heavy-duty, seals well | Harder to remove |
Most beginners do not realize that using a threshold seal is often the best way to fix a sloped or cracked floor.
Sealing Panel Gaps In Older Doors
If your garage door has spaces between panels, sealing can be trickier. Here’s what to do:
- Lubricate the Hinges: Sometimes gaps happen because hinges are stuck. Lubricate first.
- Install Brush Seals: For sliding doors, brush weatherstripping can fill panel gaps.
- Replace Damaged Panels: If a panel is warped, replacement is often the best fix.
Panel gaps are less common in new doors, but older wood or metal doors often have them.

Credit: www.reddit.com
Filling Small Cracks Around The Frame
Even with good weatherstripping, small cracks can let in air and bugs. Seal them with outdoor caulk:
- Clean the crack with a brush.
- Cut the caulk tube tip at a 45-degree angle.
- Squeeze caulk into the crack.
- Smooth with a wet finger or tool.
Let the caulk dry for at least 24 hours before exposing to rain.
Comparison: Weatherstripping Materials
Choosing the right material is important. Here’s how common materials compare:
| Material | Durability | Cost | Best Use |
|---|---|---|---|
| Rubber | High | $$ | Bottom seals |
| Vinyl | Medium | $ | Side/top seals |
| Silicone | Very high | $$$ | Extreme weather |
| Foam | Low | $ | Temporary fixes |
Rubber is tough and flexible—great for the bottom. Vinyl is easy to install and works well on the sides and top.
Common Mistakes To Avoid
Beginners often make these errors:
- Choosing the wrong seal size: Too small won’t close the gap; too big may stop the door from closing.
- Skipping surface cleaning: Seals won’t stick to dirty or oily surfaces.
- Not checking for door alignment: If the door is crooked, seals may not work.
- Ignoring side and top gaps: Many only seal the bottom, missing other entry points.
- Not testing the door: Always open and close the door after installing seals.
Being careful with measurements and installation saves time and money.
How Often Should You Replace Seals?
Most garage door seals last 2 to 5 years. Check them every spring and fall. Replace if:
- The seal is cracked, hard, or brittle
- You see light or feel drafts
- Insects or water are getting in
Regular replacement keeps your garage protected year-round.
Professional Help Vs. Diy
Many people can seal garage door gaps themselves, but sometimes it’s best to call a professional:
- If the door is badly damaged
- If you have a custom or oversized door
- If you need a perfect, airtight seal
DIY is usually enough for small gaps and standard doors. Professionals can handle bigger repairs.
Cost And Time Estimates
Sealing garage door gaps is affordable and quick:
- Bottom seal: $10–$40, 30–60 minutes
- Side/top weatherstripping: $15–$35, 20–40 minutes
- Threshold seal: $40–$70, 45–90 minutes
Hiring a professional costs more—usually $100 to $250—but may be worth it for complex jobs.
Practical Tips For Beginners
- Buy a little extra: Seals sometimes shrink or tear when cut.
- Check door balance: An unbalanced door wears seals faster.
- Use a strong adhesive: For threshold seals, a high-quality adhesive keeps it in place.
- Label old parts: If you remove metal tracks or nails, keep them in a labeled bag.
Many beginners forget to test the door after installation. Always check that the door opens and closes smoothly.
When To Upgrade Your Door
If your garage door is old, bent, or rusted, new seals may not fix all issues. Upgrading to a modern insulated door can further cut energy costs and improve security. Today’s best doors have built-in weather seals.
More Resources
For more detailed information on garage door sealing and weatherproofing, visit the U.S. Department of Energy.
Frequently Asked Questions
How Do I Know Which Seal To Buy For My Garage Door?
Check your door’s bottom edge. If it has a metal track, you need a “T” or “bulb” seal that slides in. If it’s flat wood or metal, use a nail-on or adhesive seal. Measure the width and thickness before buying.
Can I Seal Gaps If My Garage Floor Is Very Uneven?
Yes. Use a threshold seal that sticks to the floor. For very large dips, fill with concrete patch or self-leveling caulk before installing the seal.
How Long Does It Take To Seal All Gaps On A Standard Garage Door?
Most DIYers can finish in 1 to 2 hours. The bottom seal takes the longest, usually about 30–60 minutes. Side and top weatherstripping adds another 30–45 minutes.
Will Sealing The Garage Door Help With Heating Or Cooling My Home?
Yes, especially if your garage is attached. Sealing gaps can cut heat loss by up to 20% in your home’s connected rooms.
Do I Need Special Tools To Seal Garage Door Gaps?
No special tools are needed. Basic tools like a screwdriver, measuring tape, and scissors are enough. For threshold seals, you may need heavy-duty adhesive.
Sealing garage door gaps is a smart, simple project that pays off in comfort and savings. With a few materials and a little time, you can keep out pests, weather, and dust while making your garage more energy efficient.