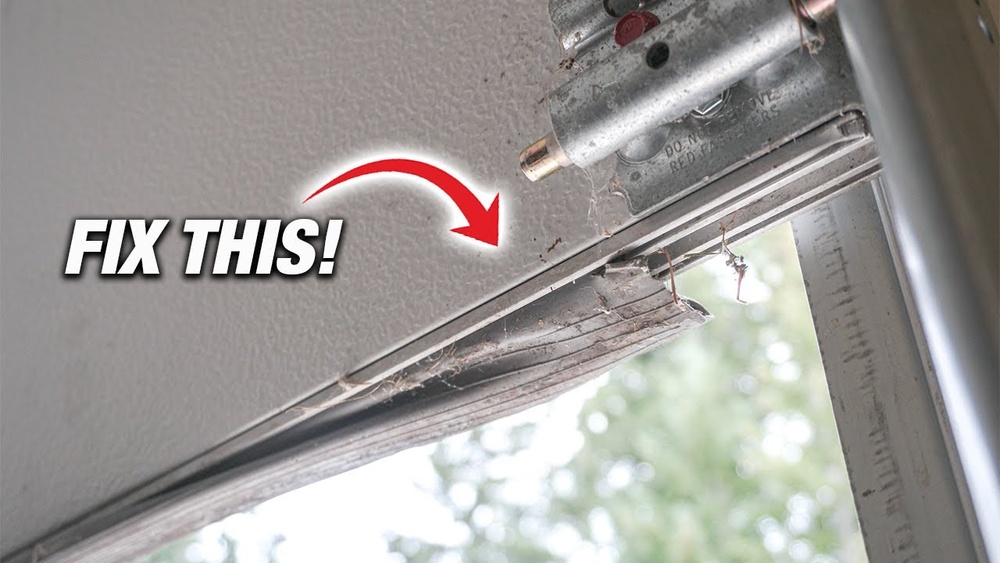
Replacing a garage door bottom seal can solve problems like drafts, water leaks, and pests entering your garage. Many homeowners ignore this small detail, but a damaged or old seal can make your garage uncomfortable and even damage your belongings.
Learning to replace the seal yourself not only saves money but also helps you keep your garage clean and safe. This guide will show you exactly how to change the bottom seal, step by step, with clear explanations and helpful tips for beginners.
Why Garage Door Bottom Seals Matter
The garage door bottom seal is a strip made of rubber, vinyl, or similar material. It fits along the lower edge of your garage door and forms a tight barrier when the door is closed.
Most people notice problems like:
- Cold air entering during winter
- Water leaks after rain
- Insects or rodents getting inside
A good seal keeps your garage warmer, drier, and cleaner. It can also protect items stored in the garage and reduce energy costs by preventing drafts.
Common Signs Your Seal Needs Replacement
Check your seal if you notice:
- Cracks, splits, or pieces missing
- Light coming in under the door
- Water pooling inside after rain
- Increased dust or pests
Experts recommend inspecting the seal every 6-12 months. On average, seals last 3-5 years, but heavy use or extreme weather can reduce this lifespan.
Understanding Different Types Of Garage Door Bottom Seals
Before you buy a new seal, you need to know which type fits your door.
| Seal Type | Main Material | Best For |
|---|---|---|
| Bulb Seal | Rubber | Uneven floors |
| Threshold Seal | Vinyl | Extra water protection |
| Strip Seal | Vinyl or rubber | Standard garage doors |
| Bead Seal | Rubber | Double channel tracks |
- Bulb seal: Has a rounded shape, good for rough or cracked floors.
- Threshold seal: Sits on the floor, sealing under the door; better for heavy water.
- Strip seal: Flat strip, common for most doors.
- Bead seal: Used with special channels in the door bottom.
Measure your garage door width and check the track type before shopping. Most residential doors are 8, 9, or 16 feet wide.
Tools And Materials Needed
Gather these before starting:
- Replacement garage door bottom seal
- Tape measure
- Utility knife or scissors
- Flathead screwdriver
- Pliers
- Soap or spray lubricant
- Safety gloves
- Ladder (if needed)
- Hammer (optional)
Buying a seal kit often includes instructions and screws. Kits cost between $10 and $35, depending on quality and length.
How To Replace Garage Door Bottom Seal: Step-by-step
Follow these steps for a successful replacement:
1. Prepare The Area
- Park cars outside and clear the garage door space.
- Close the garage door fully.
- Wear safety gloves to avoid sharp edges.
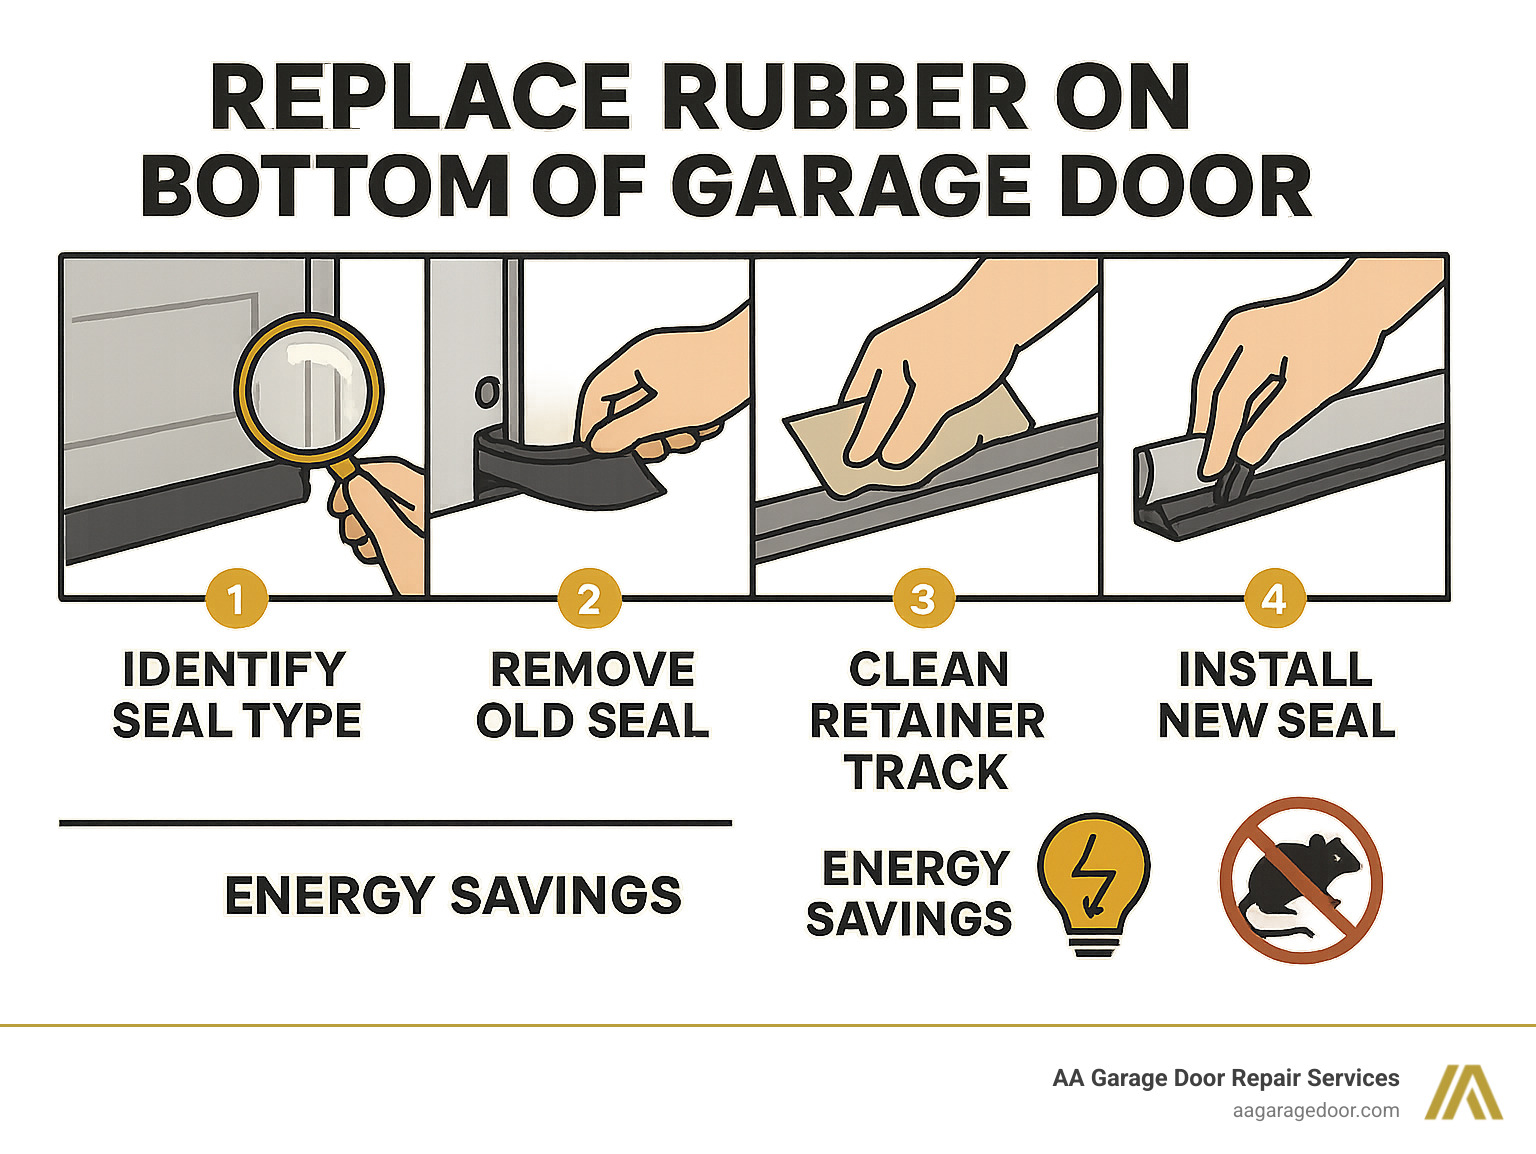
2. Remove The Old Seal
- Look for screws or fasteners holding the seal.
- Use a screwdriver or pliers to remove these.
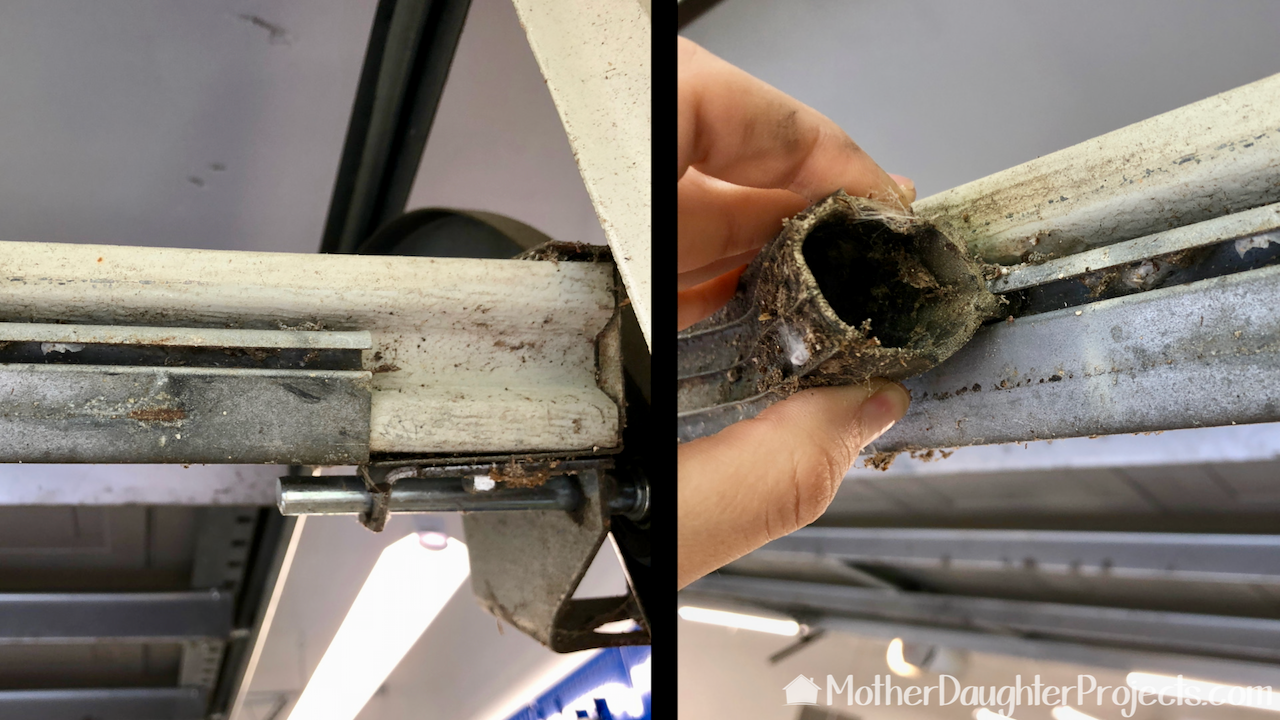
- Pull out the old seal gently. Some seals slide out; others need cutting.
Practical tip: If the seal is stuck, spray some soapy water or lubricant to loosen it.
3. Clean The Door Bottom
- Remove dirt, debris, or old adhesive with a rag.
- Check for rust or damage.
- Cleaning helps the new seal fit tightly.
4. Measure And Cut The New Seal
- Measure the width of your garage door with a tape measure.
- Cut the new seal to size using scissors or a utility knife.
- Leave a small extra length (about 1/2 inch) to allow for shrinkage.
5. Install The New Seal
- Insert the seal into the track or channel. Some seals slide in, others fit over.
- If the seal is hard to slide, use soap or spray lubricant.
- Make sure the seal sits evenly along the door bottom.
Beginner insight: If your door does not have a channel, you can attach the seal with screws or adhesive. Follow the manufacturer’s instructions.
6. Secure The Seal
- Replace screws or fasteners if needed.
- Check the seal’s position—there should be no gaps.
- If using adhesive, press firmly for at least 30 seconds.
7. Test The Seal
- Open and close the garage door several times.
- Check for light, air, or water coming through.
- Adjust the seal if needed.
Example: Replacing A Bulb Seal
If you have a bulb seal with a double-channel track:
- Slide the bulb seal out from one side.
- Clean the track.
- Slide the new bulb seal in, starting at one end.
- Use pliers if the seal is tight.
Most homeowners finish this replacement in 30-45 minutes.

Credit: www.youtube.com
Common Mistakes To Avoid
Many beginners make these errors:
- Cutting the seal too short—always measure twice.
- Forgetting to clean the door bottom—dirt blocks the seal.
- Not testing the seal after installation.
- Using the wrong seal type for their door.
Non-obvious insight: Some garage doors have unique tracks; check your manual or take a photo to compare at the store.
Practical Data: Weather Impact On Garage Seals
Seals wear faster in harsh climates. Here’s a comparison:
| Climate | Seal Lifespan | Common Issues |
|---|---|---|
| Hot & Sunny | 2-3 years | Cracking, hardening |
| Cold & Wet | 3-5 years | Mold, splitting |
| Mild | 4-6 years | General wear |
If you live in an area with extreme temperatures or frequent rain, check your seal more often.
Choosing The Right Replacement Seal
Consider these factors:
- Material: Rubber seals last longer but cost more. Vinyl is cheaper but wears faster.
- Fit: Match the seal type to your door channel.
- Price: Don’t buy the cheapest seal; mid-range products offer better durability.
- Brand reputation: Read reviews or ask for recommendations.
Beginner insight: Always check the product length. Some kits are only 7 feet—not enough for a double garage.
Comparison: Diy Vs Professional Replacement
Some people prefer hiring a professional. Here’s a simple comparison:
| Option | Cost | Time Required | Skill Needed |
|---|---|---|---|
| DIY | $10–$35 | 30–60 minutes | Beginner |
| Professional | $60–$150 | 1–2 hours | None |
DIY saves money and is easy for most people. Professionals offer convenience but cost more.
Credit: www.motherdaughterprojects.com
Maintenance Tips For Longer Seal Life
After installing a new seal, keep it in good shape:
- Clean the seal every 3 months with soapy water.
- Inspect for damage after heavy rain or snow.
- Avoid using harsh chemicals near the seal.
- Tighten any screws or fasteners if they become loose.
If you see cracks or gaps, replace the seal right away. Waiting can lead to water damage or pest entry.
When To Call A Professional
While most people can replace seals themselves, call a pro if:
- The door bottom is damaged or rusted.
- You can’t remove the old seal easily.
- The garage floor is very uneven.
- The door is very heavy or hard to handle.
Professionals can also advise on special seals for unique needs, such as insulated doors or extra-wide thresholds.
Credit: www.aagaragedoor.com
Frequently Asked Questions
How Often Should I Replace The Garage Door Bottom Seal?
Most seals last 3-5 years, but in harsh weather or with heavy use, replace every 2-3 years. Check your seal every 6-12 months for damage.
Can I Replace The Seal If My Garage Door Is Old?
Yes. Even old doors can use new seals. Make sure the track is not damaged. If unsure, take a photo and compare at the hardware store.
What If Water Still Leaks After Replacing The Seal?
Check if the seal fits tightly. Sometimes, the garage floor is uneven. Use a threshold seal for extra protection, or add caulk along the floor edge.
How Do I Know Which Seal Type To Buy?
Measure your door width and check the track shape. Bring the old seal to the store if possible. Staff can help match the right product.
Is It Safe To Do This Myself?
Yes, for most people. Use safety gloves and tools. If your door is very heavy or you feel unsure, call a professional for help.
Replacing your garage door bottom seal is a simple but powerful upgrade. It keeps your garage dry, clean, and safe, and saves money over time. With a few tools and clear steps, even beginners can do the job. If you need more details or want to compare seal types, visit Family Handyman for expert advice. Remember, regular maintenance and the right seal will keep your garage in top shape for years.