Garage Door Panel Replacement: The Beginner’s Guide
Garage doors do more than protect your car and storage. They boost home security, insulation, and curb appeal. But over time, panels can get dented, rusted, or damaged. Replacing garage door panels is a practical way to fix these issues without buying a whole new door. If you’re a homeowner or beginner looking to tackle garage door panel replacement, this guide will walk you through everything you need to know, from spotting damage to picking the right panels and handling the installation.
Why Garage Door Panel Replacement Matters
Damaged panels can lead to bigger problems:
- Reduced security: Weak panels are easier to break.
- Poor insulation: Cracks let in air, making your garage hotter or colder.
- Lower home value: A beat-up garage door hurts curb appeal.
Replacing just the panels saves money compared to replacing the entire door. Most garage doors are made of sections, so you can swap out one or two panels instead of everything. For homeowners, this means a quick fix that restores both function and looks.
Signs You Need Garage Door Panel Replacement
Wondering if your panels need replacing? Look for these clear signs:
- Visible dents: Usually from cars, bikes, or balls.
- Rust and corrosion: Especially on steel doors.
- Cracks or splits: Common with wood or older panels.
- Warped panels: Often caused by weather or age.
- Sagging or misalignment: The door doesn’t open smoothly.
- Peeling paint: Can signal deeper damage.
You can often spot these issues by looking closely at each section. If only one or two panels are affected, replacement is usually the best option.
Choosing The Right Garage Door Panels
Picking the right replacement panels is key for a seamless repair. Here’s what to consider:
- Material Match
- Steel: Durable, good for security.
- Aluminum: Lightweight, resists rust.
- Wood: Traditional look but needs upkeep.
- Composite: Mimics wood, easier to maintain.
- Panel Style
- Raised panel: Common and classic.
- Flush panel: Sleek and modern.
- Carriage house: Rustic, with decorative hardware.
- Size and Thickness
- Measure your existing panels carefully.
- Most panels are 18-24 inches tall.
- Color and Finish
- Match your existing door for a uniform look.
- Some panels can be painted after installation.
- Insulation Level
- Some panels have foam or other insulation.
- Look for R-value ratings (higher is better for insulation).
- Brand Compatibility
- Not every panel fits every door. Check your door’s brand and model.
Here’s a quick comparison of common panel materials:
| Material | Durability | Maintenance | Insulation | Cost |
|---|---|---|---|---|
| Steel | High | Low | Good | $$ |
| Aluminum | Medium | Low | Fair | $ |
| Wood | Medium | High | Excellent | $$$ |
| Composite | High | Low | Good | $$ |
How Much Does Garage Door Panel Replacement Cost?
Panel replacement costs depend on several factors:
- Material: Steel panels cost $150–$300 each. Wood can be $250–$600.
- Labor: Professional installation adds $200–$400.
- Brand and Customization: Custom panels may cost more.
- Number of Panels: Replacing multiple panels increases the price.
Typical total costs range from $400 to $1,200 for a mid-range job. Replacing all panels is sometimes as expensive as buying a new door, so compare prices before you decide.
Here’s a price breakdown for different scenarios:
| Scenario | Panels Replaced | Material | DIY Cost | Pro Cost |
|---|---|---|---|---|
| Minor Damage | 1 panel | Steel | $180 | $350 |
| Moderate Repair | 2 panels | Wood | $500 | $900 |
| Full Section | 4 panels | Aluminum | $600 | $1,100 |
Diy Garage Door Panel Replacement: Step-by-step
Many homeowners can replace garage door panels themselves if they use care and proper tools. Here’s a beginner-friendly guide:
Step 1: Gather Tools And Materials
You’ll need:
- Replacement panel(s)
- Screwdriver and socket set
- Adjustable wrench
- Drill (optional)
- Safety gloves and goggles
- Ladder
- Garage door lubricant
Step 2: Prepare The Area
- Disconnect the opener. Unplug or turn off power.
- Clear space around the garage door.
- Use safety gear.
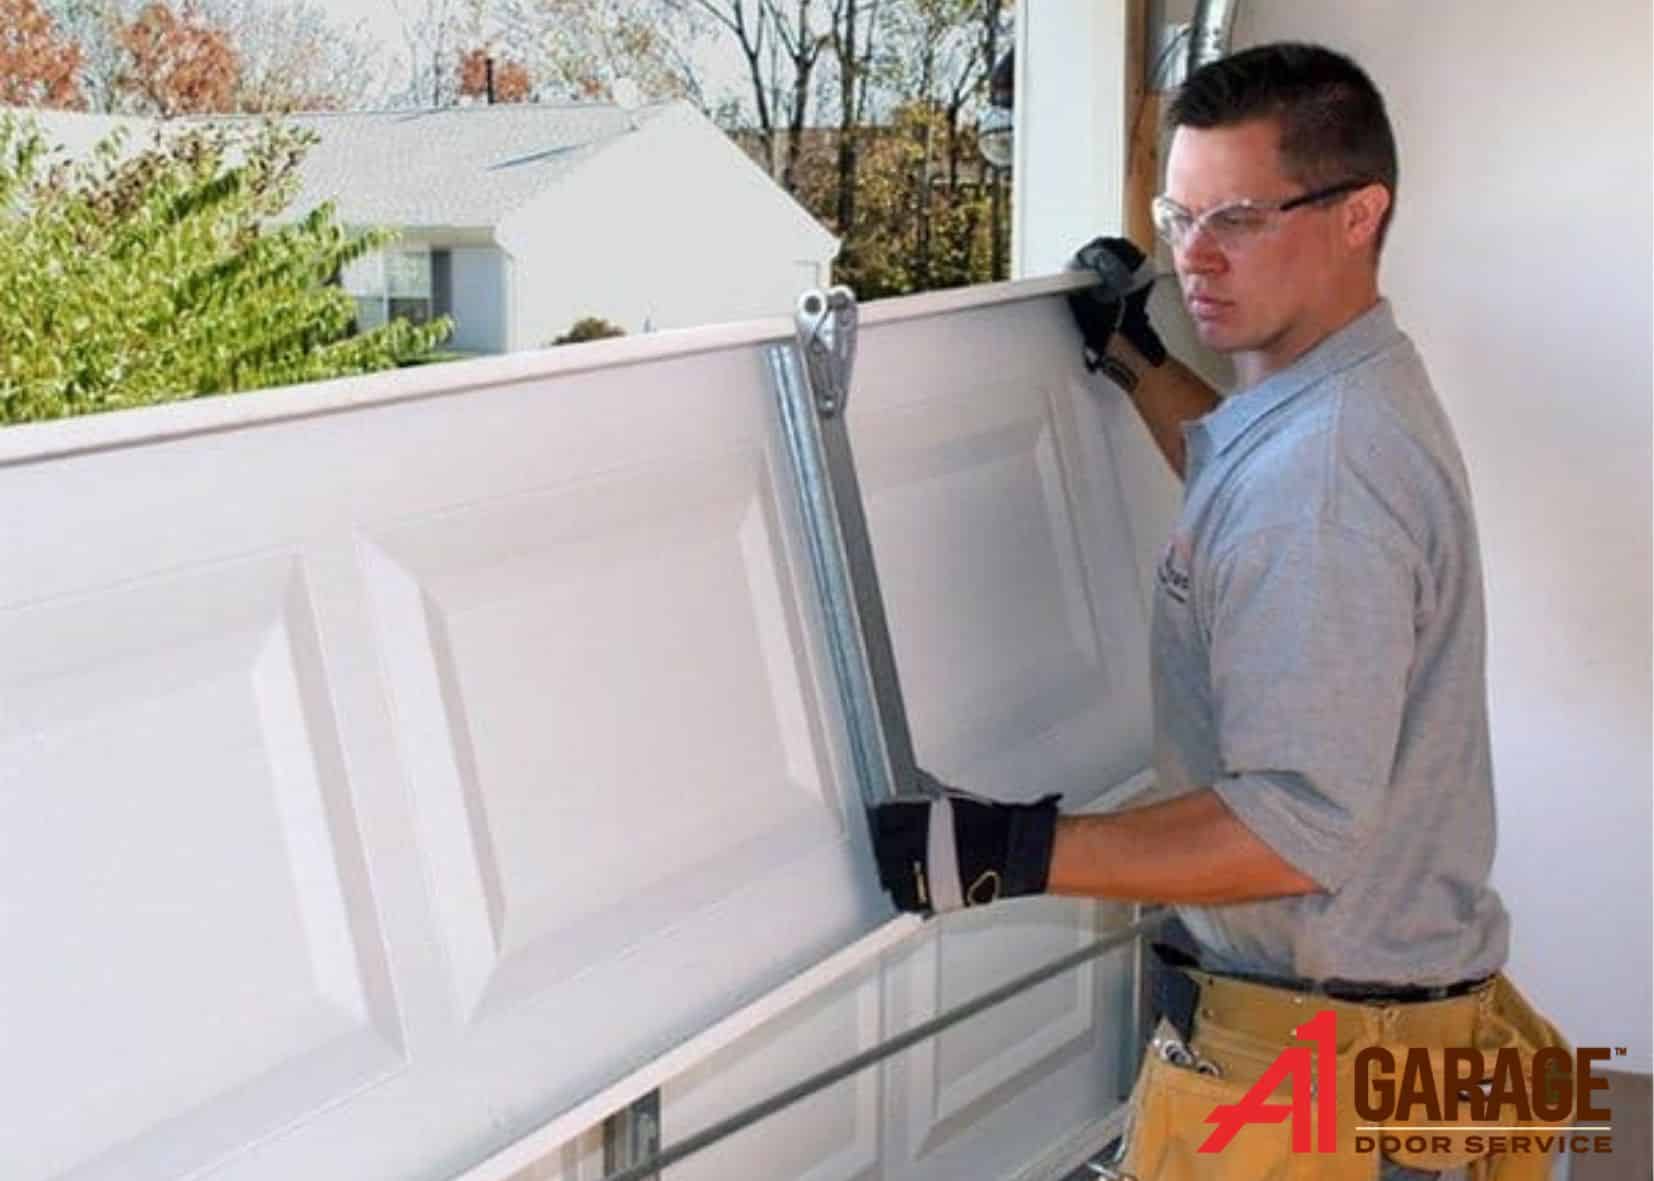
Step 3: Remove Damaged Panel
- Open the door fully, then disconnect it from the tracks.
- Remove bolts or screws holding the damaged panel.
- Carefully slide the panel out. For multi-section doors, you may need to remove panels above or below.
Step 4: Install New Panel
- Slide the new panel into place.
- Attach it with bolts or screws. Tighten securely.
- Align the panel so it sits flush with others.
Step 5: Test The Door
- Reconnect the door to the tracks and opener.
- Open and close the door several times.
- Watch for smooth movement and proper alignment.
Step 6: Finishing Touches
- Apply lubricant to hinges and tracks.
- Paint or finish the panel if needed.
Common Mistakes Beginners Make
- Not measuring panel size correctly.
- Forgetting to match material or color.
- Rushing and skipping safety steps.
- Not aligning panels properly.
- Over-tightening bolts, causing cracks.
Take your time and double-check each step. If you’re unsure, call a professional.
Professional Installation: When To Hire An Expert
Some repairs are best left to the pros:
- Multiple panels need replacing.
- Panels are heavy or hard to lift.
- The door uses special hardware.
- You’re not confident in your DIY skills.
Professionals have the right tools and experience. They can finish the job quickly and safely. Plus, many offer warranties on their work.
How To Find The Right Replacement Panels
Finding panels that fit your door can be tricky. Here’s how to make it easier:
- Check the brand: Look for labels or stamps on your garage door.
- Measure carefully: Height, width, and thickness matter.
- Look online: Many manufacturers list compatible panels.
- Visit local dealers: They can help you match panels.
- Ask for help: If you’re unsure, bring a photo or sample.
Some brands only sell panels through authorized dealers. Call your manufacturer’s support line for guidance.
Maintenance Tips After Panel Replacement
Keep your new panels in good shape with these tips:
- Clean regularly: Use mild soap and water.
- Inspect for damage: Look for dents, rust, or cracks every few months.
- Lubricate moving parts: Hinges and tracks need attention.
- Paint or seal wood panels: Protects against moisture.
- Avoid slamming the door: It prevents future damage.
These steps extend the life of your garage door and prevent expensive repairs later.

Credit: www.youtube.com
Garage Door Panel Replacement Vs. Full Door Replacement
When is it better to replace the whole door? Here’s a comparison:
| Factor | Panel Replacement | Full Door Replacement |
|---|---|---|
| Cost | Lower | Higher |
| Time | 1–2 hours | Half a day |
| Complexity | DIY possible | Professional needed |
| Customization | Match existing door | Choose new style |
| Warranty | Panel only | Full door |
If your door is very old, has multiple damaged panels, or you want a new style, replacing the whole door makes sense. Otherwise, panel replacement is faster and cheaper.
Non-obvious Insights For Beginners
- Panel weight matters: Some panels are heavy, especially steel or insulated. Always check the weight before buying or lifting.
- Weatherproofing: After replacement, make sure seals and weatherstripping are intact. Gaps can cause drafts and water leaks.
- Panel ordering: Many brands need you to order panels in sequence (top, middle, bottom). Mixing them can cause misalignment.
- Insurance: Some homeowner policies cover panel replacement after storm or accident. Check before paying out of pocket.

Credit: parts4garagedoors.com
Environmental Impact Of Garage Door Panel Replacement
Replacing panels instead of the whole door reduces waste. Many old panels can be recycled:
- Steel and aluminum: Recyclable at scrap yards.
- Wood: Can be repurposed or composted if untreated.
- Composite: Check local recycling guidelines.
Ask your installer about recycling options for old panels. It’s a small step that helps the environment.
Frequently Asked Questions
How Long Does Garage Door Panel Replacement Take?
Most panel replacements take 1–2 hours for one or two panels. If you’re doing it yourself, allow extra time for measuring and setup.
Can I Replace Garage Door Panels Myself?
Yes, many homeowners can handle DIY panel replacement if they have basic tools and follow safety steps. Heavy or insulated panels may need extra help.
Is It Cheaper To Replace A Panel Or The Whole Door?
Panel replacement is usually much cheaper than replacing the whole door, especially if only one or two sections are damaged.
Where Can I Find Replacement Panels For My Garage Door?
Check with your door’s manufacturer, local dealers, or online shops. Bring measurements and the brand name for best results. Some brands only sell panels through authorized dealers.
What If My Garage Door Is Very Old?
Older doors may not have compatible replacement panels. In this case, consider full door replacement for better performance and safety. Consult a pro for advice.
Replacing garage door panels is a smart, cost-effective fix for common damage. With careful selection, proper installation, and regular maintenance, your garage door will look and work like new. If you’re unsure, don’t hesitate to ask a professional or visit the Family Handyman site for step-by-step help. Upgrading your garage door panels is a practical way to improve your home’s security, value, and appearance—one section at a time.
Credit: a1garage.com