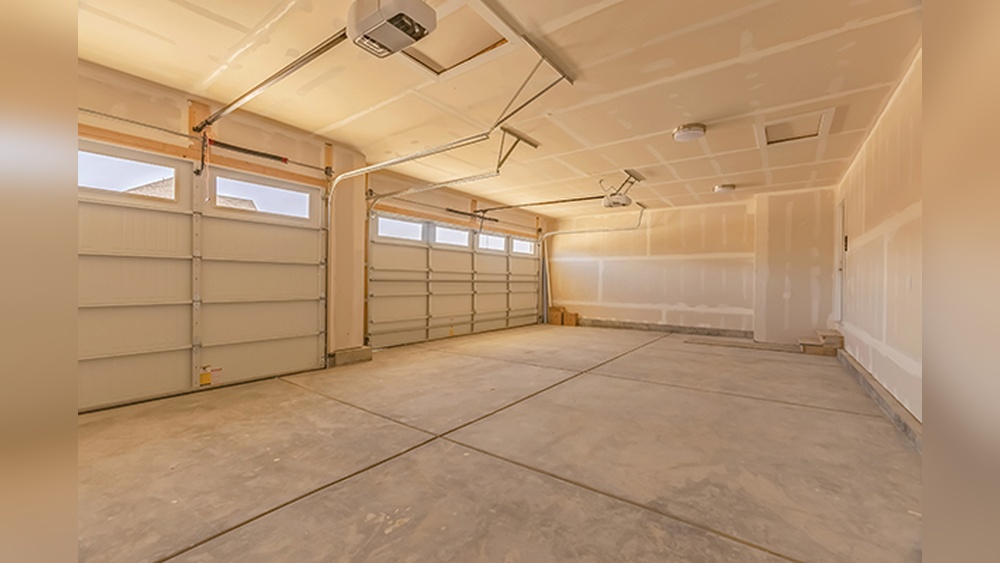
Drywalling your garage can make a huge difference. It improves the look, increases value, and helps with insulation and soundproofing. But for beginners, the process can feel overwhelming. The good news? With the right tools, a clear plan, and step-by-step guidance, almost anyone can learn how to drywall a garage. This guide breaks down each stage, highlights common mistakes, and offers practical tips to help you finish like a pro.
Why Drywall Your Garage?
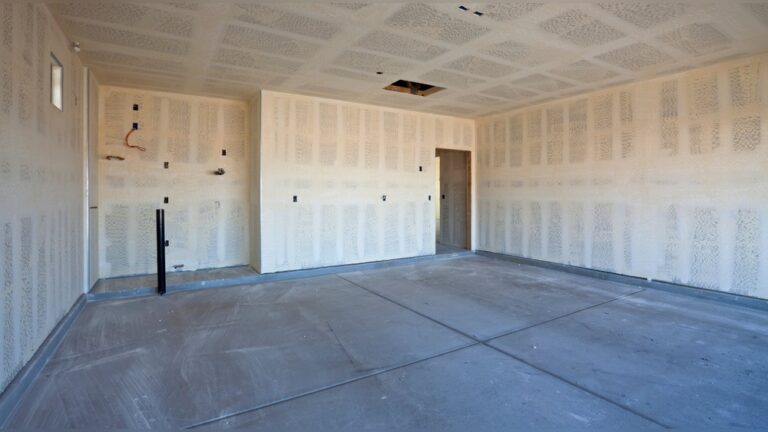
Many garages have exposed studs and insulation. Adding drywall:
- Makes the space look finished and clean
- Protects insulation and wiring
- Helps control temperature and noise
- Increases home resale value
A finished garage is also more comfortable for hobbies, storage, or even a home gym.
Tools And Materials Needed
Before starting, gather all supplies. Having everything ready saves time and avoids frustration.
Essential tools:
- Drywall sheets (usually 4×8 ft or 4×12 ft)
- Drywall screws or nails
- Screw gun or drill with drywall bit
- Utility knife
- Drywall saw
- T-square or straight edge
- Measuring tape
- Stepladder
- Drywall lift (optional, but great for ceilings)
- Joint tape (paper or mesh)
- Joint compound (pre-mixed mud)
- Taping knives (6″, 10″, and 12″ sizes)
- Sanding block or pole sander
- Safety glasses and mask
Materials example for a 20×20 ft garage:
- 25–30 drywall sheets (4×8 ft)
- 5 boxes of drywall screws (1 1/4″ or 1 5/8″)
- 5–7 gallons of joint compound
- 4 rolls of joint tape
Buying a bit extra is smart—mistakes happen, and drywall can break.
Planning Your Garage Drywall Project
Measure your walls and ceiling. Multiply length by height for each wall, add ceiling area, and divide by the area of each drywall sheet (usually 32 sq ft for 4×8 ft panels).
Example:
A 20×20 ft garage, with 8 ft walls, needs about 640 sq ft for walls, plus 400 sq ft for the ceiling. That’s 1040 sq ft, so you’d need about 33 drywall sheets (round up for waste).
Other planning tips:
- Decide if you’ll drywall the ceiling (it’s harder but looks better)
- Check for any local building codes, especially for attached garages
- Move cars, tools, and storage out of the way
- Look for electrical, plumbing, and insulation issues before starting
Preparing The Garage
Drywall only goes up after certain steps are complete:
- Install insulation if you want a warmer or quieter garage.
- Check wiring and outlets. Add boxes or wiring before drywall.
- Seal gaps with spray foam or caulk to stop drafts.
- Mark studs with a pencil line on floor and ceiling. This makes screw placement much easier.
If your garage has moisture issues, handle them first. Drywall doesn’t like water.

Credit: homeguide.com
Hanging Drywall Panels
Hanging drywall is the biggest job. Here’s how to do it right:
Cutting And Fitting Panels
- Measure the space for each sheet.
- Use a utility knife and T-square to score the drywall, then snap it cleanly.
- Cut out holes for outlets or switches using a drywall saw.
Tip: Always measure twice, cut once.
Fastening To Walls And Ceiling
- Start with the ceiling, then do walls. The ceiling is the hardest part—ask a friend for help.
- Place sheets perpendicular to the framing for more strength.
- Screws go every 12–16 inches along studs and every 8 inches on ceilings.
- Sink screws just below the surface, but don’t break the paper.
Common beginner mistakes:
- Using too few screws, causing loose panels later.
- Screwing too deep, which weakens the hold.
Inside Vs. Outside Corners
- Stagger seams so they don’t line up from wall to wall.
- On outside corners, leave a small gap for the corner bead (a metal or plastic strip for strength).
Here’s a quick comparison of screw vs. nail attachment for drywall:
| Feature | Drywall Screws | Drywall Nails |
|---|---|---|
| Holding Power | Strong, won’t pop | Can pop over time |
| Ease of Use | Fast with screw gun | Slower, more effort |
| Cost | Slightly higher | Lower |
| Best For | Walls, ceilings | Small repairs |
Tip: Screws are more reliable, especially for ceilings.
Taping And Mudding Joints
This stage makes the drywall look smooth and seamless.
Applying Joint Tape
- Use paper or mesh tape on all seams. Paper is less likely to crack but needs more skill.
- Press tape into a thin layer of joint compound.
Mudding (applying Joint Compound)
- First coat: Use a 6″ knife to cover seams and screws. Let dry (usually 24 hours).
- Second coat: Use a wider knife (10″ or 12″) to feather out seams. Let dry.
- Third coat: Thin, wide coat for a smooth finish. Sand between coats if needed.
Pro tip: Don’t rush drying. Humidity slows the process. Use fans to help.
Sanding
- Sand lightly with a sanding block or pole sander. Wear a mask—dust is everywhere.
- Check for bumps or ridges by running your hand over the surface.
Many beginners sand too much or too little. If you sand through the tape, you’ll have to patch again.
Here’s a simple breakdown of tape types:
| Type | Strength | Ease of Use | Best For |
|---|---|---|---|
| Paper Tape | High | Harder | Long seams, flat joints |
| Mesh Tape | Medium | Easier | Repairs, beginners |
| Pre-formed Corners | Very High | Medium | Inside/outside corners |

Credit: www.youtube.com
Finishing Touches: Priming And Painting
After sanding, the drywall is ready for finishing. This makes it look clean and resists stains.
Steps:
- Wipe walls with a damp cloth to remove dust.
- Apply a drywall primer. This seals the surface and prevents paint from soaking in unevenly.
- Once dry, paint with your chosen color. Use a roller for big areas and a brush for corners.
Tip: Garage walls often get dirty. Use washable, semi-gloss paint for easier cleaning.
Common Mistakes And How To Avoid Them
Even careful DIYers make errors. Here are mistakes to watch for:
- Overtightening screws: This weakens the panel.
- Gaps between sheets: Keep gaps small (less than 1/8 inch).
- Skipping primer: Paint won’t stick well without it.
- Bad sanding: Over-sanding causes dips; under-sanding leaves bumps.
- Ignoring codes: Some areas require fire-rated drywall, especially for attached garages.
A big insight: Many beginners forget about garage doors and windows. Trim drywall carefully around these, and always check for moving parts.

Credit: thecraftcrib.com
Cost And Time Estimates
Drywalling a garage is affordable but takes effort. Here’s a rough idea for a 20×20 ft garage:
- Materials: $400–$800 (drywall, screws, joint compound, tape, primer, paint)
- Tools rental: $50–$100 (for a drywall lift)
- Time needed: 2–4 days for one person, more with less experience
If you hire a pro, expect to pay $1,000–$2,500 depending on location and complexity.
Safety Tips
- Wear safety glasses and a mask when cutting or sanding.
- Use gloves for handling drywall—edges are sharp.
- Work with a partner for heavy sheets, especially on ceilings.
- Use a stable stepladder and don’t overreach.
Insider tip: Drywall dust is very fine. Block vents and cover floors to protect your home.
Should You Diy Or Hire A Pro?
Doing it yourself saves money and is rewarding. But drywalling is messy and can be physically demanding. Consider hiring help if:
- The ceiling is very high or you have little time
- You want a perfect, paint-ready finish
- You need fire-rated drywall installed correctly
For most standard garages, a beginner can do the work and learn valuable skills. Watching a few video tutorials can also help, like those from Family Handyman.
Real-life Example
Josh, a homeowner in Ohio, drywalled his 18×22 ft garage alone. He spent $650 on materials and tools, finished in five days, and improved his home’s value by about $3,000. The hardest part? Lifting ceiling panels—he rented a drywall lift for $35. His advice: “Take your time with mudding. Sanding fixes a lot, but not everything!”
Frequently Asked Questions
How Thick Should Garage Drywall Be?
For most garages, 1/2 inch drywall is standard for walls. For ceilings or if fire resistance is needed, use 5/8 inch drywall. Thicker drywall adds strength and safety, especially between the garage and living areas.
Can I Drywall Over Old Wood Paneling Or Concrete?
Drywall can go over wood paneling if the surface is solid. For concrete or block walls, use furring strips (thin wood strips) to attach drywall. Always check for moisture—drywall over damp surfaces will quickly fail.
Do I Need To Tape All The Seams And Corners?
Yes, all seams and corners should be taped and mudded. Skipping this step leads to cracks and a poor finish. Use corner bead for outside corners to protect them from damage.
Is It Necessary To Mud And Sand The Garage Drywall Perfectly?
A perfect finish is nice but not required for garages. Many people stop at a “level 3” finish (taped, mudded, sanded, but not flawless). If you plan to paint or spend lots of time in the garage, a smoother finish is worth the effort.
What’s The Difference Between Fire-rated And Regular Drywall?
Fire-rated drywall (Type X) contains glass fibers to slow fire spread. It’s required by code for walls that separate the garage from living spaces. Always check local codes before starting.
Drywalling a garage can be a big job, but it’s one you can handle with patience and planning. The results are worth it—a clean, bright, and finished space that adds value to your home. Take your time, follow each step, and soon you’ll have a garage you’re proud of.