If your garage door feels heavy, looks crooked, or makes grinding noises, the problem could be with the cable tension. The cables help lift and lower the door smoothly. If their tension is wrong, your garage door may jam or even fall. Adjusting garage door cable tension sounds difficult, but with the right steps, you can solve many common issues yourself.
Safety comes first. Garage doors are heavy, and their springs are under high tension. Always use caution and the correct tools. If you’re not confident, call a professional. But for many homeowners, learning to adjust the cables is a useful skill.
Let’s walk through everything you need to know, from signs of trouble to step-by-step instructions.
What Does Garage Door Cable Tension Do?
Garage door cables connect the door to the springs and pulleys. They balance the door’s weight, making it possible to lift with little effort.
- Too much tension: The door may not close fully or may lift unevenly.
- Too little tension: The door feels heavy, sags, or may come off its track.
Perfect tension means the door moves smoothly and stays in place when opened halfway. If you notice jerky movement or gaps under the door, it’s time to check the cables.
Signs You Need To Adjust Garage Door Cable Tension
You don’t need advanced skills to spot cable problems. Look for these clear signs:
- Crooked door: One side is higher than the other when closed.
- Slamming shut: The door falls quickly instead of lowering smoothly.
- Gaps at the bottom: Light or air comes in under one side.
- Loose cables: The cable sags or looks slack when the door is closed.
- Heavy door: The door feels much heavier than normal when lifting manually.
- Noisy operation: Grinding or snapping sounds during movement.
If you notice any of these, tension adjustment can help. But first, check for visible damage. Frayed or broken cables should be replaced, not adjusted.
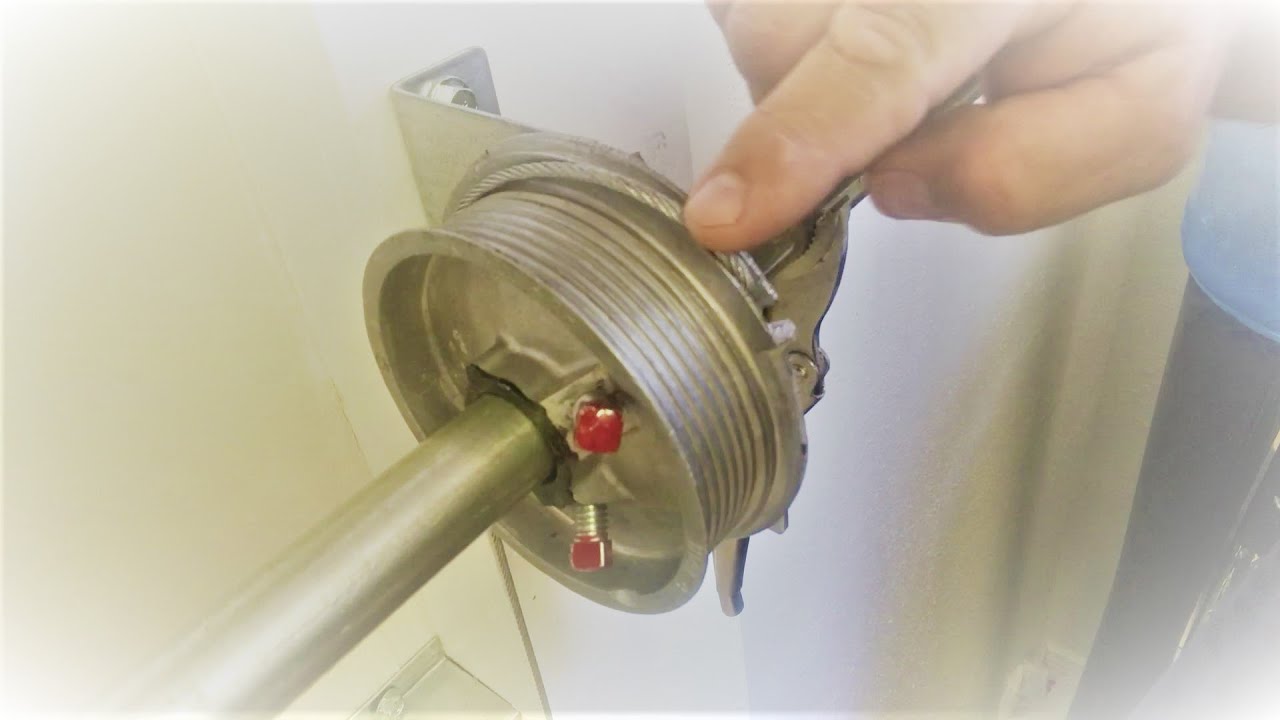
Credit: www.youtube.com
Types Of Garage Doors And Cable Systems
Not all garage doors use the same cable system. Knowing your type makes the process easier.
| Door Type | Main Spring Type | Cable Location |
|---|---|---|
| Sectional (most common) | Torsion spring | Above the door |
| One-piece tilt-up | Extension spring | Alongside the door |
| Roll-up | Torsion or extension | Varies |
Most homes use sectional doors with torsion springs. This guide focuses on these, but the general steps apply to other types too.
Tools And Safety Gear You’ll Need
Before you start, gather these items:
- Locking pliers or C-clamps: To secure the door in place.
- Wrenches (usually 7/16” or 3/8”): For adjusting tension hardware.
- Stepladder: To reach the cables safely.
- Gloves and safety glasses: To protect your hands and eyes.
- Socket set: Sometimes needed for specific bolts.
- Flathead screwdriver: For small adjustments.
Never use makeshift tools. The right gear prevents accidents.

Credit: www.wikihow.com
How To Prepare Your Garage Door For Adjustment
Preparation is critical for safety. Follow these steps:
- Disconnect the opener: Unplug or pull the emergency release cord to switch to manual mode.
- Close the door fully: This reduces spring tension and is the safest position for cable work.
- Secure the door: Place locking pliers or C-clamps under the roller, on the track, to stop the door from moving.
- Inspect the cables: Look for fraying, rust, or kinks. Replace damaged cables before adjusting.
Many beginners forget to disconnect the opener. Adjusting a powered door can cause sudden movement.
Step-by-step: Adjusting Garage Door Cable Tension
The exact method depends on your spring system. Here, we focus on sectional doors with torsion springs, the most common setup for US homes.
1. Loosen The Cable Drum Set Screws
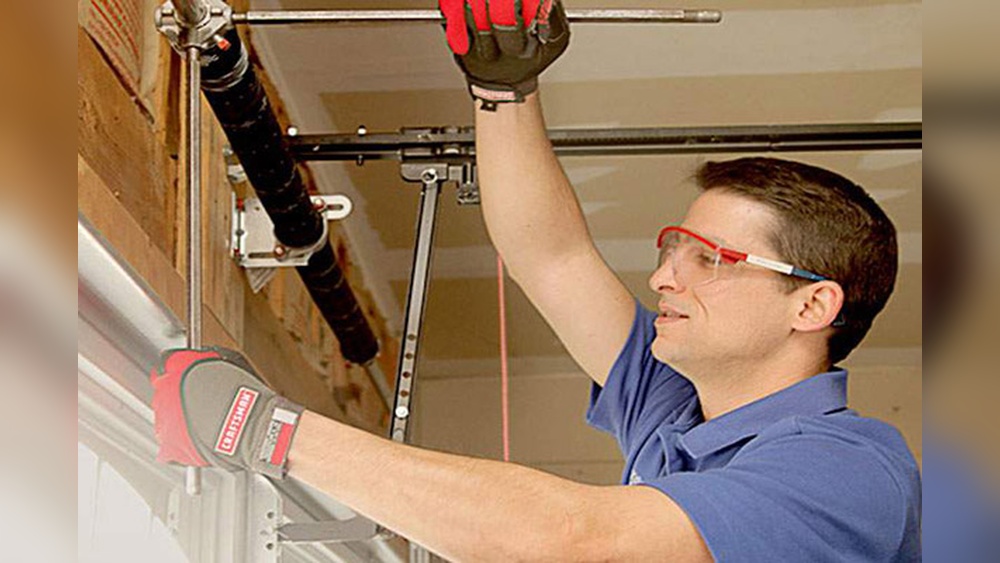
At each end of the shaft above the door, you’ll see a cable drum. The cable wraps around this drum.
- Use your wrench to loosen (not remove) the set screws on the cable drum.
- Hold the cable end firmly to prevent it from unspooling.
2. Adjust The Cable
You can now add or remove tension:
- To increase tension: Pull the cable tighter around the drum.
- To decrease tension: Let a small length of cable out.
- Keep the cable snug but not overtight. Over-tightening can strain the system.
Pro tip: Adjust both sides equally. Uneven tension makes the door crooked.
3. Tighten The Set Screws
Once you’re happy with the tension:
- Hold the cable in position.
- Tighten the set screws securely.
- Double-check the cable is seated in the drum’s grooves.
4. Repeat On The Other Side
Always adjust both sides. Even small differences cause door alignment problems.
5. Test The Door
- Remove the locking pliers or C-clamps.
- Lift the door manually to halfway. It should stay in place without drifting up or down.
- Open and close the door several times to check for smooth movement.
If the door still sags or feels heavy, repeat the process. Small adjustments often give the best results.
Common Mistakes And How To Avoid Them
Many first-timers make simple errors. Here’s how to avoid them:
- Skipping safety steps: Never adjust with the opener connected or the door open.
- Over-tightening: Too much tension stresses the springs and hardware.
- Uneven tension: Adjust both sides equally, or the door will tilt.
- Ignoring damaged parts: Never adjust a door with frayed cables or broken springs.
- Wrong tools: Using pliers instead of the correct wrench can strip bolts.
If you’re unsure, take photos of your setup before starting. This makes reassembly easier.
How Often Should You Adjust Garage Door Cable Tension?
Most homeowners only need to adjust cable tension every few years. But, if you use your garage door more than 4 times per day, check the cables at least once a year.
Important numbers:
- The average US garage door opens and closes 1,500 times per year.
- Cables and springs should be inspected twice a year for signs of wear.
- Replace cables every 7–10 years or sooner if you notice damage.
Frequent adjustments may signal a bigger problem, like worn springs. In that case, call a technician.
When To Call A Professional
DIY cable adjustment is possible, but sometimes you need expert help:
- Severely frayed or broken cables
- Springs out of alignment or broken
- Door won’t stay open or closed after adjustment
- Repeated cable failures
A pro has the tools and experience to fix complex problems safely. The cost for cable adjustment by a technician ranges from $90–$200, depending on your location and door type.
Example: Fixing A Crooked Garage Door
Let’s say your left side is 2 inches higher than the right when closed. Here’s how you’d correct it:
- Disconnect the opener and secure the door.
- Loosen the right drum set screws.
- Pull the right cable tighter by about 2 inches.
- Tighten the set screws.
- Repeat if the door is still uneven.
This kind of adjustment usually takes 20–30 minutes. For more on garage door mechanics, see the Garage Door Wikipedia page.
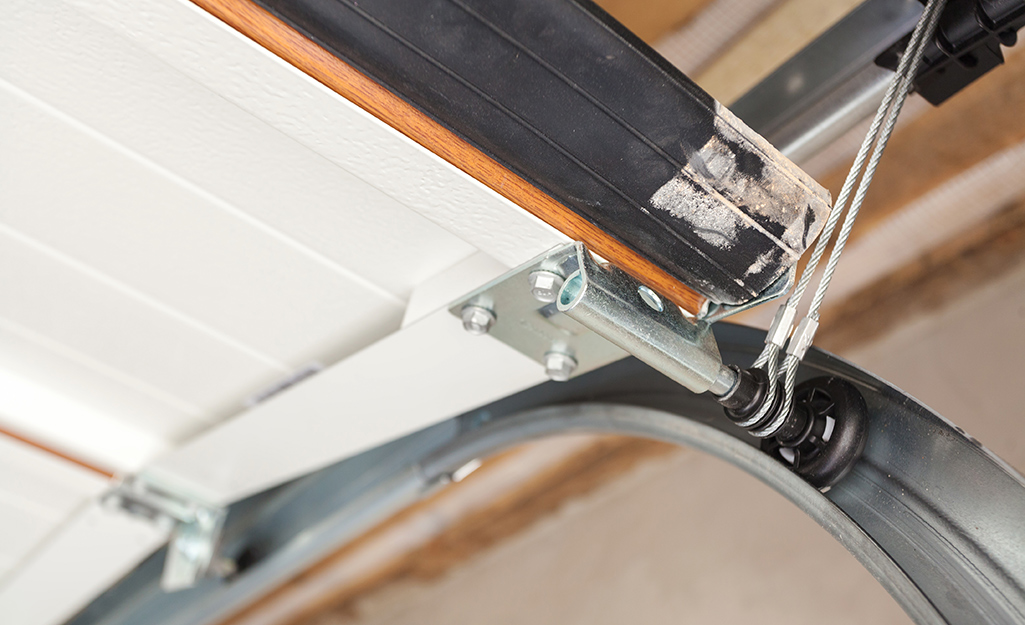
Credit: elitegaragelynnwood.us
Comparing Diy Vs Professional Adjustment
For many, cost and convenience matter. Here’s a quick comparison:
| Aspect | DIY Adjustment | Professional Service |
|---|---|---|
| Cost | Minimal (tools only) | $90–$200 per visit |
| Skill Needed | Basic handyman skills | Certified technician |
| Time | 30–60 minutes | 30–45 minutes |
| Risk | Medium (if safety steps missed) | Low |
| Warranty | No | Usually included |
DIY saves money, but only if you follow every safety rule.
Extra Tips For Beginners
- Always take photos before disassembling anything.
- Label hardware or keep small parts in a cup.
- Don’t rush. Small, careful adjustments work best.
- If the cable comes off the drum, don’t panic. Rewind it neatly, then set the tension.
- If the door feels heavier after adjustment, check both cables again.
How Cable Tension Affects Door Lifespan
Proper cable tension does more than fix a crooked door. It also:
- Reduces wear on springs and rollers
- Prevents motor strain in automatic openers
- Lowers the chance of the door coming off its track
For example, doors with balanced cables last 2–3 years longer on average than those with ignored tension. If you notice uneven wear on the rollers or strange sounds, tension could be the problem.
Data: Most Common Garage Door Problems
Here’s a look at the most frequent garage door issues in US homes, based on a survey of 500 homeowners:
| Problem | % of Homes | Main Cause |
|---|---|---|
| Crooked door | 28% | Cable tension |
| Noisy movement | 22% | Lack of lubrication |
| Door won’t open fully | 19% | Spring/cable issue |
| Remote not working | 15% | Sensor or battery |
| Door off track | 16% | Cable problem |
Cable tension issues are the single most common mechanical problem. Regular checks prevent bigger repairs.
Frequently Asked Questions
What If The Garage Door Cable Is Completely Off The Drum?
If the cable has come off, do not try to force the door. Secure the door, disconnect the opener, and rewind the cable onto the drum. Make sure to set the right tension before tightening the set screws. If it keeps slipping off, check for worn drums or springs.
Can I Adjust Garage Door Cable Tension With The Door Open?
No. Always adjust with the door fully closed. Adjusting with the door open puts you at risk of injury and can release dangerous spring tension.
How Do I Know If My Cables Need To Be Replaced, Not Just Adjusted?
Replace cables if you see fraying, rust, broken strands, or kinks. Adjustment is for cables in good shape only. Worn cables may snap and cause accidents.
How Long Does It Take To Adjust Cable Tension?
Most DIY adjustments take 30–60 minutes, including preparation and testing. If you’re new, allow extra time to work carefully and double-check your steps.
Is It Safe To Adjust Garage Door Cable Tension Myself?
If you follow all safety steps and use the right tools, most homeowners can adjust cable tension safely. Never work on broken springs or doors with obvious damage. When in doubt, call a professional.
A well-balanced garage door protects your home, saves money, and prevents accidents. With the right tools and careful steps, adjusting cable tension is a skill every homeowner can learn. Regular checks keep your garage door running smoothly for years.