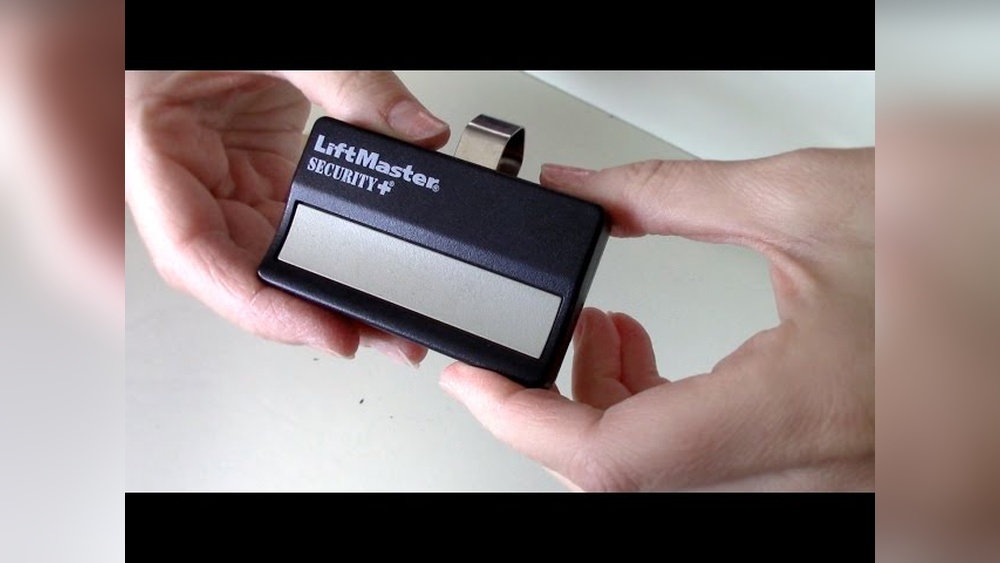
If your garage door opener remote isn’t working as smoothly as before, the solution might be simple: a new battery. Many people think fixing a garage door opener is difficult, but replacing the battery is actually a quick and easy task. You don’t need special tools or much technical skill. Even if you have never done it before, this guide will help you change the battery in your garage door opener safely and confidently.
Knowing how to do this can save you time and avoid unnecessary service calls. In this article, you’ll learn step-by-step instructions, useful tips, and common mistakes to avoid. You’ll also see real-world examples, practical advice, and answers to common questions beginners usually have.
Why Garage Door Opener Batteries Matter
A garage door opener relies on its battery to send signals from your remote to the opener system. When the battery gets weak, the remote starts to work less reliably. Sometimes, you might have to press the button several times, or the range becomes much shorter.
A weak battery can:
- Make your garage door slow to respond
- Cause the remote to stop working entirely
- Lead to confusion or worry about bigger problems
Changing the battery is often the first thing you should check if your garage door remote acts up.
Signs Your Garage Door Opener Battery Needs Changing
It’s not always obvious when a battery is low. Here are some clear warning signs:
- The remote works only when you are very close to the door
- You need to press the button multiple times
- The garage door opens or closes randomly
- The indicator light on the remote is dim or doesn’t light up
- The wall-mounted keypad doesn’t respond
If you notice any of these, replacing the battery is the best first step before considering repairs.
Types Of Garage Door Opener Batteries
Not all garage door remotes use the same battery. The most common types are:
- Coin cell batteries (CR2032, CR2025, CR2016)
- 9V batteries
- AA or AAA batteries
Some modern openers use rechargeable batteries for backup systems, but most remotes use small, single-use batteries.
Here’s a comparison of common battery types used in garage door openers:
| Battery Type | Typical Use | Average Lifespan |
|---|---|---|
| CR2032 (coin cell) | Remote controls | 1-2 years |
| 9V | Keypads/Backup systems | 2-3 years |
| AA/AAA | Wall units | 1-2 years |
Pro tip: Always check the user manual or look inside the battery compartment before buying a replacement.
Tools And Materials You’ll Need
Most battery changes don’t require special equipment. Here’s what you might need:
- A small Phillips screwdriver or flathead screwdriver
- The new battery (check the type first)
- A clean cloth to hold small screws or covers
- Optional: Gloves for clean handling
You probably have these at home already.
Step-by-step Guide To Changing The Battery
Changing the battery is simple if you follow these clear steps.
1. Open The Remote Or Keypad
- Turn the remote over and look for a battery compartment cover.
- Most covers slide open, snap off, or use a small screw.
- If there is a screw, use the appropriate screwdriver to remove it.
- For wall keypads, you may need to loosen a bottom screw and gently open the unit.
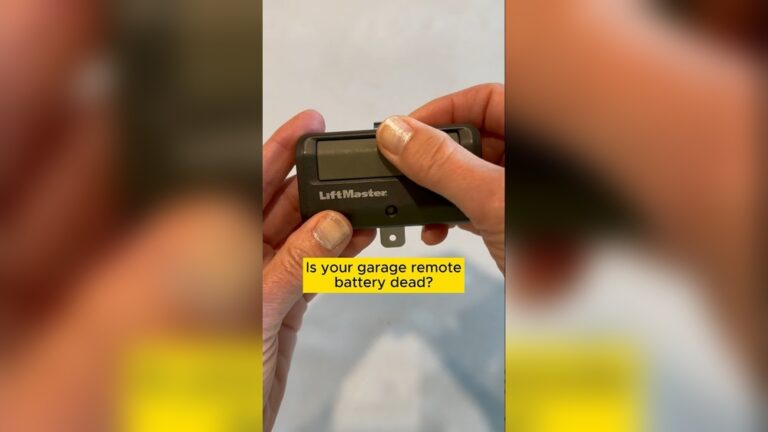
Example: A Chamberlain remote usually has a sliding cover. A LiftMaster keypad may have a small screw at the bottom.
2. Remove The Old Battery
- Note the position and orientation of the battery before removing.
- Gently pop the battery out with your finger or a small tool.
- Avoid using metal tools if possible, as they can cause short circuits.
3. Insert The New Battery
- Place the new battery in the same position, matching the + and – signs.
- Make sure it sits securely in the compartment.
Beginner mistake: Putting the battery in backwards. Always double-check the polarity.
4. Close The Compartment
- Snap or slide the cover back into place, or reattach the screw.
- Make sure the cover is secure so the battery doesn’t fall out.
5. Test The Remote Or Keypad
- Go to a safe distance from your garage door.
- Press the open/close button and watch for a quick response.
- If it doesn’t work, open the remote and check battery orientation again.
Non-obvious insight: Sometimes, the contacts inside the battery compartment are dirty. If the remote still doesn’t work, gently clean the contacts with a dry cloth.
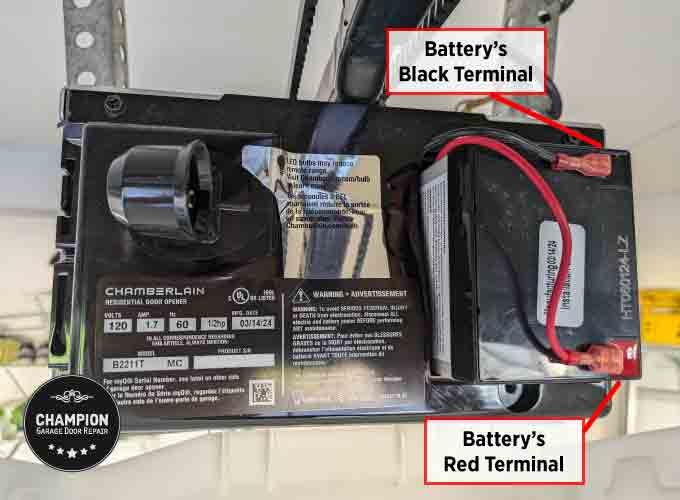
How To Change Battery In Backup Systems
Some garage door openers have battery backup units. These let your door work during a power outage.
Key facts:
- Backup batteries are usually larger (like 12V 5Ah sealed lead-acid batteries).
- They last 1-2 years on average.
- The battery is inside the main opener unit, not the remote.
To change a backup battery:
- Unplug the opener from power.
- Open the battery compartment (often with a screwdriver).
- Disconnect the old battery and remove it.
- Connect the new battery, matching the wire colors.
- Close the compartment and plug the opener back in.
Tip: Write the installation date on the battery for future reference.
Common Mistakes And How To Avoid Them
Even simple jobs can go wrong. Here are mistakes to watch for:
- Wrong battery type: Always check before buying.
- Forgetting the battery orientation: Take a photo before removing.
- Losing small screws: Place them in a small bowl so they don’t get lost.
- Not testing right away: Test the remote before putting away tools.
- Forgetting to unplug opener: For backup batteries, always disconnect power for safety.
Understanding these can save you time and frustration.
How Often Should You Change The Battery?
Most garage door remote batteries last between 1 and 2 years. Some high-quality batteries last longer. If you use your garage door often—say, more than 10 times a day—the battery may wear out faster.
Data point: According to industry surveys, the average American household opens the garage door 1,500 times per year. That’s about 4 times per day.
Advice: Change the battery once a year as a preventative step, even if it hasn’t failed yet.
When To Call A Professional
Changing a battery is simple, but sometimes the remote or keypad still doesn’t work. You should call a technician if:
- The opener doesn’t respond after changing the battery
- The buttons are stuck or broken
- There is visible damage to the remote or keypad
A professional can test the whole system and fix deeper problems.
Real-world Example: Changing A Chamberlain Remote Battery
Let’s look at a practical example using a common brand.
- Slide the battery cover off the back of the remote.
- Remove the old CR2032 coin cell battery.
- Insert a new battery with the + side facing out.
- Slide the cover back on.
- Test the remote from 20 feet away.
This process takes less than 3 minutes.
Credit: garagedoorchamp.com
Cost Comparison: Diy Vs. Professional Help
You might wonder if it’s worth doing yourself. Here’s a quick comparison:
| Option | Average Cost | Time Required |
|---|---|---|
| DIY (battery only) | $2 – $8 | 5 minutes |
| Professional service call | $50 – $100 | 1-2 hours (including scheduling) |
Insight: Doing it yourself saves both money and time.
Battery Recycling: What To Do With Old Batteries
Used batteries should not go in the regular trash. Many contain chemicals that can harm the environment.
- Take old batteries to a recycling center or hardware store.
- Look for battery drop-off bins near you.
- Coin cell batteries are small but still need proper disposal.
To find a location, check the EPA’s guide on battery recycling.
Troubleshooting: When The New Battery Doesn’t Work
Sometimes, even after replacing the battery, the remote still fails. Here’s what to check:
- Battery orientation: Is it in the right way?
- Battery contacts: Are they clean and free from corrosion?
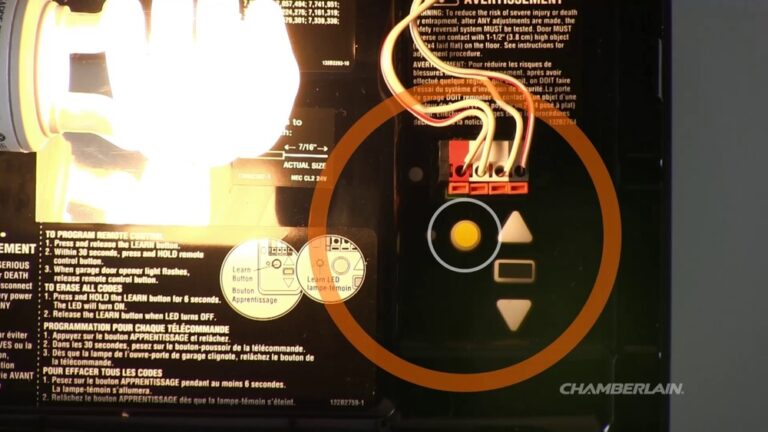
- Remote programming: Some remotes lose programming when the battery is removed for a long time.
- Opener unit: Is it plugged in and powered?
If all these are correct and it still doesn’t work, the remote itself may be faulty.
How To Make Your Garage Door Opener Battery Last Longer
You can extend the life of your battery with these simple tips:
- Store remotes away from heat and moisture
- Don’t press buttons longer than necessary
- Replace batteries as a set if you have multiple remotes
- Use high-quality brands for replacements
Here’s a quick comparison of cheap vs. premium batteries:
| Brand | Average Lifespan | Cost |
|---|---|---|
| Generic | 6-12 months | $2 |
| Duracell/Energizer | 18-24 months | $4 |
Non-obvious insight: Using a name-brand battery is usually worth the extra dollar for reliability and longer life.
Credit: support.chamberlaingroup.com
Safety Tips For Changing Garage Door Opener Batteries
Always keep safety in mind, even for small tasks:
- Remove the battery with dry hands to avoid short circuits
- Keep batteries away from children and pets
- Never force a battery into place
- Do not mix old and new batteries in the same device
If the remote gets hot or smells strange after replacing the battery, remove it immediately and check for damage.
Frequently Asked Questions
How Do I Know Which Battery My Garage Door Opener Uses?
Check the back of the remote or inside the battery compartment. Most remotes have the battery type printed inside. If not, check your garage door opener’s manual or look up the model online.
Do I Need To Reprogram My Remote After Changing The Battery?
Usually, you do not need to reprogram the remote. But if the remote doesn’t work after battery replacement, try reprogramming it using the steps in your opener’s manual.
How Often Should I Change My Garage Door Opener Battery?
Most batteries last 1-2 years. If you use your garage door frequently, consider changing the battery once a year for reliability.
Can I Use Rechargeable Batteries In My Remote?
Most garage door remotes are designed for standard single-use batteries. Rechargeable batteries might not fit or provide the correct voltage. Always use the type recommended by the manufacturer.
What Should I Do If My Garage Door Still Doesn’t Work After Changing The Battery?
Double-check the battery orientation and contacts. If it still fails, the remote could be faulty, or there could be a problem with the opener’s receiver. At this point, consider calling a professional.
Making sure your garage door opener works reliably starts with a fresh battery. With these steps and tips, you can change the battery yourself, avoid mistakes, and keep your garage secure and convenient. It’s a small job that brings big peace of mind.

Credit: www.youtube.com