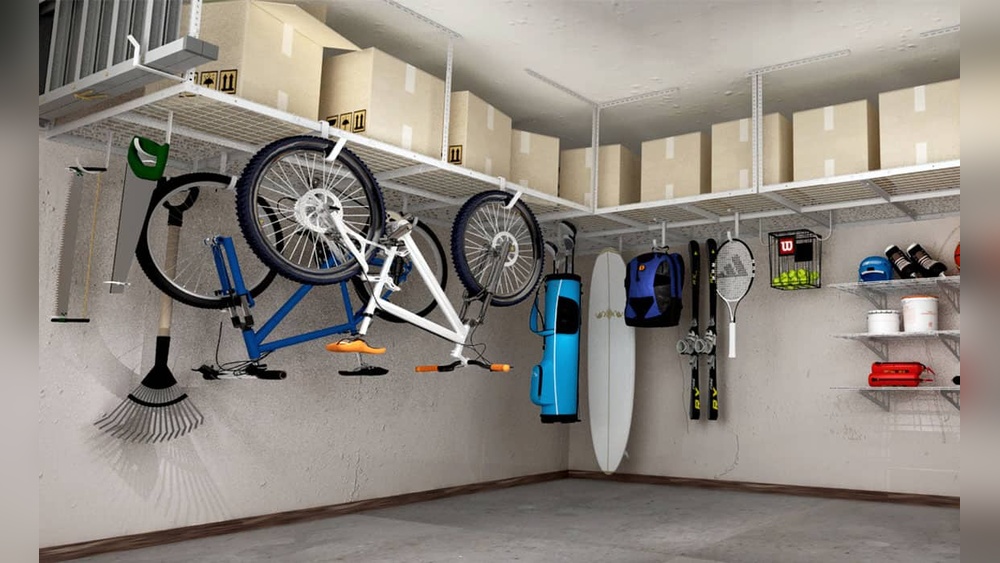
Installing overhead garage storage racks is a smart way to make your garage more organized and spacious. Many homeowners struggle with cluttered garages, stacked boxes, and tools scattered everywhere. By using the ceiling space, you can keep your floor clear, protect items from moisture, and even add value to your home.
This guide explains how to install overhead garage storage racks, step by step, with beginner-friendly advice, real examples, and practical tips.
Why Choose Overhead Garage Storage?
Most people waste the space above their cars and garage doors. Using overhead racks helps you:
- Store seasonal items like holiday decorations or camping gear
- Free up floor space for cars, bikes, or workbenches
- Protect belongings from floods, pests, and dirt
- Make your garage safer by reducing trip hazards
Studies show that the average garage has over 100 square feet of unused ceiling space. That’s enough to hold dozens of storage bins or even large items like kayaks or ladders.
What To Consider Before Installation
Not all garages or racks are the same. Before starting, check these points:
- Ceiling height: Most racks need at least 36 inches of clearance above your car.
- Ceiling material: Common types are wood joists (beams) or concrete.
- Weight capacity: Most racks hold 250–600 lbs. Never overload them.
- Access: Make sure you can reach stored items safely with a ladder.
- Obstacles: Watch for garage door tracks, lights, or openers.
Example: If your garage ceiling is 10 feet high, you can easily fit a 4×8 ft rack above your car and still have headroom.
Beginner tip: Take a photo of your garage ceiling and mark any wires, pipes, or ducts. This will help you plan the safest spot.
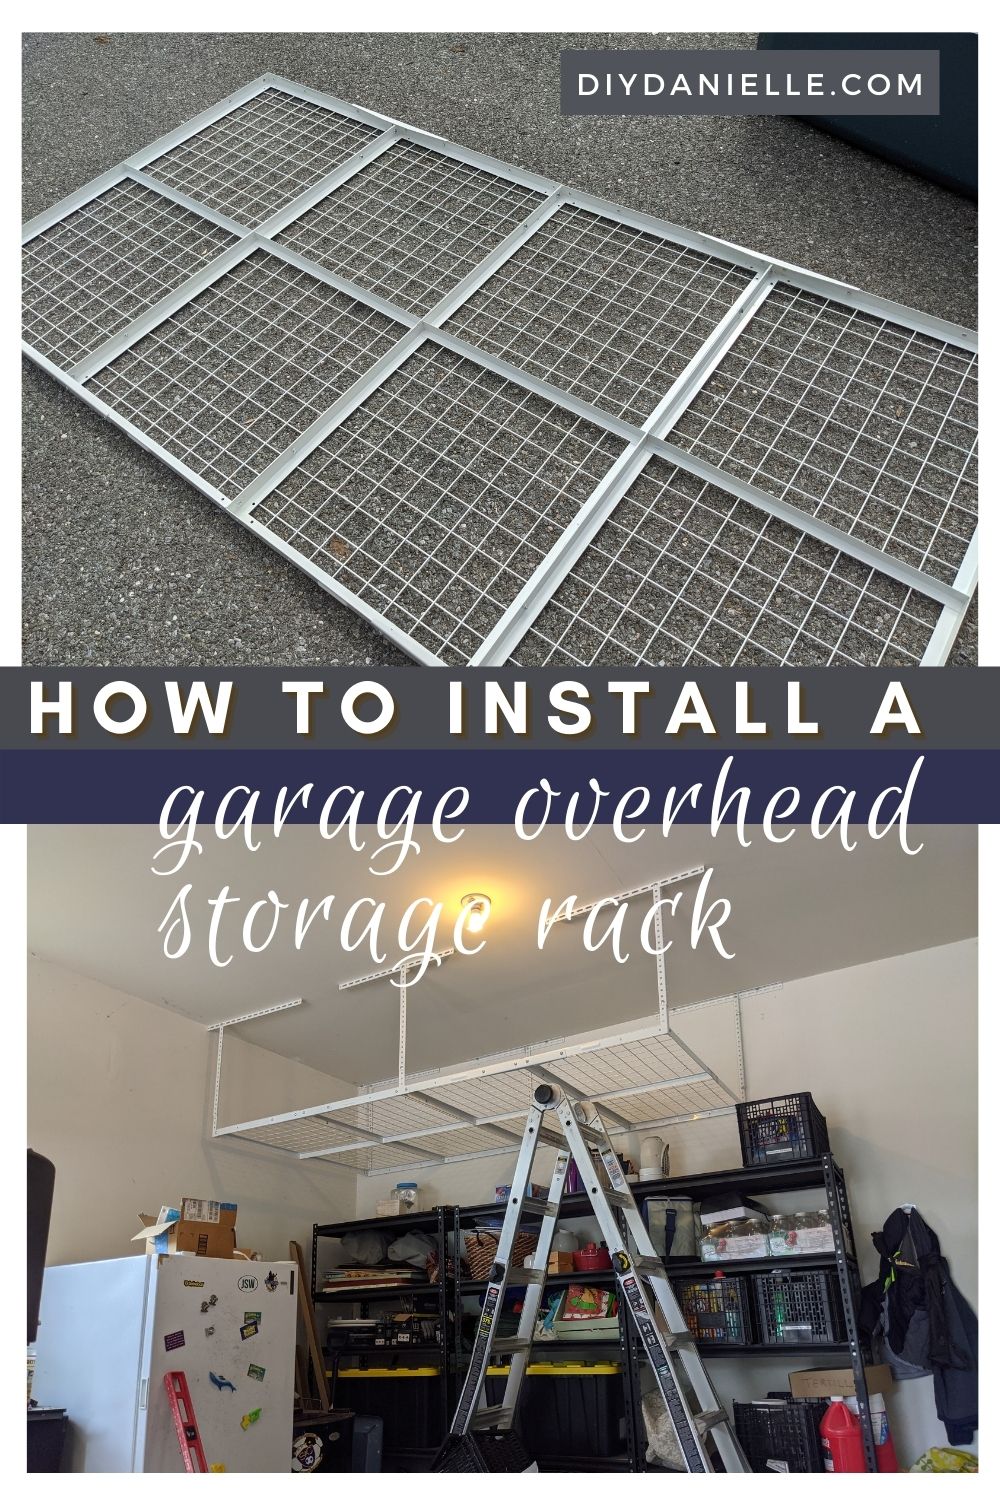
Credit: diydanielle.com
Tools And Materials You’ll Need
Having the right tools makes installation faster and safer. Here’s what you’ll need:
- Stud finder (for wood ceilings)
- Drill with bits (usually 3/8” or 1/2”)
- Socket wrench set
- Measuring tape
- Ladder (8 ft is common)
- Level (2 ft or longer)
- Pencil or chalk
- Safety glasses and gloves
- Helper (most racks need 2 people to lift)
You’ll also need your overhead rack kit, which should include:
- Main frame pieces (steel or aluminum)
- Support arms
- Mounting brackets
- Lag screws or concrete anchors
- Assembly bolts and nuts
Pro insight: Some racks include all hardware, but for concrete ceilings, you may need to buy special anchors.
Step-by-step Installation Guide
Let’s walk through the basic process. Always follow the instructions in your rack’s manual, but these steps cover most popular brands.
1. Plan And Mark The Rack Location
- Measure the length and width of the rack on your ceiling.
- Use a stud finder to locate joists (for wood) or plan anchor spots (for concrete).
- Mark the corners with a pencil or chalk.
- Check for clearance above garage doors and cars.
Tip: Leave at least 18 inches from any wall for easy access.
2. Assemble The Rack Frame On The Ground
- Lay out all parts on the garage floor.
- Follow the manual to connect the frame using bolts and nuts.
- Do not tighten everything fully yet—leave bolts a little loose for adjustments.
Safety note: Wear gloves to avoid sharp edges.
3. Install The Ceiling Brackets
- For wood joists: Drill pilot holes and attach brackets with lag screws into the center of the joist.
- For concrete: Use a hammer drill and install concrete anchors.
Data point: Mounting into joists is much stronger. If you miss the center, the rack may fail.
4. Attach The Rack To The Ceiling
- With your helper, lift the frame and connect it to the ceiling brackets.
- Use bolts and nuts to secure all arms and crossbars.
- Check that everything is straight with a level.
Beginner mistake: Tightening bolts before the rack is leveled. Always level first.
5. Final Tightening And Safety Check
- Tighten all bolts and screws fully.
- Shake the rack gently to check for movement.
- Inspect each anchor and bracket.
- Place weight slowly at first—don’t load to max capacity right away.
Example: Add a few bins and check for any sagging before loading the full weight.
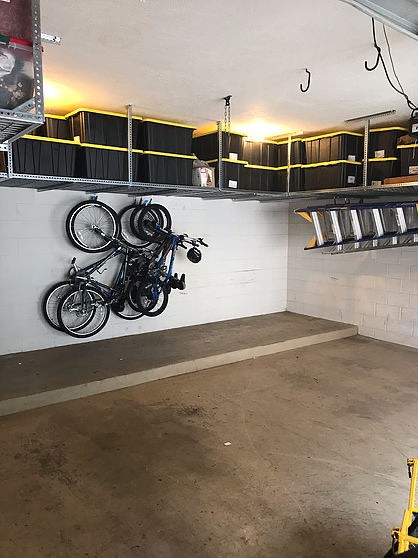
Credit: www.smartracksflorida.com
Comparing Popular Overhead Rack Types
There are different styles and sizes. Here’s a comparison of common overhead racks for garages:
| Type | Size | Max Load | Best For | Price Range |
|---|---|---|---|---|
| Fixed Steel Rack | 4×8 ft | 600 lbs | General storage | $150–$300 |
| Adjustable Height Rack | 4×6 ft | 400 lbs | Flexible ceiling heights | $180–$350 |
| Motorized Lift Rack | 4×4 ft | 250 lbs | Heavy or hard-to-lift items | $500–$1200 |
Insight: Fixed racks are cheapest and strongest for most homes. Motorized lifts are great for seniors but cost much more.
How To Choose The Right Rack
Selecting the right rack depends on your garage and storage needs. Consider:
- Weight needs: Estimate the total weight of what you’ll store.
- Access: If you use items often, pick a rack you can reach easily.
- Ceiling type: Wood joists are easier for DIY; concrete may need a pro.
- Budget: Don’t forget to include the cost of hardware or tools.
Example scenario: If you want to store 10 storage bins at 30 lbs each, you need a rack that holds at least 300 lbs.
Beginner tip: Always buy a rack rated for at least 20% more weight than you plan to store.
Safety Tips For Installation
Safety is critical when working overhead. Here’s what to keep in mind:
- Always use a sturdy ladder—not a chair or unstable stool.
- Wear safety glasses to protect from falling dust or metal.
- Double-check every anchor or lag screw goes into solid material.
- Never store chemicals, flammable items, or open liquids on overhead racks.
- Don’t overload the rack—check the manual for the exact limit.
- If you’re unsure about your ceiling type, ask a contractor or building inspector.
Non-obvious insight: If you have an attic above the garage, check for wires or pipes before drilling.
Common Mistakes And How To Avoid Them
Many beginners make small errors that can cause big problems later.
- Missing the joist center: Use a stud finder and drill a test hole to confirm.
- Not checking garage door clearance: Open and close the door before final mounting.
- Overtightening bolts too soon: Keep bolts loose until all parts are aligned.
- Ignoring load ratings: Never guess—calculate your expected load.
- Installing alone: Always have a helper for lifting and safety.
Pro tip: Take photos of each step. This helps if you ever need warranty support or to show a contractor.

Credit: www.youtube.com
Practical Examples: Real-world Installation
Here are two common garage setups and how overhead racks fit:
Example 1: Two-car Garage With High Ceiling
- Ceiling height: 11 ft
- Space above cars: 4+ ft
- Rack used: 4×8 ft fixed rack
- Holds: Holiday bins, luggage, camping gear
Result: Cleared 60 sq ft of floor space, made room for both cars.
Example 2: Single-car Garage With Low Ceiling
- Ceiling height: 8.5 ft
- Space above car: 2.5 ft
- Rack used: 4×6 ft adjustable rack
- Holds: Sports gear, off-season clothes
Result: Opened space for bike storage; kept items dry and safe.
Maintenance And Long-term Use
Overhead racks are low-maintenance, but regular checks improve safety:
- Inspect bolts and anchors every 6 months
- Check for rust or corrosion on metal parts
- Clean dust and cobwebs with a broom or vacuum
- Don’t let children climb or hang from racks
Long-term tip: If you move, take a photo of how the rack was installed—many brands can be reused in a new garage.
Cost Vs. Value: Is It Worth It?
Installing an overhead storage rack is usually a good investment. Here’s how the costs and benefits compare:
| Item | Typical Cost | Value Added |
|---|---|---|
| Basic Rack Kit | $150–$300 | Up to $1,000 in home value |
| Installation (DIY) | $0 (just your time) | Organized, safer garage |
| Installation (Pro) | $150–$400 | Peace of mind |
A 2021 survey by HomeAdvisor found that over 70% of homeowners said garage storage upgrades made their home more appealing to buyers.
When To Call A Professional
Some installations are best left to experts:
- Concrete ceilings (need special tools and anchors)
- Unusual garage shapes or obstructions
- Heavy-duty racks for very large loads
Helpful link: For more detailed installation help, visit the official Family Handyman guide.
Frequently Asked Questions
What Is The Best Height For An Overhead Garage Rack?
Most racks are installed 24–48 inches below the ceiling, depending on your car height. Make sure you have enough clearance above your car and can reach stored items safely.
Can I Install Racks On A Finished (drywalled) Ceiling?
Yes, but you must find the wood joists above the drywall. Never install directly into drywall—it will not hold the weight.
How Much Weight Can Overhead Garage Racks Hold?
Most standard racks hold 250–600 lbs. Always check the manufacturer’s rating and never exceed it.
Do I Need Special Tools For Concrete Ceilings?
Yes. You’ll need a hammer drill and concrete anchors. If you’re unsure, it’s safest to hire a professional.
Are Overhead Racks Safe For Storing Bikes Or Large Equipment?
Yes, if the rack is rated for the weight and you secure items properly. For bikes, look for racks with hooks or special attachments.
Installing overhead garage storage racks is a practical upgrade for almost any home. With careful planning, the right tools, and attention to safety, even beginners can create strong, useful overhead storage. You’ll enjoy a cleaner, safer garage and may even boost your home’s value.