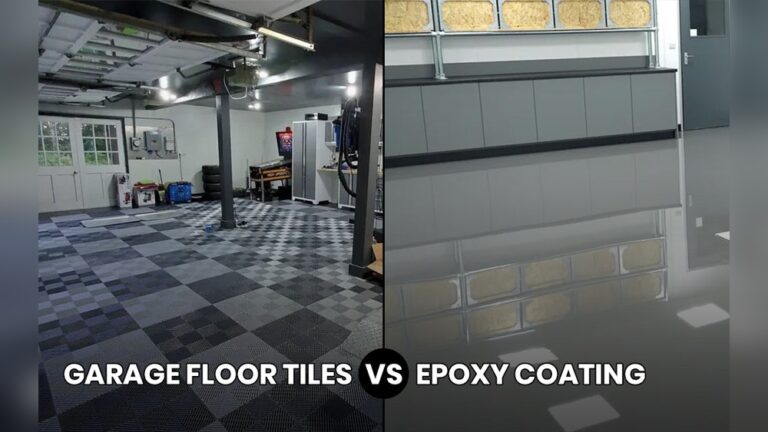
Prepping your garage floor for epoxy is a smart way to get a strong, long-lasting finish. Many people love epoxy because it makes floors look clean, shiny, and easy to maintain. But if you skip steps when preparing the concrete, the epoxy can peel or fail quickly.
This guide explains every step you need to take before you apply epoxy. With the right preparation, your garage floor can look great and last for years—even if this is your first time working with epoxy.
Why Epoxy Floors Need Good Prep
Epoxy sticks best to clean, rough concrete. If the floor is dirty, oily, or smooth, the epoxy may not bond well. Problems like peeling, bubbling, and blistering often come from poor preparation. Most epoxy manufacturers say surface prep is more than 70% of the project’s success.
- Stat: Up to 80% of epoxy floor failures are due to poor surface prep.
- Example: If you apply epoxy over a greasy spot, it will likely flake off in a few months.
Check The Condition Of Your Garage Floor
Before you start, take a good look at the floor. Not all concrete is the same, and some conditions need special care.
Look For These Issues
- Oil stains
- Paint or old sealer
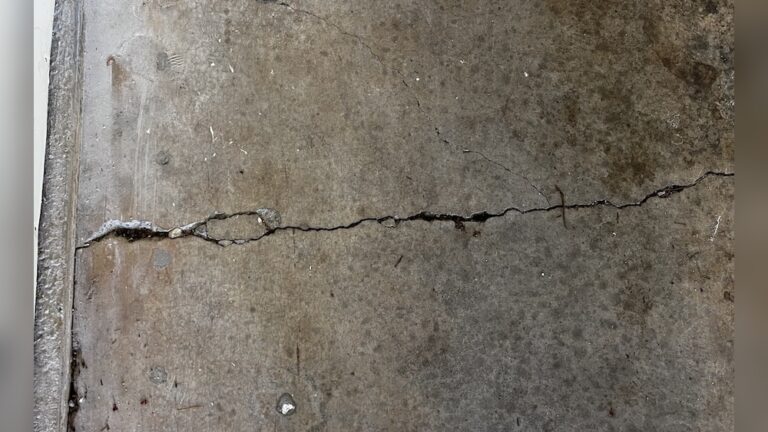
- Cracks or chips
- Moisture problems
- Dirt and dust
If you find any of these, you’ll need to fix them before moving on.
Test For Moisture
Moisture is a common cause of epoxy failure. Here’s a simple way to check:
- Tape down a 2’ x 2’ piece of clear plastic on the floor.
- Seal all edges with duct tape.
- Leave it for 24 hours.
- If you see water or fog under the plastic, your floor has moisture issues.
If there’s moisture, epoxy may not work well. You may need a vapor barrier or another solution.
Credit: www.youtube.com
Remove Everything From The Garage
Clear the space before you start. This means more than just moving your car.
- Take out all tools, boxes, and shelves.
- Remove baseboards if possible (so you can coat to the edge).
- Sweep up loose dirt and debris.
This step makes the rest of the process faster and safer.
Degrease And Clean The Surface
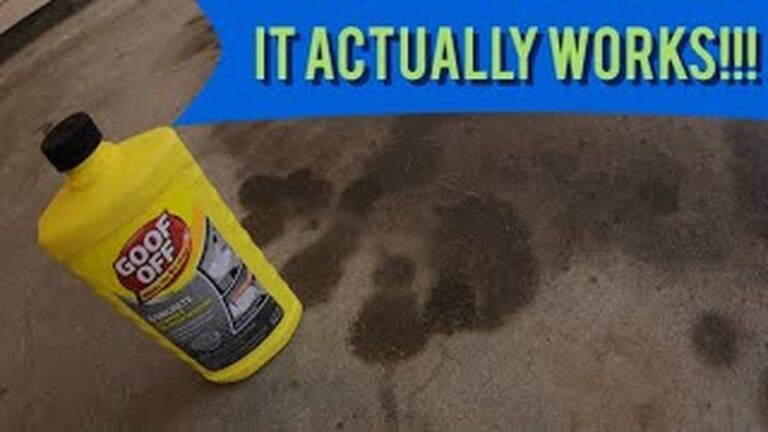
Even a small oil spot can ruin epoxy adhesion. Cleaning is key.
Degreasing Steps
- Use a strong degreaser (like Simple Green or a concrete degreaser).
- Pour it on oil spots. Scrub with a stiff brush.
- Let it sit for 10-15 minutes.
- Rinse with water and let dry.
Repeat if oil still appears. You may need to do this two or three times.
General Cleaning
- Sweep the floor well.
- Use a leaf blower to remove fine dust.
- Mop with warm water and a little dish soap.
- Rinse and let dry.
Tip: Let the floor dry at least 24 hours before moving to the next step.
Remove Paint, Sealers, And Old Coatings
Epoxy won’t bond to painted or sealed concrete. You must remove these layers.
How To Check For Sealers
Drip a few drops of water on the floor:
- If water beads up, there’s a sealer.
- If water soaks in, you’re good.
Removal Methods
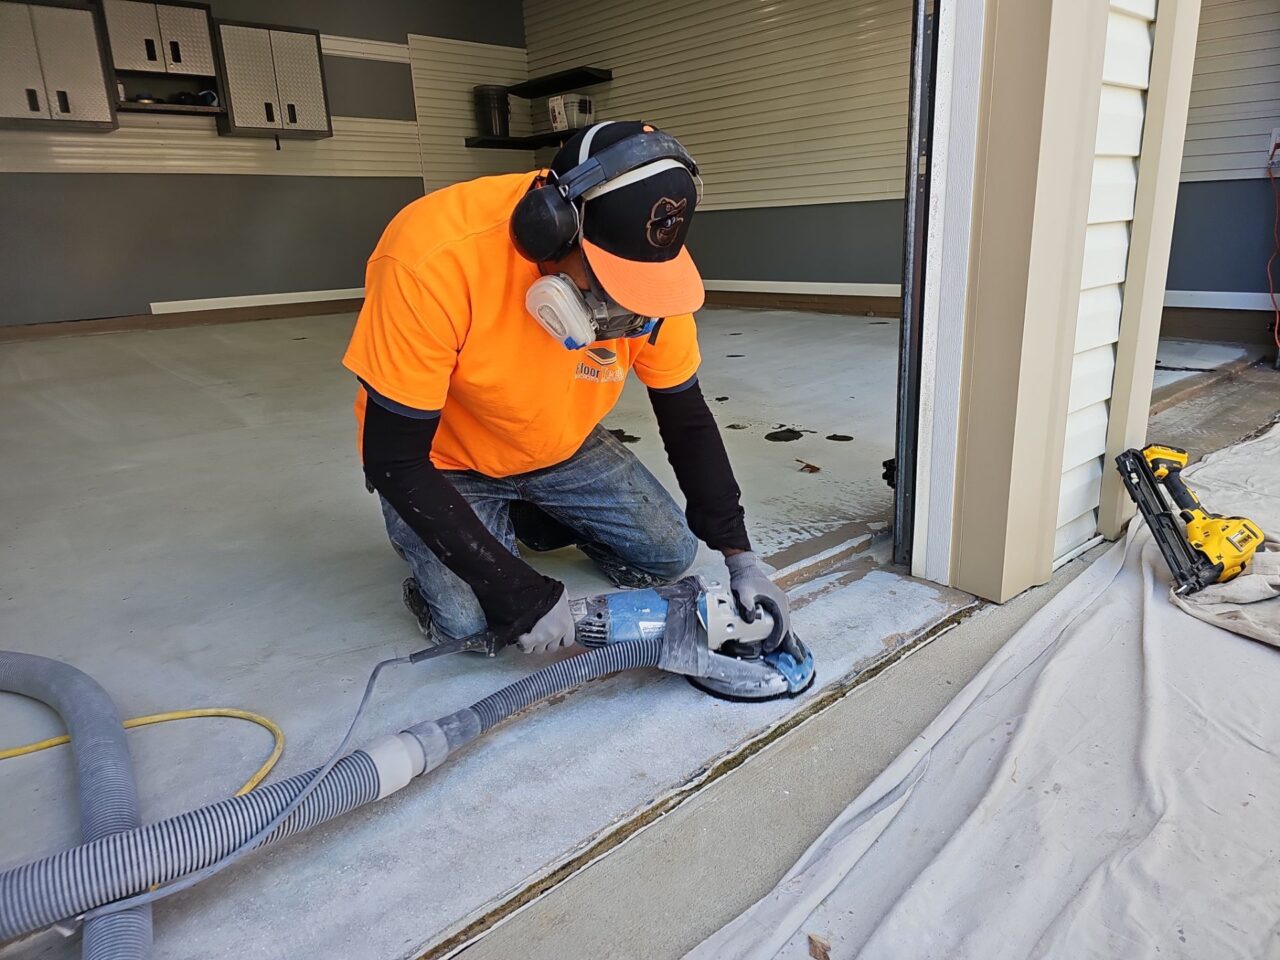
- For paint: Use a paint stripper or grinder.
- For sealers: Use a mechanical grinder or chemical stripper.
- For old epoxy: Grinding is usually best.
Safety Note: Wear eye protection, gloves, and a dust mask when grinding or using chemicals.
Repair Cracks And Holes
Small cracks and chips are common, but you should fix them before applying epoxy.
Repair Steps
- Clean cracks with a wire brush and vacuum out dust.
- Fill cracks with epoxy crack filler or concrete patch.
- Smooth the patch with a putty knife.
- Let dry as directed (usually 4-8 hours).
Don’t skip this. If cracks move or open, epoxy can break apart.
Example
A 1/4″ crack in a two-car garage can let in water and cause the epoxy to lift. Filling it stops future damage.
Etch Or Grind The Concrete
This step gives the floor the “tooth” epoxy needs to bond.
Two Common Methods
- Acid Etching: Uses muriatic acid to roughen the surface.
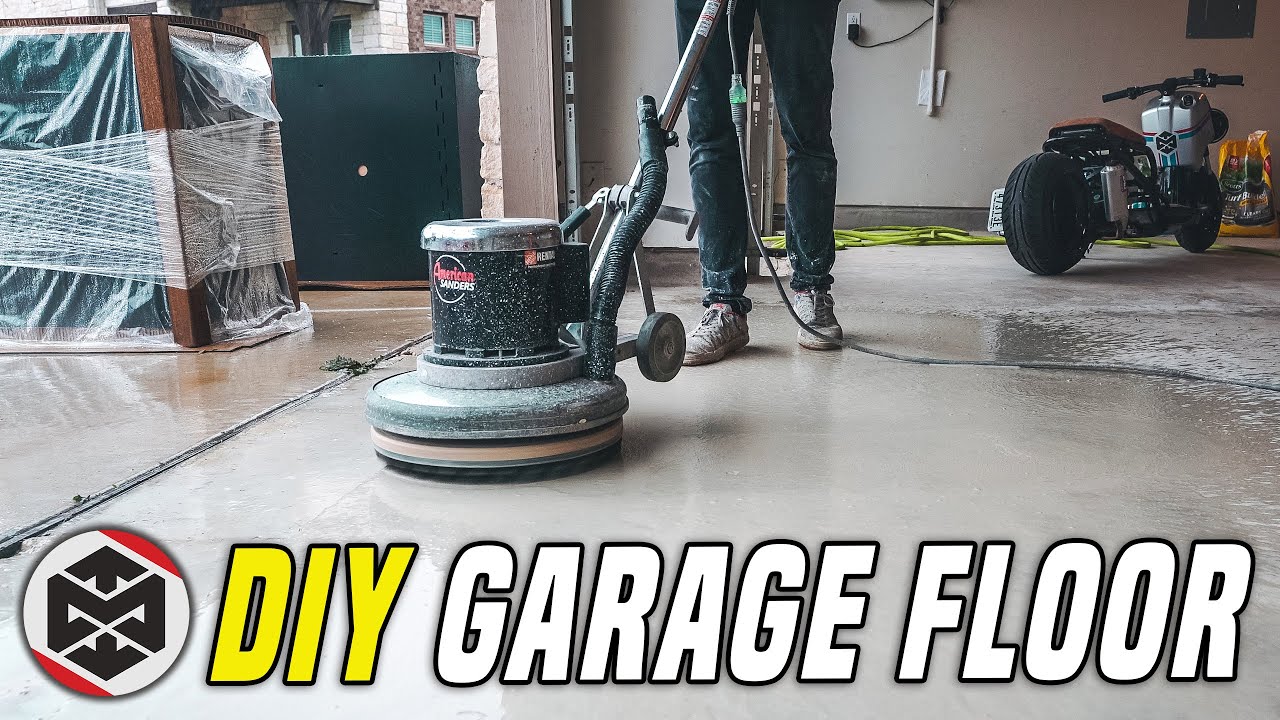
- Mechanical Grinding: Uses a floor grinder with diamond blades.
Both methods work, but grinding is more reliable for tough or older floors.
Acid Etching Steps
- Mix acid with water as directed (usually 1: 4 ratio).
- Pour on floor and scrub with a stiff broom.
- Let fizz for 10-15 minutes.
- Rinse many times until pH is neutral (use a pH test strip).
Mechanical Grinding Steps
- Rent a floor grinder from a hardware store.
- Wear safety gear (mask, goggles, ear plugs).
- Move slowly and evenly over the whole floor.
- Vacuum up all dust after grinding.
Pro Insight: Grinding gives the best surface but creates a lot of dust. Always clean thoroughly after.
Vacuum And Clean The Floor Again
Any dust left behind can ruin the finish.
- Use a shop vac with a HEPA filter to remove all dust.
- Mop with clean water (no soap) to remove fine particles.
- Let dry completely.
Example
After grinding, a typical two-car garage produces about 10 pounds of dust. Don’t rush—vacuum every corner.
Test The Surface Texture
After etching or grinding, the floor should feel like medium grit sandpaper. This is called a “profile.” Here’s how to check:
- Rub your hand over the floor. It should feel rough, not smooth.
- If it’s still smooth, repeat etching or grinding.
Common Mistake: Skipping this step leads to epoxy peeling in high-traffic spots.
Tape And Protect Walls And Edges
Epoxy can splash and stain walls, steps, or doors. Protect them before mixing epoxy.
- Use painter’s tape along all edges.
- Cover walls with plastic sheeting if needed.
- Tape around drains, posts, or anything you don’t want coated.
This makes your final finish look neat and professional.
Compare Prep Methods: Etching Vs. Grinding
The method you choose affects both the result and how hard the job is. Here’s a side-by-side look:
| Method | Cost | Difficulty | Best For |
|---|---|---|---|
| Acid Etching | Low | Easy | New or clean concrete |
| Grinding | Medium/High (rental) | Moderate | Old, painted, or sealed floors |
Choose The Right Time And Weather
Epoxy needs the right temperature and humidity to cure properly.
- Ideal temp: 60°F–85°F
- Humidity: Below 85%
- Avoid rainy days (moisture can slow curing)
Example: If you live in a humid area, run a dehumidifier in the garage before and after applying epoxy.
Final Pre-epoxy Checklist
Before you mix or pour any epoxy, check these points:
- Floor is fully dry (no dark spots)
- Surface is rough, not smooth
- All cracks and holes are filled and dry
- No dust, oil, or debris anywhere
- Edges are taped and protected
Following this list can prevent 90% of common epoxy problems.
How Long Does Prep Take?
Most beginners underestimate prep time.
| Step | Time (avg) |
|---|---|
| Clearing garage | 1-2 hours |
| Cleaning & degreasing | 2-3 hours |
| Etching or grinding | 2-5 hours |
| Repairs | 2-4 hours |
| Final cleaning | 1 hour |
Total prep time: 8–15 hours (spread over 2–3 days, including drying times)
Non-obvious Tips For Beginners
Many first-timers miss small details that make a big difference:
- Check weather forecasts. Rain or humidity can affect drying.
- Rent, don’t buy, large equipment like grinders. It’s cheaper for a one-time project.
- Have extra patching compound. Cracks often look smaller than they are.
- Test epoxy in a small spot first. Wait 24 hours to see if it bonds before doing the whole floor.
Common Mistakes To Avoid
Even with good intentions, some errors can ruin the project:
- Rushing the drying process (epoxy will bubble)
- Leaving dust or grit (causes bumps in finish)
- Not removing sealers (epoxy peels off)
- Applying epoxy in high humidity (cures wrong)
Avoiding these will save you money and stress.

Credit: www.slide-lok.com
Sample Prep Schedule For A Weekend Project
Here’s an example timeline for prepping a standard two-car garage:
- Friday Evening: Move out items, sweep, do moisture test.
- Saturday Morning: Degrease, clean, rinse.
- Saturday Afternoon: Etch or grind, rinse, fill cracks.
- Sunday Morning: Final vacuum, tape edges.
- Sunday Afternoon: Double-check dryness, get epoxy ready.
This schedule allows each step to dry or cure before moving on.
What To Do After Prep
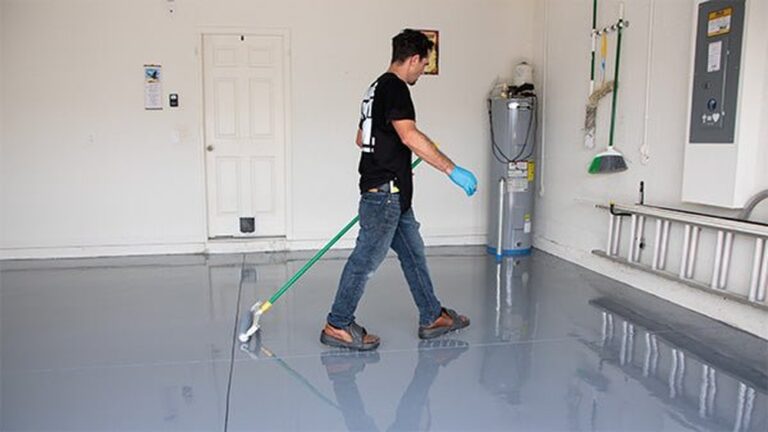
Once the floor is clean, rough, and dry, you’re ready to mix and apply epoxy. Always read the product instructions carefully. Most kits include a primer, color coat, and sometimes flakes for texture.
- Mix only what you can use in 30–40 minutes (epoxy hardens fast)
- Pour in small sections and spread evenly
- Let cure as directed (usually 24–48 hours before walking)
For step-by-step epoxy application, you can check detailed guides on sites like Family Handyman.
Credit: floortechconcretecoatings.com
Frequently Asked Questions
How Do I Know If My Garage Floor Is Ready For Epoxy?
Check three things: the surface should feel like medium grit sandpaper, all cracks are filled, and the floor is totally dry with no dust or oil left.
Can I Skip Grinding Or Etching If My Floor Looks Clean?
No. Even clean concrete is too smooth for epoxy to bond well. Skipping this step is the biggest cause of peeling and chipping.
What If My Garage Has A Lot Of Oil Stains?
Use a degreaser and scrub multiple times. Some deep stains need a poultice or repeated cleaning. If oil remains, epoxy may not stick in those spots.
How Long Should I Wait After Cleaning Before Applying Epoxy?
Wait at least 24 hours after the final rinse, longer if the weather is humid. The floor must be completely dry.
Do I Need To Prime The Floor Before Epoxy?
Many kits include a primer. Primer helps epoxy bond and covers small imperfections. If your kit has primer, use it as directed for best results.
Getting your garage floor ready for epoxy takes effort, but the results are worth it. Careful prep means your new floor will look great and last for years—without peeling or problems. Take your time with each step, and you’ll be ready to enjoy a smooth, strong, and easy-to-clean garage floor.