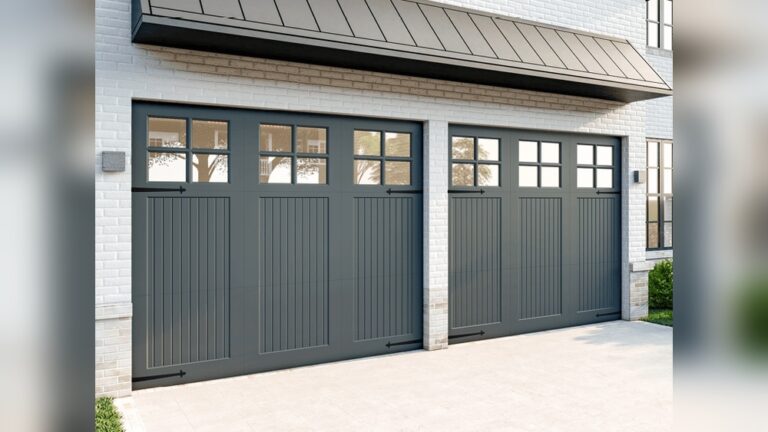
Sealing your garage door is one of the easiest ways to improve your home’s comfort and energy savings. Many homes lose heat in winter and let hot air in during summer because of gaps around the garage door. Water, dust, and even small animals can also sneak in.
If you’re new to DIY tasks, don’t worry—sealing a garage door is simple, cost-effective, and can make a noticeable difference.
This guide will walk you through every step, from choosing the right materials to avoiding common mistakes. You’ll learn which seals work best, how to install them, and how sealing helps save money on energy bills. By the end, you’ll be ready to seal your garage door like a pro.
Why Sealing Your Garage Door Matters
Many homeowners don’t realize how much air and moisture can enter through a poorly sealed garage door. These gaps allow:
- Cold drafts in winter
- Hot air in summer
- Rainwater and snow
- Pests like mice and insects
- Dust and debris
According to the U.S. Department of Energy, up to 30% of home energy loss can happen through gaps and cracks, including those around garage doors. Sealing your garage door helps:
- Lower energy bills
- Keep your garage and home cleaner
- Prevent water damage
- Stop pests from entering
A well-sealed garage door also makes your garage a more comfortable space for work or storage.
Types Of Garage Door Seals
Not all seals are the same. Each type is designed for different gaps and weather conditions.
| Seal Type | Where Used | Main Benefit | Typical Lifespan |
|---|---|---|---|
| Bottom Seal | Bottom edge | Blocks drafts, water | 2-5 years |
| Threshold Seal | Floor under door | Extra water barrier | 3-8 years |
| Side Seal | Door side edges | Stops air leaks | 2-5 years |
| Top Seal | Top edge | Blocks hot/cold air | 2-5 years |
Bottom seals are the most common. They fit into a track or nail directly onto the bottom edge. Threshold seals are glued to the floor and provide a double barrier. Side and top seals (usually called weatherstripping) are attached to the door frame.
Tools And Materials Needed
You don’t need many tools to seal a garage door, and most are easy to find. Here’s what you’ll need:
- Tape measure
- Utility knife or heavy scissors
- Hammer or drill (for screws)
- Screwdriver
- Pencil or marker
- Cleaning brush and rag
For materials, choose:
- Garage door bottom seal (rubber or vinyl)
- Side/top weatherstripping (usually vinyl or foam)
- Threshold seal (optional but best for wet climates)
- Adhesive (for threshold seal)
- Nails or screws (as needed)
Tip: Always check the width and length of your garage door before buying seals. Most bottom seals are sold in 16- or 18-foot rolls, but custom sizes are available.
How To Seal The Bottom Of A Garage Door
Sealing the bottom is the most important step. This is where most air and water come through.
- Open the garage door so you can work on the bottom edge.
- Remove the old seal (if there is one). Use a screwdriver or pliers to pull out nails or screws. Slide out the old seal from its track.
- Clean the surface with a brush and rag. Remove all dirt and old adhesive.
- Measure the door width and cut the new seal to length.
- Install the new seal:
- For a track system, slide the new seal into the track.
- For a nail-on type, position the seal and hammer in nails or screw it in.
- Test the door. Close it and check for gaps. Adjust the seal if needed.
Practical example: Most single garage doors are 8-9 feet wide. Double doors are 16 feet. Standard bottom seals cost $10-$25 and last 2-5 years.
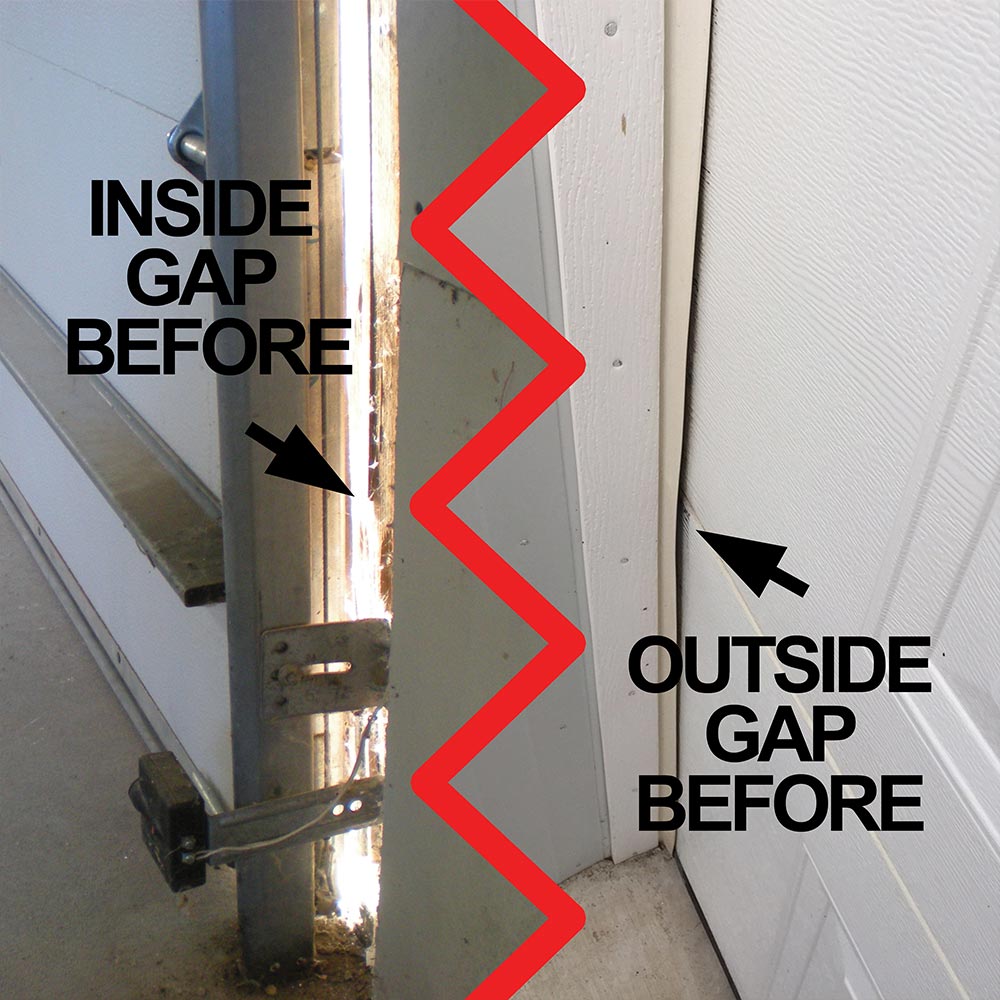
Credit: www.snirtstopper.com
Installing A Threshold Seal
A threshold seal is especially helpful if your garage is below street level or if water often comes in under the door.
- Clean the floor where the door closes.
- Dry fit the threshold by laying it on the floor. Mark the position with a pencil.
- Apply adhesive (comes with most threshold kits) on the marked spot.
- Press the threshold into place, making sure it lines up with the closed door.
- Let it dry for 24 hours before driving over it.
Non-obvious insight: Threshold seals can block water that bottom seals miss, especially if your driveway slopes toward your garage.
Sealing Garage Door Sides And Top
Side and top seals keep out wind and dust. These are usually foam or vinyl strips nailed or screwed to the frame where the door closes.
- Measure the height and width of the door frame.
- Cut weatherstripping to fit both sides and the top.
- Attach the strips to the frame, pressing them tightly against the closed door.
- Secure with nails or screws about every 12 inches.
Tip: If your garage door is old, the frame may be uneven. Press the seal firmly to fill all gaps.
Comparing Popular Seal Materials
Different weatherstripping materials work better in different climates. Here’s a quick comparison:
| Material | Best For | Pros | Cons |
|---|---|---|---|
| Rubber | Extreme weather | Flexible, long-lasting | Costs more |
| Vinyl | Mild/moderate weather | Cheap, easy to install | Cracks in cold |
| Foam | Light air leaks | Very cheap | Wears out quickly |
Non-obvious insight: Rubber seals cost more upfront but usually last twice as long as foam or vinyl. If you live in a cold or hot area, rubber is usually worth the extra cost.
Common Mistakes And How To Avoid Them
Even simple DIY jobs can go wrong. Here are mistakes beginners often make:
- Buying the wrong size seal: Always measure your door. Guessing leads to wasted money and poor sealing.
- Not cleaning surfaces: Dirt and old glue stop new seals from sticking well.
- Skipping the threshold seal: If you notice water inside, a bottom seal alone might not be enough.
- Overtightening screws: This can bend the seal or frame, leaving gaps.
- Ignoring regular checks: Inspect seals twice a year, especially before winter.

Credit: www.reddit.com
How Sealing Your Garage Door Saves Money
A sealed garage door helps maintain the temperature inside your garage, which can lower your home’s heating and cooling costs. The U. S. Environmental Protection Agency estimates that sealing air leaks can cut energy bills by up to 10%. If your garage is attached, you’ll notice less cold air entering the house in winter.
Example: In a home with a heated garage, proper sealing could save $50-$100 per year on energy bills.
Maintenance And When To Replace Garage Door Seals
Garage door seals don’t last forever. Weather, sunlight, and frequent use cause them to wear out.
- Check for cracks or gaps every 6 months.
- Replace seals if you see daylight under the door or feel drafts.
- Clean seals with soap and water to prevent dirt build-up.
Most seals last 2-5 years. Threshold seals can last longer if kept clean.

Credit: us.garadry.com
Professional Help Vs. Diy
Most people can seal a garage door themselves in one afternoon. But if your door is old, uneven, or very large, you might want professional help. Experts can:
- Fix warped or bent doors
- Install heavy-duty commercial seals
- Check for other issues (like insulation problems)
Cost: DIY sealing usually costs $20-$60 in materials. Professional installation can cost $100-$250.
Environmental Benefits
Sealing your garage door isn’t just about comfort and savings. It also helps the environment. By using less energy, your home produces fewer greenhouse gases. Over 25% of the average U. S. household’s energy use goes to heating and cooling.
Small steps like sealing air leaks make a real difference.
For more data on energy savings, visit the U.S. Department of Energy.
Frequently Asked Questions
How Often Should I Replace My Garage Door Seal?
Most garage door seals last between 2 and 5 years. Check for cracks, hardening, or gaps at least twice a year. Replace the seal if you notice drafts, water leaks, or see daylight under the door.
What Is The Best Material For A Garage Door Seal?
Rubber is the best material for most climates. It stays flexible in cold or hot weather and lasts longer than vinyl or foam. Vinyl is cheaper but may crack in extreme temperatures. Foam is only good for light drafts and short-term fixes.
Can I Seal My Garage Door Myself?
Yes, most homeowners can install garage door seals with basic tools like a tape measure, utility knife, and screwdriver. The process takes 1-2 hours. If your door is very old or damaged, consider hiring a professional.
Will Sealing My Garage Door Reduce My Energy Bills?
Sealing a garage door can help reduce energy bills by stopping drafts and keeping your garage warmer in winter and cooler in summer. The U.S. Department of Energy says sealing air leaks can save up to 10% on heating and cooling costs.
What Should I Do If Water Still Gets Into My Garage After Sealing?
If you still see water after installing a bottom seal, add a threshold seal on the floor. Make sure the driveway is not sloping toward the garage. In some cases, you may need to adjust the door or fix drainage problems outside.
Sealing your garage door is one of the simplest DIY projects with a big impact. You’ll enjoy a warmer, cleaner, and more energy-efficient garage. With the right materials and a little time, your garage door can become a strong barrier against weather, dust, and pests.
Start today and notice the difference every season.