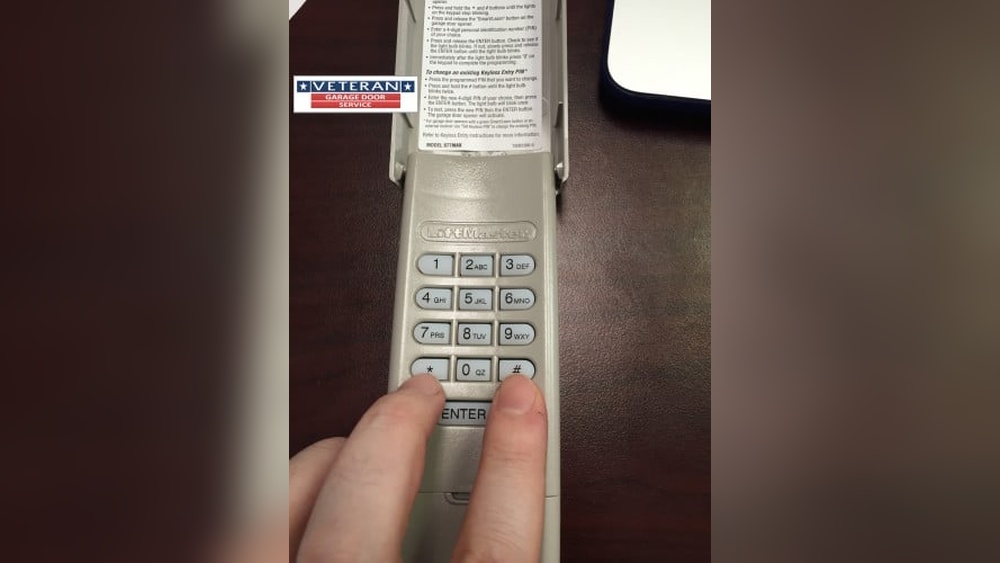
Liftmaster Keypad Programming: Beginner’s Guide
Programming a Liftmaster keypad can seem confusing if you’ve never done it before. But with the right steps, anyone can do it in a few minutes. Many homeowners and business owners use Liftmaster garage door openers for their reliability and safety features. A wireless keypad gives you the freedom to enter your garage without using a remote or key. Whether you want to add a new keypad, reset an old one, or fix common problems, this guide makes it easy to understand.
This article covers everything you need, from basic setup to troubleshooting, using simple language and clear steps. You’ll also find tables for quick comparison, expert tips, and answers to common questions.
What Is A Liftmaster Keypad?
A Liftmaster keypad is a small device installed outside your garage. It lets you open or close your garage door by entering a four-digit code. You don’t need a remote, key, or smartphone app. Most Liftmaster keypads work wirelessly and are compatible with newer and older garage door openers.
Key features include:
- Wireless access: No wires between keypad and opener
- Backlit keys: Easy to use at night
- Temporary PIN support: Give guests or workers limited access
- Weather-resistant: Built for outdoor use
Liftmaster offers several keypad models, but the programming steps are similar for most units.
Why Program Your Liftmaster Keypad?
Programming your Liftmaster keypad is important for:
- Security: Only people with the code can enter
- Convenience: No need for keys or remotes
- Family and guest access: Set temporary codes for others
- Resetting after moving in: Ensure old codes no longer work
A properly programmed keypad keeps your property safe and makes daily entry easier.

Credit: www.youtube.com
Keypad Compatibility: What To Check First
Before you start, check if your keypad and opener are compatible. Liftmaster keypads work with most Chamberlain, Craftsman, and Liftmaster openers. However, some older openers may need a different keypad or adapter.
Here’s a quick comparison of common Liftmaster keypads and compatible openers:
| Keypad Model | Compatible Openers | Year Range |
|---|---|---|
| 877LM | Security+ 2.0, MyQ | 2011–present |
| 877MAX | All Liftmaster, Chamberlain, Craftsman | 1993–present |
| 376LM | Security+ | 1997–2005 |
| 387LM | Universal | Most brands (1993+) |
Tip: Find your opener’s model number and year (often on the motor unit) before buying a keypad.
Tools And Preparation
You don’t need special tools to program a Liftmaster keypad. Here’s what you should have ready:
- A ladder (if your opener’s “Learn” button is on the ceiling)
- The keypad and its batteries (usually AAA or 9V)
- Your garage door opener manual (optional but helpful)
- Pen and paper to write your code
Replace the keypad’s battery if you’re setting it up for the first time or if it’s not lighting up.
Credit: www.devancocanada.com
Step-by-step: How To Program A Liftmaster Keypad
Programming steps are nearly the same for most models. Here’s how to do it:
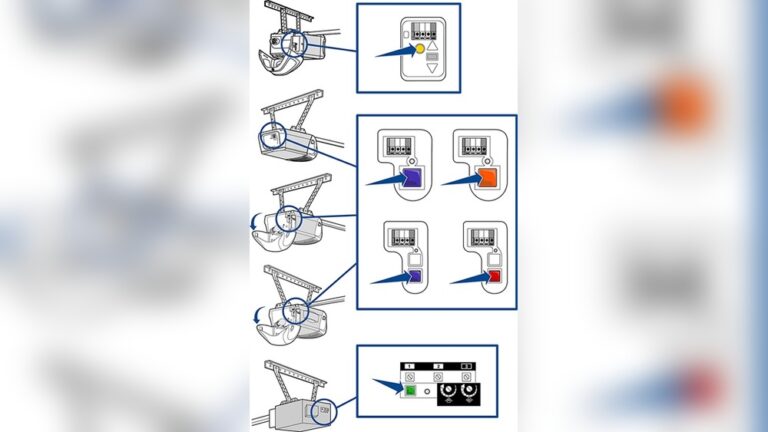
- Locate the Learn Button
- Find the Learn button on your opener. It’s usually on the back or side of the motor unit.
- The button may be yellow, red, orange, green, or purple.
- You may need a ladder.
- Clear Old Codes (if needed)
- If you want to erase old codes, press and hold the Learn button until the LED goes off (about 6 seconds).
- This clears all remote and keypad codes.
- Enter Programming Mode
- Press and release the Learn button once. The LED light will turn on and stay solid for about 30 seconds. This means the opener is ready to learn a new code.
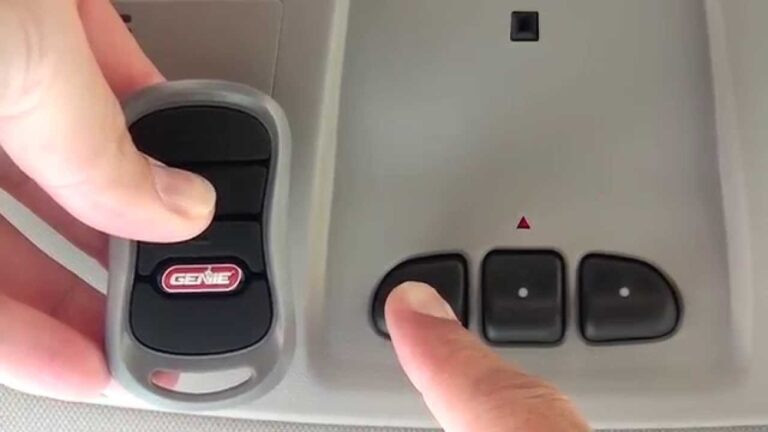
- Enter Your Desired PIN on the Keypad
- Within 30 seconds, enter your four-digit code on the keypad.
- Press and hold the Enter button until the opener light blinks or you hear a click. (Usually 1–2 seconds.)
- Release the Enter button.
- Test the Keypad
- Wait 10 seconds, then enter your code again and press Enter.
- The door should open or close.
Common mistake: Waiting too long between steps. The Learn mode times out after 30 seconds.
Tip: Choose a code that’s easy for you to remember, but not obvious (like 1234 or your address).
Setting Up Temporary And One-time Codes
One of the best features is the ability to set temporary PINs for visitors or deliveries. Here’s how:
- Enter your current four-digit code
- Press and hold the or # button until the keypad blinks
- Enter a new temporary code (four digits)
- Press Enter
This temporary code will work for a set number of uses (usually one) or a set time (up to 24 hours), depending on your model.
Tip: Always delete temporary codes after use for best security.
Changing Or Resetting Your Code
If you forget your code or want to change it, follow these steps:
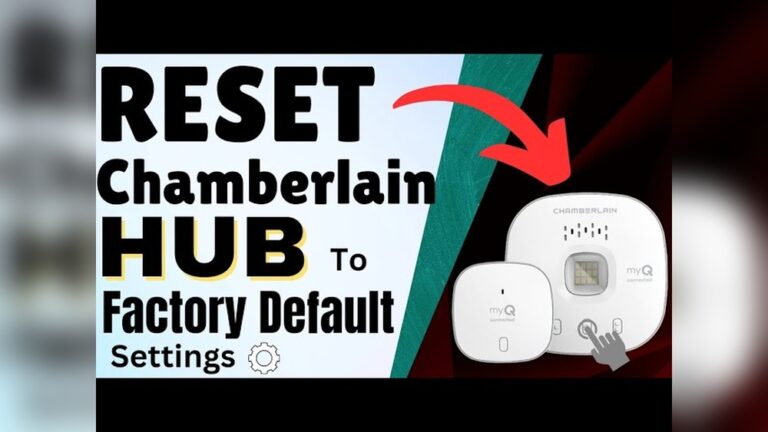
- Press the Learn button until the LED goes out (erases all codes)
- Follow the regular programming steps to set a new code
For most keypads, you can’t just change the code without erasing the old one. Always test the new code before closing the cover.
Common Problems And How To Fix Them
Sometimes, the keypad doesn’t work the first time. Here are common issues:
- Keypad won’t light up: Check or replace batteries.
- Door doesn’t open: Make sure you’re entering the code within 30 seconds of pressing Learn.
- Keypad works only sometimes: Clean the keys, check for interference (metal siding can block signals).
- Opener doesn’t respond: Make sure the opener is plugged in and the antenna wire is hanging down.
- Multiple keypads/remotes not working: You may have erased all codes; reprogram each remote.
If problems continue, consult your opener’s manual or contact Liftmaster support.
Liftmaster Keypad Vs. Remote: Quick Comparison
Many users ask if a keypad is better than a remote. Here’s a simple comparison:
| Feature | Keypad | Remote Control |
|---|---|---|
| Access method | PIN code | Button press |
| Works if you forget remote? | Yes | No |
| Mounting location | Outside garage | Car/handheld |
| Battery life | 6–12 months | 1–2 years |
| Number of users | Unlimited (with code) | Usually 1 per remote |
Advanced Tips For Secure And Reliable Operation
- Change your code regularly
- Update your code every 6–12 months, especially if many people know it.
- Use a unique code
- Avoid easy combinations (1111, 1234, birth year).
- Install keypad at the right height
- Mount it at 5 feet (1.5 meters) for easy reach but out of sight from the street.
- Weatherproofing
- Check the rubber cover and seal to keep water out.
- Check compatibility before adding accessories
- Not all WiFi or smart add-ons work with older keypads.
Non-obvious insight: Some keypads support “Lockout Mode.” If you enter the wrong code too many times, the keypad may stop working for a few minutes as a security feature.
Real-life Example: Family Setup
Imagine a family of four. The parents want each child to have access after school, but not at night. Here’s a practical plan:
- Parents set a main PIN everyone knows.
- For the babysitter, they set a temporary code active only during the week.
- At the end of the week, they erase the temporary code, keeping the main code private.
This approach makes daily life smoother and more secure.
Maintenance And Battery Replacement
A keypad is low-maintenance but needs occasional attention:
- Replace batteries every 6–12 months or when the keypad is dim.
- Clean the keypad with a soft, dry cloth.
- Check for bugs or dirt inside the cover.
If the keypad stops working, try a new battery before reprogramming.
When To Call A Professional
Most problems are easy to fix, but call a pro if:
- The keypad gets wet inside or is physically damaged.
- The opener doesn’t respond after several programming attempts.
- You see error lights or hear beeping from the opener.
Professional help ensures your system is safe and reliable.
Data: Typical Keypad Lifespan And Usage
Liftmaster keypads are designed to last. Here’s some practical data:
| Keypad Feature | Average Value |
|---|---|
| Battery life | 6–12 months |
| Button presses per day | 5–10 |
| Keypad lifespan | 5–8 years |
| Operating temperature | -20°F to 120°F (-29°C to 49°C) |
Tip: Extreme cold or heat can shorten battery life. If your keypad stops working in winter, try fresh batteries.
Staying Updated: New Features And Smart Home Integration
Liftmaster is adding more smart features to their products. Some new keypads work with MyQ, letting you open your garage from your phone or set schedules. You can even get alerts when someone uses the keypad.
Non-obvious insight: Not all old openers can be upgraded to smart features. Check your opener’s model before buying smart accessories.
For more details on MyQ and smart garage features, visit the official Liftmaster website.
Frequently Asked Questions
How Do I Know If My Liftmaster Keypad Is Compatible With My Garage Door Opener?
Check the model number and year of your opener (usually on the main unit). Most Liftmaster keypads since 1993 work with openers made after 1993. If unsure, compare your opener and keypad models or consult the manual.
Can I Program Multiple Keypads To The Same Garage Door Opener?
Yes, you can program more than one keypad and multiple remotes to the same opener. Just follow the same programming steps for each device, one after the other.
Why Won’t My Keypad Work After Changing The Battery?
If your keypad stops working after a battery change:
- Check battery orientation (plus/minus)
- Reprogram the keypad (battery loss may erase the code)
- Clean any corrosion from the contacts
How Do I Erase All Codes From My Liftmaster Opener?
Hold the Learn button on your opener for about 6 seconds until the LED goes out. This deletes all remote and keypad codes. You’ll need to reprogram each device.
Is A Liftmaster Keypad Safe To Use Outside?
Yes, Liftmaster keypads are designed for outdoor use. They are weather-resistant, but avoid spraying water directly into the unit. Replace the cover and check the seal after heavy rain or snow.
A Liftmaster keypad makes your daily life more convenient and secure. With the right setup and basic maintenance, you’ll enjoy years of easy access to your garage. If you need more advanced features, check for newer models and smart integrations.
For most users, following these simple programming steps is all you need for reliable garage access.

Credit: firstlinegarage.com