A garage door cable may look small, but it plays a huge role in keeping your garage door safe and working well. When this cable breaks or wears out, your door might not open or close smoothly—or worse, it could slam down, creating a safety risk. Many homeowners feel nervous about fixing garage door cables themselves. But with the right steps, some patience, and a focus on safety, you can replace a garage door cable on your own.
This guide explains every step in a way that’s friendly for beginners. You’ll learn which tools you need, how to avoid common mistakes, and what to check after the job is done. Along the way, you’ll see useful tables, clear bullet points, and practical examples.
Let’s get started and help you restore your garage door’s smooth, safe operation.
Understanding Garage Door Cables
Garage door cables are strong wires that help lift and lower the door. They work together with the springs and pulleys to balance the door’s weight. Most cables are made from braided steel and last for years, but over time, they can fray, rust, or snap.
Why do cables break?
- Wear and tear from daily use
- Rust caused by moisture
- Poor installation or low-quality materials
- Lack of regular maintenance
When a cable breaks, you may notice:
- The door is crooked or hangs unevenly
- Loud snapping sounds
- The door won’t move at all
Tip: Replacing a worn cable before it breaks is safer and often easier.
Safety First: What You Must Know
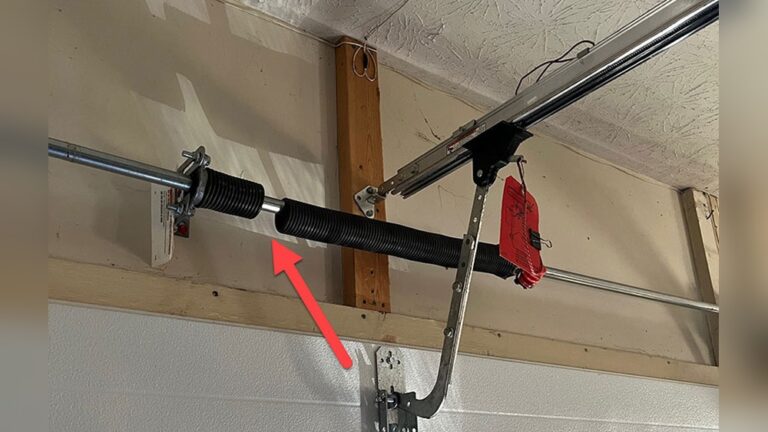
Garage door systems use high-tension springs. These springs can be dangerous if handled the wrong way. Before you start:
- Do not touch or adjust the springs unless you are sure they are not under tension.
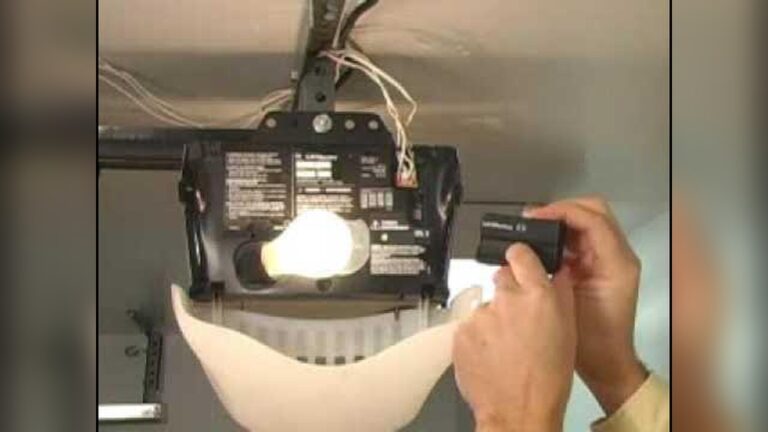
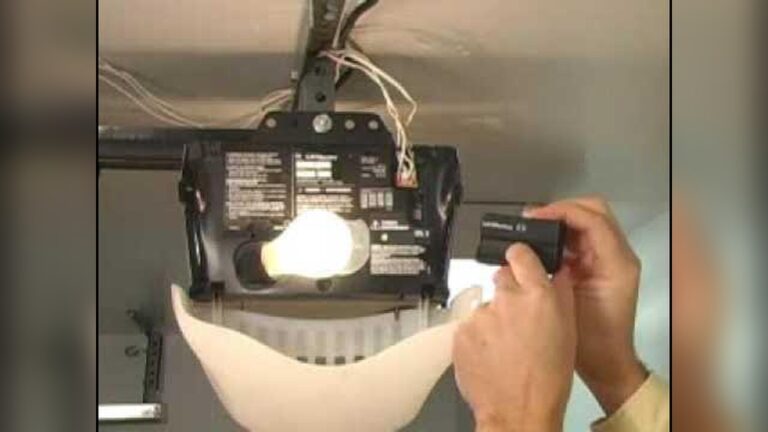
- Always unplug the garage door opener before working.
- Wear gloves and eye protection.
If you feel unsure at any step, call a professional. Your safety matters more than saving a few dollars.
Tools And Materials Needed
Having the right tools makes the job easier and safer. Here’s a list of what you’ll need:
- Replacement garage door cables (check your door type)
- Winding bars (for torsion spring systems)
- Vice grips or locking pliers
- Wrenches (usually 7/16” or 1/2”)
- Socket set (for bolts/nuts)
- Flathead screwdriver
- Ladder
- Work gloves
- Safety glasses
Garage Door Cable Types
Garage doors use different cable types. Use this table to identify which you need:
| Door Type | Cable Type | Typical Length |
|---|---|---|
| Sectional | Torsion cable | 7-9 feet |
| One-piece tilt-up | Extension cable | 8-10 feet |
| Roll-up | Special cable | Varies |
Tip: Bring your old cable to the hardware store to match the length and thickness.
Step-by-step Guide: How To Replace Garage Door Cable
Let’s break the process into clear, easy steps. This example uses a standard sectional garage door with torsion springs, the most common type in US homes.
1. Prepare The Area
- Clear cars, bikes, and clutter away from the garage door.
- Keep children and pets out of the work area.
- Open the garage door fully (if possible) to release most spring tension.
- Unplug the opener.
2. Secure The Door
- Place vice grips below the bottom roller on both tracks. This keeps the door from falling.
- If the door is stuck open or crooked, use wood blocks or a sturdy ladder to support it.
3. Release Tension From The Springs
If your door has torsion springs above the door:
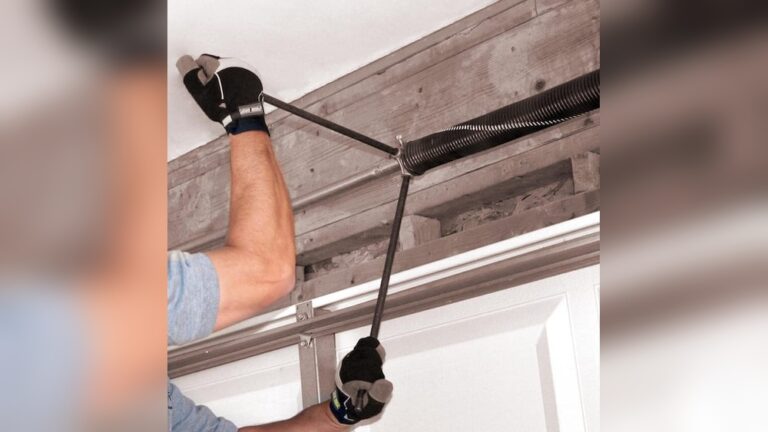
- Insert a winding bar into the winding cone hole.
- Loosen the set screws using your wrench.
- Carefully unwind the spring, one quarter-turn at a time, using both winding bars.
- Count the number of turns so you can re-tension later.
Warning: Never use screwdrivers as winding bars—they can slip and cause injury.
4. Remove The Old Cable
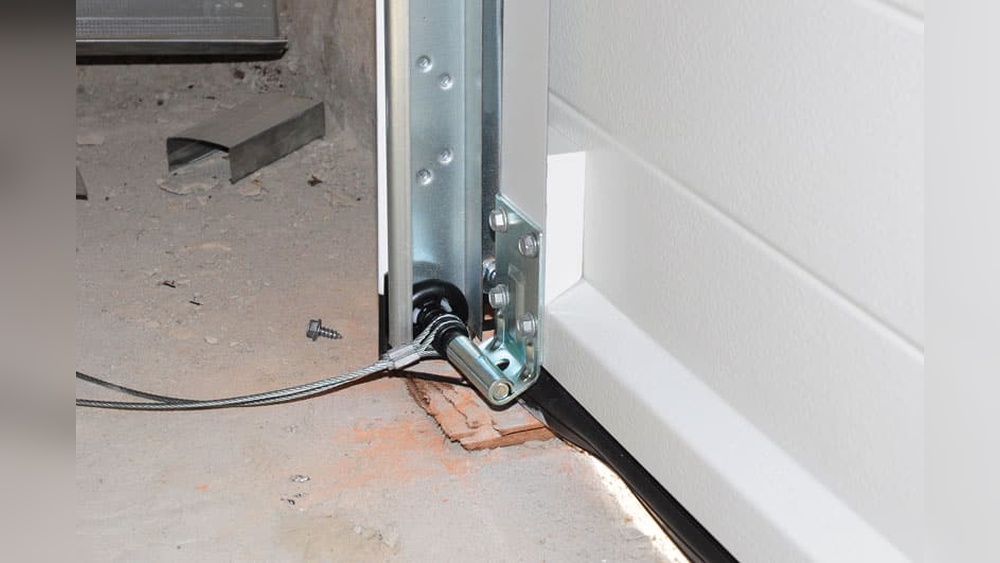
- Find the end of the cable at the bottom bracket.
- Use a wrench or socket to remove the nut/bolt holding the cable.
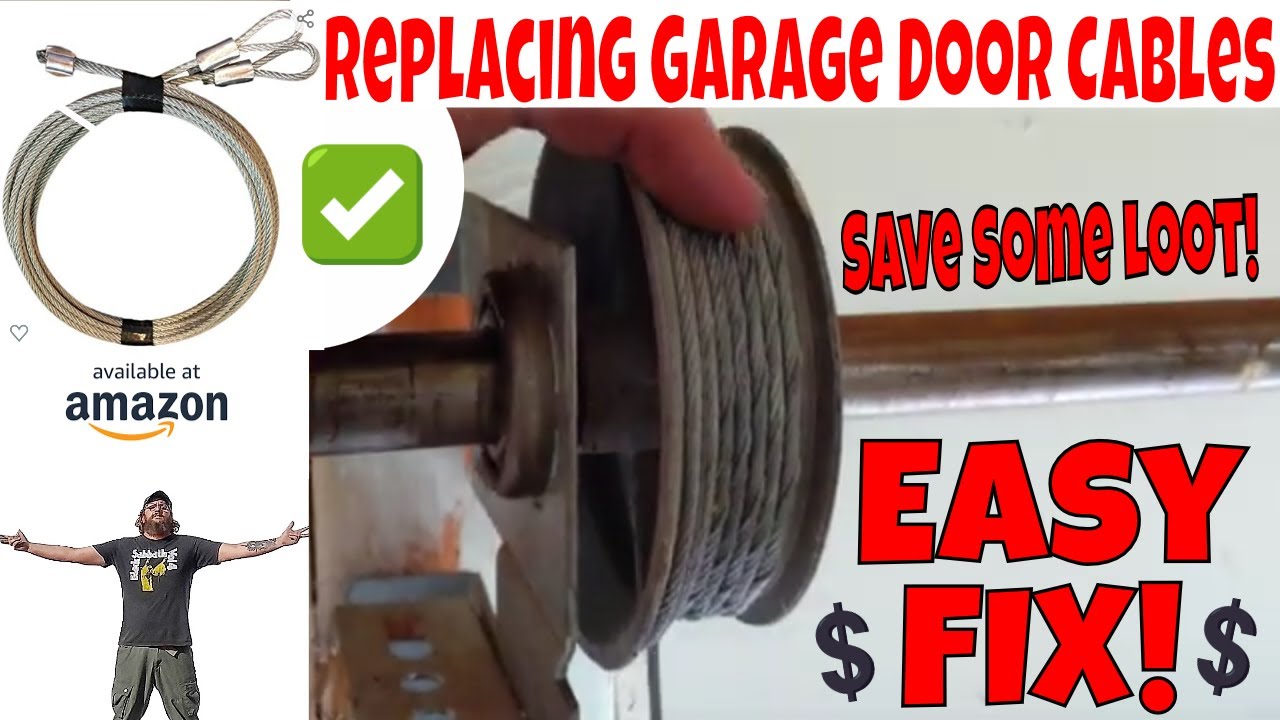
- Unwind the cable from the drum at the top corner of the door.
- Take out the old cable.
5. Install The New Cable
- Attach one end of the new cable to the bottom bracket.
- Route the cable up the side of the door.
- Loop it onto the drum, making sure it sits in the cable groove.
- Repeat for the other side.
Pro Tip: Keep tension on the cable with one hand as you wind it onto the drum. This helps prevent tangling.
6. Tighten And Test
- Double-check that both cables are routed correctly and have equal tension.
- Tighten the set screws on the drum.
- Carefully rewind the torsion springs, matching the number of turns you counted.
- Remove the vice grips.
7. Final Checks
- Plug the opener back in.
- Open and close the door manually first, then try the opener.
- Listen for strange noises and watch for smooth movement.
- If the door jerks or catches, stop and inspect the cables.
Common mistake: Forgetting to wind both cables evenly. This can make the door crooked.
How Long Does It Take?
Replacing a garage door cable usually takes 1 to 2 hours for beginners. If it’s your first time, go slowly and don’t rush.
Average replacement time:
| Experience Level | Estimated Time |
|---|---|
| Beginner | 90-120 minutes |
| Experienced DIYer | 45-60 minutes |
| Professional | 20-30 minutes |
Tip: Set aside extra time for cleanup and double-checking your work.
Cost Breakdown
Fixing your garage door cable yourself can save money. Here’s a look at typical costs:
| Item | Cost Range |
|---|---|
| Replacement cables (pair) | $15 – $35 |
| Winding bars | $10 – $25 |
| Gloves and safety gear | $10 – $20 |
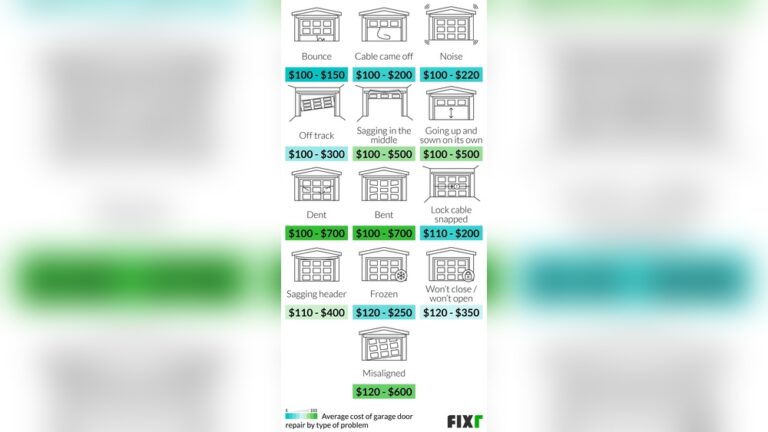
| Professional repair | $90 – $200 |
Most homeowners spend less than $50 for a DIY cable replacement.

Credit: garagedooroflynchburg.com
Troubleshooting And Common Problems
Even with care, you might face some issues:
- Cable keeps slipping off the drum: Check if the drum is damaged or dirty. Make sure the cable is in the groove.
- Door is still uneven: Cables might have different tension. Rewind the springs and adjust.
- Strange noises: Cables may be rubbing on the track. Confirm routing is correct.
- Door won’t move: Springs may need more or less winding.
Non-obvious tip: Take photos of your setup before removing any parts. This helps you remember how everything fits.
When Should You Call A Professional?
While many people can change garage door cables themselves, certain situations need expert help:
- You see broken or stretched springs
- The door is extremely heavy or stuck
- You feel unsafe handling the springs
- The door has extra features like smart openers or security locks
In these cases, hiring a licensed garage door technician is the safest option.
Preventing Future Cable Problems
You can make your new cables last longer with a few simple steps:
- Inspect cables every 6 months for rust, fraying, or wear.
- Clean tracks and remove debris.
- Lubricate cables and pulleys with garage door spray (not WD-40).
- Check balance: Lift the door halfway by hand. It should stay in place without falling or rising.
Hidden insight: Humid garages increase rust risk. Use a dehumidifier or weather seal to protect cables.
Real-world Example
Mark, a homeowner from Ohio, noticed his garage door was jerking when closing. On inspection, he found a frayed cable. Using a DIY kit and following safety steps, he replaced both cables in about 90 minutes. His total cost was $30, and the door now opens quietly and evenly. Mark’s main advice: “Take clear photos before you start and don’t rush the process.”

Credit: firstlinegarage.com
Additional Resources
For more detailed diagrams and troubleshooting, you can visit the Family Handyman guide, which offers step-by-step photos and extra safety information.
Frequently Asked Questions
How Can I Tell If My Garage Door Cable Is About To Break?
Look for frayed wires, visible rust, or a cable that appears thinner than normal. Also, if your door is crooked or you hear snapping sounds, the cable may be close to breaking.
Can I Use Any Cable, Or Does It Have To Match My Old One?
Always use a cable that matches your door type in both length and thickness. Using the wrong cable can cause poor performance or even damage your door.
Is It Safe To Replace Garage Door Cables Myself?
It’s safe for most people if you follow safety steps, use the right tools, and work slowly. However, if you’re unsure or your springs are under tension, it’s best to call a professional.
How Often Should I Replace My Garage Door Cables?
Most cables last 5-10 years with regular use. Check them every six months and replace them at the first sign of damage.
Why Does My Garage Door Still Move Unevenly After Replacing The Cables?
This usually means the cables are not evenly tensioned or the springs need adjustment. Double-check your installation or ask a technician to inspect your setup.
Replacing a garage door cable may seem challenging at first, but with the right approach and care, most homeowners can handle this essential repair. Your garage door will work better, and you’ll have peace of mind knowing it’s safe and reliable.
Take your time, stay safe, and enjoy the satisfaction of a job well done.
Credit: www.youtube.com