TL;DR
- Resetting a garage door opener takes 5 to 15 minutes and requires no special tools.
- Most openers reset by holding the “Learn” button until the indicator light goes out.
- After a factory reset, you must reprogram every remote and keypad linked to the opener.
- If the opener still malfunctions after a reset, the issue is likely with the safety sensors or motor.
- This guide covers the reset process for LiftMaster, Chamberlain, Genie, and Craftsman openers.
What You Need Before You Start
- A working ladder tall enough to reach the opener motor unit mounted on the ceiling
- The owner’s manual for your specific opener model (check the brand’s website if you don’t have it)
- All remotes and keypads you want to reprogram after the reset
- A flashlight if your garage has poor overhead lighting
- Access to the opener’s motor unit – the box mounted near the top of the garage door track
Step 1: Identify Your Garage Door Opener Brand and Model
Check the label on the side or back of the motor unit before touching any buttons. The brand, model number, and serial number are printed there.
This matters because the reset process differs between brands. LiftMaster and Chamberlain use a “Learn” button. Genie uses a “Learn Code” button. Craftsman models vary by production year. Knowing your exact model prevents you from following the wrong steps.
If the label is worn off, the opener’s age is a reliable clue. Openers manufactured before 1993 use fixed codes and reset differently than newer rolling-code models (Chamberlain Group, 2024).
Step 2: Locate the “Learn” Button on the Motor Unit
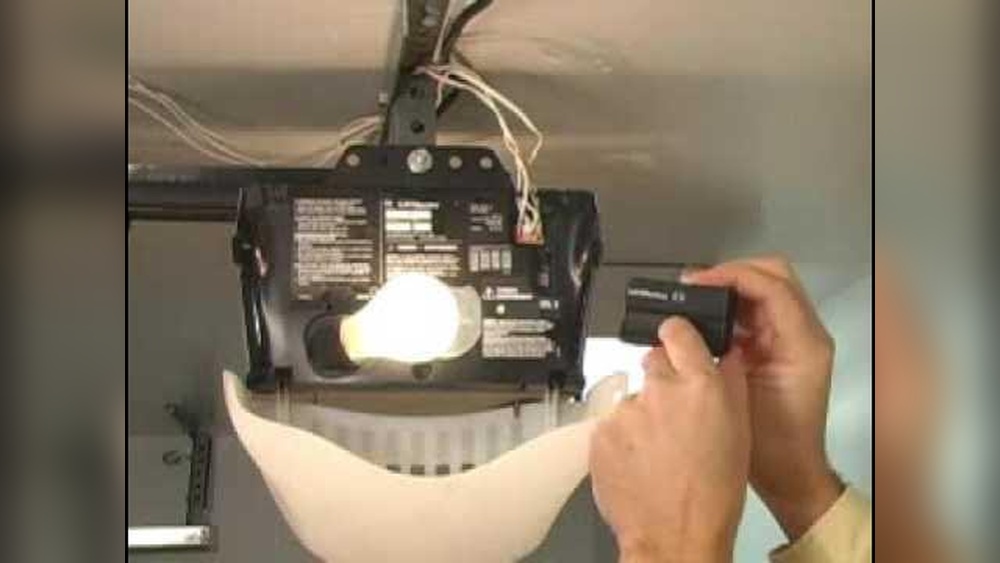
Climb the ladder and look at the back or side panel of the motor unit. The Learn button is a small, colored button – usually orange, yellow, green, or purple depending on the brand and model year.
On LiftMaster and Chamberlain models, the button color tells you the security technology the opener uses (LiftMaster, 2024):
- Yellow or orange button: Security+ technology
- Purple button: Security+ 2.0 technology
- Green button: Older rolling-code system
On Genie openers, look for a button labeled “Learn Code” inside the light cover panel. On Craftsman units, it’s typically on the back panel next to the antenna wire.
Step 3: Perform the Factory Reset
Hold the Learn button down for 6 to 10 seconds. Keep holding until the indicator light next to the button goes out completely. On some models, the light will blink before going dark.
Release the button once the light goes out. The opener’s memory has now been cleared. Every remote, keypad, and smart home device previously linked to this opener is now disconnected.
Do not press the Learn button again at this point. A short press (under 3 seconds) starts the pairing process rather than the reset. A long press (6 to 10 seconds) is the reset. These are two different functions.
Genie-specific note: Genie openers require you to press and hold the Learn Code button for 10 full seconds. Some models ask you to complete this step twice (Genie Company, 2023).
Step 4: Test the Reset Before Reprogramming
Press the wall button inside your garage to open and close the door once. The door should operate normally using the hardwired wall button because the wall button connects directly to the motor unit and does not use the wireless memory you just cleared.
If the door does not respond to the wall button at this stage, the problem is not with the opener’s memory – it’s a wiring or motor issue. Stop here and consult a technician before continuing.
If the door opens and closes correctly, the reset worked. Proceed to reprogramming.
Step 5: Reprogram Your Remote Controls
Press the Learn button once – a short press, under 3 seconds – until the indicator light turns on and stays on. You now have 30 seconds to complete the pairing step.
Within those 30 seconds, press and hold the button on your remote that you want to use to open the door. Hold it until the opener’s light bulb flashes or you hear two clicks from the motor unit. That flash or click confirms the remote is paired.
Repeat this process for each remote separately. Each remote needs its own 30-second pairing window.
If you have multiple remotes: Pair them one at a time. Start a new pairing window (short press on Learn button) before programming each additional remote.
Step 6: Reprogram the Keypad
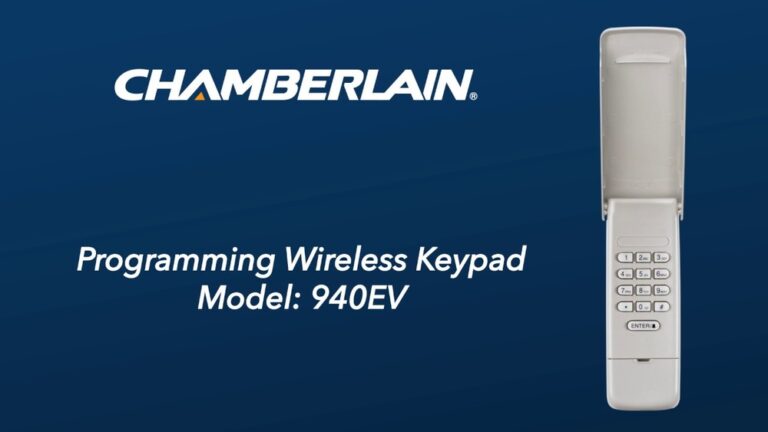
Press the Learn button once to open a new 30-second pairing window. Walk to your exterior keypad, enter your desired PIN, then press and hold the Enter or Send button on the keypad until the opener’s light flashes.
If the light flashes within the 30-second window, the keypad is paired. Test it immediately by entering the PIN and pressing Enter – the door should move.
If you have a smart keypad from LiftMaster (myQ) or Chamberlain, download the myQ app and follow the in-app pairing steps instead. The physical Learn button method applies to standard keypads, not Wi-Fi enabled smart keypads (Chamberlain Group, 2024).
Step 7: Test Every Device
Test each remote and the keypad from both inside and outside the garage. Stand at normal operating distance – 20 to 30 feet – when testing remotes. A remote that only works within 5 feet may have a low battery or a damaged antenna on the opener.
Also test the door’s safety reverse function. Place a 2×4 flat on the ground in the door’s path and press close. The door should hit the board and reverse direction automatically. If it does not reverse, adjust the down-force limit screw on the motor unit before using the garage door again. A door that does not reverse is a safety risk (U.S. Consumer Product Safety Commission, 2023).
Common Problems and How to Fix Them
| Problem | Likely Cause | Solution |
|---|---|---|
| Learn button light won’t turn on | Power issue or blown fuse | Check the outlet, test with a different circuit |
| Remote won’t pair within 30 seconds | Too slow entering the pairing sequence | Restart the pairing window, move closer to the opener |
| Door reverses immediately when closing | Safety sensors blocked or misaligned | Clean sensor lenses, realign sensors until both lights are solid |
| Keypad pairs but doesn’t open door | PIN entered incorrectly during pairing | Delete keypad memory, re-pair with a new PIN |
| Reset didn’t clear old remotes | Button held for too short a time | Hold Learn button for a full 10 seconds, not 6 |
| Opener motor runs but door won’t move | Disconnect cord pulled, door in manual mode | Reconnect the trolley to the drive rail |
Frequently Asked Questions About Resetting a Garage Door Opener
What does resetting a garage door opener actually do?
A factory reset clears the opener’s internal memory, which removes all paired remotes, keypads, and connected apps. The motor unit itself keeps its limit settings (how far the door travels up and down), so you generally do not need to readjust those after a reset.
How do I reset a garage door opener without the Learn button?
Older openers manufactured before 1993 use DIP switches instead of a Learn button. These are small rows of toggle switches inside the remote and on the motor unit. To reset, change the DIP switch pattern on the motor unit, then match that pattern on each remote. Consult your model’s manual for the exact switch positions.
How long does it take to reset and reprogram a garage door opener?
The reset itself takes about 10 seconds. Reprogramming one remote and one keypad adds another 5 minutes. If you have three or more remotes to reprogram, budget 15 minutes total.
Will resetting my opener fix a door that won’t close?
Not always. A reset fixes problems related to paired devices, like a remote that stopped working or security codes that need refreshing. If the door won’t close, the more likely cause is a misaligned safety sensor or a limit setting that needs adjustment – neither of which a reset addresses.
Do I need to reset my opener if I move into a new home?
Yes. Performing a factory reset on any opener in a home you’re moving into removes access from the previous owner’s remotes and keypads. This is a standard security step. After the reset, reprogram only your own devices.
Can I reset a smart garage door opener the same way?
Smart openers from LiftMaster (myQ) and Chamberlain have both a hardware reset (Learn button) and a software reset through the myQ app. The hardware reset clears paired remotes and keypads. The software reset removes the opener from your myQ account. For full removal of all access, do both.
Summary
- Locate the model number on your motor unit before starting.
- Hold the Learn button for 6 to 10 seconds until the indicator light goes out to complete the reset.
- Use a short press on the Learn button to open each pairing window when reprogramming remotes and keypads.
- Test every device at normal range after pairing.
- Check the safety reverse function with a 2×4 block before regular use.