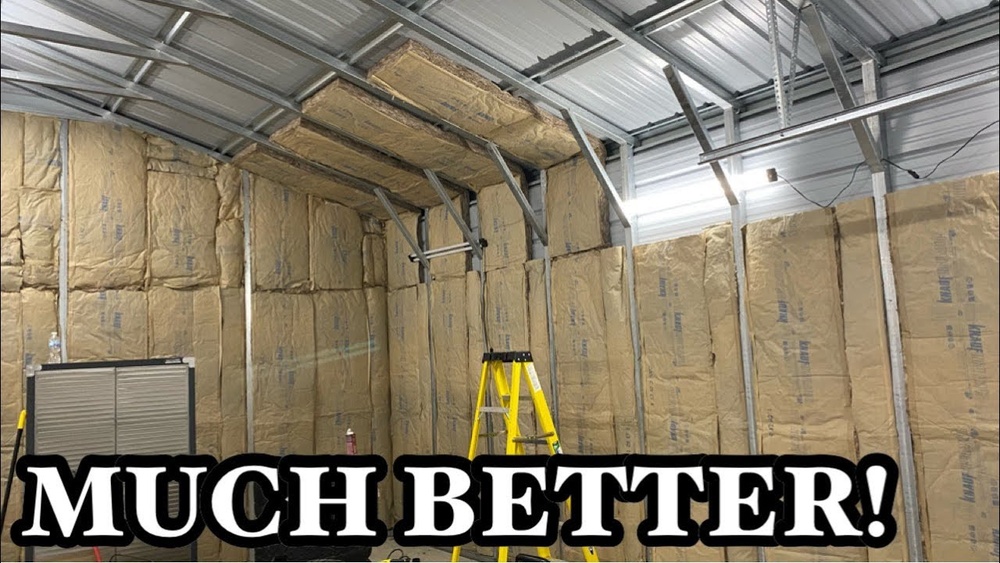
Insulating a metal garage can transform your space. It helps keep temperatures stable, reduces noise, and saves money on energy bills. If your garage feels freezing in winter and hot in summer, insulation is the answer. Many people think metal garages are hard to insulate, but it’s easier than you might expect.
With the right material and a few simple steps, you can make your garage much more comfortable.
This guide walks you through everything you need to know. You’ll learn about the best insulation types, how to install them, and common mistakes beginners make. Whether you use your garage for storage, hobbies, or as a workshop, insulation makes a big difference.
Let’s get started and make your metal garage a better place to be.
Why Insulate A Metal Garage?
Metal garages often have poor temperature control. Without insulation, heat escapes in winter and builds up in summer. This can damage tools, cars, and stored items. Insulation solves these problems and more:
- Energy savings: Reduces heating and cooling costs
- Comfort: Keeps the space warmer in winter and cooler in summer
- Protection: Prevents moisture, rust, and condensation
- Noise reduction: Makes your garage quieter inside
In fact, the US Department of Energy estimates that proper insulation can cut energy bills by up to 20%. If you plan to use your garage as a workspace or living area, insulation is essential.
Choosing The Right Insulation Material
There are several types of insulation for metal garages. Each has pros and cons. Choosing the right one depends on your budget, skill level, and garage design.
Fiberglass Batt Insulation
Fiberglass batts are common and affordable. They come in rolls or pre-cut panels.
- Pros: Easy to install, available everywhere, good thermal performance
- Cons: Can irritate skin, needs a vapor barrier
Fiberglass insulation has an R-value of R-11 to R-38, depending on thickness. R-value measures resistance to heat flow—the higher, the better.
Spray Foam Insulation
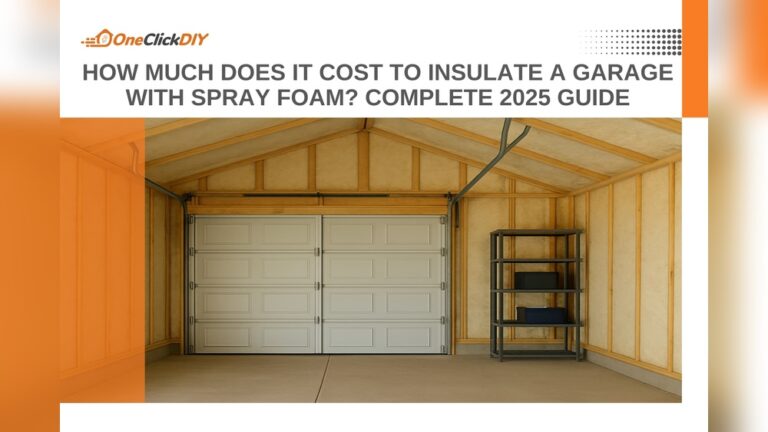
Spray foam is sprayed directly onto walls and ceiling.
- Pros: Fills gaps, high R-value (R-6.5 per inch), acts as vapor barrier
- Cons: More expensive, requires special equipment
Spray foam is excellent for sealing tight spaces. It prevents moisture and air leaks, making it ideal for metal garages.
Foam Board Insulation
Foam boards are rigid panels made from polystyrene or polyisocyanurate.
- Pros: Easy to cut, high R-value (R-4 to R-6 per inch), resists moisture
- Cons: Must be sealed at edges, can be tricky around curves
Foam board is often used for garage doors and walls. It’s lightweight and effective.
Reflective Insulation
Reflective insulation uses aluminum foil and plastic layers.
- Pros: Reflects heat, lightweight, easy to install
- Cons: Best for hot climates, lower R-value compared to others
Reflective insulation is ideal if your garage gets hot due to sunlight. It reflects radiant heat away from the metal surface.
Comparison Table: Insulation Types
Here’s a simple breakdown of main insulation types:
| Type | R-Value (per inch) | Cost | Ease of Installation | Moisture Resistance |
|---|---|---|---|---|
| Fiberglass Batt | 2.9–3.8 | Low | Easy | Medium |
| Spray Foam | 6.5 | High | Moderate | High |
| Foam Board | 4–6 | Medium | Easy | High |
| Reflective | 1–2 | Low | Easy | High |
Preparing Your Metal Garage
Preparation is key for a smooth insulation project. Take these steps before you start:
- Clear the space: Remove items from walls and ceiling
- Clean surfaces: Dust and wipe down metal panels
- Check for leaks: Seal cracks, gaps, and holes with caulk or metal tape
- Measure: Measure wall and ceiling area to estimate material needed
For example, a single-car garage (about 12×20 feet) usually requires 240–400 square feet of insulation. Make sure you buy enough, plus some extra for mistakes.
How To Insulate A Metal Garage: Step-by-step
Let’s break down the process, focusing on the most popular methods—fiberglass batts and foam board. These are beginner-friendly and don’t need special tools.
Step 1: Install Vapor Barrier (if Needed)
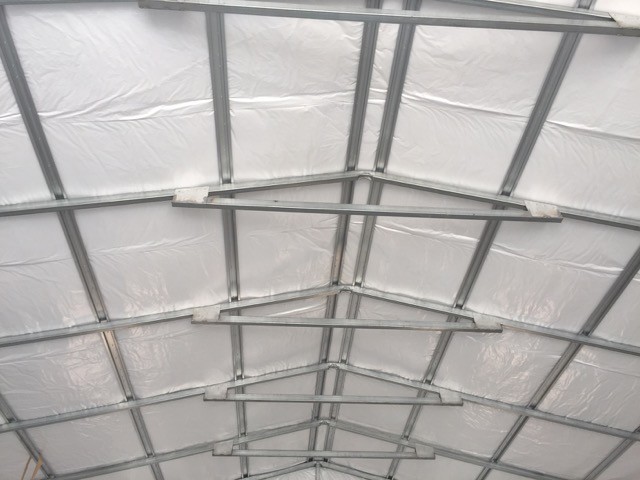
Metal garages can trap moisture. A vapor barrier (plastic sheeting) stops condensation. Place it against the metal wall before adding insulation.
- Cut plastic sheeting to size
- Attach with construction adhesive or tape
- Overlap seams by 6 inches
Many beginners skip this step, but it’s important for long-term durability.
Step 2: Measure And Cut Insulation
Accurate measurement saves time and material.
- Use a tape measure for wall height and width
- Mark insulation with a pen or chalk
- Cut with a utility knife or scissors
For foam board, measure twice and cut once. Panels should fit snugly without gaps.
Step 3: Install Insulation
Fiberglass Batt
- Fit batts between wall studs
- Staple or tuck edges into place
- Avoid compressing the material—it reduces effectiveness
Foam Board
- Press panels against wall or ceiling
- Secure with construction adhesive or screws
- Seal edges with foam sealant or tape
Step 4: Finish With Interior Panels (optional)
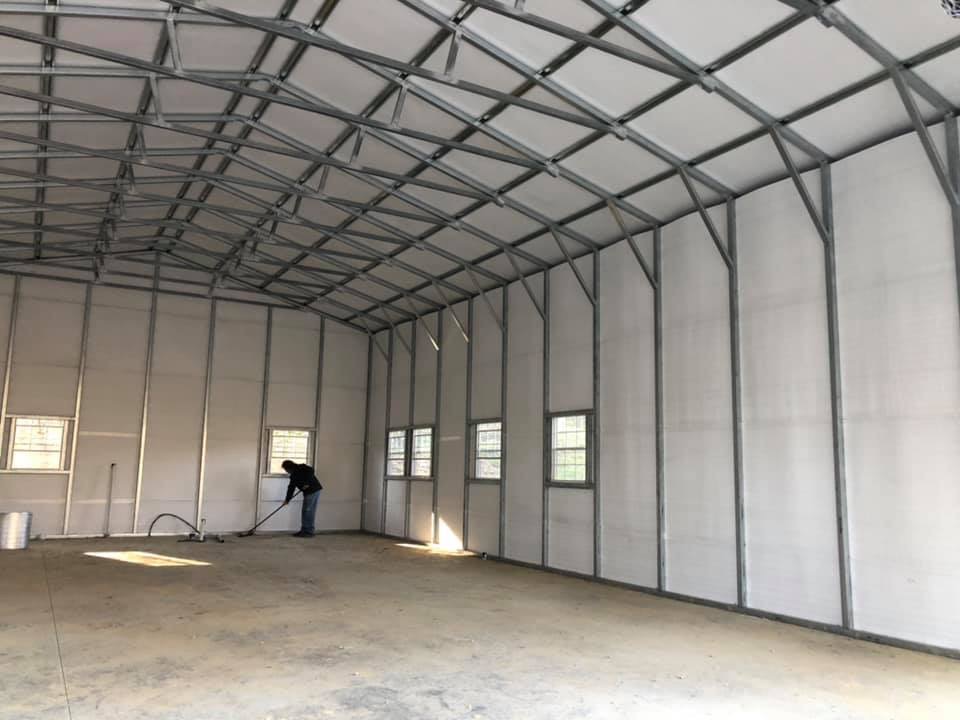
Covering insulation with drywall or plywood protects it and makes the garage look better.
- Attach panels over insulation
- Screw into studs or metal framing
This step is optional but recommended for safety and appearance.
Step 5: Insulate Garage Door
Garage doors are often the weakest point. Use foam board or reflective insulation:
- Cut panels to fit each section
- Attach with adhesive or double-sided tape
- Seal edges for a tight fit
Don’t forget windows—use weatherstripping or insulated curtains.
Example: Insulating A 2-car Metal Garage
A typical 2-car garage (24×24 feet) has about 576 square feet of wall area. You’ll need:
- 12 rolls of fiberglass batts (R-13)
- 2 rolls of plastic vapor barrier
- Construction adhesive
- Utility knife, staple gun, tape
Estimated cost: $400–$700, depending on materials and local prices.
Credit: www.carport.com
Common Mistakes Beginners Make
Avoid these errors to get the best results:
- Skipping vapor barrier: Leads to moisture and mold
- Incorrect measurement: Causes gaps, wasted materials
- Compressing insulation: Reduces R-value
- Ignoring garage door: Loses heat quickly
- Not sealing edges: Air leaks lower effectiveness
A non-obvious tip: If your garage has exposed fasteners or bolts, cover them with foam tape before installing insulation. This stops thermal bridging—a common issue where heat escapes through metal parts.
Tips For Better Insulation Results
Small improvements can make your insulation last longer and work better.
- Use high-quality tape for sealing seams
- Insulate around outlets and switches with foam gaskets
- Add weatherstripping to doors and windows
- Check insulation yearly for damage or moisture
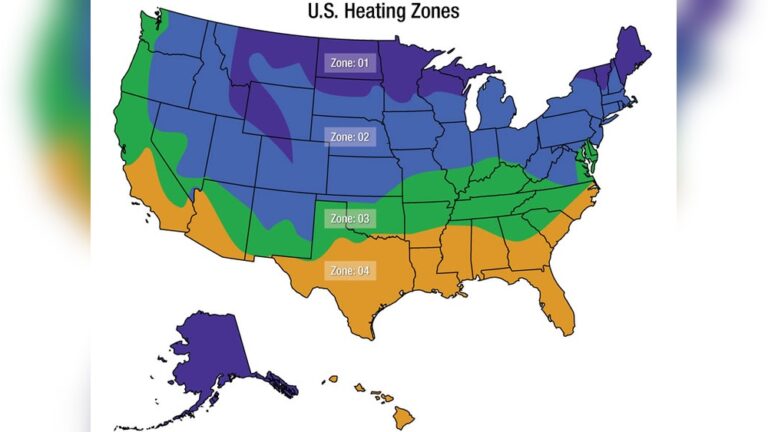
If you live in a cold climate, consider double-layering insulation for extra warmth. For hot climates, combine reflective insulation with foam board.
Cost Comparison: Diy Vs Professional Installation
Some people hire professionals, others do it themselves. Here’s a quick comparison:
| Method | Average Cost | Time Needed | Skill Level | Warranty |
|---|---|---|---|---|
| DIY | $300–$800 | 1–2 days | Beginner | No |
| Professional | $800–$2,500 | 1 day | Expert | Yes |
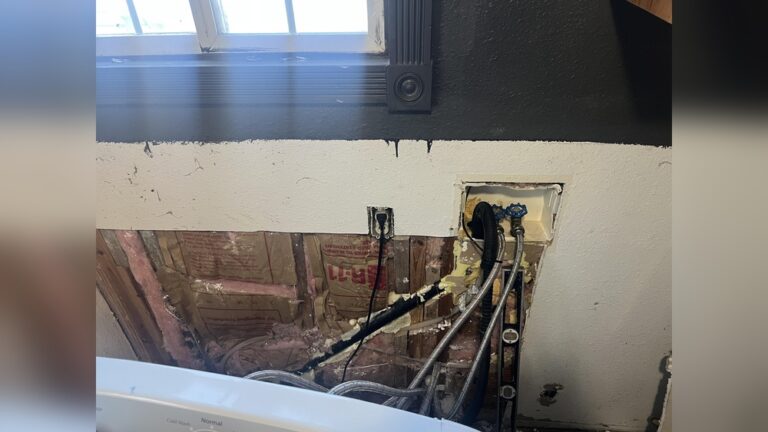
DIY is cheaper, but mistakes can cost more in the long run. If your garage has complex wiring or plumbing, professional help might be safer.
Maintenance And Checking Insulation
Insulation is not “set and forget.” Check it every year:
- Look for moisture, mold, or damage
- Replace torn vapor barriers
- Patch gaps or holes
- Clean dust and cobwebs
If you notice temperature swings or higher energy bills, check for air leaks. Regular maintenance keeps your garage comfortable and protected.

Credit: bluetexinsulation.com
How Insulation Affects Garage Uses
Insulating your metal garage makes it more flexible:
- Workshop: Tools work better in stable temperatures
- Storage: Protects items from moisture and heat
- Gym: Comfort improves workouts
- Home office: Quiet and stable environment
Many people turn insulated garages into living spaces. If you plan to install heating or cooling, insulation is a must.
Environmental Impact And Energy Savings
Insulation lowers your carbon footprint. Less energy is used for heating and cooling. According to the EPA, insulated buildings can cut greenhouse gas emissions by over 10%.
Choose eco-friendly insulation materials if possible. Fiberglass and foam board are recyclable. Spray foam has improved, but look for low-VOC products.
For more information, see Energy.gov.
Credit: midweststeelcarports.com
Frequently Asked Questions
What Is The Best Insulation For A Metal Garage?
The best choice depends on your climate and budget. Spray foam offers high R-value and moisture resistance. Fiberglass batts are affordable and easy to install. Foam board is good for doors and walls. If you want a quick, inexpensive solution, try reflective insulation.
Do I Need A Vapor Barrier For Metal Garages?
Yes. Metal attracts condensation, which can lead to rust and mold. A vapor barrier protects insulation and keeps your garage dry. Always install plastic sheeting or a similar barrier before adding insulation.
Can I Insulate My Garage Myself?
Most people can do it themselves with basic tools. Measure carefully, follow safety steps, and seal all edges. If your garage has complex wiring or plumbing, consider professional help for safety.
How Thick Should Insulation Be For A Metal Garage?
Thickness depends on your climate. In cold areas, use R-13 or higher for walls and R-19 or higher for ceilings. In warm climates, R-8 to R-13 is enough. Always check local building codes for minimum requirements.
How Long Does Garage Insulation Last?
Quality insulation lasts 20–40 years if installed and maintained well. Check yearly for damage or moisture. Replace any worn or wet sections to keep your garage protected.
Insulating a metal garage is a smart investment. With the right material and steps, you’ll enjoy better comfort, lower bills, and a safer space. Take your time, follow these tips, and your garage will be transformed.