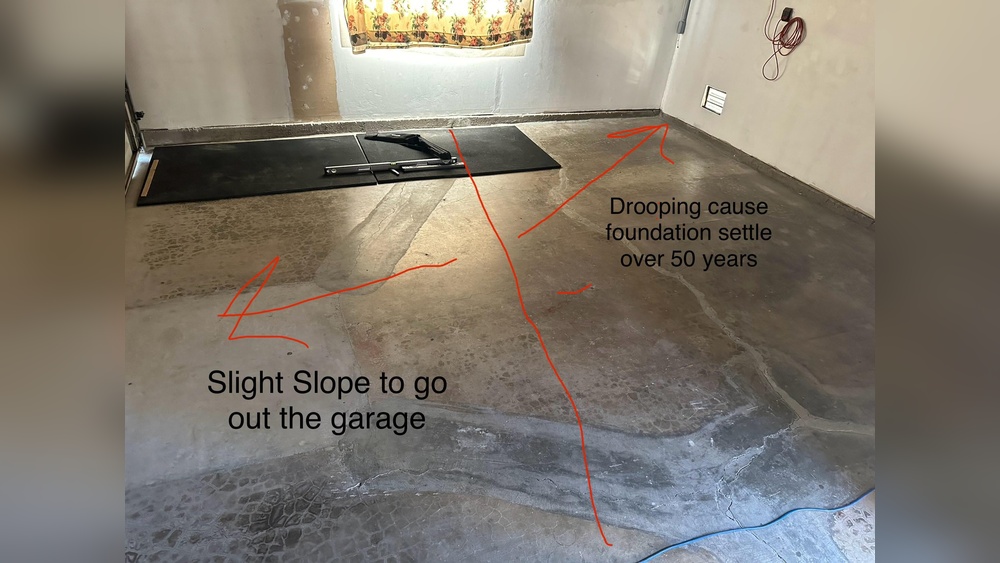
Leveling a garage floor is a task many homeowners face, especially in older homes or when planning a renovation. Uneven floors cause problems: water pools, doors stick, storage shelves wobble, and car tires wear unevenly. Fixing these issues isn’t just about looks—it’s about safety and functionality. If you’re new to DIY, this guide will walk you through every step, using simple words and clear examples so you can confidently level your garage floor.
Why Garage Floors Become Uneven
Over time, garage floors often shift or crack. Here are some common causes:
- Soil movement: If the ground beneath your garage shifts, your concrete slab may sink or tilt.
- Poor installation: Concrete poured unevenly or not allowed to cure properly can lead to dips and high spots.
- Water damage: Leaks or poor drainage can weaken concrete, making it uneven.
According to the American Concrete Institute, nearly 30% of garage floors in homes older than 20 years show significant unevenness.
Signs You Need To Level Your Garage Floor
Not sure if your garage floor needs leveling? Look for these signs:
- Visible cracks: Deep or wide cracks often signal uneven pressure.
- Standing water: Puddles after rain or washing your car are a clear warning.
- Uneven surface: Feel bumps or dips when you walk across the floor.
- Difficulty opening doors: Garage doors may jam or drag on the floor.
- Wobbly shelves: Storage units or workbenches don’t sit flat.
If you notice one or more of these, leveling your garage floor can prevent bigger problems later.
How To Level A Garage Floor: Step-by-step
Leveling a garage floor is possible for beginners, but you’ll need patience and the right tools. Here’s a straightforward process, broken down into easy steps.
1. Gather Your Tools And Materials
You’ll need:
- Concrete patch or leveling compound: For filling holes and leveling dips.
- Primer: Helps the compound stick to the floor.
- Large bucket: For mixing.
- Trowel or squeegee: For spreading the compound.
- Broom and vacuum: For cleaning.
- Safety gear: Gloves, mask, and goggles.
Expect to spend $150–$600 on materials, depending on floor size and product quality.
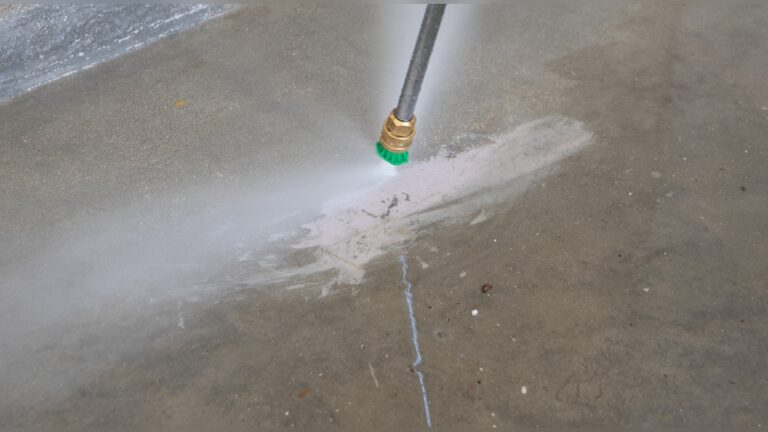
2. Clean And Prepare The Surface
A clean surface ensures the leveling compound sticks well. Follow these steps:
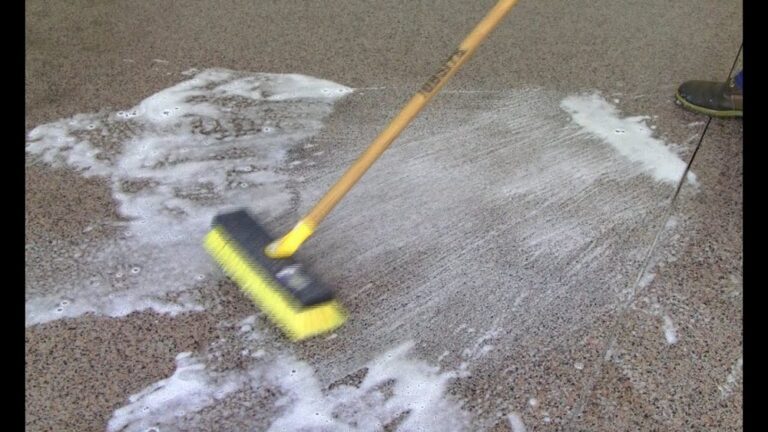
- Sweep and vacuum the entire floor.
- Remove oil stains with degreaser.
- Fill deep cracks with concrete patch; let it dry fully.
Tip: Moisture is the enemy. Make sure the floor is dry before moving forward.
3. Check For High And Low Spots
Use a long level or straightedge (at least 6 feet) to find uneven areas.
- Place the tool on the floor and move it around.
- Mark low spots with chalk.
- Mark high spots too—these will need grinding or special attention.
Example: If your garage floor slopes by more than 1/4 inch per foot, leveling is critical.
4. Apply Primer
Most leveling compounds need a primer.
- Use a paint roller or brush to spread primer over the clean floor.
- Let it dry as recommended (usually 1–2 hours).
Primer makes the compound stick better and prevents future cracks.
5. Mix And Pour Leveling Compound
Follow the manufacturer’s instructions:
- Mix compound in a large bucket.
- Pour into low areas first.
- Use a trowel or squeegee to spread evenly.
Work quickly: many compounds start to set in 10–20 minutes.
6. Smooth The Surface
After pouring, smooth the compound:
- Move the trowel in sweeping motions.
- Blend edges so there are no visible lines.
Tip: For larger areas, a long-handled squeegee saves time and back pain.
7. Let The Floor Cure
Curing is vital for strength.
- Most compounds need 24–48 hours to set fully.
- Avoid walking or driving on the floor during this time.
For best results, maintain a temperature between 60–80°F in the garage.
8. Inspect And Test
Check the floor with your level:
- If you find small dips, you can repeat steps 5–7.
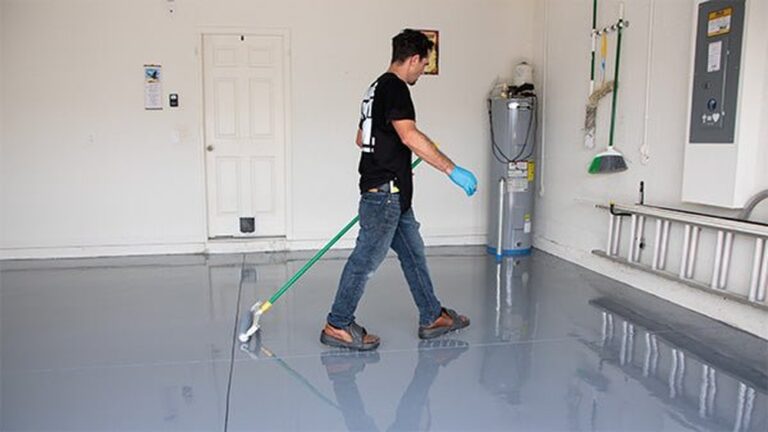
- Once satisfied, you can paint, seal, or install flooring.
Concrete Leveling Compound Vs. Other Methods
There are different ways to level a garage floor. Here’s a comparison to help you decide:
| Method | Cost per sq. ft. | DIY Difficulty | Best for |
|---|---|---|---|
| Self-leveling compound | $2–$5 | Beginner | Small dips, minor cracks |
| Concrete resurfacing | $3–$8 | Intermediate | Large areas, deep damage |
| Slab jacking (professional) | $10–$15 | Expert | Major sinking |
Most beginners use self-leveling compound, which is affordable and easy to apply.

Credit: www.youtube.com
Common Mistakes And How To Avoid Them
Even simple jobs can go wrong. Watch out for these errors:
- Skipping cleaning: Dust and oil stop the compound from sticking.
- Ignoring primer: Without primer, cracks may return.
- Pouring too thick: Most compounds need layers thinner than 1 inch.
- Not checking temperature: Cold or hot garages can ruin the cure.
To avoid problems:
- Follow product instructions exactly.
- Take your time on prep work—it pays off.
Practical Example: Leveling A 2-car Garage
Let’s walk through a real case:
- Area: 400 sq. Ft.
- Problem: 1-inch dip in the center.
- Solution: Used two bags of self-leveling compound ($80 per bag).
- Prep time: 3 hours (cleaning, patching, priming).
- Pouring time: 1 hour.
- Curing time: 48 hours.
Result: The owner fixed water pooling, made shelving stable, and improved door function—all for under $300.

Credit: www.reddit.com
How Long Does It Take?
Time depends on size and damage. For a typical garage:
| Step | Estimated Time |
|---|---|
| Cleaning and patching | 2–3 hours |
| Priming | 1 hour |
| Mixing and pouring | 1–2 hours |
| Curing | 24–48 hours |
For beginners, plan a weekend for the whole project.
Do You Need Professional Help?
Most minor leveling jobs are DIY-friendly. But call a professional if:
- The floor has deep cracks (wider than 1 inch).
- You notice major sinking or large voids under the slab.
- You’re unsure about water drainage or soil movement.
Professionals use tools like slab jacking or mudjacking for heavy repairs.
Floor Finishes After Leveling
After leveling, you can improve the look and durability of your garage floor. Here are popular options:
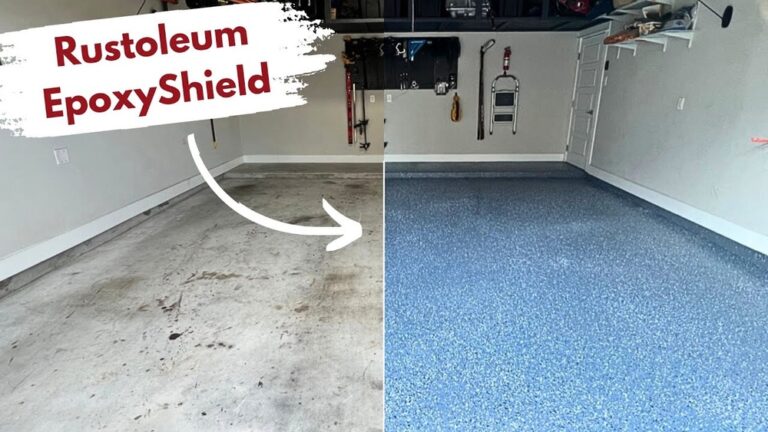
- Epoxy coating: Protects against stains and chemicals.
- Concrete sealer: Keeps moisture out.
- Garage floor tiles: Easy to install, available in many designs.
These finishes make cleaning easier and extend the life of your floor.
Data: Garage Floor Leveling Costs In The Us
To help you plan, here’s a breakdown of typical costs:
| Area Size | DIY Cost | Professional Cost |
|---|---|---|
| Single car (200 sq. ft.) | $250–$500 | $1,000–$2,000 |
| Two car (400 sq. ft.) | $400–$800 | $2,000–$3,500 |
| Three car (600 sq. ft.) | $600–$1,200 | $3,000–$5,000 |
DIY is much cheaper, but large or complex repairs may need expert help.
Credit: precisiondoorlongbeach.com
Non-obvious Insights For Beginners
- Humidity matters: High humidity slows curing and can weaken the compound. If possible, work in dry weather and use a dehumidifier.
- Thin layers are stronger: Applying two thin layers of compound gives better strength than one thick pour. This reduces cracking and improves durability.
- Check floor slope for drainage: Ideally, your garage floor should slope slightly (about 1/8 inch per foot) toward the outside. This prevents future water pooling.
- Test for moisture before starting: Tape a plastic sheet to the floor for 24 hours. If condensation appears, fix moisture issues first.
Frequently Asked Questions
How Do I Know If My Garage Floor Is Too Uneven For Diy Leveling?
If the floor has dips or rises more than 2 inches, or you see deep cracks wider than 1 inch, professional help is safer. For minor unevenness (less than 1 inch), DIY leveling works well.
What Is The Best Leveling Compound For Garage Floors?
Look for a self-leveling concrete compound designed for high-traffic and heavy loads. Brands like Ardex, Quikrete, and Sika are trusted. Always check that it’s rated for garage use.
Can I Use Regular Concrete To Level My Garage Floor?
Regular concrete doesn’t spread as smoothly as leveling compound. It’s harder to get a flat finish. Use a product labeled self-leveling for best results.
How Long Before I Can Drive On A Newly Leveled Garage Floor?
Wait at least 48 hours after leveling. For heavy vehicles, some compounds recommend up to 7 days. Always check the product instructions.
Is It Possible To Level A Garage Floor In Winter?
Yes, but keep the garage above 50°F during curing. Cold slows drying and can weaken the finish. Use heaters and close doors to maintain temperature.
Leveling your garage floor brings safety, comfort, and value to your home. With the right tools, careful prep, and some patience, even beginners can achieve a flat, durable surface. If your project feels too big, don’t hesitate to call a professional. For more details and tips, visit Concrete Network.