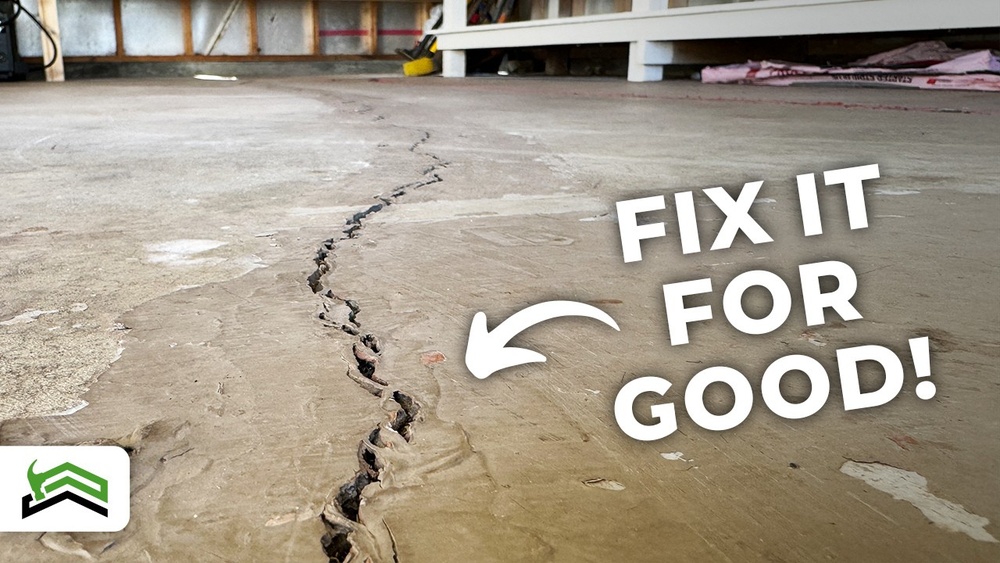
Cracks in your garage floor are more than just an eyesore. They can let in water, dust, and pests. Sometimes, cracks even point to bigger problems like shifting foundations or poor concrete mixing. If you’re a homeowner, fixing garage floor cracks can seem hard.
But with simple steps and the right materials, you can restore your garage floor and prevent future damage.
This guide is designed for beginners. It covers everything from why cracks form, how to assess them, and step-by-step repair methods. You’ll also find practical examples, useful data, and answer-focused explanations to help you fix cracks in your garage floor with confidence.
Why Garage Floor Cracks Happen
Understanding why your garage floor cracks is important before you start repairs. Here are the main reasons:
- Shrinkage: When concrete dries, it shrinks. This can cause small, thin cracks.
- Settlement: If the ground under the garage moves, it can cause wider cracks.
- Heavy loads: Parking cars, storing heavy tools, or machinery can stress the floor.
- Freeze-thaw cycles: In cold areas, water enters cracks, freezes, and expands, making cracks worse.
- Poor installation: If the concrete wasn’t mixed or poured properly, cracks can appear sooner.
Example: In the US, freeze-thaw damage is a common cause for cracks, especially in states like Minnesota or Wisconsin. According to the American Concrete Institute, about 30% of garage floor cracks are due to shrinkage and settlement.
Identifying Crack Types And Severity
Not all cracks are the same. Some are cosmetic, while others could signal structural issues. Here’s how to check the type and severity:
- Hairline cracks: Less than 1/8 inch wide. Usually surface-level and not dangerous.
- Wide cracks: More than 1/4 inch wide. These might indicate foundation movement or heavy load damage.
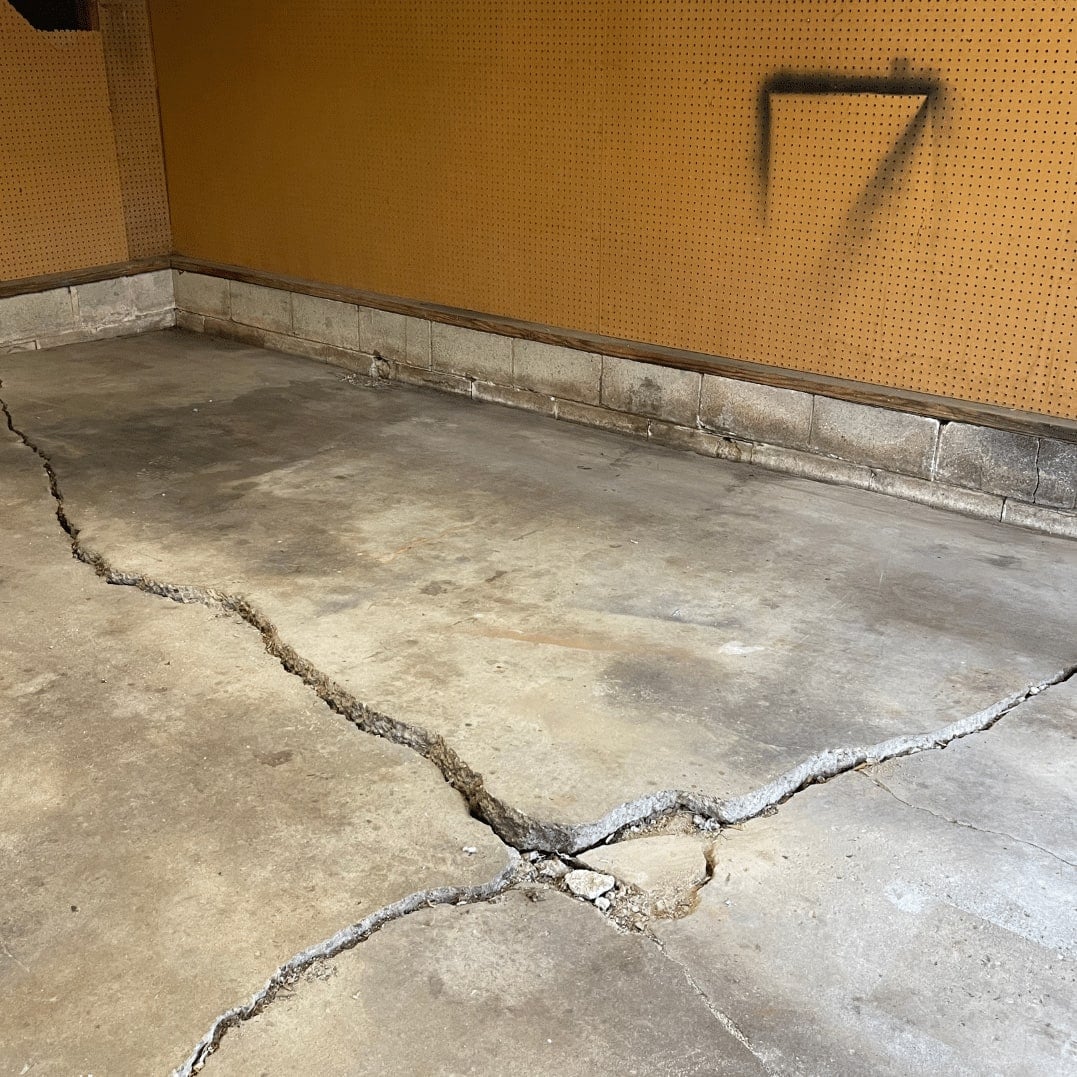
- Jagged cracks: Irregular, sometimes branching. Often caused by settling or poor concrete.
- Displaced cracks: One side is higher than the other. This suggests serious settling.
Quick test: Use a coin or screwdriver to measure crack width. If it fits easily into the crack, you have a wider crack.
| Crack Type | Width | Repair Needed |
|---|---|---|
| Hairline | < 1/8 inch | Surface patching |
| Wide | > 1/4 inch | Deep filling, possibly professional help |
| Displaced | Varies | May need structural assessment |
Credit: www.dap.com
Choosing The Right Materials For Repair
Selecting the correct material is crucial for a lasting fix. Here are the most common options:
- Concrete crack filler: Good for hairline and small cracks. Comes in liquid or paste form.
- Epoxy resin: Strong, durable. Best for wider cracks and heavy-use areas.
- Polyurethane sealant: Flexible, works well in garages with temperature swings.
- Vinyl concrete patch: Used for deep or wide cracks.
Comparison example: Epoxy resin costs about $30 per quart, but lasts 10+ years. Crack filler is cheaper ($8–$15 per bottle), but may need reapplication in 3–5 years.
| Material | Best For | Estimated Lifespan | Price Range |
|---|---|---|---|
| Concrete crack filler | Small cracks | 3-5 years | $8-$15 |
| Epoxy resin | Wide/deep cracks | 10+ years | $25-$40 |
| Polyurethane sealant | Flexible repair | 8-10 years | $20-$35 |
| Vinyl patch | Deep cracks | 5-7 years | $15-$25 |
Tools And Supplies You’ll Need
Before starting, gather these tools:
- Wire brush: For cleaning cracks.
- Vacuum or air blower: Removes dust and debris.
- Chisel and hammer: To widen cracks for better filler bonding.
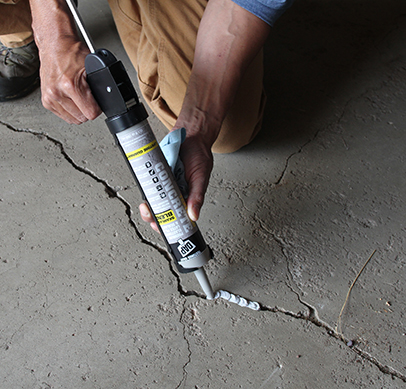
- Caulking gun: If using sealant or crack filler tubes.
- Trowel: For smoothing repairs.
- Protective gloves: Safety first.
Tip: Don’t skip cleaning. Dirt stops filler from bonding well.
Step-by-step Guide To Fixing Garage Floor Cracks
Follow these clear steps to repair cracks in your garage floor:
1. Clean The Crack
- Sweep the area with a broom.
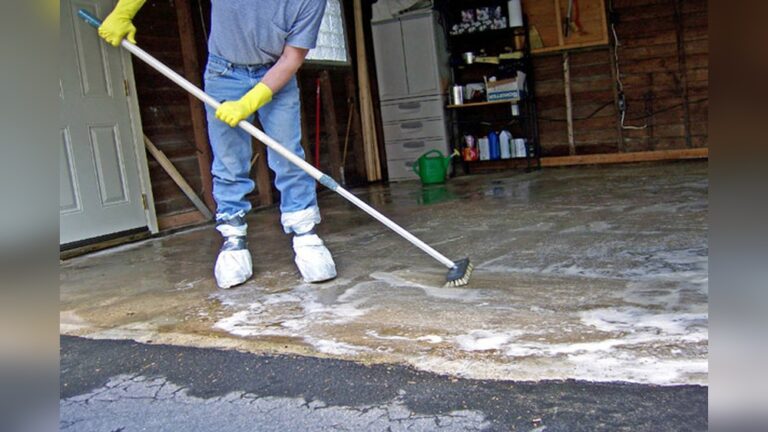
- Use a wire brush to scrub inside the crack.
- Vacuum out loose particles. Make sure the crack is dry before moving to the next step.
Beginner insight: Moisture is a common mistake. If the crack is wet, wait until it dries. Filler won’t stick to wet concrete.
2. Widen And Deepen The Crack (if Needed)
- For cracks wider than 1/4 inch, use a chisel and hammer to slightly widen and deepen the crack. This helps the filler bond.
- Remove any loose concrete pieces.
Practical tip: Wear safety glasses. Small chips can fly up when chiseling.
3. Apply The Crack Filler
- For hairline cracks, use liquid crack filler. Squeeze it directly into the crack.
- For wider cracks, use epoxy or vinyl patch. Mix according to package instructions.
- Fill the crack, making sure there are no air pockets.
Example: For a crack 1/8 inch wide and 3 feet long, you’ll need about 8 oz of crack filler.
4. Smooth The Surface
- Use a trowel to level the filler with the rest of the floor.
- For deep repairs, add filler in layers. Wait for each layer to dry.
Common mistake: Overfilling. It’s better to add a little at a time.
5. Let The Repair Cure
- Check product instructions for drying time. Most fillers need 24–48 hours.
- Keep foot and vehicle traffic off the repaired area until fully cured.
Non-obvious insight: Curing time depends on room temperature. In cold garages, curing may take longer.
6. Seal The Garage Floor (optional)
- After cracks are fixed, consider applying a concrete sealer over the whole floor.
- Sealer prevents water and stains from entering future cracks.
Data: Sealing reduces new cracks by up to 40%, according to the Portland Cement Association.
Extra Tips For A Durable Repair
- Temperature matters: Repair when it’s above 50°F (10°C). Cold slows curing.
- Don’t rush: Give each layer time to dry before applying the next.
- Check for underlying problems: If cracks keep coming back, check for drainage or foundation issues.
- Consider professional help: For displaced cracks or cracks wider than ½ inch, a contractor may be needed.
Preventing Future Cracks
After your repair, keep your garage floor in good shape:
- Seal cracks quickly: Address new cracks right away.
- Control humidity: Use a dehumidifier if your garage is damp.
- Avoid heavy impacts: Drop tools and heavy objects gently.
- Improve drainage: Make sure water doesn’t pool around your garage.
Example: Homeowners who check their garage floor twice a year and seal new cracks see fewer repairs over time.
When To Call A Professional
Sometimes, cracks are too serious for DIY fixes. Here’s when to ask for expert help:
- Crack is wider than ½ inch or keeps growing.
- Floor is uneven or sinking.
- Water leaks through the crack.
- You see signs of foundation movement.
Stat: According to HomeAdvisor, professional crack repair costs $300–$1,200 depending on severity.
Credit: golevelup.com
Cost Comparison: Diy Vs. Professional Repair
Here’s a quick look at costs for fixing garage floor cracks yourself versus hiring a pro:
| Repair Type | DIY Cost | Professional Cost | Time Required |
|---|---|---|---|
| Hairline cracks | $15-$40 | $150-$300 | 1–2 hours |
| Wide cracks | $40-$100 | $300-$1,200 | 2–4 hours |
| Displaced cracks | N/A | $1,000+ | 1–2 days |
Non-obvious insight: DIY is cost-effective for small cracks, but hiring a pro saves time and prevents hidden issues for large repairs.
Common Mistakes Beginners Make
Avoid these errors for a better repair:
- Skipping cleaning: Filler won’t bond well if the crack is dirty.
- Ignoring curing times: Walking or driving on repairs too soon can ruin them.
- Using wrong material: Cheap fillers may not last, especially in heavy-use garages.
- Overfilling cracks: Excess filler makes bumps that are hard to fix later.
- Missing foundation problems: Sometimes cracks are a symptom of bigger issues.

Credit: www.youtube.com
Frequently Asked Questions
What Is The Best Crack Filler For Garage Floors?
For most small cracks, concrete crack filler works well. For wider cracks, epoxy resin is more durable. Choose a filler suited for your crack type and garage conditions.
How Long Does It Take To Fix Garage Floor Cracks?
Most repairs take about 1–2 hours for small cracks. Wider cracks can take longer, especially if you need to let each layer dry. Always check product instructions for exact drying times.
Can I Drive On Repaired Cracks Right Away?
No. You should wait until the filler is fully cured. This usually takes 24–48 hours. Driving too soon can damage your repair.
Will Repaired Cracks Come Back?
If you use quality materials and follow the steps carefully, repairs should last for years. However, new cracks can form if there are underlying issues like moisture or settling.
How Do I Know If My Cracks Are A Sign Of A Bigger Problem?
If cracks are wide, uneven, or growing, or if your garage floor is sinking, you may have a structural issue. In these cases, it’s best to consult a professional or check resources like American Concrete Institute.
Fixing cracks in your garage floor is a task most homeowners can handle. With good preparation, the right materials, and proper technique, you’ll have a smooth, strong floor once again. Regular checks and quick repairs will keep your garage safe and looking great for years to come.