Replacing garage door rollers is a task many homeowners can tackle with a little patience and the right tools. Worn or damaged rollers can make your garage door noisy, slow, or even unsafe. Upgrading them can help your door move smoothly and quietly, saving you from costly repairs later.
This guide will walk you through the process step by step, focusing on safety, clear instructions, and practical advice. You’ll also find helpful tips, data, and answers to common questions, making sure you finish the job with confidence.
Why Change Garage Door Rollers?
Garage door rollers allow the door to move up and down along its tracks. Over time, these rollers wear out due to frequent use, dirt, and weather. Here’s why you should consider replacing them:
- Noise reduction: Old rollers create squeaks and grinding sounds.
- Smoother movement: Fresh rollers reduce jerks and sticking.
- Safety: Damaged rollers can cause the door to jump tracks.
- Longer door life: Less stress on the opener and tracks.
Most garage doors are used 3-5 times daily. That means over 1,000 cycles a year, wearing down the rollers. Replacing them every 5-7 years is recommended for standard plastic rollers, or every 10-15 years for high-quality steel or nylon rollers.
Understanding Garage Door Roller Types
Choosing the right replacement rollers is key. Rollers come in different materials and sizes. Here’s a simple breakdown:
| Roller Type | Material | Typical Lifespan | Noise Level |
|---|---|---|---|
| Plastic | Plastic | 2-3 years | High |
| Steel (no ball bearings) | Steel | 3-5 years | Medium |
| Nylon (with ball bearings) | Nylon/Steel | 10-15 years | Low |
- Plastic rollers: Cheapest, but wear out quickly and are noisy.
- Steel rollers: Strong, but can be loud and require oiling.
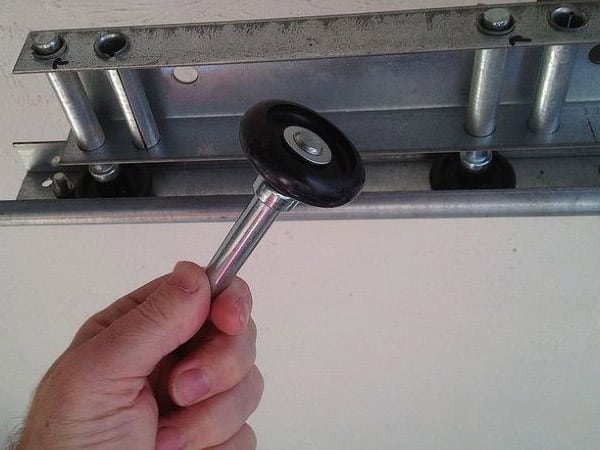
- Nylon rollers: Quietest and last the longest. Ideal for most homes.
Most doors use 2-inch rollers, but measure yours before buying replacements.
Tools And Materials Needed
Having the right tools makes the job safer and easier. Here’s a checklist:
- Replacement rollers (match your current size)
- Wrench set or socket set
- Flathead screwdriver
- Locking pliers (vise grips)
- Work gloves and safety glasses
- Step ladder
- Garage door lubricant spray
Optional but helpful:
- Pry bar (for stubborn rollers)
- Cloth or rag (for cleaning tracks)
Safety Precautions Before Starting
Working with garage doors involves risks. The door is heavy, and the springs are under tension. Follow these safety steps:
- Disconnect power to the garage door opener.
- Close the door completely before starting.
- Never remove the bottom roller with the spring under tension.
- Wear gloves and safety glasses to protect hands and eyes.
- Work with a friend if possible for added safety.
Insider tip: Many beginners forget to unplug the opener. This can lead to accidental activation and serious injury.
Step-by-step: How To Replace Garage Door Rollers
1. Open The Garage Door
Open the door manually to about chest height. If you disconnect the opener, you can lift the door and rest it on the ladder or locking pliers to keep it stable.
2. Secure The Door
Place a locking plier just below the bottom roller on the track. This will keep the door from moving while you work.
3. Remove Old Rollers
- Identify one roller at a time.
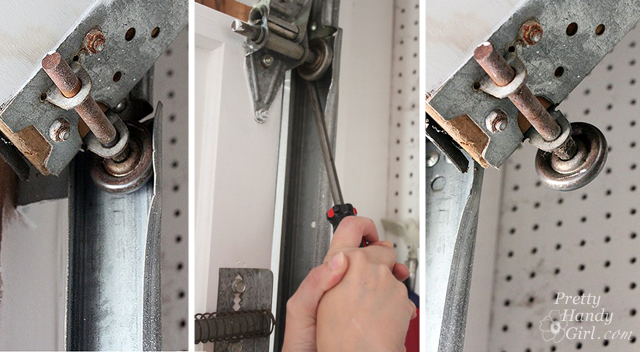
- Use a flathead screwdriver to slightly bend the track opening near the roller (not at the bottom bracket).
- Slide the roller out of the track.
- If the roller is stuck, gently use a pry bar for leverage.
4. Insert New Rollers
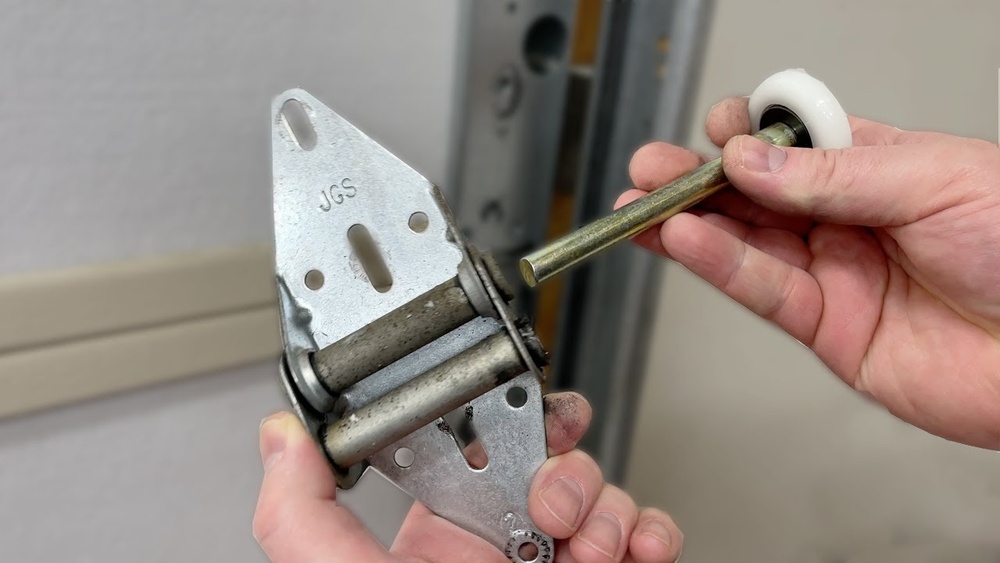
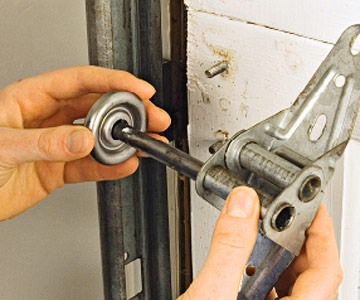
- Slide the new roller into the hinge or bracket.
- Align the roller with the track, then roll the door so the new roller enters the track opening you made.
- Repeat for each roller, working from the bottom up. Do not remove more than one hinge at a time.
Expert tip: Replacing all rollers at once saves time, but for beginners, do one at a time to avoid confusion.
5. Close And Test The Door
Once all rollers are replaced, remove the pliers and lower the door slowly. Reconnect the opener and test the door’s movement. Listen for smooth, quiet operation.
6. Lubricate
Apply garage door lubricant spray to each roller and hinge. Avoid WD-40—it’s not made for garage doors.
7. Clean Up
Wipe excess grease and check the tracks for any debris or damage.
Common Mistakes And How To Avoid Them
Even careful DIYers can make mistakes. Here’s what to watch for:
- Skipping safety steps: Always unplug the opener and use locking pliers.
- Choosing wrong rollers: Measure your old rollers—don’t guess.
- Using the wrong lubricant: Household oil or WD-40 attracts dirt. Use garage door lubricant.
- Removing bottom roller incorrectly: These connect to the tension cable. Removing them can cause injury.
- Forgetting to test after each roller: Test the door’s movement after every few roller changes to spot problems early.
Credit: a1garage.com
Cost And Time Estimates
Knowing what to expect helps you plan. Here’s a quick look at the average costs and time needed:
| Roller Type | Cost per Roller | Total Cost (10 rollers) | Time to Install |
|---|---|---|---|
| Plastic | $2-$4 | $20-$40 | 1-2 hours |
| Steel | $3-$6 | $30-$60 | 1-2 hours |
| Nylon (with bearings) | $5-$8 | $50-$80 | 1-2 hours |
- Most standard doors have 10-12 rollers.
- Labor from a pro costs $100-$150, but DIY saves on this.
- Nylon rollers are more expensive, but last 2-3 times longer.
When To Call A Professional
Some situations are best left to trained technicians:
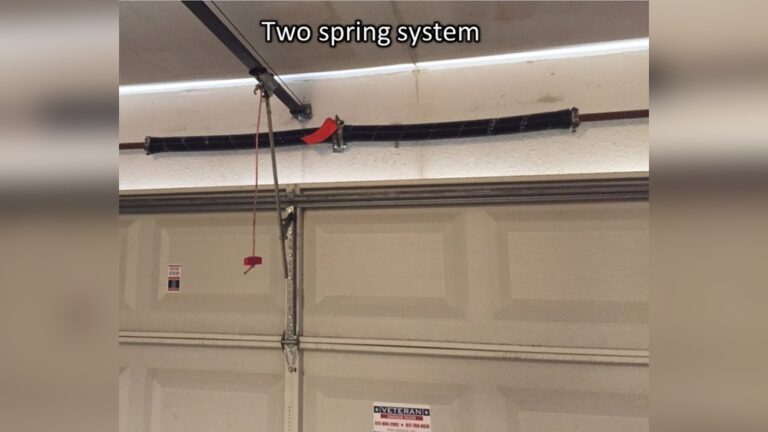
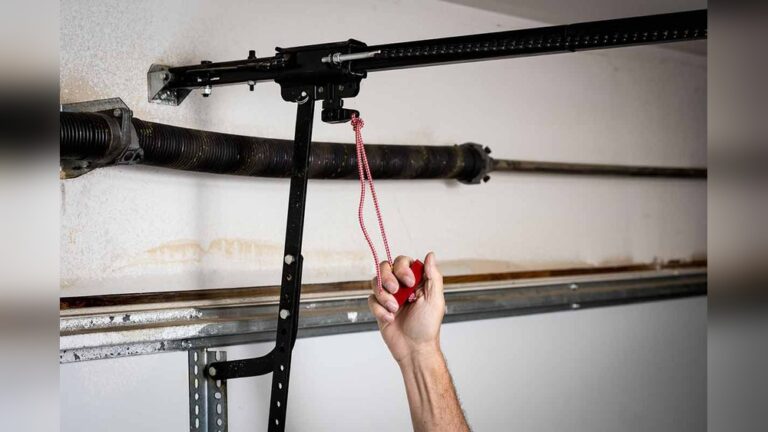
- If your garage door has torsion springs (located above the door), do not attempt to remove bottom rollers yourself.
- If the door is off its track or bent, seek help.
- If you feel unsure at any point, stop and call a pro.
A technician has the right tools and training to handle complex or dangerous repairs. For most standard roller replacements, though, careful DIY is safe and effective.
Credit: overheaddoorgardencity.com
Practical Tips For A Smoother Job
- Take photos as you go to help remember roller positions.
- Lay out all tools before starting for quick access.
- Keep children and pets away during the repair.
- Check the entire track for damage while you’re replacing rollers.
- Replace all rollers at once to avoid repeating the process soon.
Beginner insight: Many people replace only the noisy rollers and skip the rest. It’s smarter to replace them all for even wear and fewer future problems.
Maintenance After Roller Replacement
To keep your garage door running smoothly after the job:
- Lubricate the rollers and hinges every six months.
- Check for loose bolts and tighten as needed.
- Clean tracks with a damp rag to remove dirt and debris.
- Listen for new noises; they can signal other issues.
Regular care extends the life of both rollers and the garage door itself.
Credit: prettyhandygirl.com
How To Choose The Best Rollers For Your Door
Not all rollers are equal. Consider these factors:
- Material: Nylon is best for quiet operation. Steel is better for heavy doors but can be noisy.
- Ball bearings: More bearings mean smoother, longer-lasting rollers.
- Size: Standard is 2-inch diameter, but measure yours to be sure.
If your garage is attached to your home, quieter rollers (nylon) are a smart choice.
Environmental And Energy Impact
Quality rollers reduce drag and noise, but they also help your door seal properly. This keeps out drafts and pests, and can even save a little on energy bills. Nylon rollers, for example, have 30% less friction than steel, which means less strain on your opener and lower electricity use over time.
Extra Resources
If you need more detail or want to see a video, check out the Family Handyman’s step-by-step guide. They offer photos and advanced tips for different door types.
Frequently Asked Questions
How Often Should I Replace Garage Door Rollers?
Most experts recommend replacing plastic rollers every 3-5 years and nylon or steel rollers every 10-15 years. If your door is noisy or jerky, it’s time to check the rollers.
Can I Replace Garage Door Rollers Myself?
Yes, many homeowners can replace rollers with basic tools and safety steps. Avoid working on rollers attached to spring cables or the bottom bracket unless you have training.
What Size Garage Door Rollers Do I Need?
Most residential doors use 2-inch rollers, but measure the diameter of your old rollers and the shaft length to be sure before buying.
Are Nylon Rollers Better Than Steel?
Nylon rollers are quieter and last longer than steel, but steel rollers are stronger for extra-heavy doors. For most homes, nylon is the best choice.
Do I Need To Lubricate New Rollers?
Yes, even new rollers benefit from garage door lubricant. Lubricate them after installation, and every six months for best performance.
Replacing garage door rollers is a valuable DIY project that improves your door’s performance, noise level, and safety. With the right tools, clear steps, and a focus on safety, most beginners can finish the job in an afternoon. Remember, regular maintenance and smart replacement choices keep your garage door rolling smoothly for years to come.