Many homeowners overlook their garage door when thinking about insulation. Yet, a poorly insulated garage door can make your whole house less energy efficient. Hot or cold air easily passes through thin garage doors, making your garage uncomfortable and pushing your heating or cooling systems to work harder. Insulating your garage door is a smart upgrade. It can save energy, protect your belongings, and even make your garage a more useful space.
Let’s look at how to insulate a garage door, the best materials, and practical steps for beginners. Whether you’re aiming to cut energy bills, reduce noise, or keep your garage at a stable temperature, this guide gives clear answers.
Why Insulate Your Garage Door?
Many people ask if garage door insulation is worth it. The answer is usually yes, especially if your garage connects to your home or you use it for more than just parking.
Main benefits:
- Energy savings: Insulated doors keep outside temperatures from affecting your home, lowering heating and cooling costs.
- Comfort: Your garage stays warmer in winter and cooler in summer.
- Noise reduction: Insulation helps block outside noises and reduces the sound of the door moving.
- Protection: Tools, paint, and other items stored in your garage are less likely to be damaged by extreme temperatures.
- Stronger door: Insulation can make your garage door more durable.
Did you know? Studies show an uninsulated garage door can lose up to 71% more heat than an insulated one. This leads to higher energy bills and less comfort in rooms next to the garage.
Types Of Garage Door Insulation
Choosing the right insulation is important. Different materials have different strengths, costs, and ease of installation.
Here’s a quick comparison:
| Material | R-Value (per inch) | Cost | Ease of Install | Durability |
|---|---|---|---|---|
| Polystyrene Panels | 4-5 | $$ | Easy | Good |
| Foam Board (Polyisocyanurate) | 6-7 | $$$ | Moderate | Excellent |
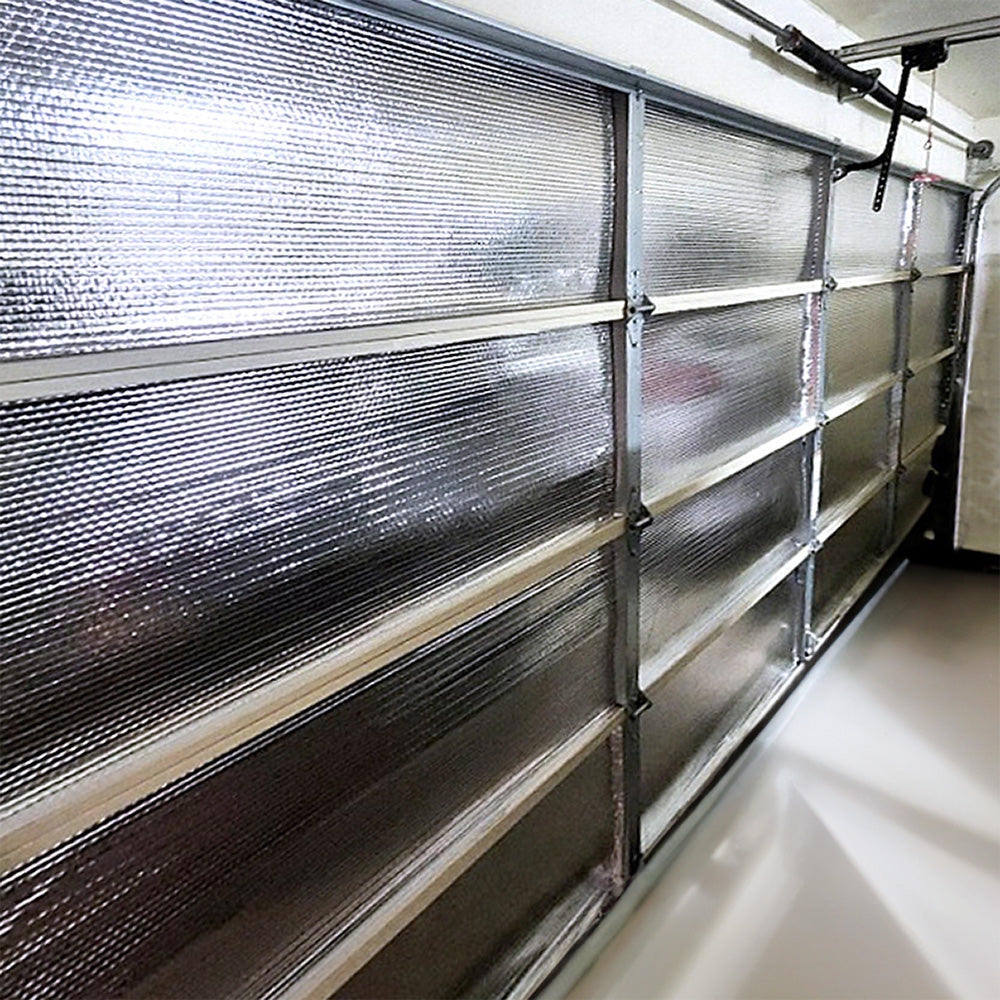
| Reflective (Radiant Barrier) | 1-2 (but reflects heat) | $ | Easy | Fair |
| Spray Foam | 6-7 | $$$$ | Hard | Excellent |
| Batt Insulation (Fiberglass) | 3-4 | $$ | Moderate | Good |
Key Points For Beginners
- Polystyrene panels are most popular for DIY. They are cut to fit and easy to handle.
- Foam boards offer higher insulation but need careful measuring and sealing.
- Reflective barriers are best in hot climates and easy to install.
- Spray foam gives top insulation but is usually done by professionals.
- Batt insulation is soft and flexible but must be covered to avoid dust.
Tip: For most beginners, polystyrene panels or reflective kits are the simplest option.
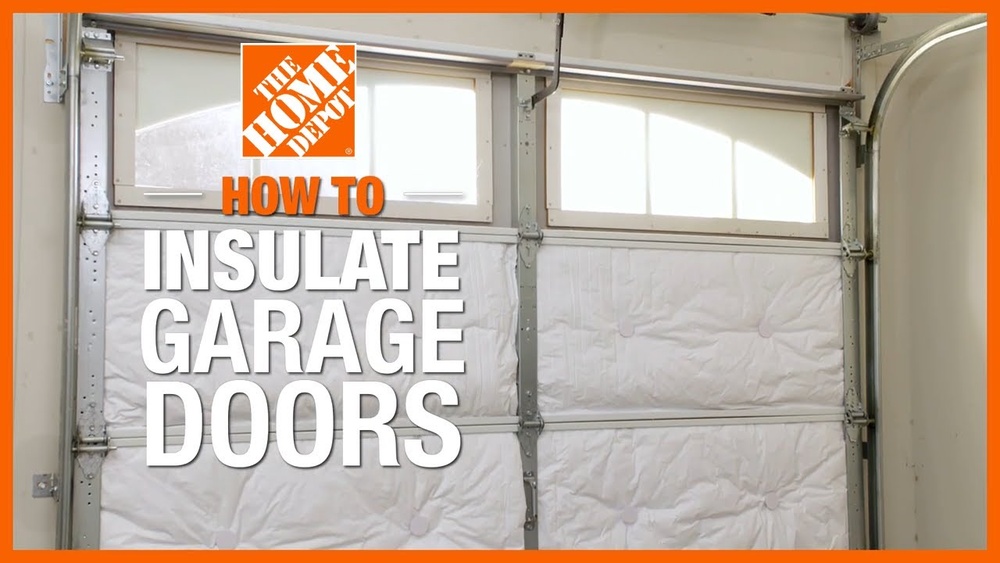
Credit: www.homedepot.com
How To Insulate A Garage Door: Step-by-step
You don’t need advanced skills or special tools. With a little time, you can install insulation in a weekend.
What You’ll Need
- Insulation panels or kits (check your door size first)
- Utility knife or saw
- Tape measure
- Heavy-duty tape or adhesive
- Gloves and safety glasses
- Straight edge or ruler
- Cleaning cloth
Step 1: Measure Your Garage Door Panels
- Count the number of panels.
- Measure the length and width of each panel.
- Write down the sizes — not all panels are always the same.
Example: A standard single garage door has 8 panels, each about 20 inches high and 45 inches wide.
Step 2: Choose And Cut Your Insulation
- Buy enough insulation to cover all panels.
- Lay insulation flat and mark the sizes with a pencil.
- Cut carefully with a sharp utility knife or saw.
Tip: Cut each piece slightly smaller than the panel size for a snug fit.
Step 3: Clean The Door Surface
- Wipe the inside of the garage door with a damp cloth.
- Let it dry. This helps the insulation stick better.
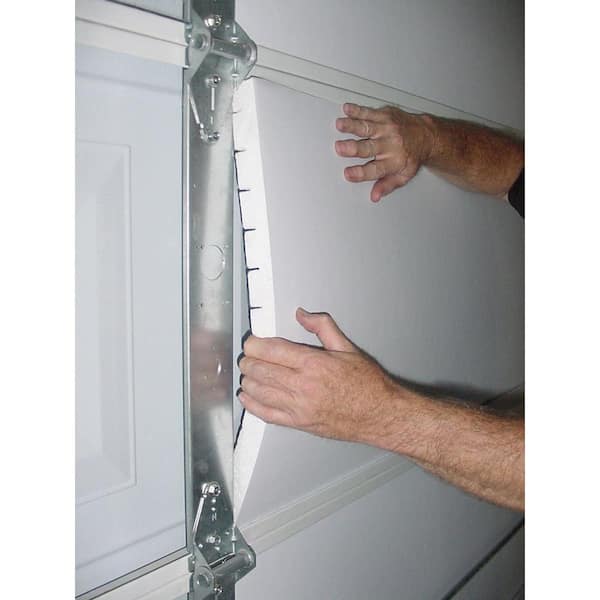
Step 4: Install The Insulation
- Press each panel into place. The insulation should stay with friction.
- For foam or reflective kits, use double-sided tape or adhesive if needed.
- Smooth out air bubbles.
Step 5: Seal The Edges
- Use heavy-duty tape to seal any gaps around each panel.
- This step prevents drafts and improves insulation.
Step 6: Check The Door Operation
- Open and close the garage door slowly.
- Make sure nothing blocks the door’s movement.
- Adjust panels if necessary.
Common mistake: Installing insulation too thick can block the door’s hinges. Always check your door’s clearance before buying materials.
How Much Does It Cost?
The price to insulate a garage door varies by material and door size.
| Material | DIY Cost (Single Door) | DIY Cost (Double Door) | Professional Install (Avg.) |
|---|---|---|---|
| Polystyrene Panels | $60–$90 | $120–$180 | $250–$500 |
| Reflective Kits | $50–$80 | $100–$160 | $200–$400 |
| Spray Foam | Not recommended for DIY | Not recommended for DIY | $300–$700 |
Good to know: Most homeowners recover insulation costs in 2–3 years through energy savings.
R-value: What Does It Mean?
R-value is a measure of how well a material resists heat flow. Higher numbers mean better insulation.
- Garage door insulation usually ranges from R-2 to R-8 for DIY kits.
- A regular steel garage door has an R-value of about 1 or less.
- Upgrading to R-6 or higher can make a big difference in comfort.
Example: If you live in a cold region, aim for the highest R-value you can install without blocking the door’s movement.
Mistakes To Avoid
Beginners often make these errors:
- Ignoring gaps around the door: Insulation panels do not seal the edges. Weatherstripping is needed for full coverage.
- Using the wrong thickness: If insulation is too thick, the door may not close or open smoothly.
- Skipping cleaning: Dusty doors make adhesive fail.
- Not measuring panels: Guessing panel sizes leads to wasted material and poor fit.
- Forgetting balance: Adding weight to the door can affect its spring balance. If your door feels heavy after insulation, a professional can adjust the springs.
Non-obvious tip: Check your garage door opener’s manual. Extra weight from insulation may require a minor adjustment.
Weatherstripping Completes The Job
Insulation alone does not stop all drafts. Add weatherstripping to:
- The bottom of the door (replace worn rubber seals)
- The sides and top (use foam or vinyl strips)
How to check: Stand inside your garage on a sunny day. If you see light around the door edges, you need new weatherstripping.
Pro tip: Weatherstripping costs $20–$50 and takes less than an hour to install.
Is Diy Or Professional Installation Better?
Most beginners can install garage door insulation with basic tools. But some situations need a pro:
- Very large or heavy doors
- Custom or carriage house doors
- If you want spray foam insulation
- If your door opener struggles with added weight
DIY pros:
- Lower cost
- Done on your schedule
- Learn new skills
Professional pros:
- Fast and neat installation
- Adjustments for door balance included
- Expert advice on materials
Data point: About 70% of U.S. homeowners choose DIY insulation for standard garage doors, according to home improvement surveys.
Credit: radiantguard.com
Maintenance Tips
Insulated garage doors need little upkeep, but a few checks help keep things working well:
- Inspect insulation panels every 6 months for damage or moisture.
- Check weatherstripping and replace if cracked or loose.
- Make sure the door opens and closes smoothly.
- Keep the inside of the door clean to help insulation last longer.
Insider advice: If your garage is damp, use a dehumidifier to prevent mold in the insulation.
Is Insulating Worth It In Warm Climates?
Some people think garage door insulation is only for cold places. That’s not true. In hot regions, insulation:
- Blocks outdoor heat from entering the garage
- Keeps stored items safe from high temperatures
- Reduces the load on your home’s air conditioner if the garage is attached
Example: In Texas summers, garage temperatures can reach 120°F. Insulation can lower that by 20–30 degrees.
Environmental Impact
Insulating your garage door is a small but meaningful step for the environment:
- Reduces your home’s energy use
- Lowers your carbon footprint
- Keeps more heat or cool air inside, so your HVAC system runs less
Fact: The average U.S. home spends about 30% of energy on heating and cooling. Improving your garage door can make a real difference.
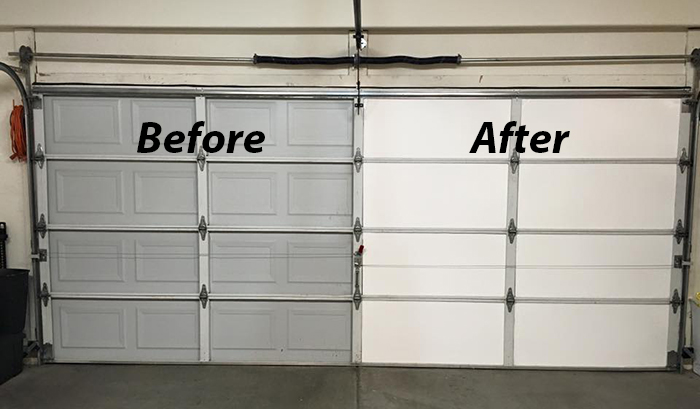
When To Replace Instead Of Insulate
Sometimes, a new insulated garage door is a better choice:
- Your current door is very old, rusted, or damaged
- You want a different style or color
- Your door is too thin or warped for panels to fit well
New insulated doors come with foam built inside. They can have R-values of 12 or higher.
Cost: $800–$1,500 for a new insulated single garage door, installed.
If you’re not sure, ask a garage door pro for advice. Sometimes, upgrading the whole door pays off in energy savings and home value.
Credit: www.abettergaragedoorinc.com
Frequently Asked Questions
What Is The Best Insulation For A Garage Door?
For most beginners, polystyrene foam panels are best. They offer a good mix of insulation, price, and easy installation. Reflective kits are a smart choice for hot climates.
How Long Does It Take To Insulate A Garage Door?
Most people finish a single door in 2–3 hours. Double doors may take 4–5 hours. Having all your tools and materials ready speeds up the job.
Does Insulating My Garage Door Make My Garage Warmer?
Yes, insulation can keep your garage up to 10–15°F warmer in winter and cooler in summer. Full results depend on sealing all gaps and the garage’s construction.
Will Insulating My Garage Door Reduce Noise?
Yes. Insulation dampens outside noises and makes the door itself quieter. This is useful if bedrooms or living spaces are next to or above the garage.
Where Can I Learn More About Garage Door Insulation?
For more technical details and professional tips, check the U.S. Department of Energy’s insulation guide.
Upgrading your garage door with insulation is a practical, beginner-friendly project. The benefits—better comfort, energy savings, and noise reduction—start right away. With the right materials and a few hours of work, you’ll notice the difference every season.