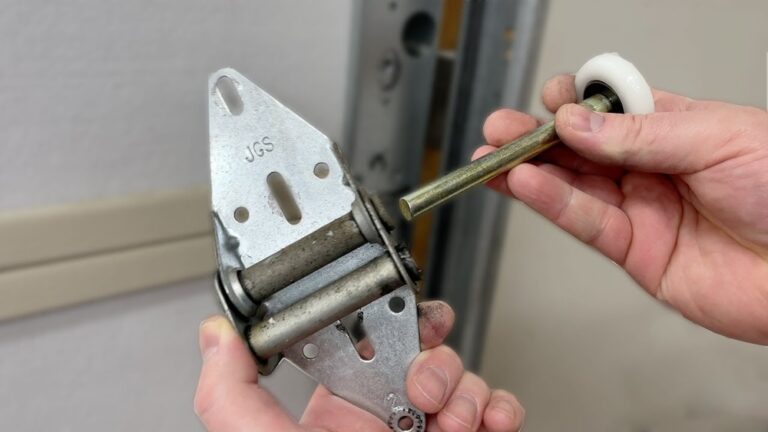
Replacing a garage door opener might sound like a complex job, but with the right guidance, even beginners can handle it. Many people face issues like noisy operation, slow response, or total failure with old openers. Upgrading not only brings smoother performance but also adds security and smart features to your home.
In this guide, you’ll learn step-by-step how to replace a garage door opener, what tools you need, common mistakes to avoid, and tips to make the process smooth. Whether you want to save money or just prefer DIY, this article gives you the full picture—simple, clear, and easy to follow.
Why Replace Your Garage Door Opener?
Modern garage door openers offer more than just opening and closing. Here are common reasons to replace:
- Old openers lack safety sensors and security features.
- Noisy operation can disturb the household.
- Slow or unresponsive units waste time.
- Broken parts can be expensive or hard to fix.
- Smart features like Wi-Fi and app control are now common.
For example, openers made before 1993 often lack auto-reverse sensors. These sensors stop the door if something is underneath, preventing injuries or damage.
Choosing The Right Garage Door Opener
Not all garage door openers are the same. Here’s what matters most:
Types Of Garage Door Openers
| Type | Noise Level | Best For | Cost Range |
|---|---|---|---|
| Chain Drive | High | Detached garages | $130–$250 |
| Belt Drive | Low | Attached garages | $180–$350 |
| Screw Drive | Medium | Moderate climates | $150–$300 |
| Direct Drive | Very low | Quiet operation | $250–$500 |
Key Features To Consider
- Horsepower (HP): 1/2 HP works for most single doors. 3/4 HP or higher is better for heavier doors.
- Safety Sensors: Essential for homes with kids or pets.
- Battery Backup: Allows use during power outages.
- Smart Controls: Wi-Fi, smartphone apps, and voice commands add convenience.
- Warranty: Longer warranties mean more peace of mind.
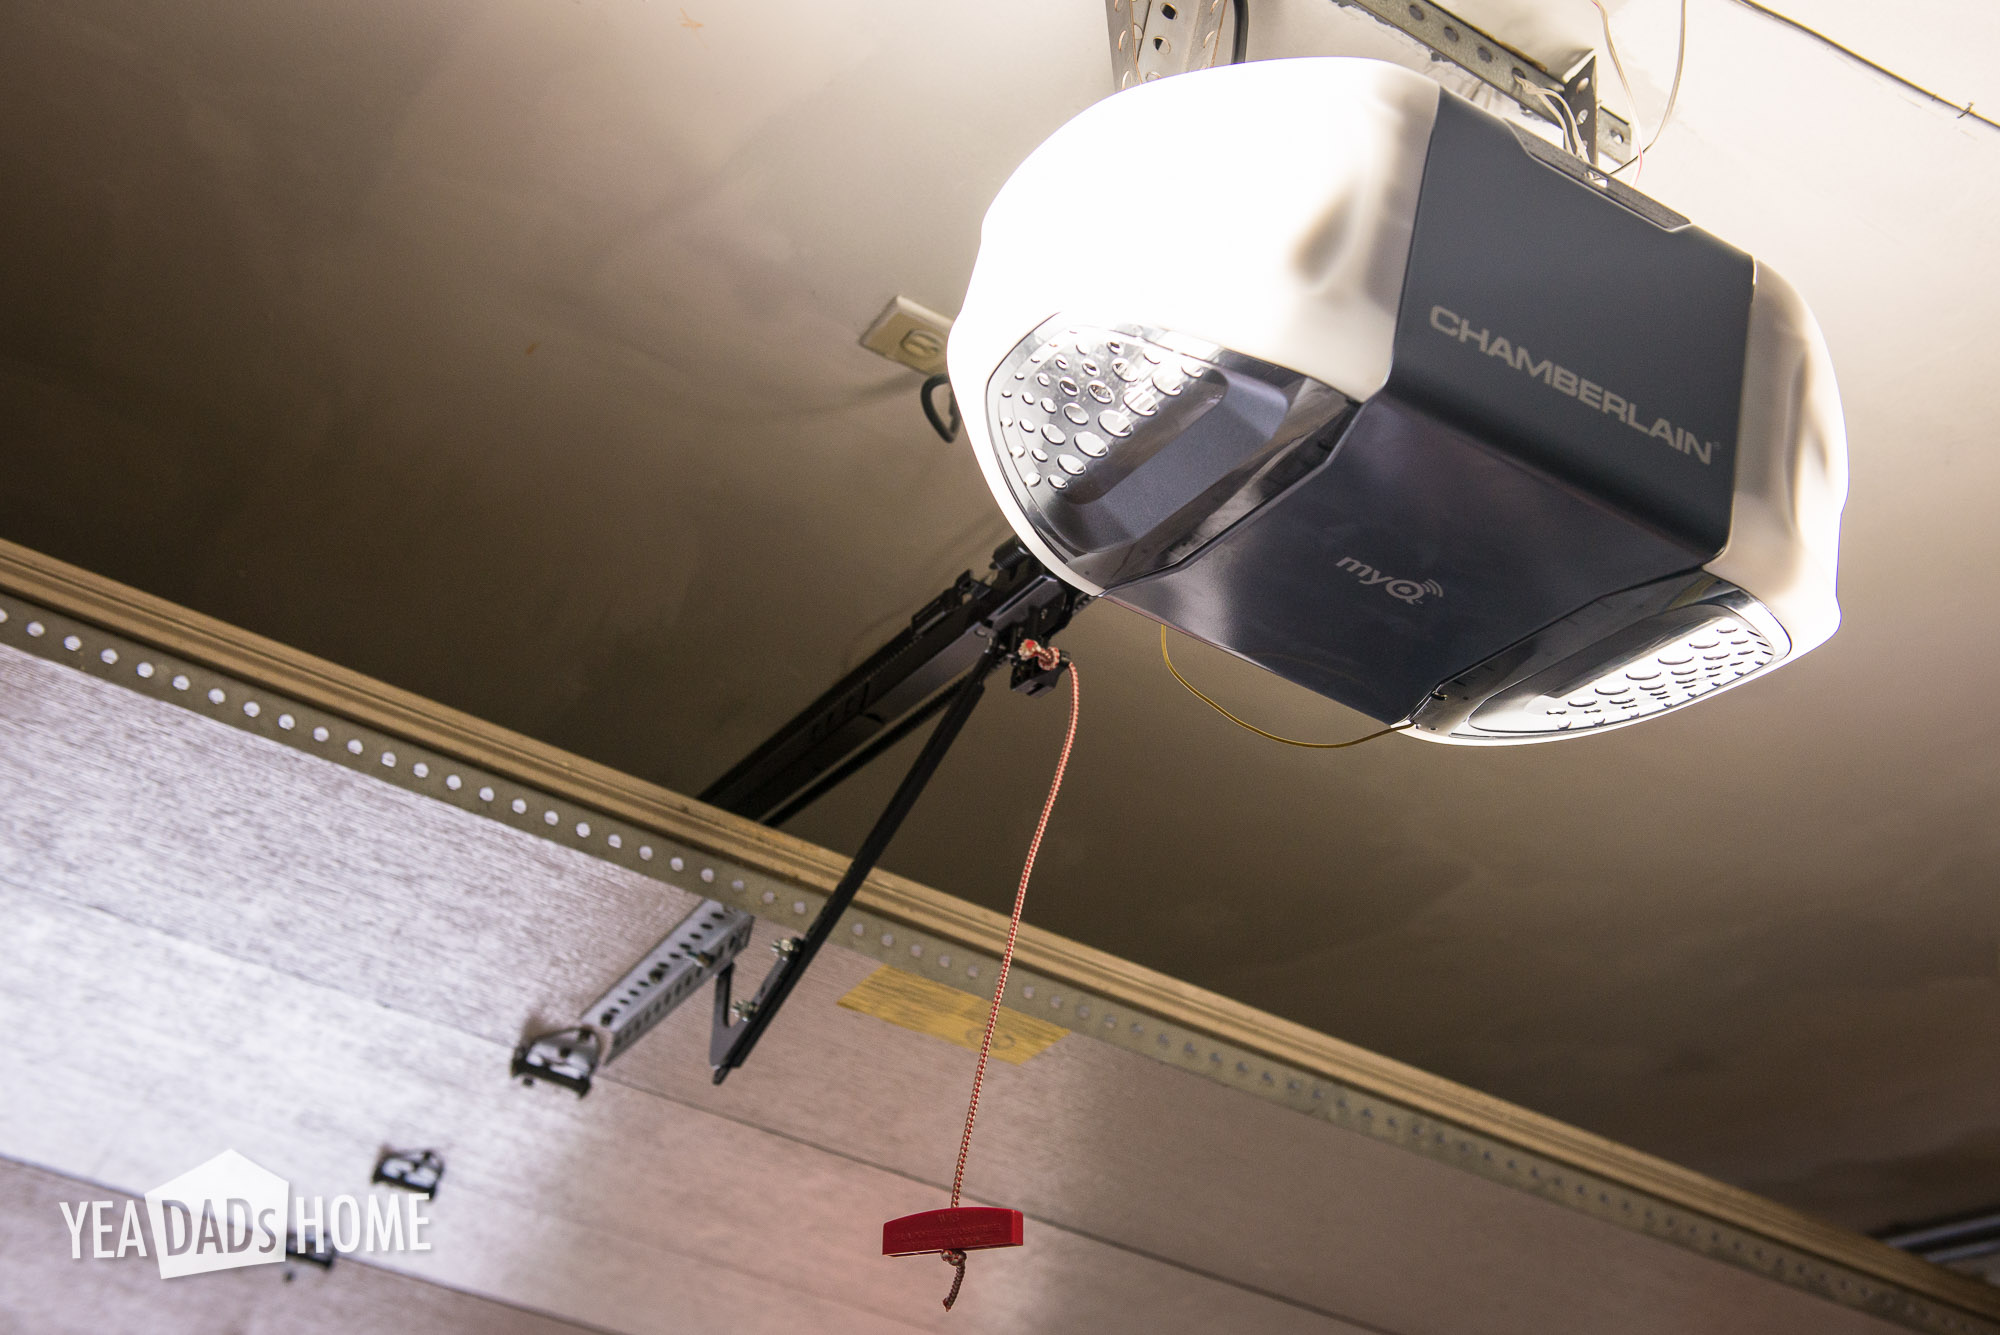
Example: For a standard double car garage door, a 3/4 HP belt drive model with Wi-Fi is a top choice for quiet, reliable operation.
Credit: yeadadshome.com
Tools And Materials Needed
Before starting, collect these tools and supplies:
- Screwdrivers (flathead and Phillips)
- Wrench set
- Socket set
- Drill and bits
- Ladder (6-foot)
- Tape measure
- Level
- Pliers
- Safety glasses
- Garage door opener kit (includes rails, hardware, remotes)
- Light bulbs (for opener if needed)
Tip: Lay out all parts and tools before you begin. Check the garage door opener box for missing pieces.
Removing The Old Garage Door Opener
Follow these steps for a safe removal:
- Unplug the opener from the outlet.
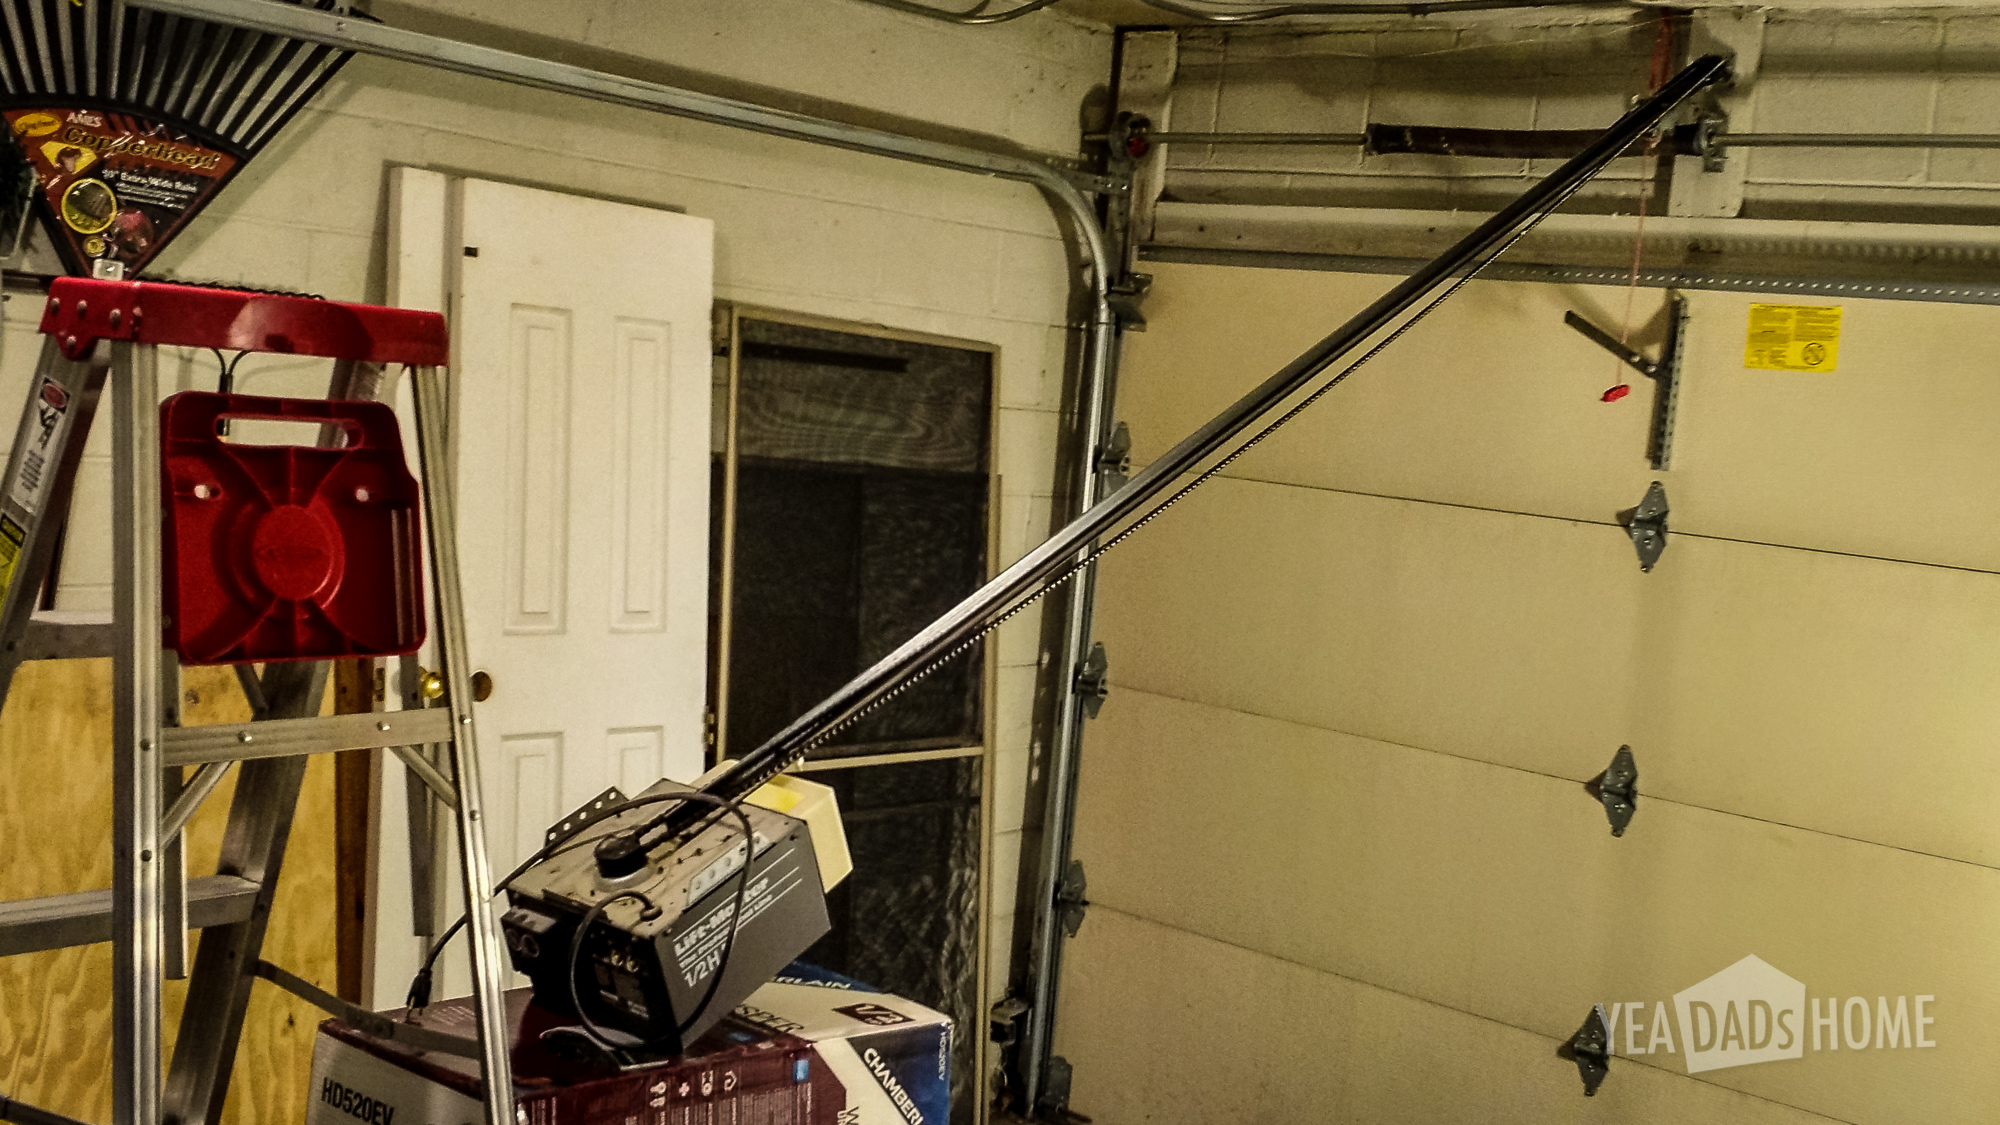
- Disconnect the garage door from the opener—pull the emergency release cord (usually red).
- Remove the opener cover and light bulbs.
- Detach the opener from the ceiling brackets using a wrench.
- Loosen the brackets on the door and rail. Get help to support the opener as you remove the last bolts.
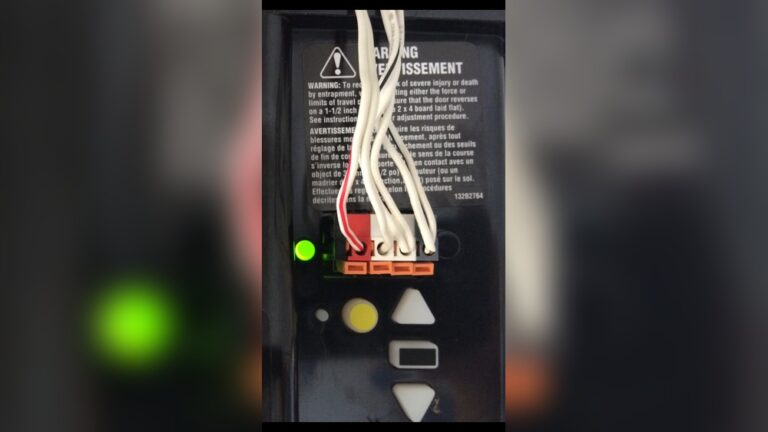
- Disconnect wiring for wall controls, safety sensors, and opener motor.
Beginner Mistake: Forgetting to unplug the opener can cause electric shock. Always cut the power first.
Credit: yeadadshome.com
Installing The New Garage Door Opener
Read the manual that comes with your new opener. Still, most installations follow these steps:
Step 1: Assemble The Opener Rail
- Lay out rail sections on the floor.
- Connect the pieces as shown in the manual.
- Slide the chain or belt into the rail if required.
Step 2: Attach The Opener To The Rail
- Connect the rail to the opener motor unit.
- Tighten bolts and screws securely.
Step 3: Mount The Rail To The Garage Door Header
- Position the rail above the door centerline.
- Secure the header bracket above the garage door.
- Attach the rail to the header bracket.
Tip: Use a level to ensure the rail is perfectly straight.
Step 4: Hang The Opener Motor
- Lift the opener motor and support it with the ladder.
- Attach the motor to ceiling brackets.
- Adjust the height so the rail is level.
Safety Note: Ask a friend to help lift and steady the opener.
Step 5: Connect To The Door
- Attach the door arm to the opener trolley.
- Connect the arm to the garage door.
Step 6: Install Safety Sensors
- Mount sensors 6 inches from the floor on both sides of the door.
- Run wires along the wall to the motor unit.
Step 7: Wire Controls And Plug In
- Connect wall controls and sensors to the motor.
- Plug in the opener.
Step 8: Test And Adjust
- Test the door’s up and down movement.
- Adjust force and travel limits as needed.
- Install light bulbs.
Example: Most openers let you adjust force with dials on the unit. Set the force low at first, then increase only if needed.
Common Problems And How To Fix Them
Sometimes, new openers don’t work perfectly right away. Here are quick solutions:
- Door won’t close: Check sensor alignment. Clean lenses and make sure nothing blocks the path.
- Remote not working: Reprogram the remote or change batteries.
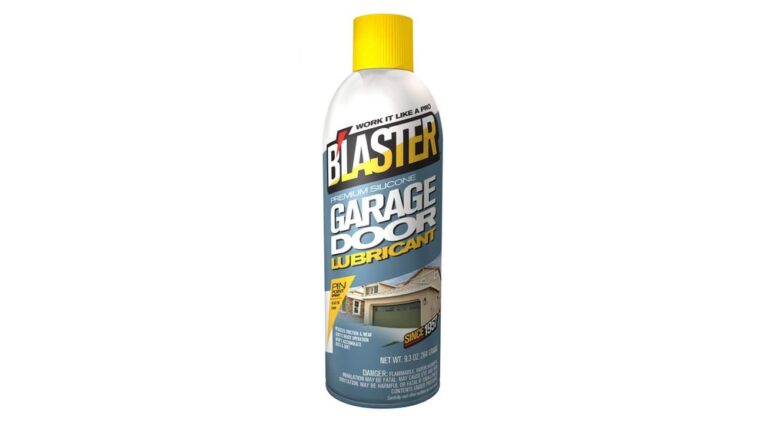
- Opener is noisy: Tighten bolts and lubricate the rail.
- Door reverses: Adjust the down force and travel limit screws.
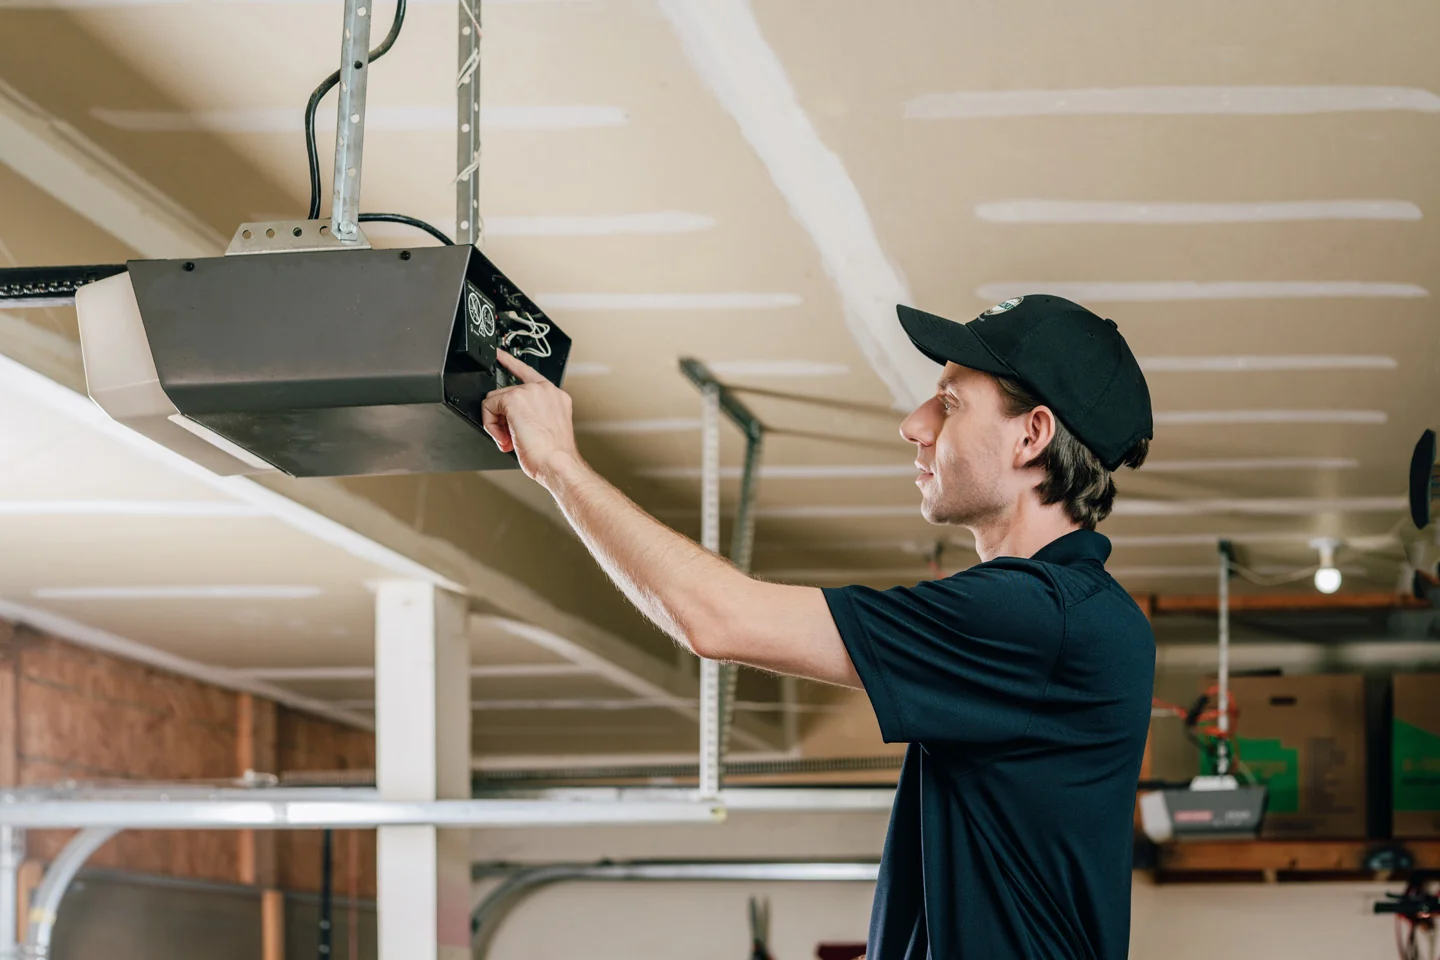
Beginner Insight: Many issues are due to loose wiring or sensors out of alignment. Double-check connections before calling for help.
Credit: precisiondoorrichmond.com
Cost To Replace A Garage Door Opener
The total cost depends on several factors:
| Expense | DIY Cost | Professional Cost |
|---|---|---|
| Opener unit | $130–$500 | $130–$500 |
| Installation supplies | $20–$40 | Included |
| Labor | $0 | $150–$350 |
| Total | $150–$540 | $280–$890 |
Tip: DIY replacement saves $150–$350 on labor. If you have basic tools and a few hours, it’s worth doing it yourself.
Smart Features And Upgrades
Newer openers offer high-tech options:
- Wi-Fi connectivity: Open or close your garage from your phone.
- Voice control: Compatible with Alexa, Google Assistant, or Apple HomeKit.
- Camera integration: See who enters your garage in real time.
- Automatic locking: Adds extra security.
Example: The Chamberlain MyQ system lets you control your door from anywhere. Many models now include this as standard.
Beginner Insight: You can often add smart features later using plug-in modules if your opener is “smart-ready.”
Safety Tips For Garage Door Opener Replacement
Safety comes first, especially with electrical devices and heavy parts.
- Unplug power before working.
- Wear safety glasses to protect your eyes from dust or flying debris.
- Never stand under a hanging opener when removing or installing.
- Secure the door with a clamp if you’re working alone.
- Follow the manual for wiring and settings.
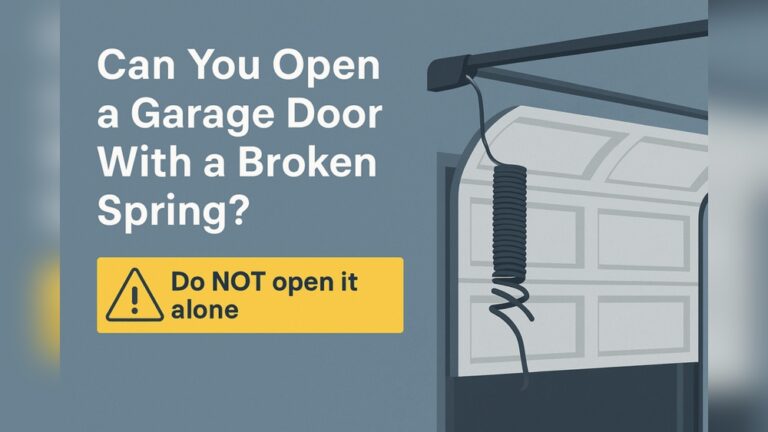
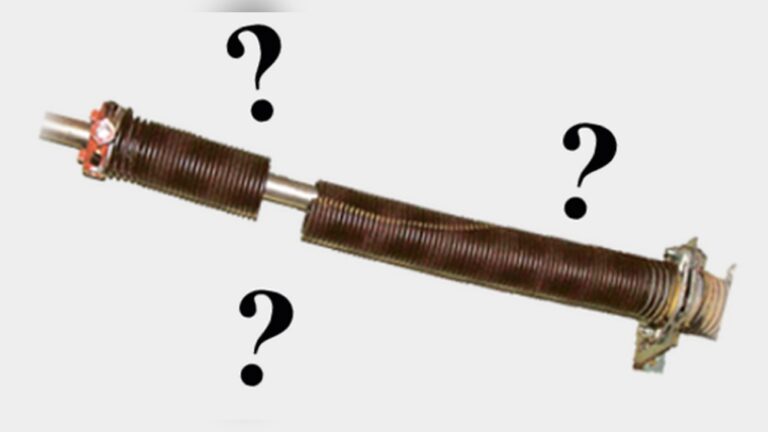
Tip: If the garage door springs are damaged or broken, call a professional. Springs are dangerous to adjust without training.
Maintenance After Installation
A new opener works best with regular care:
- Check bolts and screws every six months.
- Lubricate the rail and moving parts twice a year.
- Test safety sensors monthly.
- Replace remote batteries yearly.
- Clean the opener unit to remove dust buildup.
Beginner Insight: A little maintenance prevents big problems later. Most issues are easy to fix if you catch them early.
When To Call A Professional
DIY is great, but sometimes you need an expert. Call for help if:
- The garage door is off track or stuck.
- The opener wiring is confusing.
- You need to replace springs or cables.
- The new unit will not program or lift the door.
Example: If your garage door weighs more than 350 pounds, or if the door shakes or makes loud noises, a pro can diagnose hidden issues.
Environmental Impact And Recycling
Old garage door openers contain metal, plastic, and electronic parts. Instead of throwing them away:
- Recycle metal parts at a local scrap yard.
- Drop off electronics at an e-waste center.
- Dispose of batteries according to local rules.
Tip: Many retailers offer recycling when you buy a new opener. Ask at checkout.
For further reading on recycling electronics, visit the EPA’s electronics recycling page.
Frequently Asked Questions
How Long Does It Take To Replace A Garage Door Opener?
Most DIY installations take 2 to 4 hours. If you’re new to this, give yourself extra time for careful reading and setup.
Can I Reuse The Old Rails Or Brackets?
In most cases, no. New openers often have different rail sizes or mounting brackets. Always use the parts included in your new kit for safety and warranty reasons.
What Size Opener Do I Need?
For most single garage doors, 1/2 HP is enough. Heavier or double doors may need 3/4 HP or higher. Check your door’s weight and the manufacturer’s recommendation.
How Do I Program My Remote Control?
After installation, press the “Learn” button on the opener unit, then press the remote button. Follow your manual for exact steps as models vary.
Is It Safe To Install A Garage Door Opener Myself?
Yes, if you follow instructions and basic safety rules. However, if you feel unsure or need to adjust springs or cables, call a professional.
Replacing your garage door opener is a smart upgrade. With a few tools, careful steps, and attention to detail, you’ll enjoy smoother, quieter, and safer operation for years. Plus, you can add modern features that make daily life easier. If you ever feel stuck, reach out to local pros or check your manufacturer’s support—there’s always help available.