Replacing Garage Door Opener
A garage door opener is a small device with a big job. It lifts and lowers your garage door with a press of a button. Over time, these openers can break or stop working well. Many homeowners wonder if they can replace their garage door opener themselves.
The answer is yes—with some basic tools, patience, and clear instructions.
Replacing a garage door opener is not as hard as it sounds. It can make your garage safer and more convenient. You might want to upgrade for better security, quieter operation, or smart features. This guide will help you understand when and how to replace your garage door opener, step by step, with tips and data to help beginners avoid mistakes.
Why Replace Your Garage Door Opener?
There are several reasons you might need a new garage door opener. Here are the most common:
- Old or worn out: Most openers last about 10-15 years. If yours is older, it may break soon.
- Loud noise: New openers are much quieter. If your opener is noisy, it might be time to upgrade.
- Safety concerns: Modern openers have better safety features, like auto-reverse sensors.
- Smart technology: New models connect to your phone, letting you open or close the door from anywhere.
- Frequent repairs: If you keep fixing the old one, a new opener might save money over time.
A 2023 survey by the International Door Association found that 63% of new opener purchases were for safety or smart features.
Types Of Garage Door Openers
Not all openers are the same. There are three main types:
| Type | How It Works | Best For | Noise Level |
|---|---|---|---|
| Chain Drive | Uses a metal chain to move the door | Heavy doors, low cost | Loud |
| Belt Drive | Uses a rubber belt for motion | Quiet operation, attached garages | Quiet |
| Screw Drive | Uses a threaded steel rod | Moderate weight doors, low maintenance | Medium |
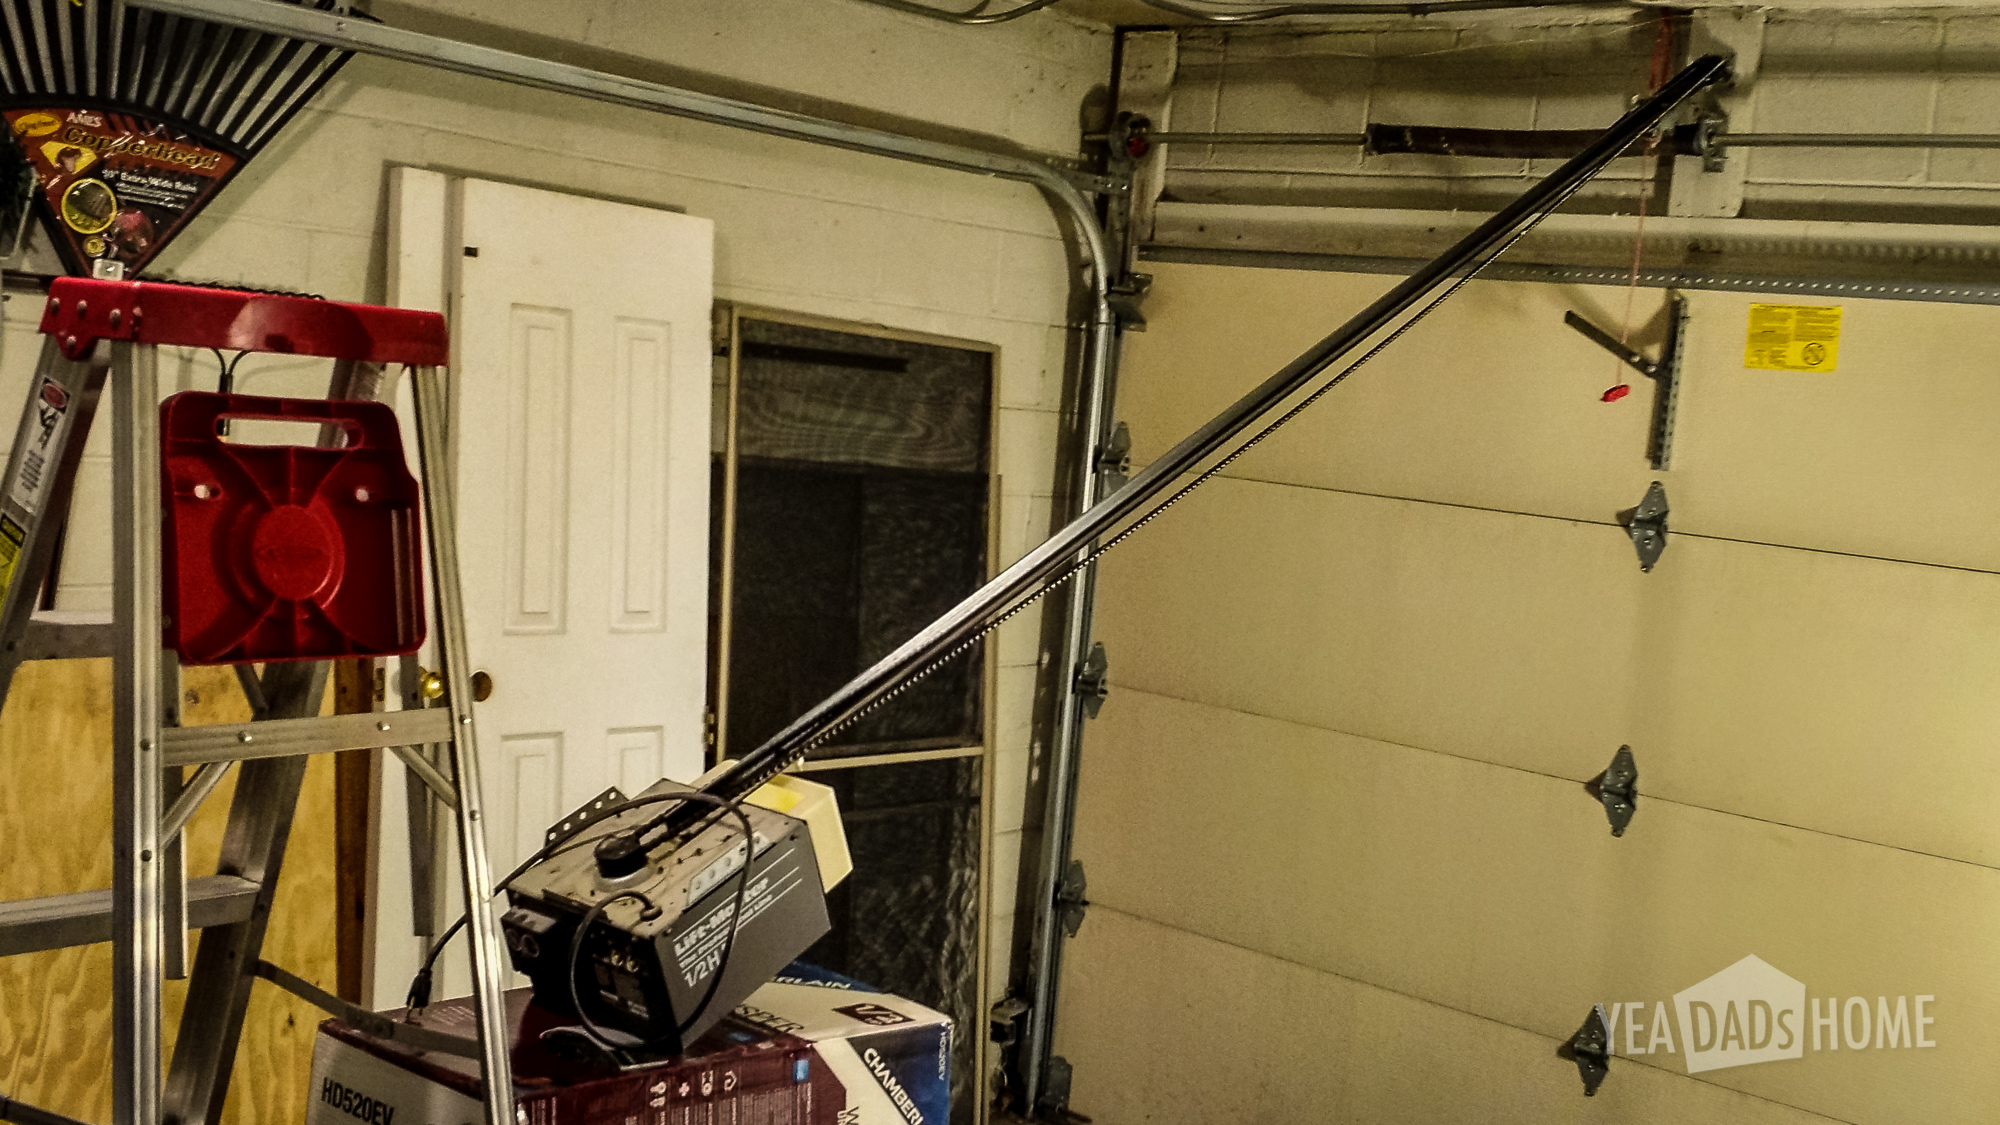
Chain drive models are the most common and affordable, but they are noisy. Belt drive openers cost more but are much quieter—good for garages attached to living spaces. Screw drive openers need less maintenance, but can be loud in cold weather.
Credit: yeadadshome.com
Tools And Materials You’ll Need
Before starting, gather these basic tools:
- Screwdriver (flat and Phillips)
- Adjustable wrench
- Socket set
- Stepladder
- Drill (with bits)
- Tape measure
- Level
- Pliers
- Safety glasses
For materials, you’ll need:
- New garage door opener kit
- Mounting hardware (usually in the kit)
- Light bulbs (if your opener has a light)
- Extra wire (sometimes needed for sensors)
Check your new opener’s manual for any special requirements.
Preparing For Replacement
Getting ready is important for safety and ease. Here’s what to do:
- Unplug the old opener. Never work on a unit that’s plugged in.
- Clear the area. Move cars and items out of the way.
- Read the manual. Every model is a bit different.
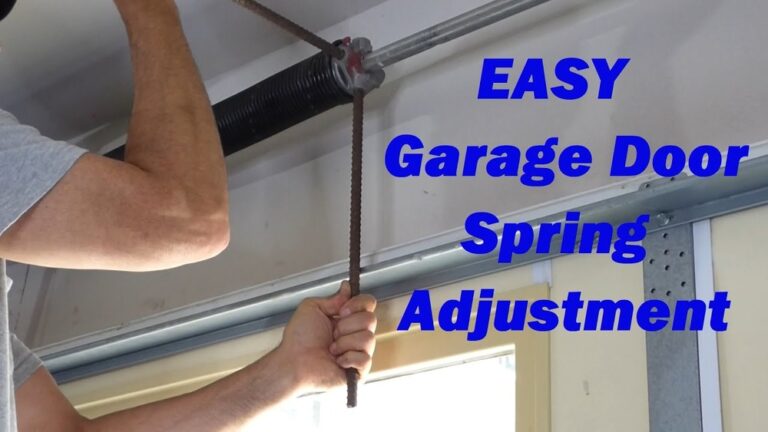
- Check the door balance. Lift the door halfway by hand. If it stays, the springs are fine. If not, call a pro—don’t try to fix springs yourself.
Credit: yeadadshome.com
Removing The Old Garage Door Opener
Take your time with removal. Here’s how:
- Unplug and disconnect: Remove the power cord and disconnect the opener from the door arm (usually a pin or bolt).
- Take down sensors: Carefully unscrew and remove any safety sensors near the floor.
- Remove the opener unit: Support it with a ladder and unscrew from the ceiling mounts.
- Take down old brackets: Remove any brackets if you’re replacing them with new ones.
Keep any hardware you might reuse, but use new parts when possible for safety.
Choosing The Right Garage Door Opener
Picking the right opener is more than just price. Think about these factors:
- Horsepower: Most homes use 1/2 to 3/4 horsepower (HP). Heavy doors may need more.
- Noise: Belt drives are best for quiet.
- Features: Look for Wi-Fi, battery backup, and LED lighting.
- Compatibility: Make sure the opener fits your door type and size.
Here’s a quick comparison of features for common opener brands:
| Brand | Horsepower Options | Smart Features | Price Range |
|---|---|---|---|
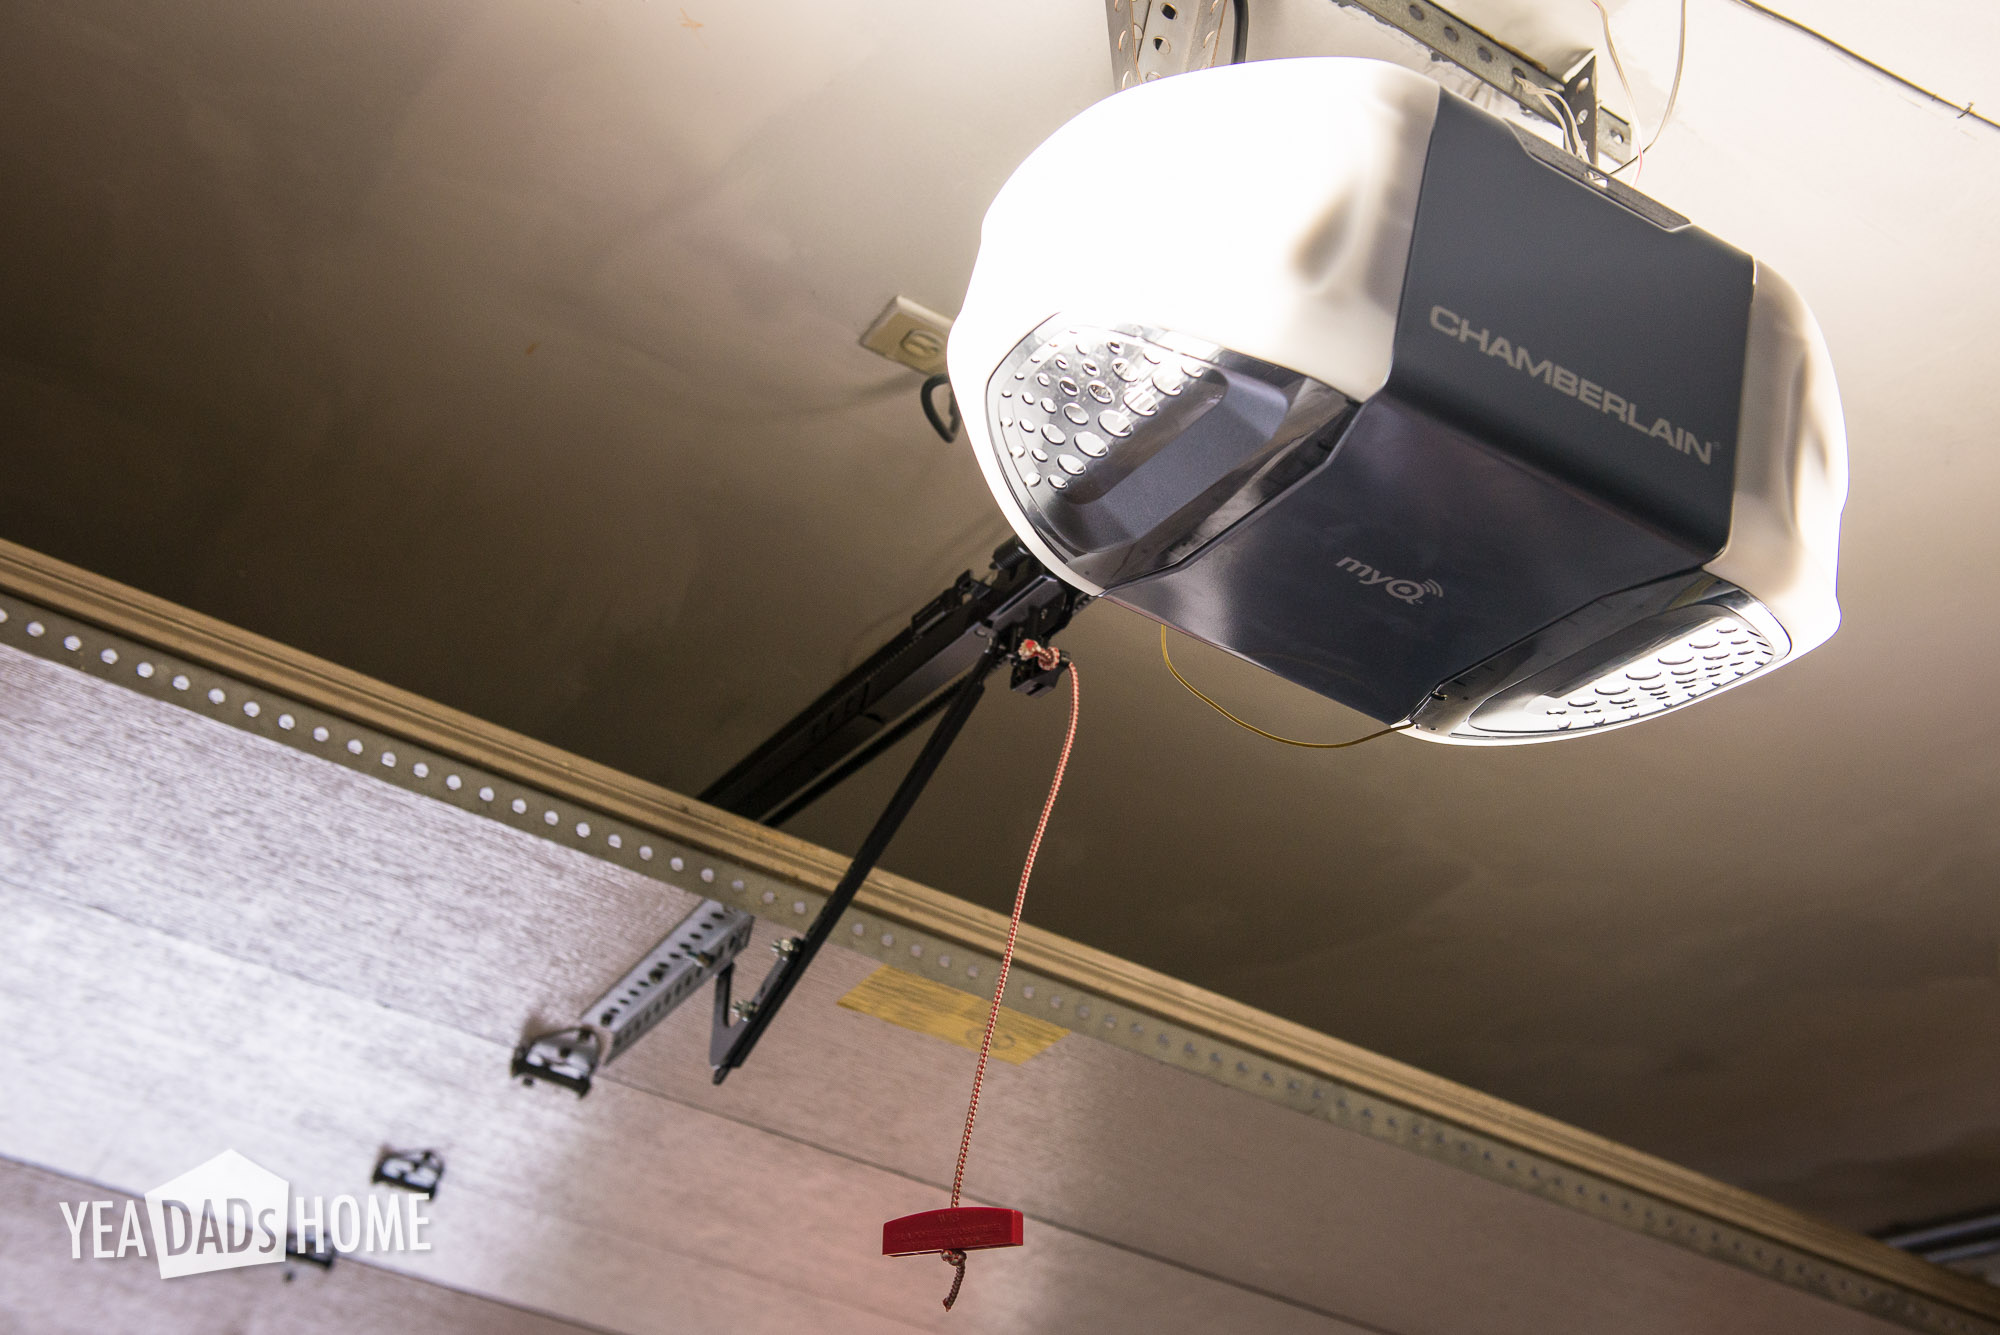
| Chamberlain | 1/2, 3/4 | Yes | $160-$350 |
| LiftMaster | 1/2, 3/4, 1 | Yes | $200-$400 |
| Genie | 1/2, 3/4 | Some models | $140-$300 |
Non-obvious tip: Some openers have built-in cameras or can connect with Amazon Key for package delivery. These features are useful but cost more.
Installing The New Opener
Now for the main event—installation. Each model is a bit different, but these steps work for most:
- Assemble the opener: Follow your manual to put together the rail, trolley, and motor unit.
- Mount the opener: Attach the mounting bracket to the ceiling joist. Use a level for accuracy.
- Attach the rail: Connect the rail to the bracket, then secure the motor to the other end.
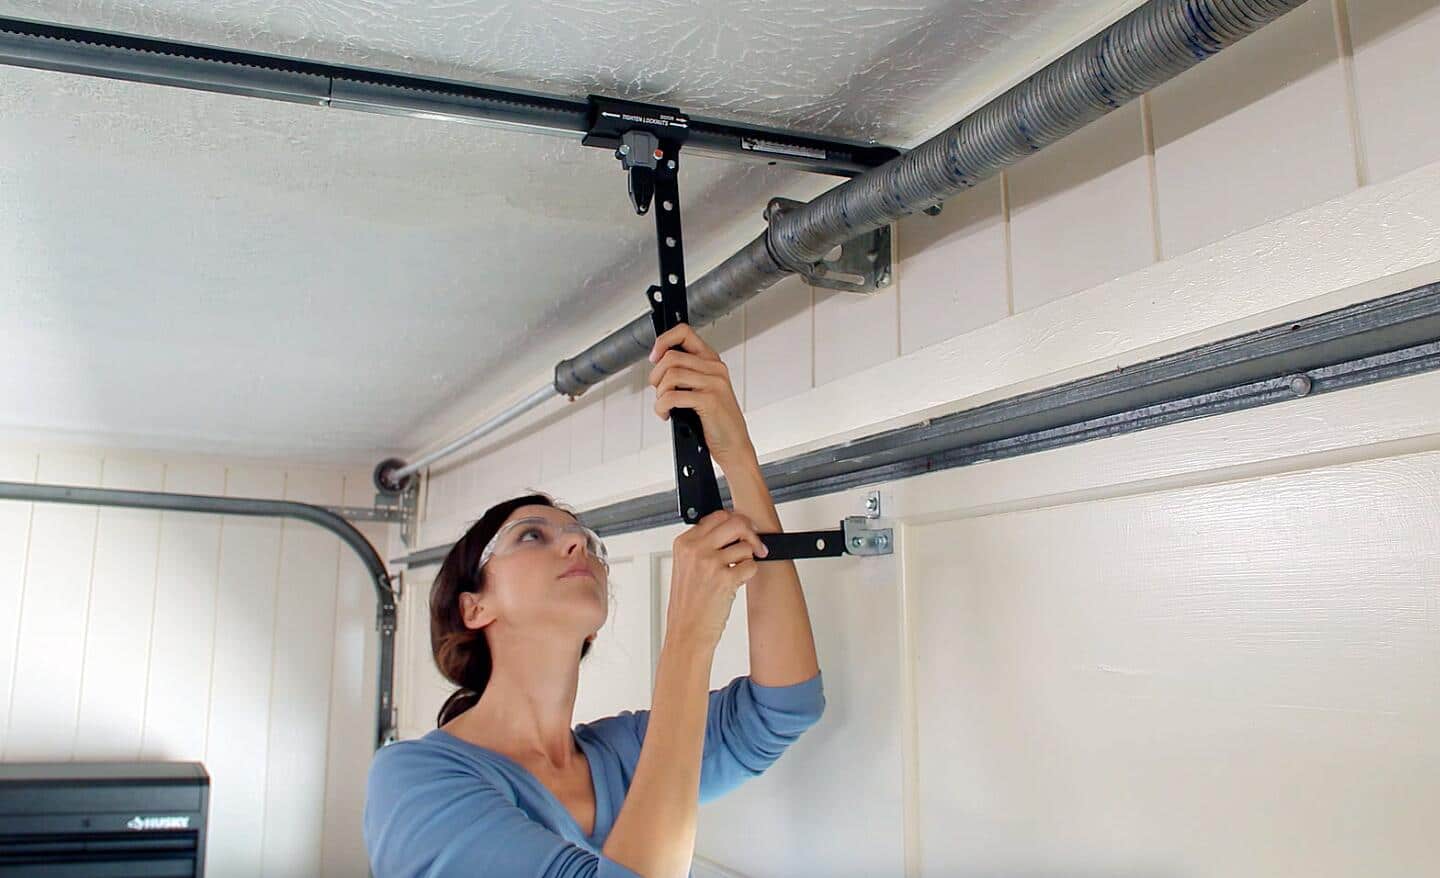
- Connect the door arm: Attach the arm to your garage door, using the provided pin or bolt.
- Install safety sensors: Place them 6 inches above the floor, one on each side.
- Wire the opener: Connect the wall button and sensors as directed. Use the provided wire or extra if needed.
- Plug in and test: Plug in the opener, then test with the remote and wall button.
Beginner insight: Don’t overtighten bolts. Too much force can crack plastic parts or strip threads.
Safety And Testing
Testing your opener is critical for safety and smooth operation:
- Auto-reverse test: Place a roll of paper towels under the door. Close it with the opener. The door should reverse when it touches the roll.
- Sensor test: Block the sensors with your hand while closing. The door should not close.
- Manual release: Pull the emergency cord to make sure you can open the door by hand.
If any test fails, check the wiring and sensor alignment before calling a pro.
Setting Up Remote Controls And Smart Features
Most new openers come with remotes and sometimes a keypad. Here’s what to do:
- Pair remotes: Usually, press the “Learn” button on the opener, then press the remote.
- Set up Wi-Fi: Download the brand’s app and follow instructions to connect.
- Keypad programming: Enter your code, then sync with the opener by following the manual.
Common mistake: Skipping this step can lock you out of your garage. Program all remotes before finishing.
Maintenance Tips After Replacement
A new opener needs little care, but regular checks help it last longer.
- Lubricate moving parts every six months. Use garage door lubricant, not WD-40.
- Check sensors for dirt and alignment monthly.
- Replace batteries in remotes once a year.
- Test safety features every few months.
This keeps your opener running smoothly and quietly.
Cost Of Replacing A Garage Door Opener
Replacement is usually cheaper than you think:
- DIY cost: Most openers cost $150 to $400. Add $20-$50 for extra hardware or wire.
- Pro installation: Expect $300 to $600 total, including labor.
Here’s a cost breakdown:
| Item | DIY Cost | Pro Installation |
|---|---|---|
| Basic Opener | $150-$200 | $300-$350 |
| Mid-Range (Wi-Fi) | $200-$300 | $350-$450 |
| High-End (Camera, Battery) | $300-$400 | $500-$600 |
Beginner insight: Sometimes, a pro can install the opener in under two hours. Watching them work can help you learn for next time.
Common Mistakes To Avoid
Even handy homeowners make mistakes. Here are some to watch out for:
- Not measuring the door height before buying. Some openers need extension kits for tall doors.
- Using old wiring with new openers. Old wires may not work with new sensors.
- Ignoring the manual. Every opener has small differences.
- Forgetting to check the balance of the door. A heavy or unbalanced door can burn out your new opener.
- Skipping safety tests. These tests are for your family’s protection.
When To Call A Professional
DIY is possible, but some jobs need a pro:
- Broken springs or cables. These parts are dangerous.
- Heavy or custom doors. Larger doors need special openers.
- Electrical issues. If your garage has old wiring, get help.
If you feel unsure, hiring a pro is always safer and often faster.
Environment And Energy Efficiency
Modern openers use less power than old models. Many have LED lights and standby modes, saving energy. Some states, like California, require battery backup for safety during power cuts. If you want a greener home, choose an opener with these features.
For more on energy-saving garage products, see the U.S. Department of Energy.
Credit: www.wisconsingaragedoorpro.com
Frequently Asked Questions
How Long Does A Garage Door Opener Last?
Most openers last 10 to 15 years with regular use and maintenance. If your opener is older, it’s wise to plan for replacement soon.
Can I Replace The Garage Door Opener Myself?
Yes, most homeowners with basic tools and DIY skills can replace an opener. Always follow the manual and take safety precautions.
Do I Need A New Opener For A Heavier Door?
Heavier doors need higher horsepower (3/4 HP or more). Check your door’s weight and the opener’s rating before buying.
What Safety Features Are Required?
Modern openers must have auto-reverse sensors. These stop the door if something is in the way. This feature has been required since 1993.
How Do I Dispose Of My Old Garage Door Opener?
Take old openers to an electronics recycling center. Do not throw them in the trash. Many local hardware stores can help with recycling.
Replacing a garage door opener is a smart upgrade for most homes. With new safety features, quiet operation, and smart controls, the process is worth the time and effort. Plan ahead, follow each step, and enjoy a safer, more convenient garage for years to come.