Programming a garage door opener can seem tricky, but with the right steps, anyone can do it. Whether you’ve moved into a new house, replaced your remote, or installed a new opener, knowing how to program it is essential. A well-programmed garage door opener means easy access, better security, and less stress.
This guide will walk you through the process, answer common questions, and help you avoid mistakes that many beginners make.
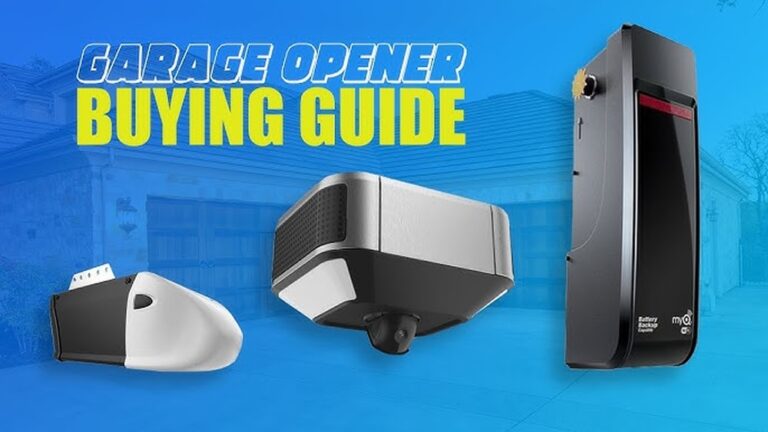
Understanding Garage Door Opener Types
Before you start, it’s important to know which type of garage door opener you have. Most openers fall into three categories:
- Chain drive: Uses a metal chain to pull or push the door. Common and affordable, but can be noisy.
- Belt drive: Uses a rubber belt, making it quieter and smoother.
- Screw drive: Uses a threaded steel rod. Less maintenance, but not as quiet as belt drives.
Most programming steps are similar, but it helps to check your owner’s manual for model-specific details. Older openers may need a different method than newer ones with “smart” features.
Tools And Preparation
To make the process easy, gather these items:
- The remote control for your garage door opener.
- A ladder (if your opener is mounted on the ceiling).
- The owner’s manual for your opener (physical or online PDF).
- A pen and notepad for writing any codes.
Important: Make sure the garage is clear of people and objects before you start. Safety first.
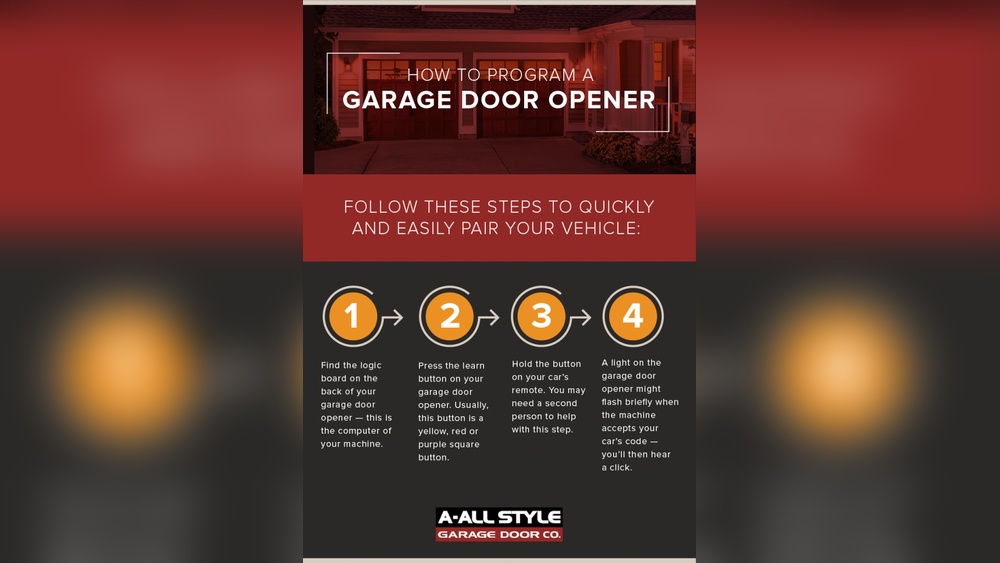
Step-by-step: Programming A Standard Garage Door Opener
Programming a garage door opener usually involves syncing the remote control to the opener’s main unit. Here’s how to do it for most modern models:
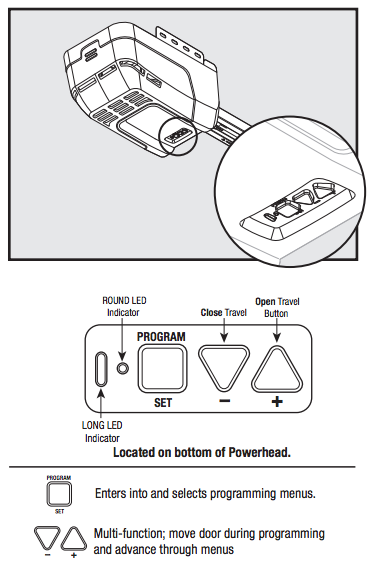
- Locate the “Learn” or “Program” Button
- This button is usually on the back or side of the opener’s motor unit (often under a light cover).
- It may be labeled LEARN, PROG, or SET.
- Prepare the Remote
- Have your remote handy.
- Make sure it has fresh batteries.
- Press the “Learn” Button
- Press and release the “Learn” button. An indicator light will usually turn on.
- You have about 30 seconds to complete the next step.
- Sync the Remote
- Press and hold the button you want to use on the remote.
- The opener’s light may blink, or you may hear a click—this means programming was successful.
- Test the Remote
- Stand clear, then press the programmed button.
- The garage door should move. If not, repeat the steps.
Tip: If you have multiple remotes, program each one right after the other while the “Learn” light is still on.
Common Brands And Their Programming Differences
Many homeowners use brands like Chamberlain, LiftMaster, Genie, and Craftsman. Let’s compare basic programming features:
| Brand | Learn Button Color | Typical Programming Steps | Smartphone Control |
|---|---|---|---|
| Chamberlain/LiftMaster | Yellow, Purple, Red, Green | Press learn, then remote | Available on newer models |
| Genie | Black or Red | Press learn, remote, then learn again | Some models |
| Craftsman | Usually Purple or Red | Press learn, then remote | Limited |
Insight: The color of the learn button often tells you the remote frequency. For example, yellow usually means 390 MHz.
Credit: overheaddoorgardencity.com
Programming A Keypad Entry
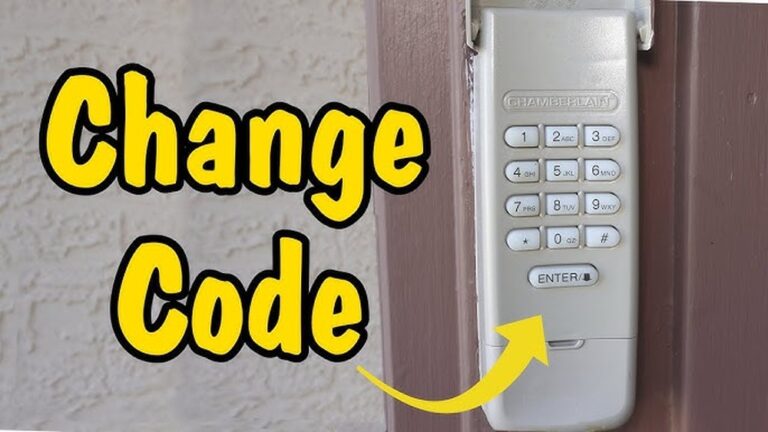
Many garage door openers also have a keypad for PIN entry. Here’s how to program it:
- Find the Learn Button
- Press the Learn Button
- An indicator light will turn on.
- Enter PIN on Keypad
- Type your desired 4-digit PIN within 30 seconds.
- Press Enter or the designated button.
- Confirmation
- The opener light will blink or click.
Note: Change your PIN regularly for better security.
Programming A Car’s Built-in Remote (homelink)
Many vehicles have a built-in garage door button system, often called Homelink. Here’s how to sync it:
- Clear Old Codes
- Hold the two outer buttons for 20 seconds until the light flashes.
- Set Up the New Code
- Hold the desired Homelink button and your remote at the same time (2 inches apart).
- Wait for the light to change from slow to fast blinking.
- Sync to the Opener
- Press the garage opener’s Learn button.
- Within 30 seconds, press the Homelink button in your car.
- The opener light or garage door will move.
Tip: Some openers require you to repeat the Homelink button press a few times.
Troubleshooting Programming Issues
Even with clear steps, problems can happen. Here are some solutions:
- Remote not working?
- Check the battery.
- Make sure you are within range (usually 20-50 feet).
- Door only moves a little, then stops?
- Check for obstructions in the door tracks.
- Look for flashing lights indicating a safety sensor issue.
- Keypad not programming?
- Ensure the keypad battery is good.
- Try resetting the keypad by removing the battery for 30 seconds.
Garage Door Opener Security: Rolling Codes
Modern openers use rolling code technology. This means every time you press the remote, the code changes. This makes it much harder for thieves to capture the code and break in.
| Feature | Fixed Code | Rolling Code |
|---|---|---|
| Security | Low | High |
| Code Changes | No | Yes, every use |
| Programming Steps | Simple | Similar, but more secure |
Insight: If your opener is older than 1996, consider upgrading for better security.
Credit: support.chamberlaingroup.com
Practical Tips For Beginners
Programming is easier if you:
- Write down any codes or steps you use.
- Label each remote with a sticker.
- Keep the manual in a safe place.
- Test the door after each programming step.
- Reset all codes if you lose a remote or move to a new home.
Many beginners forget to erase old codes when moving. This can let previous owners or tenants open the door. Always reset your opener after moving in.
Example: Programming A Chamberlain Remote
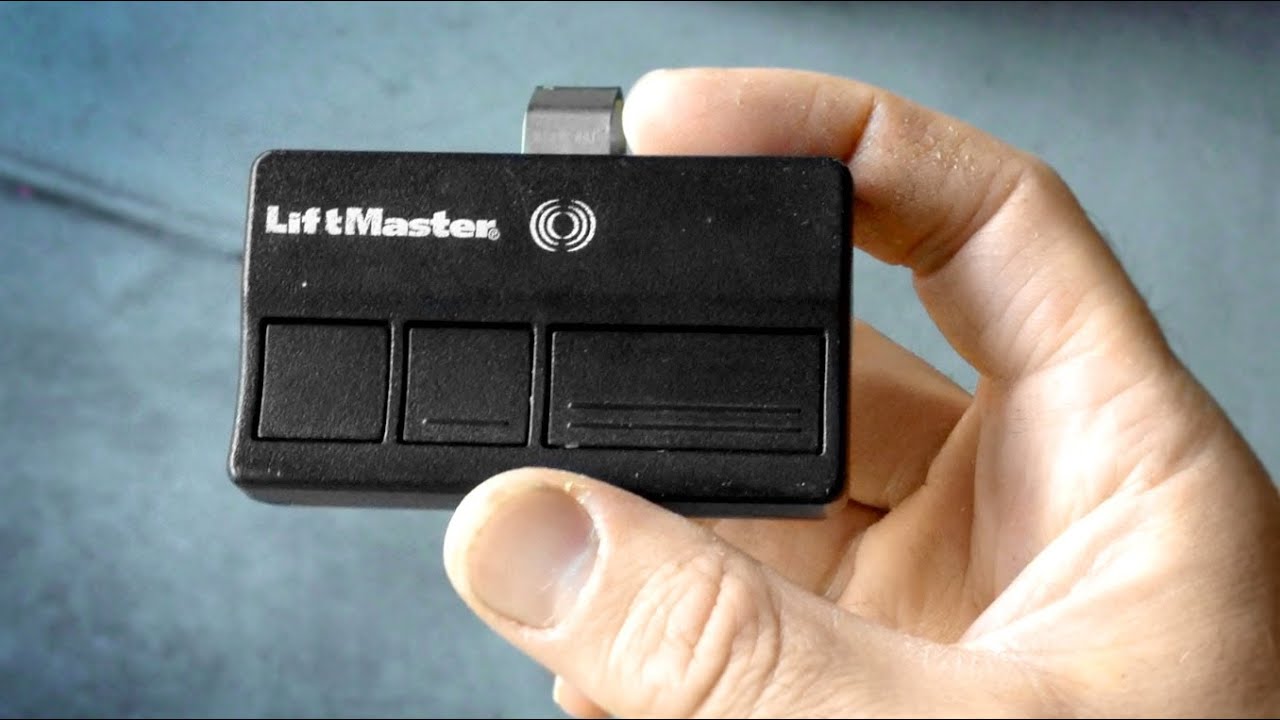
Suppose you have a Chamberlain opener with a yellow learn button:
- Climb your ladder and locate the yellow learn button.
- Press and release the learn button. The LED lights up for 30 seconds.
- Press and hold the desired button on your remote until the opener light blinks.
- Test the door. If it opens, you’re done.
If you need help, Chamberlain’s website and customer support are very helpful.
Credit: www.youtube.com
Integrating Smart Home Features
New garage door openers can connect to smart home systems. You can control your door with an app or voice commands.
Example: With Chamberlain’s MyQ system, you can:
- Open or close the door from your phone
- Check if the door is open when away from home
- Get alerts if the door is left open
To set this up, download the app, connect to Wi-Fi, and follow the in-app instructions.
Note: Smart features depend on your opener model and your home Wi-Fi. Make sure your network is strong in the garage.
When To Call A Professional
Sometimes, programming does not work due to wiring issues, very old openers, or broken remotes. Consider calling a professional if:
- The door won’t move at all.
- Lights or sensors are not working.
- You feel uncomfortable working on a ladder or with electronics.
A professional can help program complex systems or install smart features safely.
Comparison: Diy Vs. Professional Programming
Here’s how DIY compares to hiring a professional:
| Aspect | DIY | Professional |
|---|---|---|
| Cost | Free or low (just your time) | $50-$150 (service fee) |
| Time | 15-30 minutes | 1-2 hours (including scheduling) |
| Difficulty | Easy for most models | Very easy, no effort for you |
| Safety | Needs ladder and care | Handled by expert |
Advice: For most people, DIY is quick and simple. But if you are unsure, a professional is a good investment for safety.
Safety Reminders
- Never stand under a moving garage door.
- Always keep remotes out of reach of children.
- Test the safety reverse feature monthly—place a block under the door; it should reverse when it touches the block.
Keeping Your Opener Secure
Garage door openers can be a target for theft. Protect your home by:
- Using a new code when you move in.
- Not leaving remotes in your car.
- Locking the door from the garage to your home.
- Enabling alerts if your opener has smart features.
Upgrading to a smart opener can add even more security.
Frequently Asked Questions
What Do I Do If I Lost My Garage Door Remote?
You should erase all codes from your opener and reprogram new remotes. This stops anyone with the lost remote from opening your door.
Can I Program Multiple Remotes To One Opener?
Yes, most openers let you program up to five remotes. Just repeat the programming process for each one.
Why Won’t My Garage Door Opener Remote Work?
Check the battery, make sure you are in range, and look for obstructions or sensor issues. If it still doesn’t work, try erasing all codes and reprogramming.
How Do I Reset My Garage Door Opener?
Press and hold the “Learn” button for about 6-10 seconds until the indicator light turns off. This erases all remotes and keypads. You’ll need to reprogram them.
Is It Safe To Program My Garage Door Opener Myself?
Yes, it’s safe for most people. Use a sturdy ladder, keep children away, and follow the manual’s safety steps. If you feel unsure, call a professional.
For more details, visit the Garage Door Opener Wikipedia page.
Programming your garage door opener is a simple task that improves your home’s convenience and security. With these beginner-friendly steps, you can program remotes, keypads, and even your car. Pay attention to safety, keep your codes secure, and enjoy the peace of mind that comes with a well-programmed garage door system.