If you’re turning your garage into a workshop, gym, or just want a comfortable space year-round, a mini split system could be the best solution. But one big question often comes up: What size mini split for garage is right? Choosing the right size is important. If the unit is too small, your garage stays hot or cold. If it’s too large, you’ll waste energy and money. Let’s break down everything you need to know, with beginner-friendly steps and practical examples.
Why Mini Splits Are Perfect For Garages
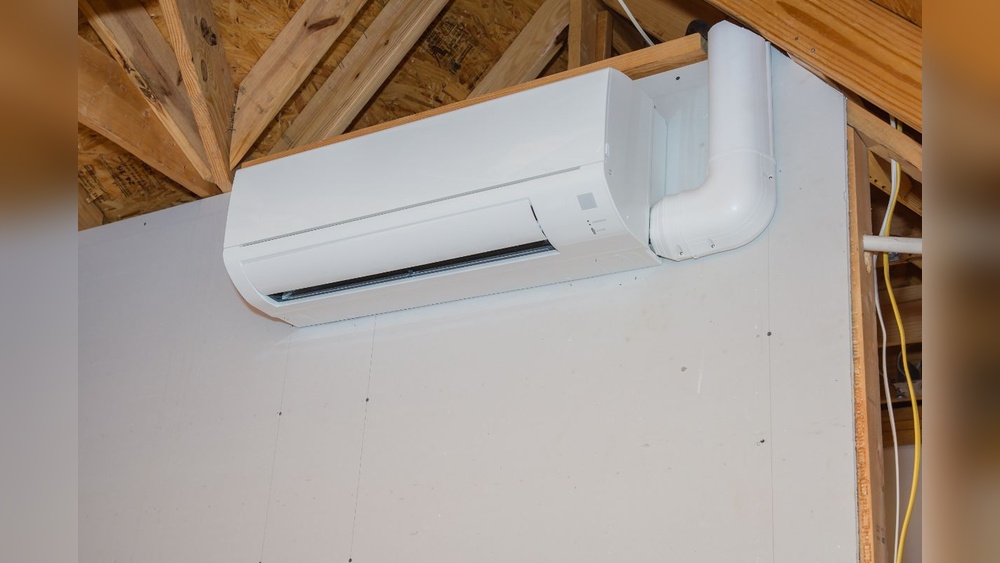
Many garages aren’t connected to your home’s main HVAC system. This makes them uncomfortable in summer and winter. Mini split systems offer many advantages:
- Easy installation: No ductwork needed. Most systems require only a small hole for the refrigerant line.
- Efficient heating and cooling: Great for spaces with poor insulation.
- Quiet operation: You can work, exercise, or relax without loud noise.
- Zoned control: Heat or cool only the garage—not your entire house.
For most garages, a mini split is more efficient and flexible than window ACs or space heaters.
Key Factors That Affect Mini Split Size
Choosing the right size depends on more than just square footage. Below are the most important factors to consider:
1. Garage Size (square Footage)
The size of your garage is the main factor. Measure the length and width, then multiply to get the total square feet.
- 1-car garage: 200–350 sq. Ft.
- 2-car garage: 350–600 sq. Ft.
- 3-car garage: 600–900 sq. Ft.
2. Insulation Quality
Is your garage well insulated? If not, you’ll need a larger unit.
- Well insulated: Standard size is usually enough.
- Poor or no insulation: Go up one size or improve insulation first.
3. Ceiling Height
Standard garages have 8-foot ceilings. Taller ceilings mean more air to condition.
- 8 ft ceiling: Standard calculations work.
- Over 8 ft: Add 10% more capacity for each extra foot.
4. Climate Zone
Where you live matters.
- Hot climates: Need more cooling power (measured in BTUs).
- Cold climates: Heating ability is important.
5. Garage Usage
What Will You Use Your Garage For?
- Workshop with machines: More heat, need a bigger unit.
- Simple storage: Regular size may be fine.
6. Windows And Doors
More windows or doors = more energy loss.
- Many windows/doors: Add 10–20% more BTUs.
- Few windows/doors: Standard calculation.
7. Sun Exposure
Is Your Garage In Direct Sun Most Of The Day?
- Direct sun: Add up to 10% extra capacity.
- Shaded: Standard size.
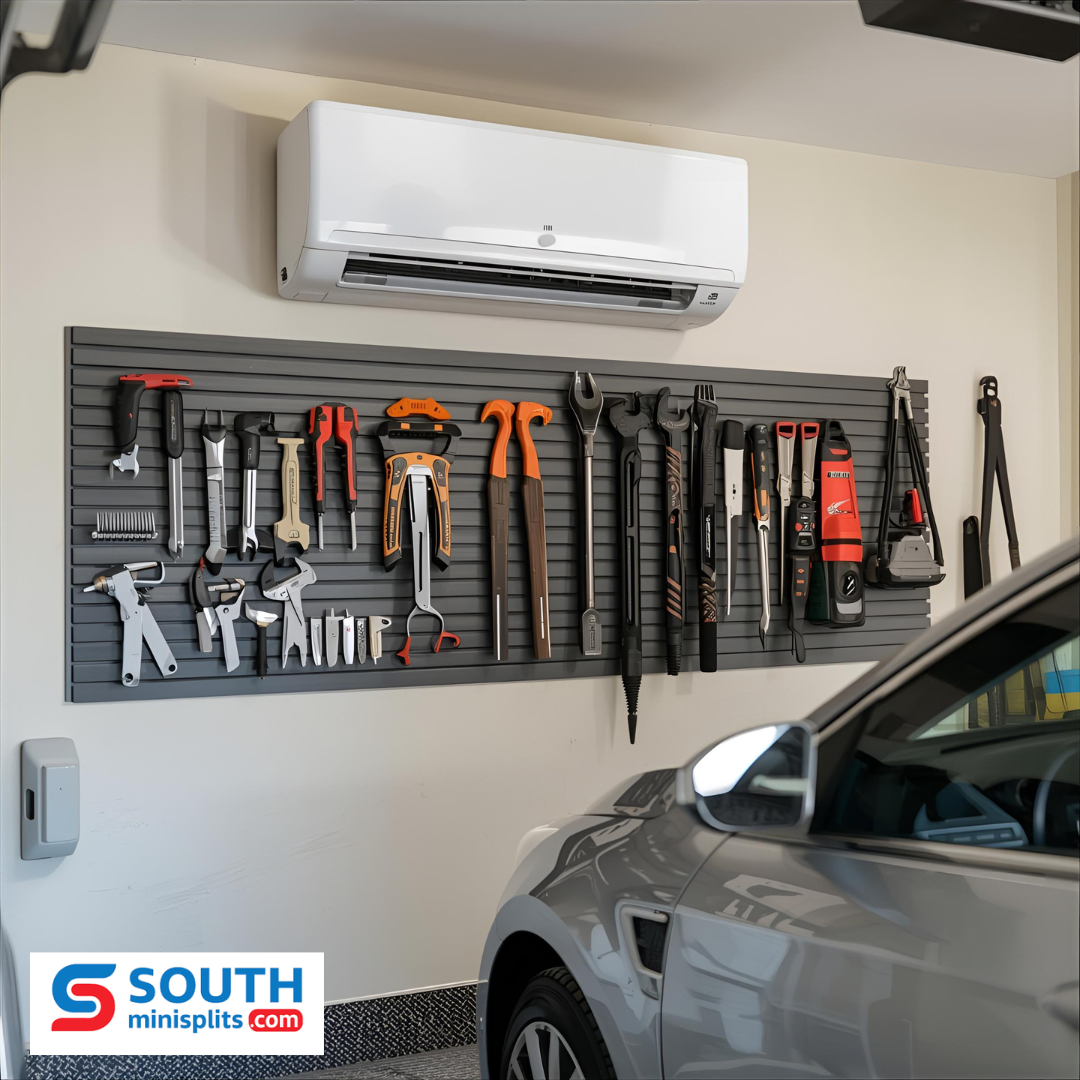
Credit: southminisplits.com
What Does “size” Mean For Mini Splits?
When talking about size, most people mean BTUs (British Thermal Units). This measures how much heating or cooling power a system has. More BTUs = more power.
Mini splits for garages usually range from 9,000 to 24,000 BTUs. If the unit is too small, it will run constantly. If it’s too big, it will turn on/off too often, which wastes energy.
Basic Mini Split Sizing Guide For Garages
Here’s a simple guide for standard, well-insulated garages with 8-foot ceilings:
| Garage Size (sq. ft.) | Recommended BTU Size |
|---|---|
| Up to 300 | 9,000 BTU |
| 301–500 | 12,000 BTU |
| 501–750 | 18,000 BTU |
| 751–1,000 | 24,000 BTU |
This table is a starting point. Adjust if your garage has special needs (poor insulation, high ceilings, etc).
Practical Example: Sizing A Mini Split For A 2-car Garage
Imagine you have a 2-car garage that’s 20 feet by 20 feet (400 sq. ft.). The ceiling is 8 feet, and there’s some insulation but two windows.
Step-by-step sizing:
- Calculate area: 20 x 20 = 400 sq. Ft.
- Base BTU: 12,000 BTU (from the table above).
- Check insulation: Some insulation, so base size is OK.
- Add for windows: Two windows = add 10%: 12,000 x 1.10 = 13,200 BTU.
- Round up: Most mini splits come in set sizes. Choose a 15,000 BTU unit.
If you plan to use power tools, or the garage gets full sun, consider going up to 18,000 BTU.
How To Calculate Btus For Your Garage
If you want a more custom approach, use this formula:
Garage area (sq. ft.) x 30 = BTU needed
- Example: 400 sq. Ft. x 30 = 12,000 BTU
This works for garages with average insulation and 8 ft ceilings. Adjust up or down for unique situations.

Credit: dellahome.com
Common Sizing Mistakes To Avoid
Many beginners make mistakes that lead to poor comfort or wasted money. Here are the most common:
- Undersizing: Picking a unit too small to save money. This leads to poor performance and higher bills.
- Oversizing: Getting the biggest unit “just in case.” This causes short cycling and doesn’t remove humidity well.
- Ignoring insulation: Not upgrading poor insulation can double your heating/cooling costs.
- Forgetting ceiling height: High ceilings need more power—don’t use standard charts.
- Not considering usage: Workshops, gyms, or pet areas need more BTUs than simple storage.
The Cost Factor: Upfront And Operating
Mini split prices rise with capacity. Higher BTU = more expensive unit and installation. But buying the right size saves money in the long run.
- 9,000 BTU: $1,000–$2,000 installed
- 12,000 BTU: $1,200–$2,500 installed
- 18,000 BTU: $1,600–$3,000 installed
Operating costs also depend on size. Too big or too small, and you’ll pay more each month.

Credit: www.acdirect.com
Mini Split Features That Matter
When choosing a mini split, look for these features to maximize comfort and efficiency:
- Inverter technology: Saves energy and keeps temperatures steady.
- High SEER rating: Look for 18+ for better efficiency.
- Low-temperature heating: If winters are cold, make sure it can heat well below freezing.
- Remote or app control: For easy use.
- Quiet operation: Important if you’ll spend a lot of time in the garage.
Installation Tips For Maximum Performance
A mini split is only as good as its installation. Here’s what matters most:
- Professional installation: DIY is possible but tricky. A pro ensures correct refrigerant charge and no leaks.
- Right location: Place the indoor unit high on the wall, away from doors, corners, and direct sunlight.
- Outdoor unit placement: Needs airflow and should be above snow or flood risk.
A poorly installed system won’t deliver the right comfort, no matter the size.
Mini Split Vs. Other Garage Cooling Options
How does a mini split compare to other common options? Here’s a quick comparison:
| System Type | Cost | Efficiency | Installation | Noise |
|---|---|---|---|---|
| Mini Split | $$–$$$ | Very High | Medium (Pro) | Low |
| Window AC | $–$$ | Medium | Easy | Medium/High |
| Portable AC | $–$$ | Low | Easy | High |
| Space Heater | $ | Low | Easy | Medium |
Mini splits cost more at first but give the best long-term performance, comfort, and energy savings.
Mini Split Sizing Quick Reference Chart
For extra clarity, here’s a handy reference for typical garages:
| Garage Type | Size (sq. ft.) | Suggested Mini Split Size |
|---|---|---|
| 1-car | 200–350 | 9,000–12,000 BTU |
| 2-car | 350–600 | 12,000–18,000 BTU |
| 3-car | 600–900 | 18,000–24,000 BTU |
Always round up if you’re unsure. It’s better to have a little extra capacity, but not too much.
Advanced Sizing: When To Get Professional Help
Sometimes, it’s best to call a professional HVAC contractor:
- If your garage has odd shapes, is attached to another building, or is partly underground.
- If there are lots of windows, doors, or poor insulation.
- If you want the most energy-efficient setup.
A pro can do a Manual J calculation to get the perfect size. They’ll consider every detail, from air leaks to equipment use.
Two Non-obvious Insights Beginners Miss
- Heat Pumps Work Year-Round: Most mini splits are heat pumps, so they cool in summer and heat in winter. Many beginners don’t realize a single unit can do both, making it a smart investment.
- Humidity Control: Right-sized mini splits help control humidity, not just temperature. Oversized units cool too quickly and leave the air damp, which can cause mold or musty smells.
Next Steps After Choosing Your Size
Once you know the right size:
- Compare brands and models for efficiency and reliability.
- Get at least two installation quotes.
- Check for rebates in your area—many states offer incentives for high-efficiency systems.
- Plan for electrical needs: Some mini splits need their own breaker or wiring.
For more on garage mini split options, the U.S. Department of Energy gives a detailed overview.
A properly sized mini split can transform your garage into a comfortable, usable space all year.
Frequently Asked Questions
How Do I Measure My Garage For A Mini Split?
Measure the length and width of your garage in feet, then multiply to get the total square footage. For example, a 20×20-foot garage is 400 sq. ft. Make sure to include any extra rooms or areas you want to heat or cool.
Can A Mini Split Cool And Heat My Garage?
Yes, most mini splits are heat pumps. They can both cool in summer and heat in winter, making them a year-round solution for garage comfort.
What If My Garage Has Poor Insulation?
If insulation is poor, you’ll need a larger BTU unit or should improve insulation first. Adding insulation to walls and the garage door helps reduce the mini split size you need and lowers energy costs.
Is It Ok To Install A Mini Split Myself?
DIY installation is possible, but it’s usually best to hire a licensed HVAC professional. A pro will handle refrigerant safely, make sure everything is sealed, and avoid mistakes that could void your warranty.
How Long Does A Garage Mini Split Last?
With proper installation and maintenance, a mini split can last 12–20 years. Clean filters regularly and schedule yearly checkups to keep your system running efficiently.
A mini split is a smart, energy-efficient way to keep your garage comfortable. With the right size, you’ll enjoy better air, lower bills, and a more useful space—no matter the season.